How to Share Your Microsoft Outlook Calendar
Note: To share your Microsoft Outlook calendar, you must have a Microsoft 365 or Exchange account.
Step 1: Click on the Start button in the Taskbar, type Outlook, and click Open.
Step 2: On the Outlook page, click on the Calendar icon to view your calendar settings.

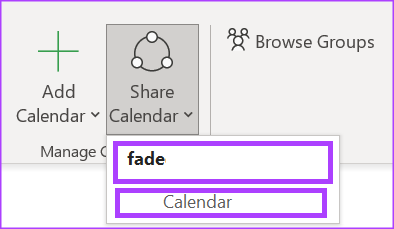
Step 3: On the Ribbon, select the Share Calendar within the Manage Calendars group.

Step 4: Choose the calendar you want to share from the drop-down menu.
Step 5: From the Calendar Properties dialog box, click Add to launch your Address Book.
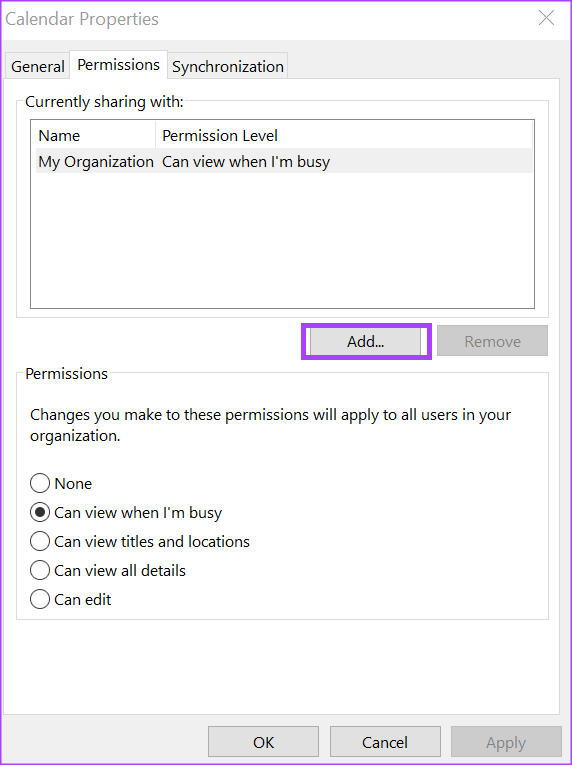
Step 6: From the address book, select or enter the email address of the user with whom you would like to share your calendar, and click OK.
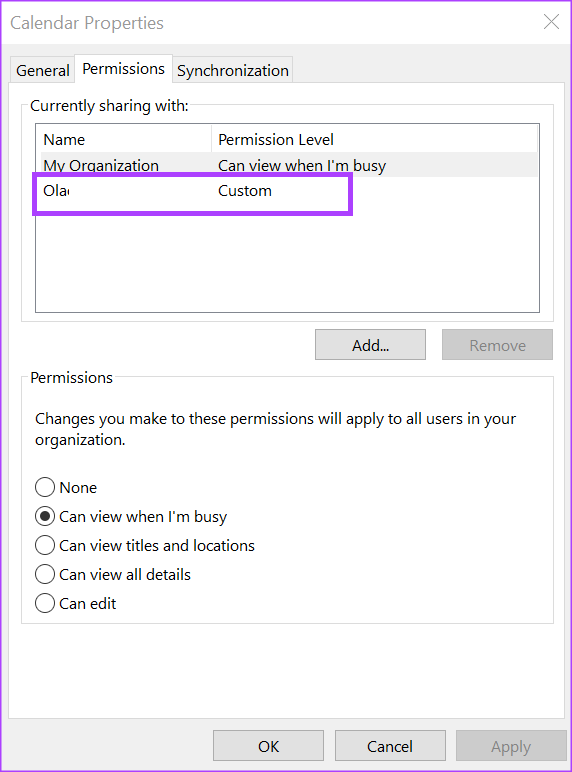
Step 7: In the Calendar Properties dialog box, the name of the calendar recipient should show. Select the type of permissions you would like them to have with your calendar from the following:
- Can view when I’m busy
- Can view titles and locations
- Can view all details
- Can edit
- Delegate
Step 9: Click Apply and OK to save your changes.
The person you share your calendar with will receive an email with the sharing invitation. All they need to do is click on Accept to view your shared calendar in their calendar list.
How to Delegate Access to Your Microsoft Outlook Calendar
When you make someone a delegate on your Microsoft Outlook calendar, they can send calendar invites on your behalf. They can also read your meeting requests and respond.
Step 1: Open Microsoft Outlook and click on the File tab.

Step 2: Click on Account Settings.
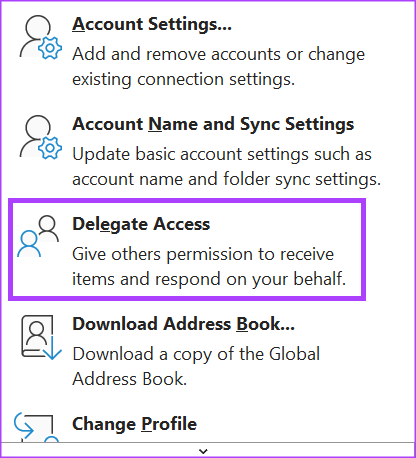
Step 3: From the drop-down options, select Delegate Access.
Step 4: Click on Add in the Delegates dialog box to launch your Address Book.

Step 5: From the address book, select or enter the email address of the user with whom you would like to share your calendar, and click on OK.
Step 6: On the Delegate Permissions dialog box for the selected user, select the type of Calendar permissions you would like the delegate to have from the following options:
- None
- Reviewer (can read items)
- Author (can read and create items)
- Editor (can read, create, and modify items)

Step 7: To send a message to notify the delegate of the changed permissions, check the box for Automatically send a message to delegate summarizing these permissions check box.

Step 8: Click OK to close the dialog box after selecting your permissions.
How to Stop Sharing Your Microsoft Outlook Calendar
Step 1: On the Outlook page, click on the Calendar icon to view your calendar settings.
Step 2: On the Ribbon, select the Share Calendar icon.
Step 3: Choose the calendar you want to stop sharing from the drop-down menu.
Step 4: From the Calendar Properties dialog box, click the name of the user with whom you would like to stop sharing your calendar.
Step 5: Click on Remove.
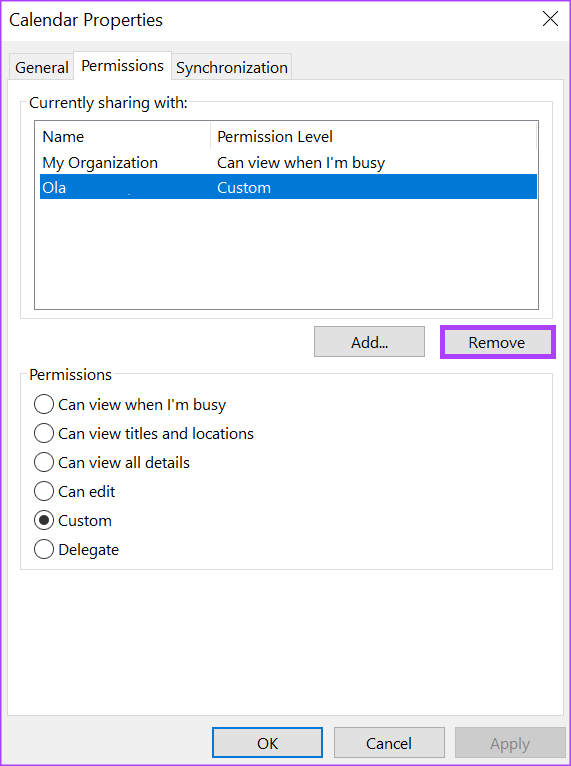
Step 6: Finally, click on OK to close the dialog box with your new changes.
If you use Google Calendar, you can also sync it with your Outlook Calendar. This gives you a comprehensive view of all your upcoming events and appointments.
Was this helpful?
Last updated on 05 July, 2024
Read Next
 How to Connect Outlook Calendar With Google Calendar: 4 Best Ways
Note: The methods recommended in the article allow two-way syncs in the calendar.
How to Connect Outlook Calendar With Google Calendar: 4 Best Ways
Note: The methods recommended in the article allow two-way syncs in the calendar.
 How to Add Zoom Meetings to Outlook Calendar and Google Calendar
How to Add Zoom Meetings to Google Calendar The easiest way is using the Zoom for Google Workspace Google calendar add-on.
How to Add Zoom Meetings to Outlook Calendar and Google Calendar
How to Add Zoom Meetings to Google Calendar The easiest way is using the Zoom for Google Workspace Google calendar add-on.
 6 Best Microsoft Outlook Calendar Tips & Tricks to Manage It Better
The Microsoft Office Calendar is part of Microsoft 365 products and is not a stand-alone program.
6 Best Microsoft Outlook Calendar Tips & Tricks to Manage It Better
The Microsoft Office Calendar is part of Microsoft 365 products and is not a stand-alone program.
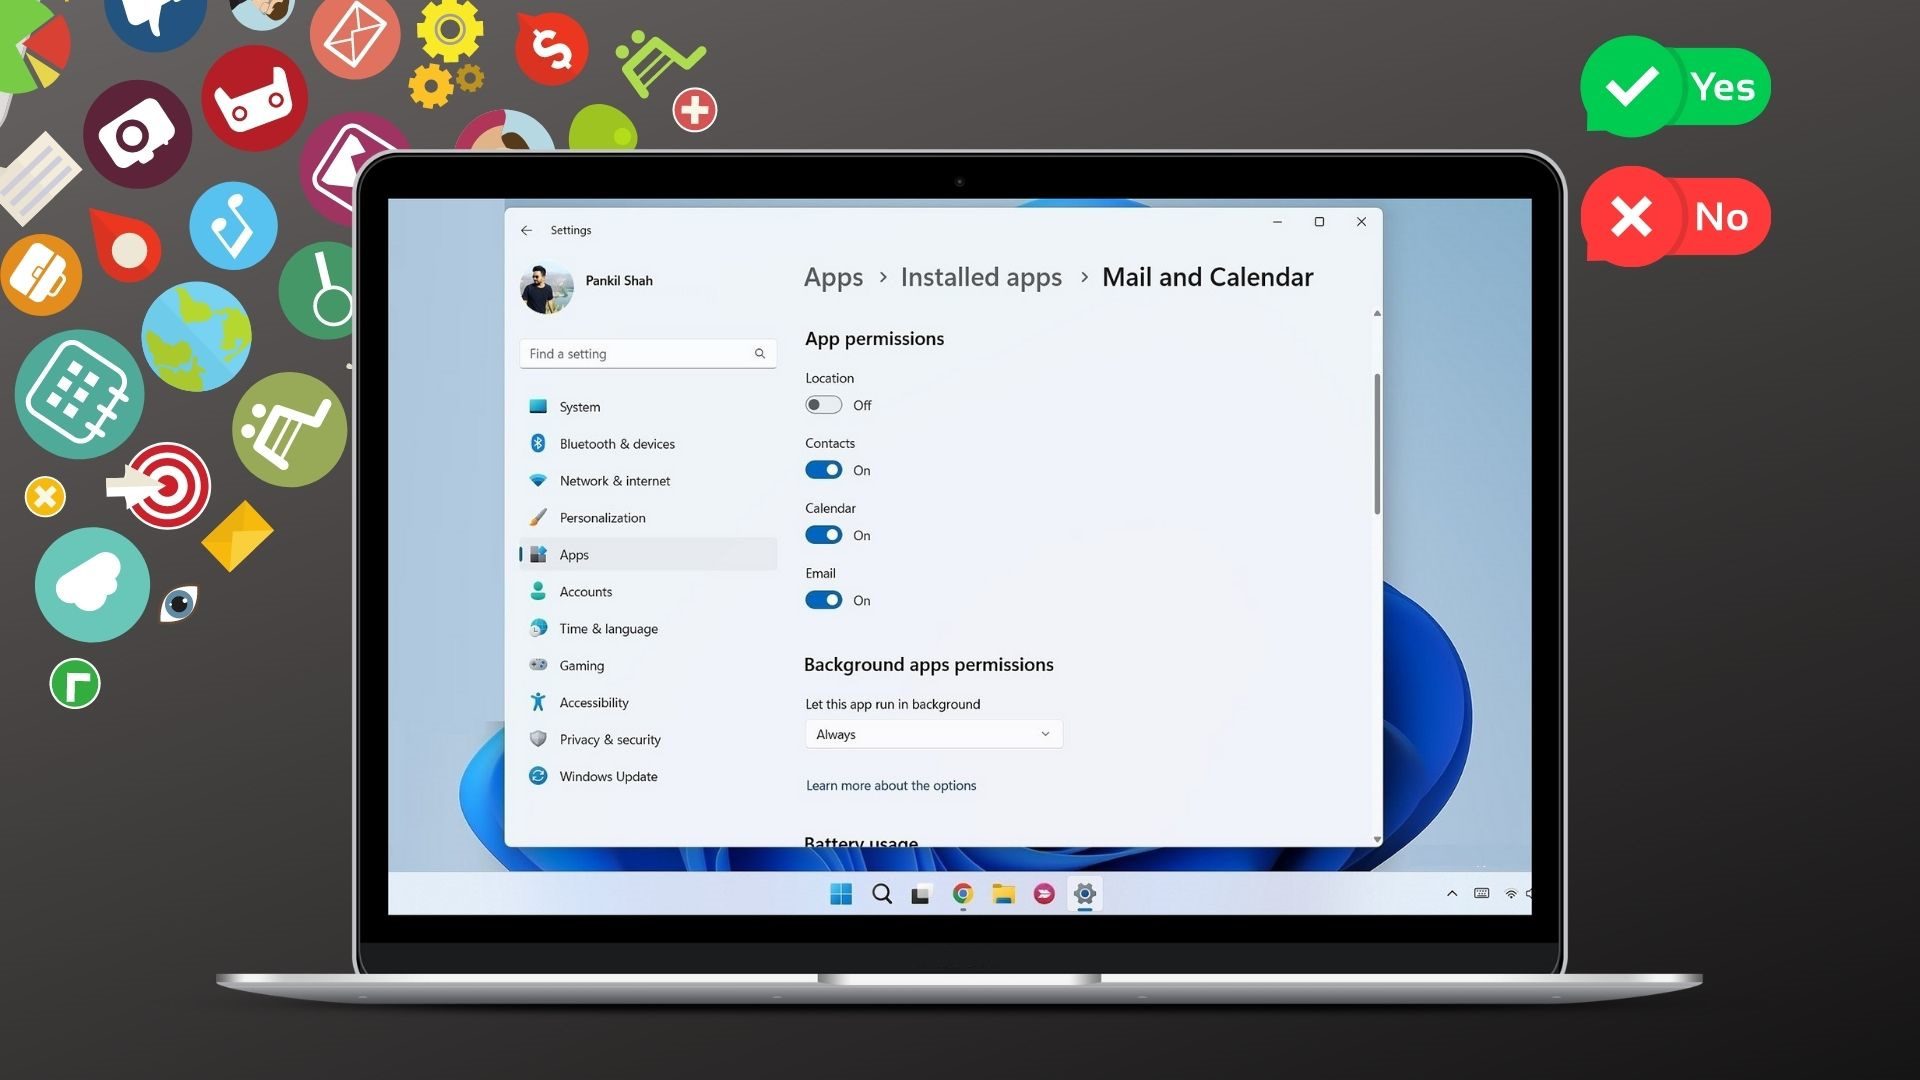 How to Enable, Disable, and Manage App Permissions on Windows 11
How to Enable or Disable Permissions for Individual Apps If you want to enable or disable permissions for a specific app, you must open its app settings on Windows.
How to Enable, Disable, and Manage App Permissions on Windows 11
How to Enable or Disable Permissions for Individual Apps If you want to enable or disable permissions for a specific app, you must open its app settings on Windows.
 How to Enable, Disable, and Manage App Permissions on Android
How to Enable or Disable Permissions for an App on Android When you use an app for the first time, it requests permission to access your location, camera, contacts, and
How to Enable, Disable, and Manage App Permissions on Android
How to Enable or Disable Permissions for an App on Android When you use an app for the first time, it requests permission to access your location, camera, contacts, and
 How to Manage and Share Files and Folder Access on Microsoft OneDrive
Like iCloud and Google Drive, Microsoft's OneDrive is a great cloud storage platform to store your data.
How to Manage and Share Files and Folder Access on Microsoft OneDrive
Like iCloud and Google Drive, Microsoft's OneDrive is a great cloud storage platform to store your data.
 How to Add and Remove Holidays Calendar in Apple Calendar App
How to Use Holidays Calendar on iPhone The Apple Calendar app offers a built-in regional calendar, displaying the common holidays (occasions and festivals) from that area.
How to Add and Remove Holidays Calendar in Apple Calendar App
How to Use Holidays Calendar on iPhone The Apple Calendar app offers a built-in regional calendar, displaying the common holidays (occasions and festivals) from that area.
 How to Create and Manage Rules in Outlook 365 Webmail
Managing emails is an arduous task.
How to Create and Manage Rules in Outlook 365 Webmail
Managing emails is an arduous task.
The article above may contain affiliate links which help support Guiding Tech. The content remains unbiased and authentic and will never affect our editorial integrity.