Method 1: Rotate an Image Using Rotation Control
Google Docs lets you freely rotate a picture using rotational control. Simply click and hold on to the blue dot icon to rotate your image as you want. Here’s how.
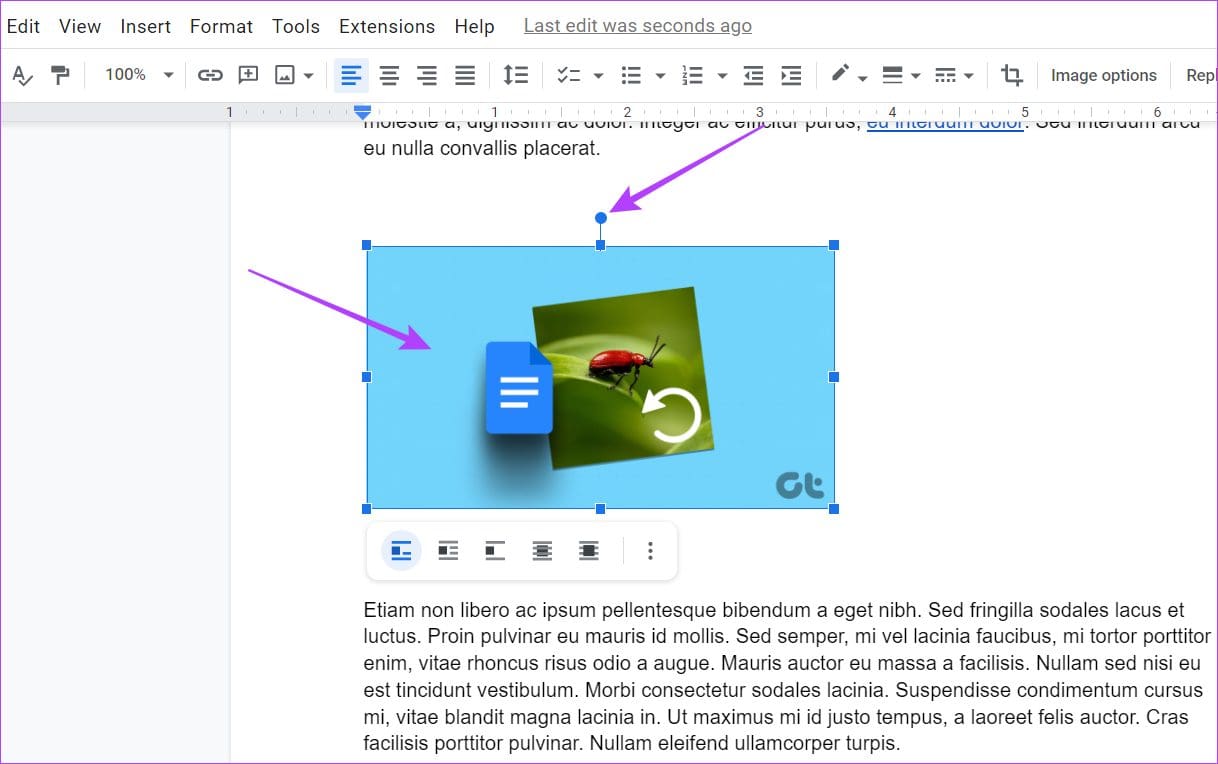
Step 1: Go to Google Docs, open the relevant document, and click on the image. Click the blue dot on top of the image and hold.
Step 2: Using your cursor, rotate the image as you want.
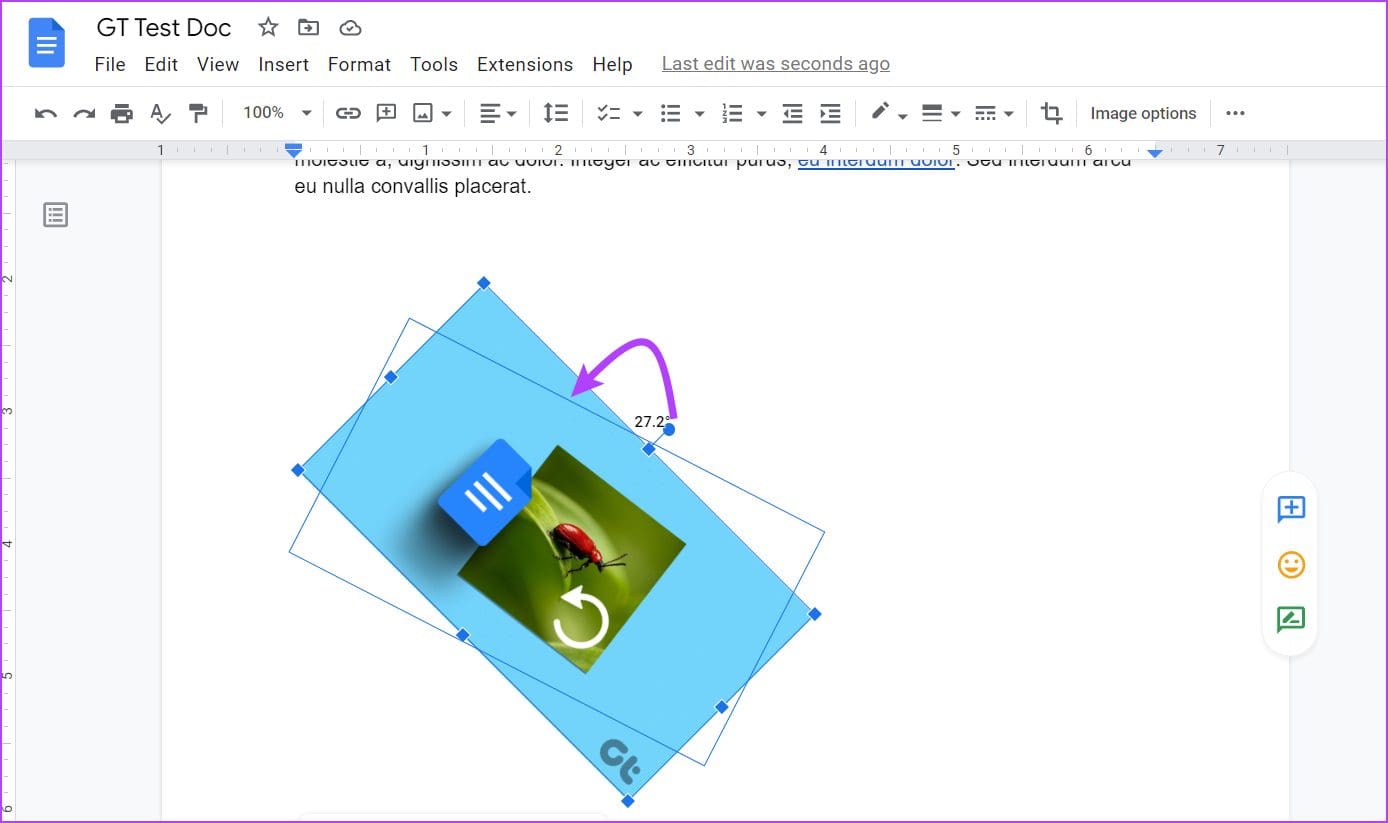
If the image dimensions are too big, the image might move down and leave a blank space on the page. If this happens, resize the image or arrange the text to fit around the image.
Also Read: How to insert images in Google Docs
Method 2: Using the Image Option
If you know exactly what angle you want to rotate your picture to, using the image option might be better. With this, you can enter precise angles at which your image will be rotated. Here’s how to do it.
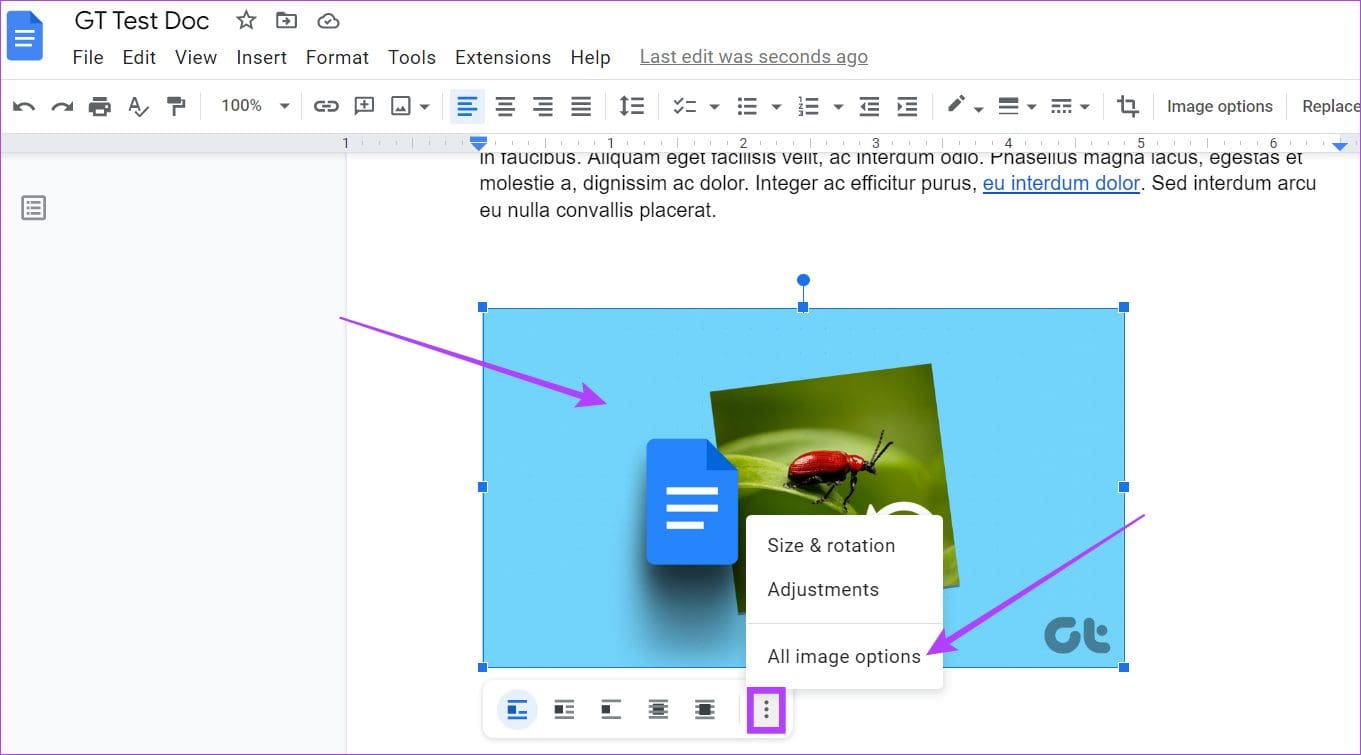
Step 1: Open the document in Google Docs and click on the relevant image. Click the menu icon and click on All image options.
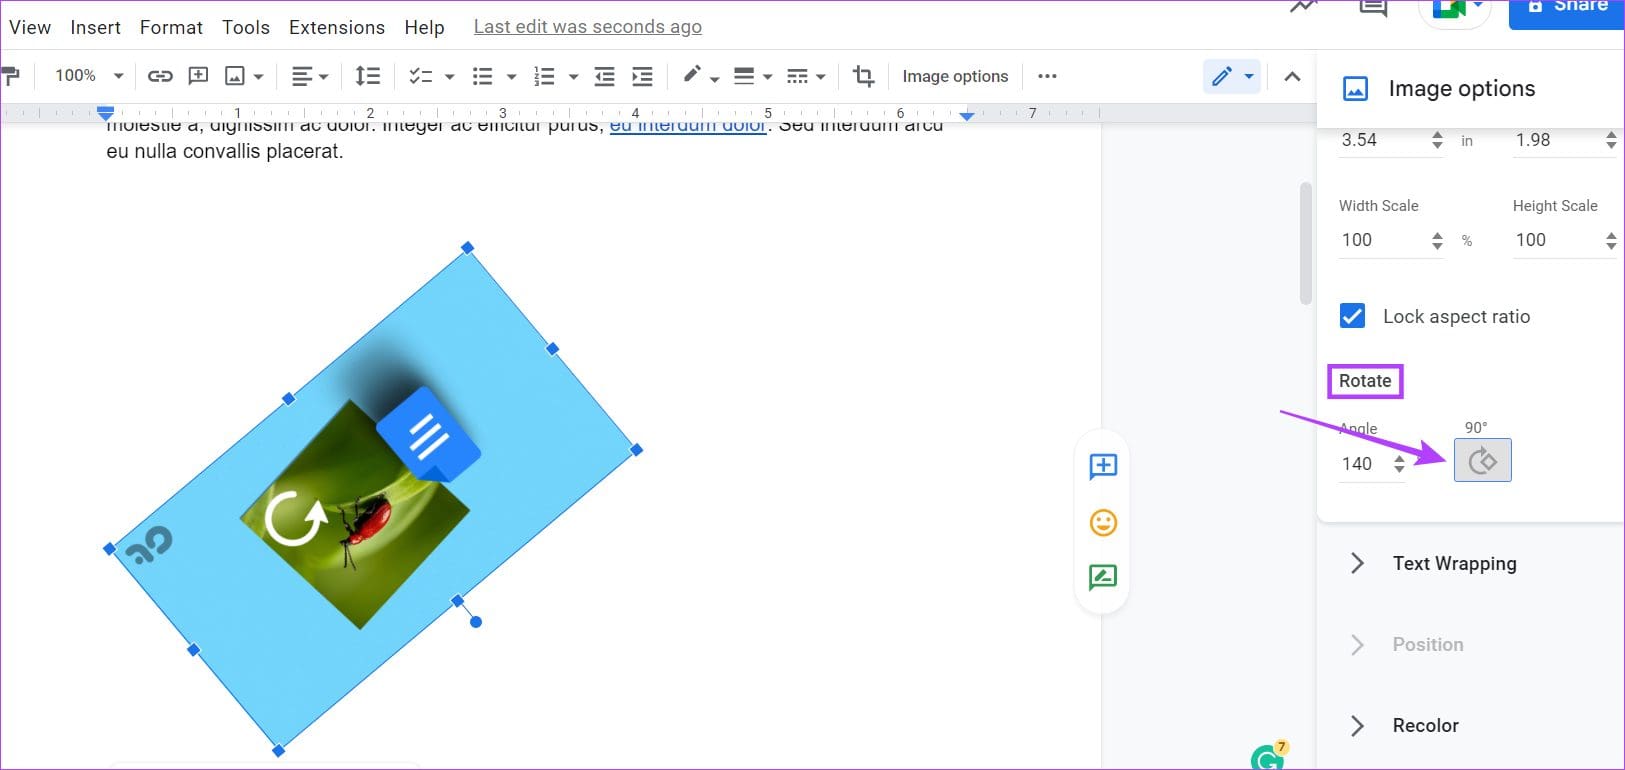
Step 2: Go to the Rotate section and type the relevant degree of rotation in the Angle box.
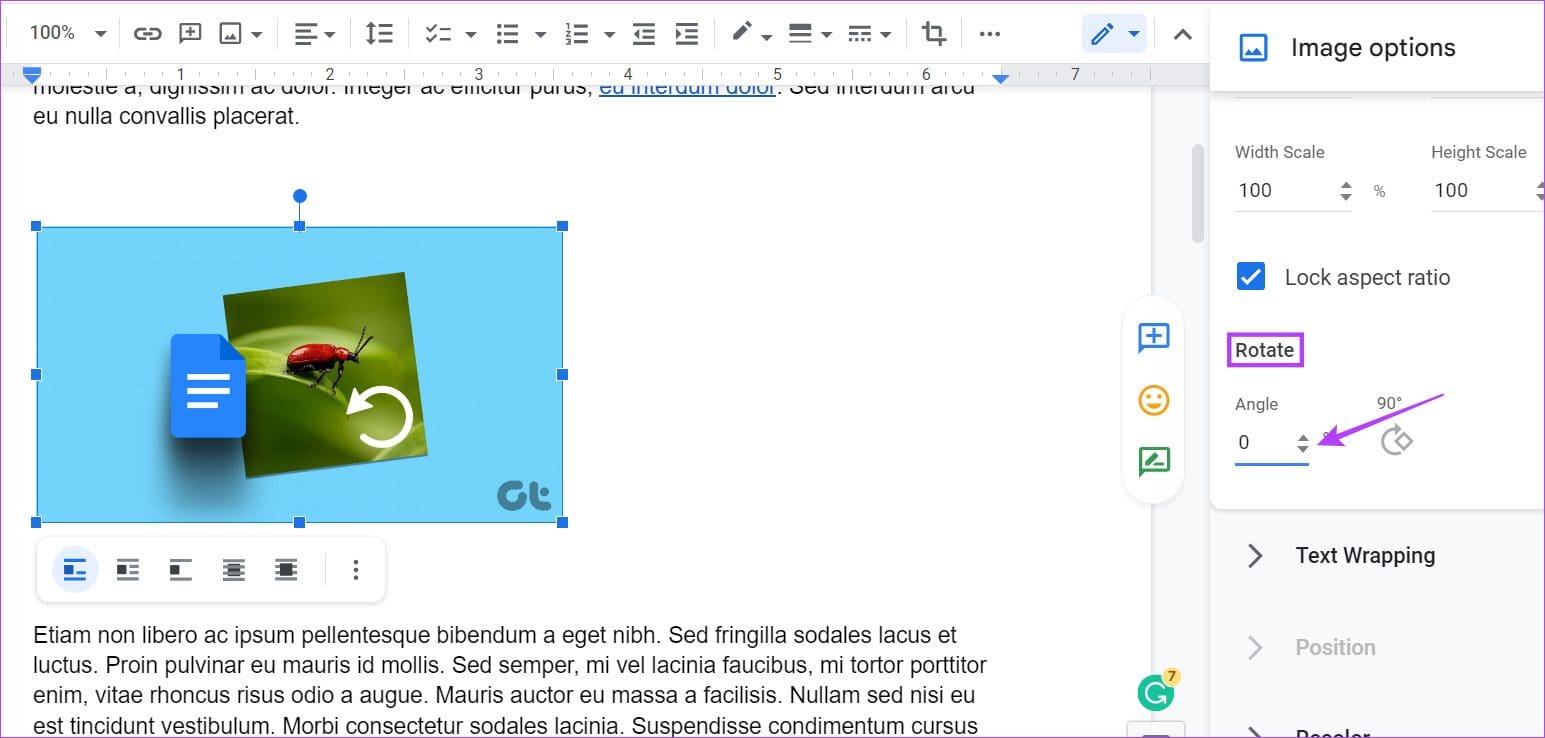
Tip: You can also click on 90° if you wish to rotate the image by precisely 90° of its current angle.
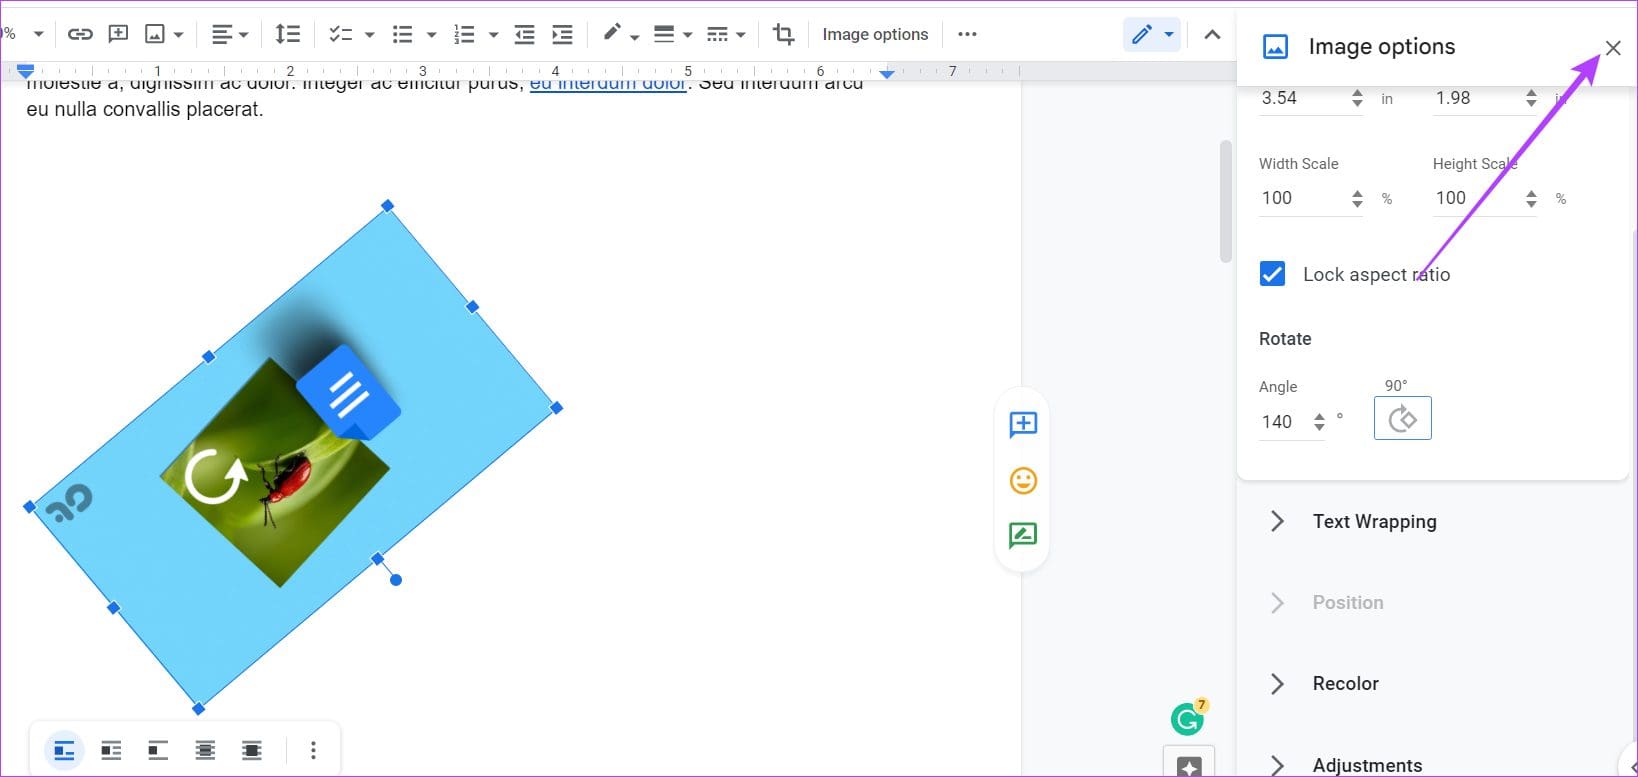
Step 3: Once done, click on the x icon to exit the Image options panel.
Method 3: Turn an Image Using the Drawing Tool
You can also rotate a picture in Google Docs using the Drawing Tool. This will allow you to add the image to the Drawing window itself and rotate it as you like. Once you close the window, the image will be added to your document. Follow these steps to do it.
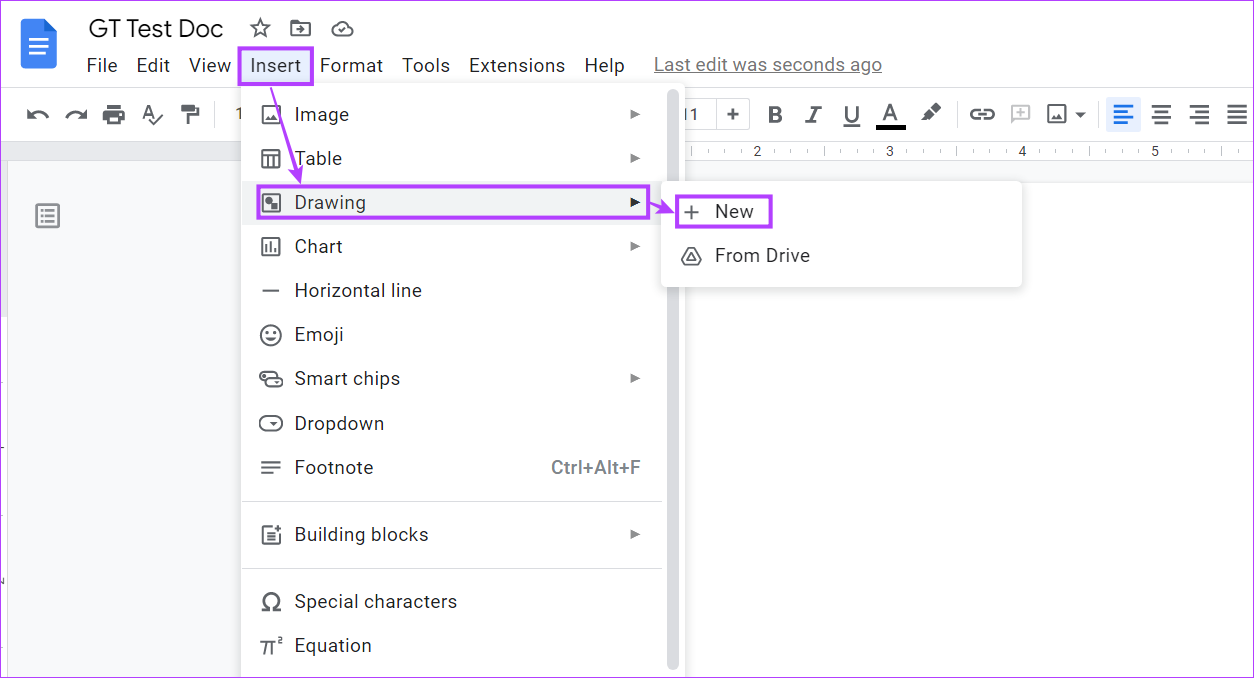
Step 1: Open the relevant Google Doc and click on Insert. Go to Drawing and click on New.
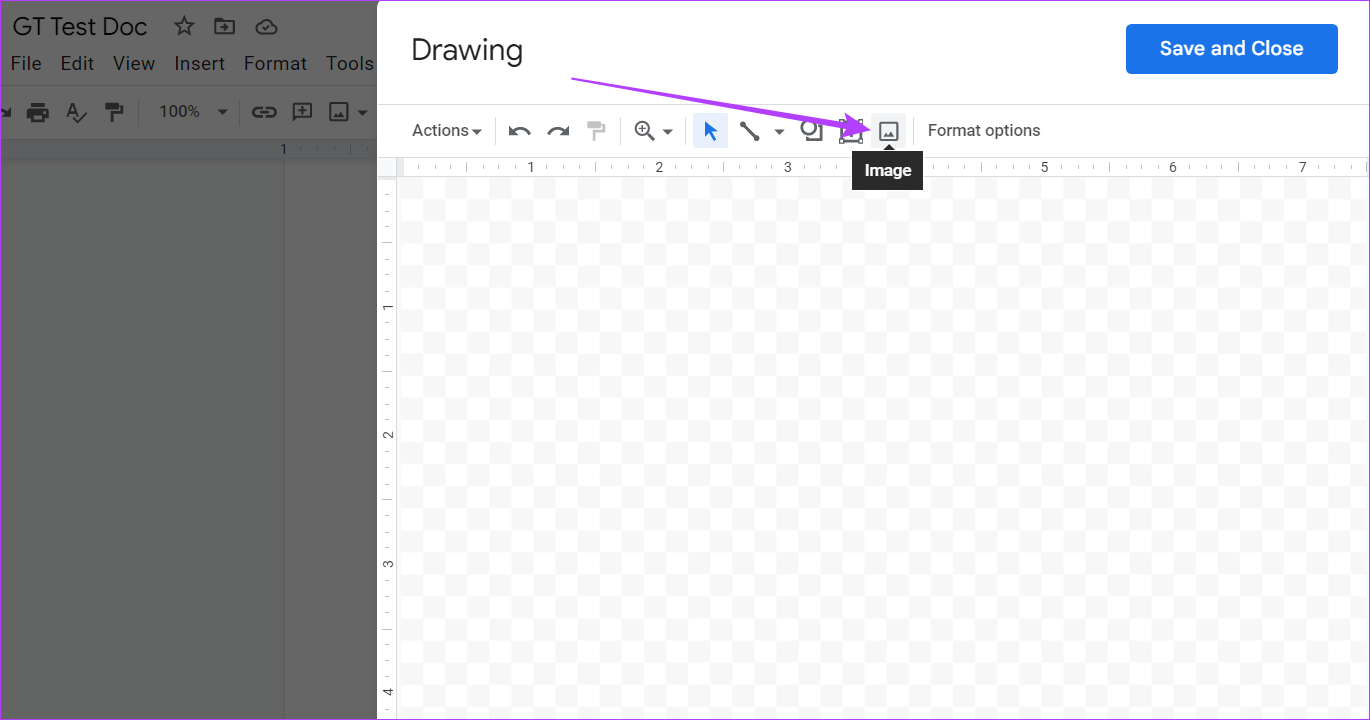
Step 2: In the Drawing window, go to the menu bar and click on Image.
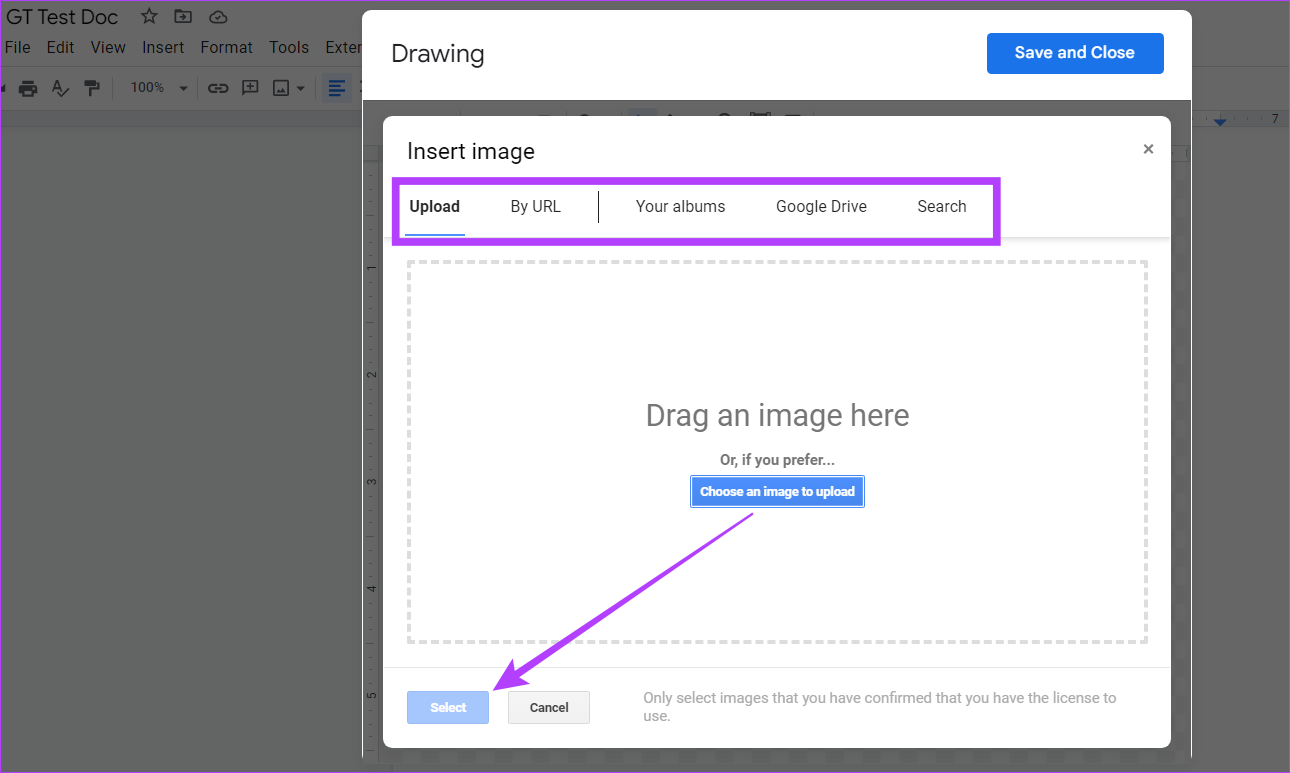
Step 3: Add the relevant image and click on Select.
Step 4: Once added, click on the image to highlight it.
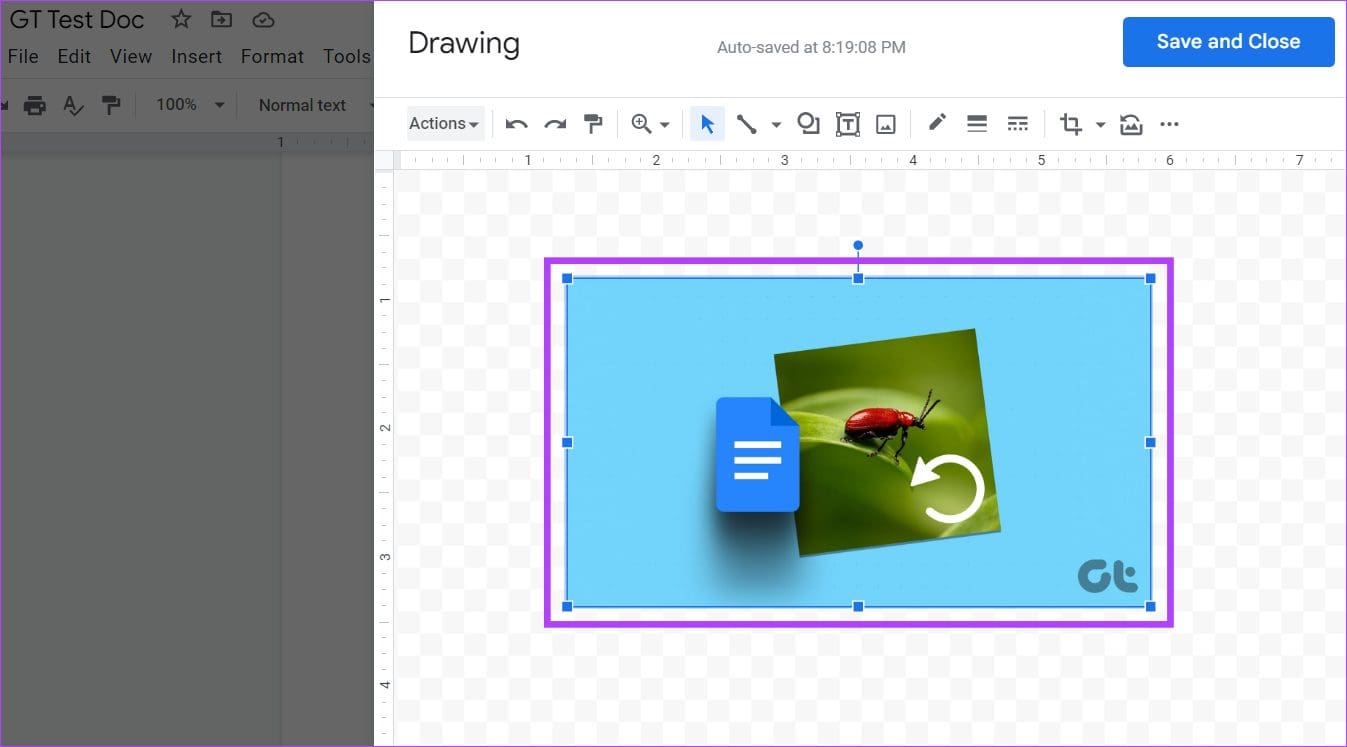
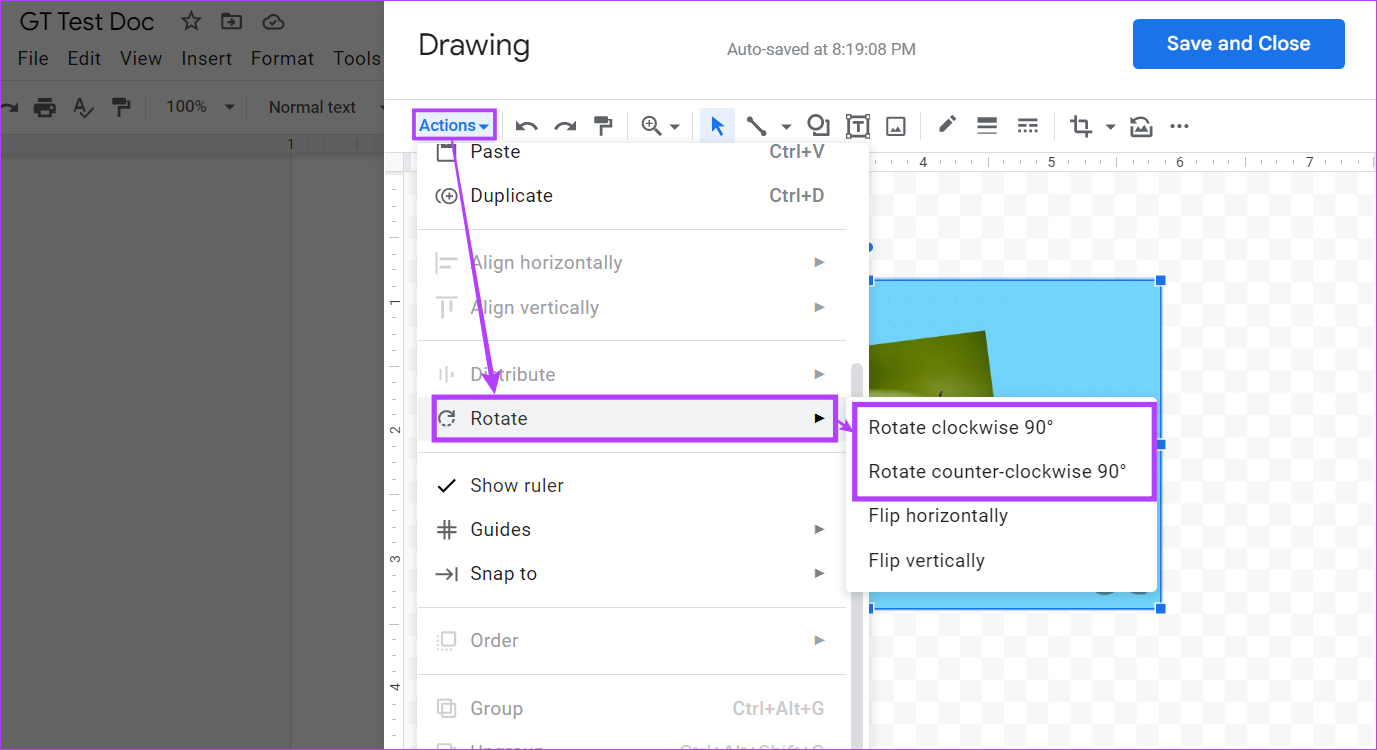
Step 5: Click on Actions and select Rotate. Select the relevant option to rotate your image.
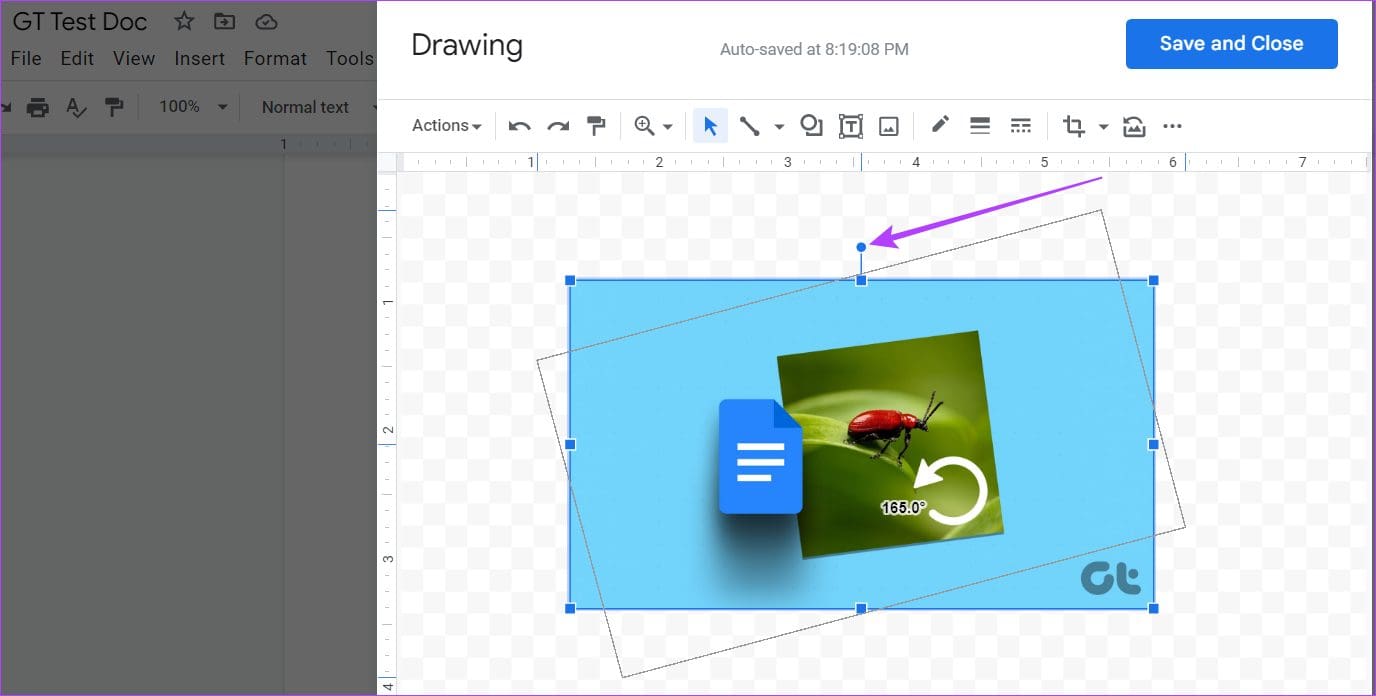
Tip: You can also use the Rotation Handle to rotate the image.
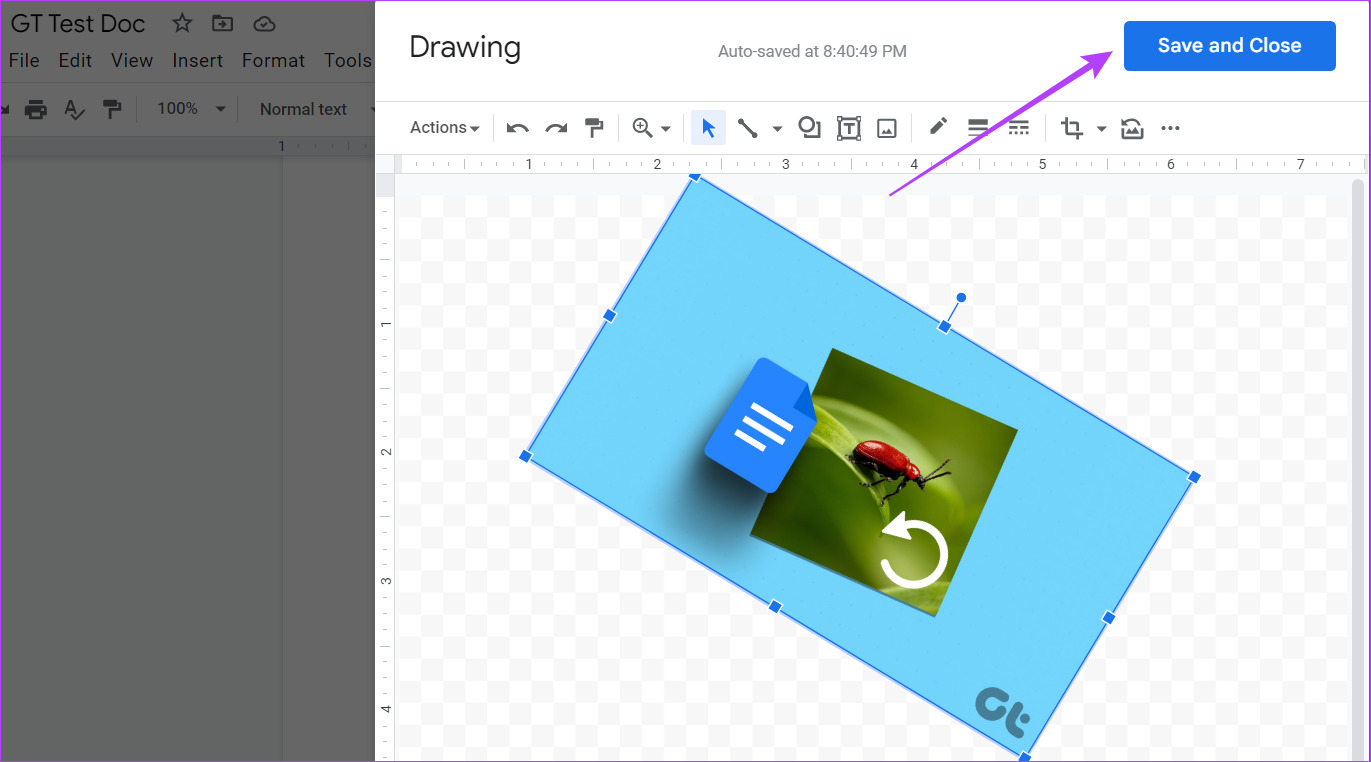
Step 6: Click on Save and Close to save changes and exit the Drawing window.
Pro Tip: How to Rotate Text in Google Docs
Besides images, Google Docs also allows you to turn your text sideways, up, or down. This can come in handy if you’re working with languages that read differently or want to shake things up in your document. Follow these steps.
Step 1: Open the relevant Google Doc and click on Insert. Click on Drawing and select New.
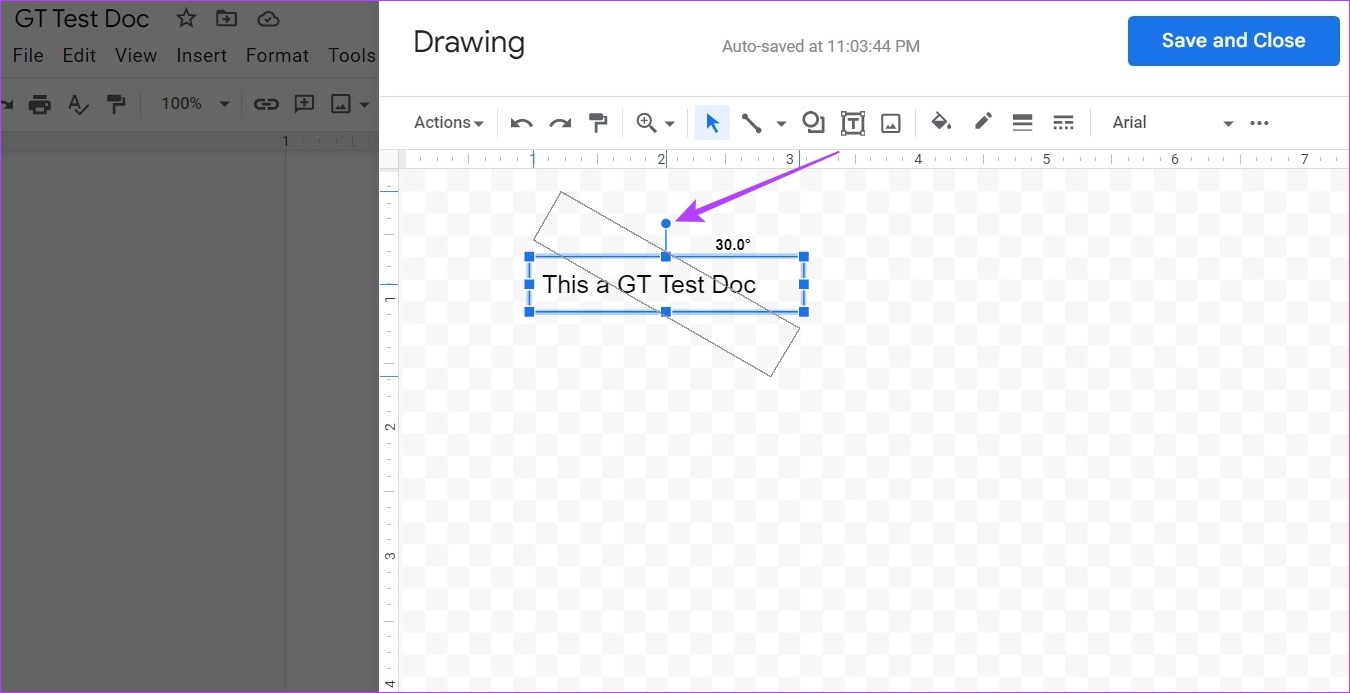
Step 2: Select the Text Box, click on Drawing, and select New. Click on the text box and start typing.
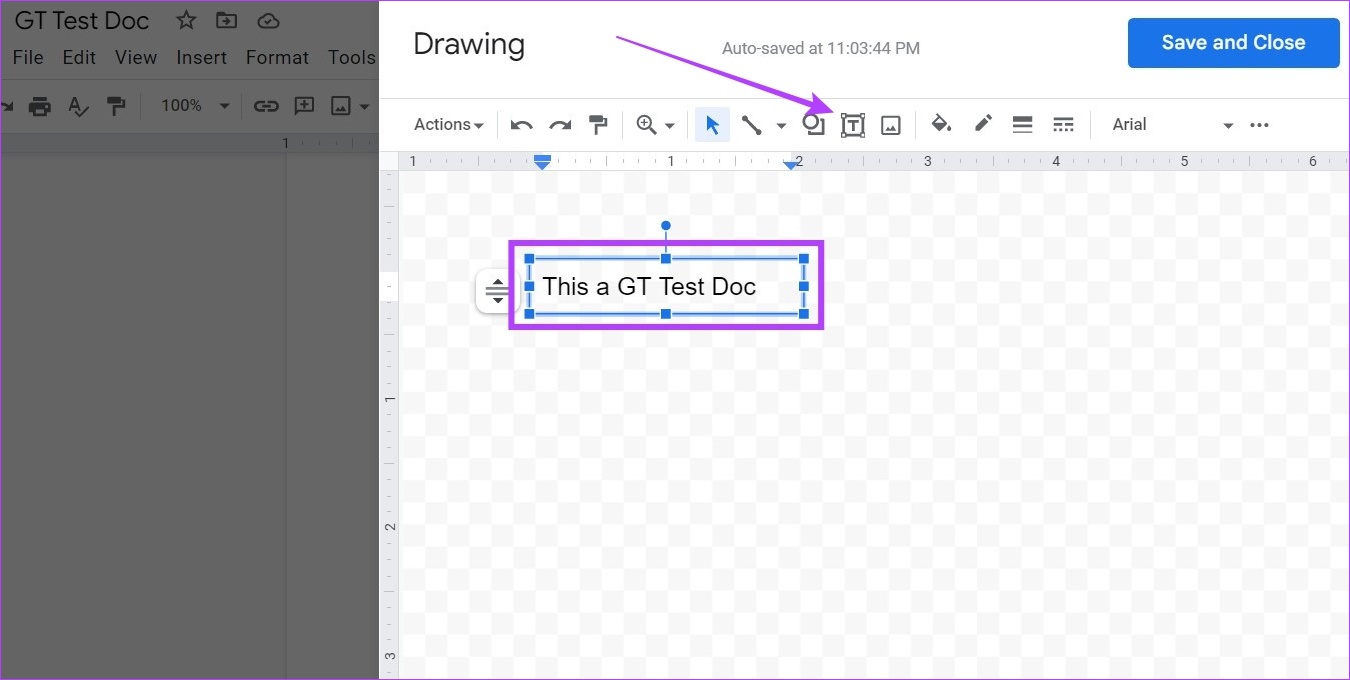
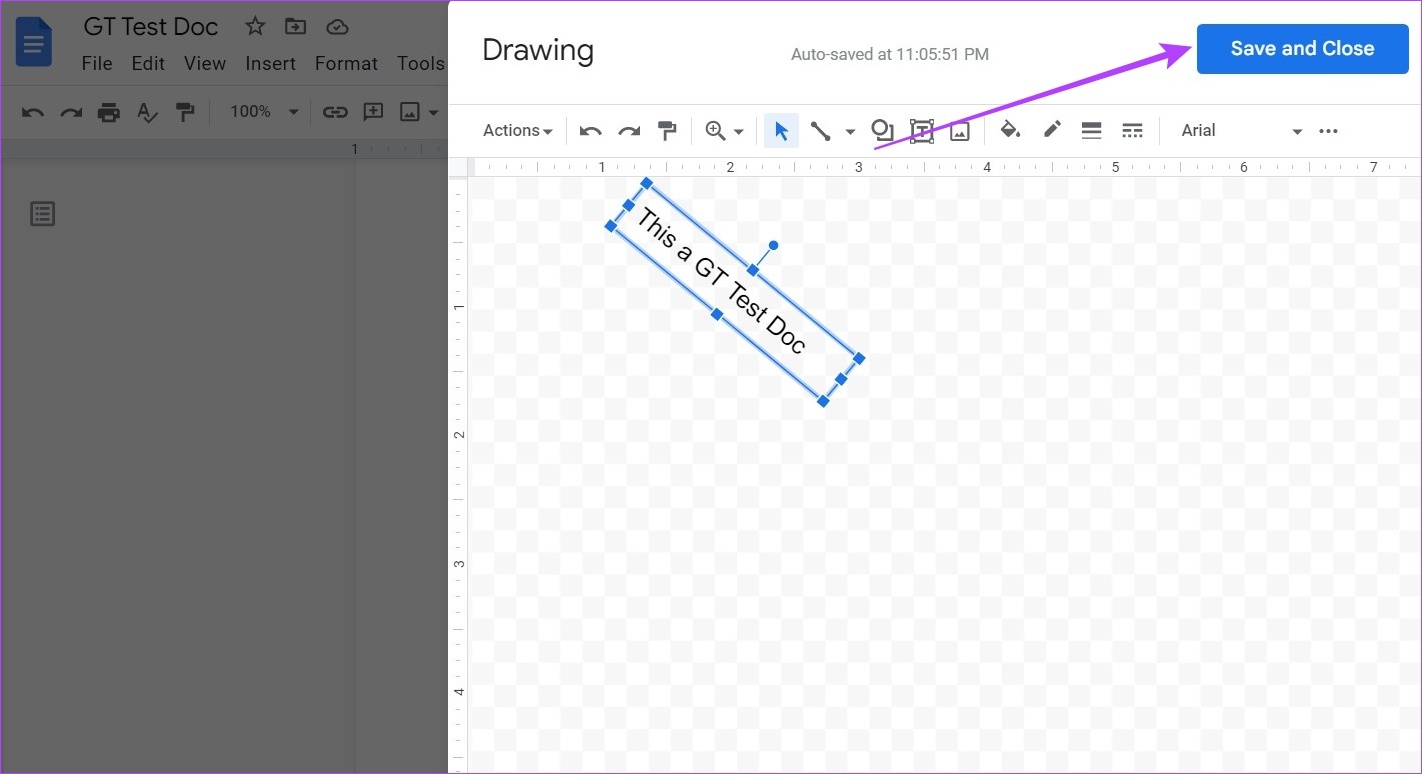
Step 3: Click the Rotation Handle and rotate the text as you like.
Step 4: Click on Save and Close. The rotated text will be added to your document.
If you wish to change or rotate the text again, click anywhere on the text and select Edit. This will open the Drawing window again, allowing you to edit your text.
Also Read: How to change the text direction in Google Docs
FAQs
Different from rotating, flipping an image allows you to create the image’s mirror copy. To do this:
• Go to Insert > Drawing > New.
• Once the Drawing window opens, add the image.
• Use the Action menu to flip the image as you want.
Yes, it is possible to wrap text around images in Google Docs. In your document, click on the image, and once the menu options appear, select how you want the text to be wrapped around the image.
Was this helpful?
Last updated on 27 August, 2024
Read Next
 How to Quickly Rotate an Image on Mobile and Computer
How to Rotate an Image iPhone The Photos app has a built-in powerful editor that helps you rotate an image.
How to Quickly Rotate an Image on Mobile and Computer
How to Rotate an Image iPhone The Photos app has a built-in powerful editor that helps you rotate an image.
 2 Ways to Fix Auto Rotate Not Working on iPhone
https://youtu.be/S_vIJ_3hn1s Try Basic Fixes Turn off the screen rotation lock: Ensure that the rotation lock is turned off on your iPhone: swipe down from the top right > tap the
2 Ways to Fix Auto Rotate Not Working on iPhone
https://youtu.be/S_vIJ_3hn1s Try Basic Fixes Turn off the screen rotation lock: Ensure that the rotation lock is turned off on your iPhone: swipe down from the top right > tap the
 4 Ways to Fix Auto Rotate Not Working on Android
Try Basic Fixes Remove your phone’s case: Start by removing your phone’s case and see if that gets the auto-rotate feature to work.
4 Ways to Fix Auto Rotate Not Working on Android
Try Basic Fixes Remove your phone’s case: Start by removing your phone’s case and see if that gets the auto-rotate feature to work.
 4 Ways to Rotate Screen in Windows 11
Method 1: Use Screen Rotation Hotkeys You can quickly change screen orientation in Windows 11 with hotkeys without a mouse.
4 Ways to Rotate Screen in Windows 11
Method 1: Use Screen Rotation Hotkeys You can quickly change screen orientation in Windows 11 with hotkeys without a mouse.
 8 Ways to Fix iPad Screen Won’t Rotate
You've downloaded a new Netflix series to watch on your 8-hour flight journey.
8 Ways to Fix iPad Screen Won’t Rotate
You've downloaded a new Netflix series to watch on your 8-hour flight journey.
 How to Crop an Image Into a Circle in Google Docs
https://youtu.be/GXKSMp_yIY0 How to Crop an Image Into a Circle in Google Docs Step 1: Launch Google Docs and open a document.
How to Crop an Image Into a Circle in Google Docs
https://youtu.be/GXKSMp_yIY0 How to Crop an Image Into a Circle in Google Docs Step 1: Launch Google Docs and open a document.
 How to Rotate Videos in Windows 11
How to Rotate a Video and View It on Windows Media Player If you wish to rotate a video just for viewing purposes.
How to Rotate Videos in Windows 11
How to Rotate a Video and View It on Windows Media Player If you wish to rotate a video just for viewing purposes.
 How to Insert a Date Picker in Google Sheets and Google Docs
Google Sheets and Google Docs provide a free, online alternative to Microsoft Office, along with unique features.
How to Insert a Date Picker in Google Sheets and Google Docs
Google Sheets and Google Docs provide a free, online alternative to Microsoft Office, along with unique features.
The article above may contain affiliate links which help support Guiding Tech. The content remains unbiased and authentic and will never affect our editorial integrity.