Printing a test page is an effective way to evaluate your printer’s performance. You can check your printer’s print quality, ink levels, and other essential information like name, description, media dimensions, driver name, version, and more. You can also print a test page to troubleshoot your device. If you’re wondering how, follow this guide to print a test page on Windows and Mac.
Do you face issues with image or text quality on your printer? You should print a test page before considering other options to fix low-quality prints. The tricks below work on all HP, EPSON, Canon, Brother, and other top printers. So, without further ado, let’s get this show on the road.
Print a Test Page on Windows
There are a couple of ways to print a test page on Windows. You can either use the Settings menu or rely on the age-old Control Panel to do the same. Ensure your printer is properly connected to the PC or laptop, and follow the steps below. If you have a wireless printer, connect both devices to the same Wi-Fi network.
Use Control Panel
Step 1: Press the Windows key and search for Control Panel. Hit Enter.
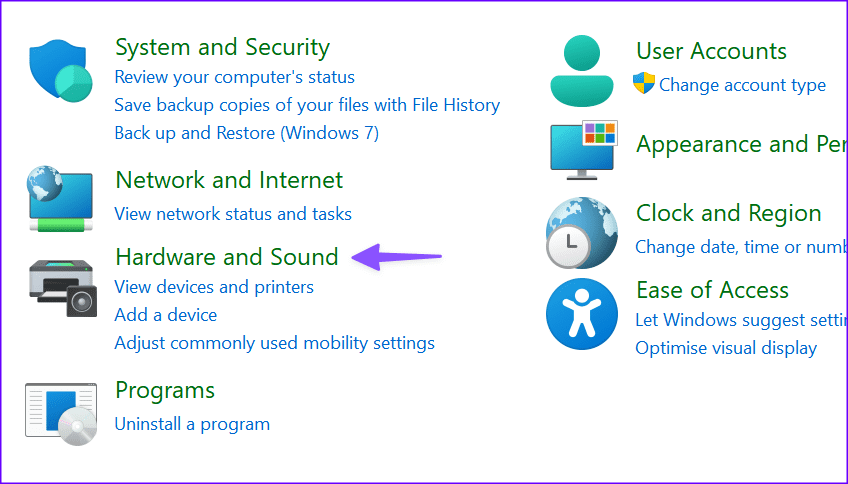
Step 2: Select Hardware and Sound.
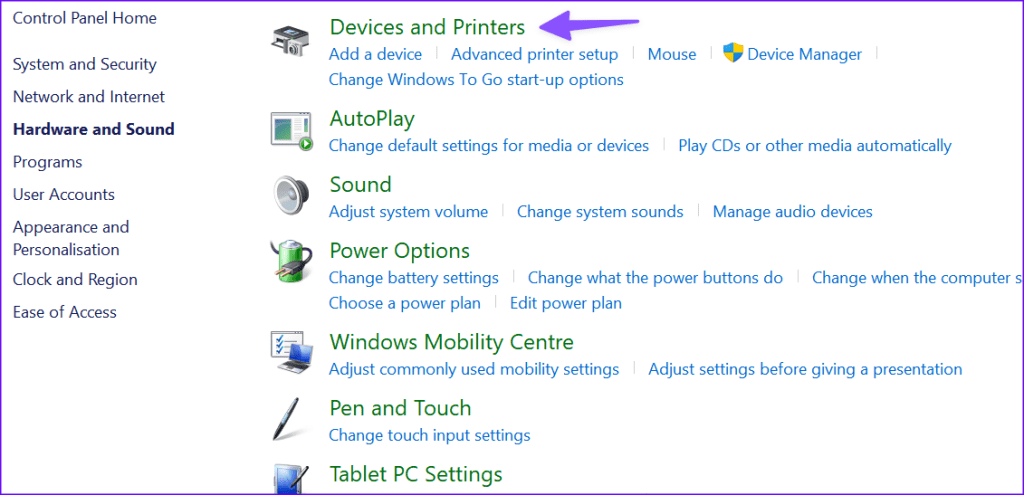
Step 3: Select Devices and Printers.
Step 4: Find your default printer from the following menu. Right-click on it. Open Printer properties.
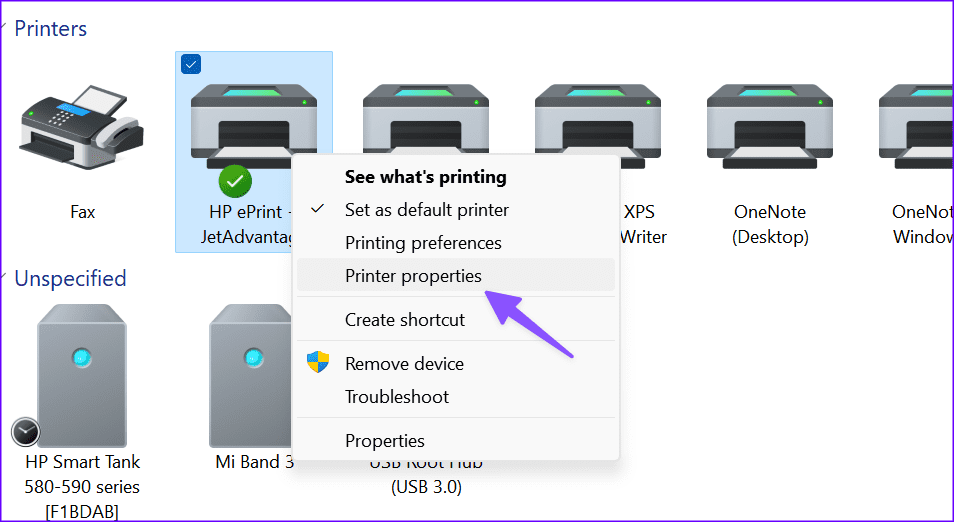
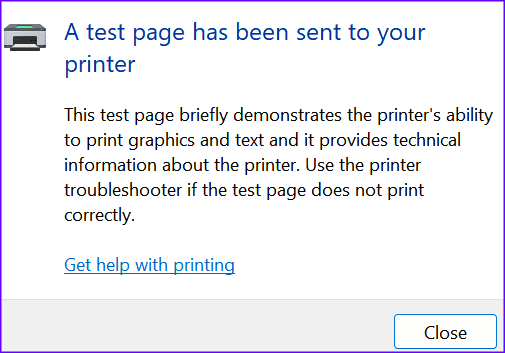
Step 5: Move to the General menu and hit Print Test Page. Confirm the ‘A test page has been sent to your printer’ message.
Step 6: You’ll then be presented with a pop-up menu with the preview of the test page. Hit Print.
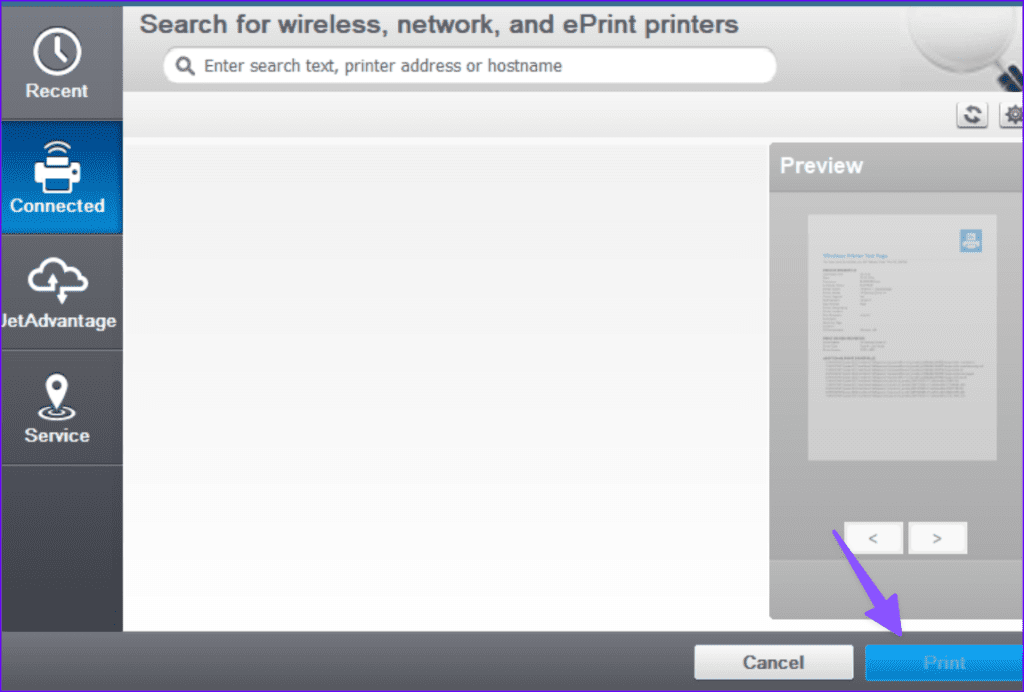
Check your test print that contains technical information about the printer.
Use Windows Settings Menu
With the introduction of every Windows update, Microsoft is slowly moving users from the Control Panel to the Settings menu. It’s a more modern version of Control Panel to tweak your device. Go through the steps below to print a test page using the Windows Settings menu.
Step 1: Press the Windows + I keys to open Settings.
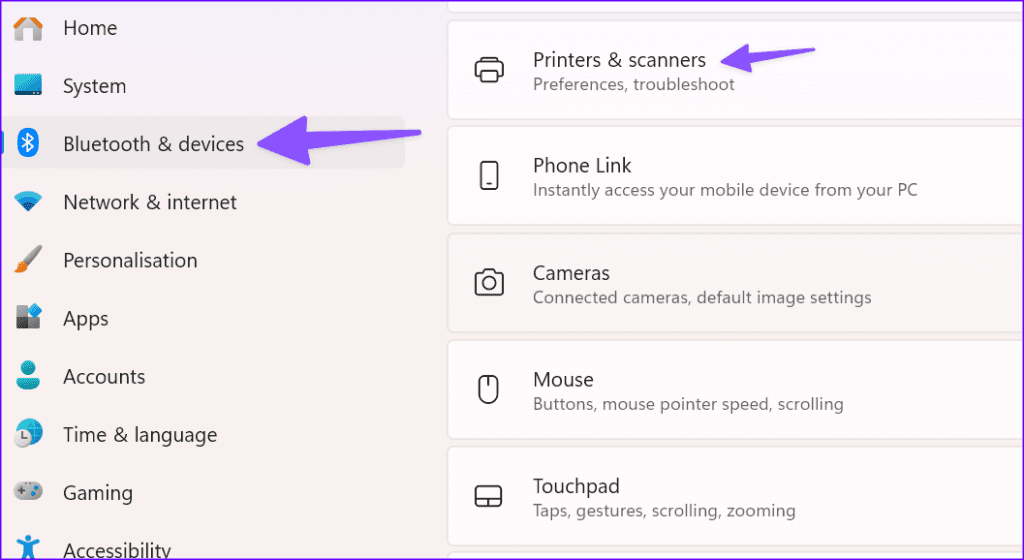
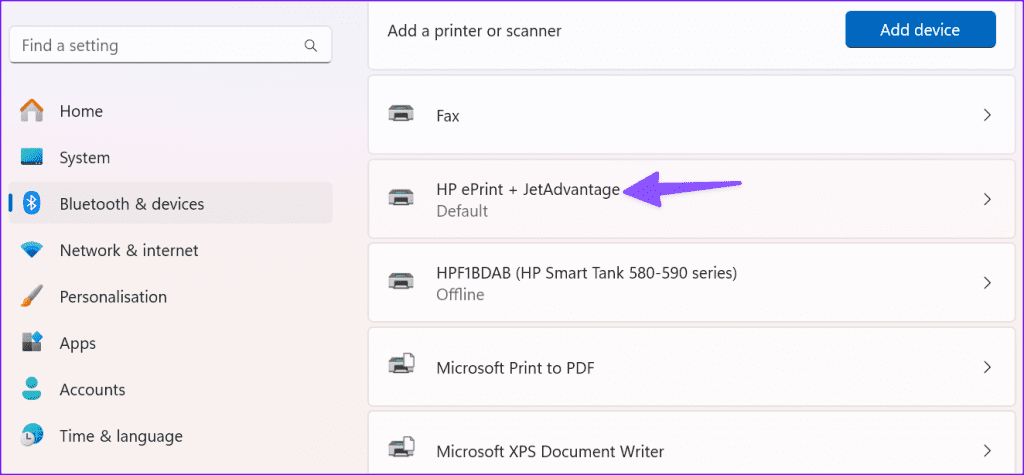
Step 2: Select Bluetooth & devices from the side menu and open Printers & scanners.
Step 3: Select your default printer.
Step 4: Click the Print test page from the following menu.
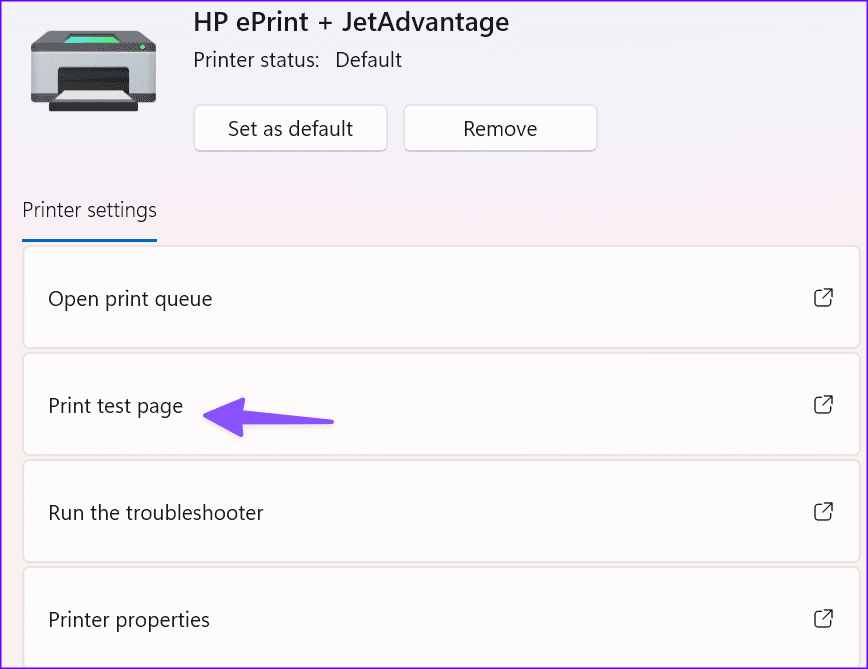
Follow a pop-up for the test page preview and hit Print.
Print a Test Page on Mac
macOS prints a test page with the device name, description, make and model, media dimensions, media limits, and driver version. Follow the steps below to check your printer’s performance on Mac.
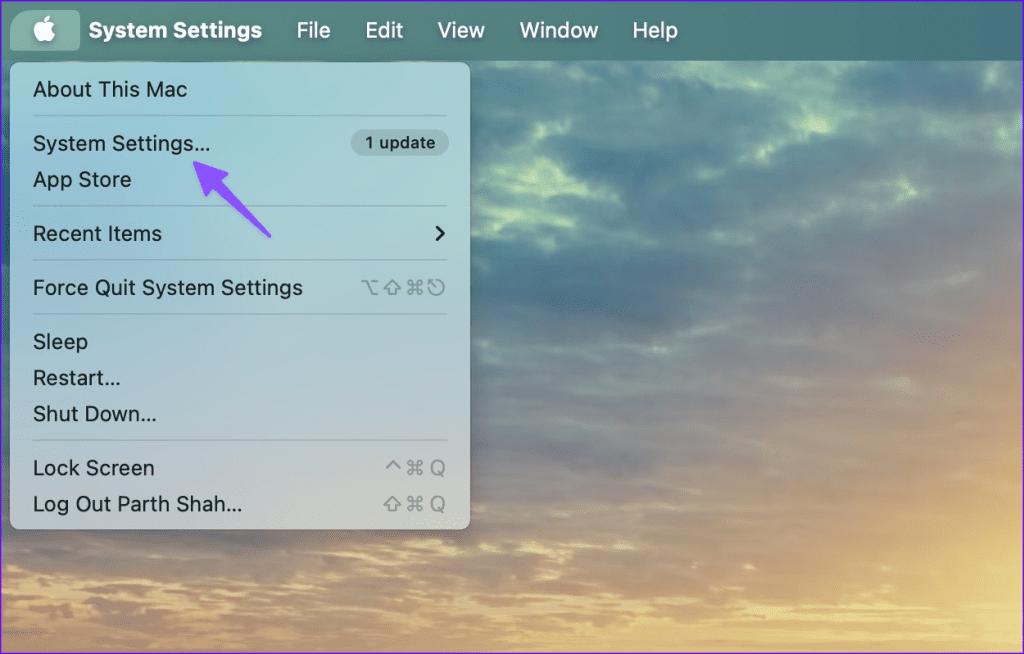
Step 1: Click the Apple icon in the menu bar and open System Settings.
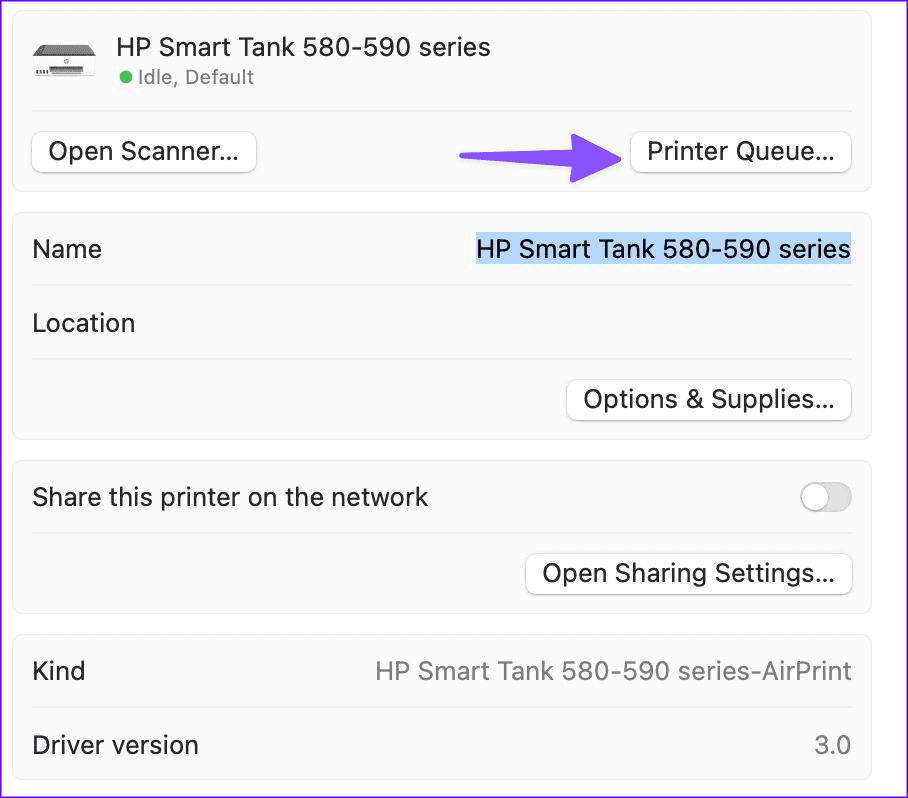
Step 2: Scroll to Printers & Scanners. Select your default printer.

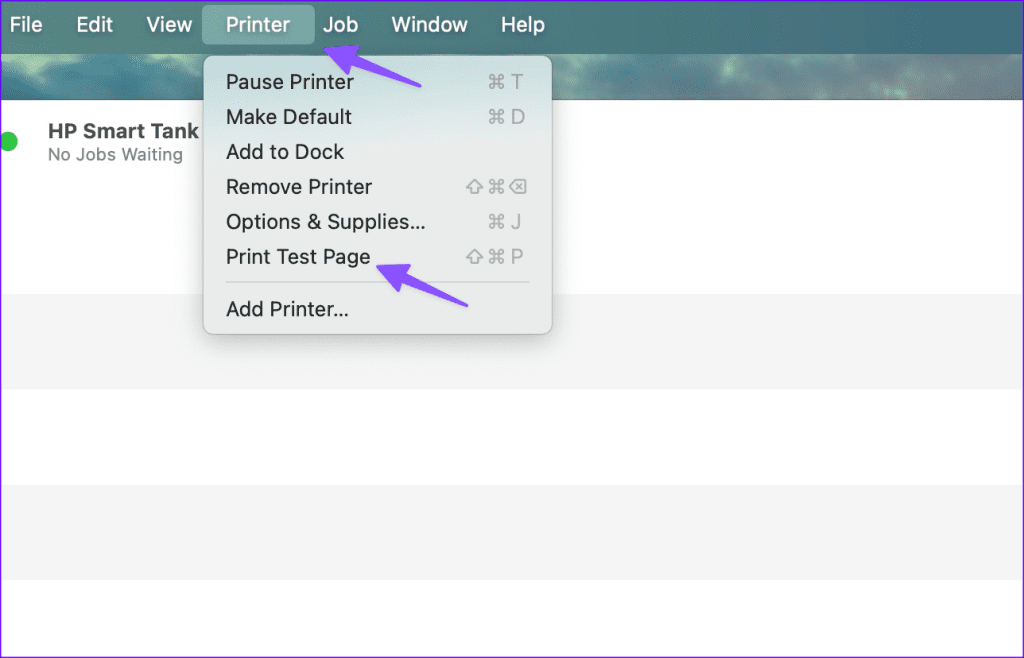
Step 3: Click Printer Queue. It opens the Printer Center.
Step 4: Select the Printer at the top and hit Print Test Page. You can also hit Command + Shift + P keys to do the same.
Check Ink Supply Levels
If you notice quality issues with print ink, check ink supply levels. Here’s how.
Step 1: Open your default printer from Mac Settings (refer to the steps above).
Step 2: Select Options & Supplies.
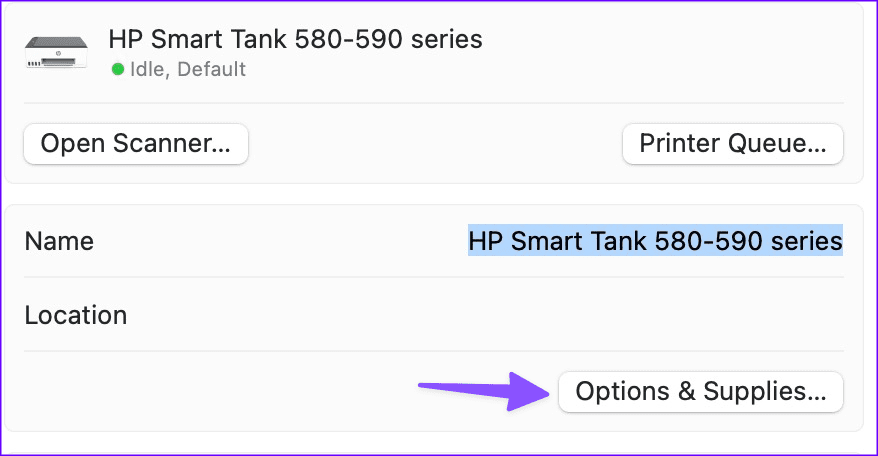
Step 3: Here, you can find essential info for your printer. Select the Supply Levels tab to get insights into Cyan, Magenta, Yellow, and Black ink levels.
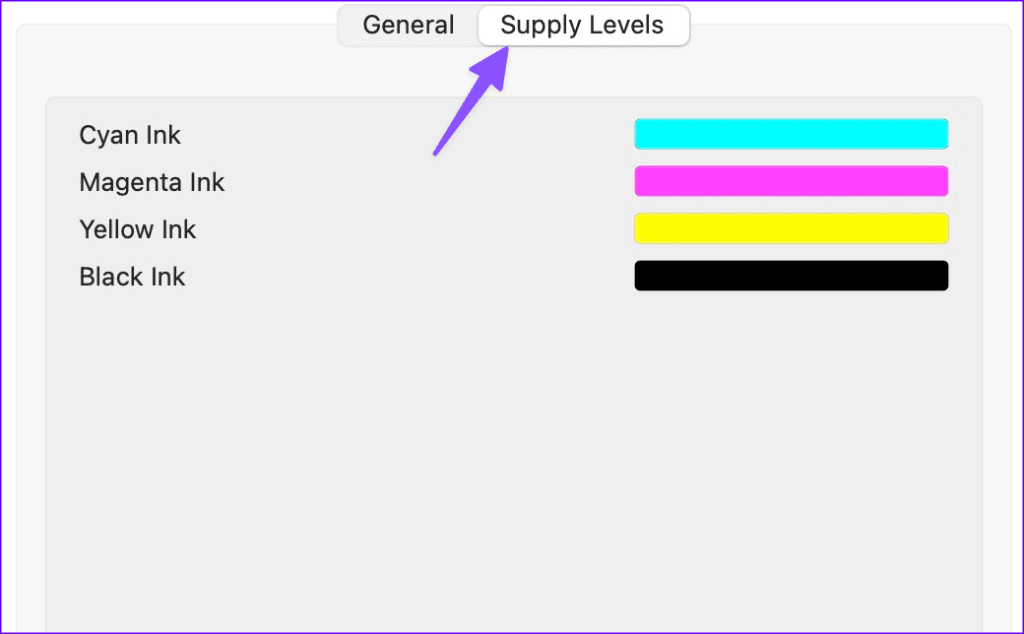
Do note that your Mac will only provide approximate ink-level information.
Print a Test Page on the HP Printer
If you have an HP printer, you can print a test page right from the printer. You don’t need a Windows or Mac machine to do the same.
Note: Since we have an HP Smart Tank 580 printer, the steps below apply only to the company’s HP Smart Tank 500 series. If you have HP DeskJet or another series, the steps to print a test page may vary.
Print a Printer Information Page
You can find relevant information on the information page, such as Wi-Fi direct name, password, and other details.
Step 1: Switch on the printer.
Step 2: Press the information button (i).

Print a Printer Status Page
You can check printer serial number, ink levels, connectivity, and scan settings by printing a status page.
Step 1: Hold the i button for five seconds to enable support mode.
Step 2: Press the resume button to check your printer’s status page.
Ensure a Smooth Printer Setup
Dealing with a corrupt printer or low-quality prints can break your workflow. Before you ring up your printer manufacturer’s customer care, use the tips above to print a test page to gather essential information. Which printer do you use at your office or home? Share your preference in the comments below.
Was this helpful?
Last updated on 07 March, 2024
Read Next
 How to Print First Row or Column on Every Excel Page
Print the First Row or Column on Every Excel Page Step 1: On your workbook, select the desired sheet and navigate to the Page Layout tab on the ribbon.
How to Print First Row or Column on Every Excel Page
Print the First Row or Column on Every Excel Page Step 1: On your workbook, select the desired sheet and navigate to the Page Layout tab on the ribbon.
 Top 6 Ways to Fix Print Spooler Keeps Stopping on Windows 10 and Windows 11
Print spooler is an essential software to manage the print jobs on your Windows PC and send them to your printer.
Top 6 Ways to Fix Print Spooler Keeps Stopping on Windows 10 and Windows 11
Print spooler is an essential software to manage the print jobs on your Windows PC and send them to your printer.
 5 Best Ways to Fix Microsoft Print to PDF Not Working on Windows 11
There used to be a time when saving files as PDFs wasn’t a straightforward task on a PC.
5 Best Ways to Fix Microsoft Print to PDF Not Working on Windows 11
There used to be a time when saving files as PDFs wasn’t a straightforward task on a PC.
 5 Ways to Fix Unable to Print From Microsoft Excel on Windows 11
Fix 1: Save Your Excel File in XPS Format and Try Again If Excel can't respond to print requests, save your file in the XPS format and try again.
5 Ways to Fix Unable to Print From Microsoft Excel on Windows 11
Fix 1: Save Your Excel File in XPS Format and Try Again If Excel can't respond to print requests, save your file in the XPS format and try again.
 5 Ways to Remove a Stuck Print Job in Windows 11
Fix 1: Clear Print Queue Using the Settings App One of the most straightforward ways to remove stuck print jobs is to clear the entire print queue in Windows 11.
5 Ways to Remove a Stuck Print Job in Windows 11
Fix 1: Clear Print Queue Using the Settings App One of the most straightforward ways to remove stuck print jobs is to clear the entire print queue in Windows 11.
 How to Create a Print to PDF Button in Microsoft Excel on Windows 11
While you may Microsoft Excel to create spreadsheets, but not everyone would have the same Office version installed.
How to Create a Print to PDF Button in Microsoft Excel on Windows 11
While you may Microsoft Excel to create spreadsheets, but not everyone would have the same Office version installed.
 How to Print Multiple Files on Windows 11
Windows 11 works like a charm with all the popular wired and wireless printers from major manufacturers.
How to Print Multiple Files on Windows 11
Windows 11 works like a charm with all the popular wired and wireless printers from major manufacturers.
 Top 9 Ways to Fix Outlook Quick Print Not Working on Windows 11
Microsoft Outlook offers a handy Quick Print option to print the files and documents you receive without leaving the app's interface.
Top 9 Ways to Fix Outlook Quick Print Not Working on Windows 11
Microsoft Outlook offers a handy Quick Print option to print the files and documents you receive without leaving the app's interface.
The article above may contain affiliate links which help support Guiding Tech. The content remains unbiased and authentic and will never affect our editorial integrity.