More and more information seems to be inserted in emails these days, including tables, which are one of the best ways to present data cleanly. Luckily, if you want to learn how to insert a table in Outlook email, there are a few ways to go, depending on which platform you’re using.
Method 1 – How to Insert a Table in Outlook Email on the PC
The Outlook desktop app comes with a built-in table editor. It functions similarly to Word, allowing you to add basic tables.
Step 1. Go to Outlook and start drafting an email. For ease of use, you can hit the “Open in new window” button to expand the editor.
Step 2. Open the “Insert” tab and click on the place in the email where you want the table.
Step 3. Click on the “Table” button and select the number of rows and columns you need by clicking on the grid. This is limited to 10 rows and 10 columns (if you want more of either, go to Step 3b).

Step 3b. Alternatively, you can click the “Insert table…” option, which allows you to manually input the number of rows and columns you want. Click “OK” to create the table.


Step 4. Enter the data you need into the table.
After that, you have options to edit the table.
- Click and drag on the square icon in the bottom-right corner to resize the table.
- If you select multiple adjacent cells, you’ll get advanced cell options. Click on the three-dot icon at the end, then select “Merge cells” to merge them. If the cells are merged, you’ll get a new option for “Split cells.”

- Note that the context menu for the table options can’t go over the edge of the mail editor, so you’ll need to resize it or move around to access some options.

Method 2 – How to Insert a Table in an Email for Outlook on Mobile
If you’re using Outlook on a mobile device, you won’t have access to the table editor, as the option simply isn’t there. Instead, you can use a workaround for inserting table in email via the browser.
Step 1. Open your mobile browser and go to “Outlook for the web.” It should be among the first options in a Google search.

Step 2. Sign in with your account. You can use a single-use code to access the service, then choose if you want to stay signed in.

Step 3. In your browser tab options, tap on the “Settings” icon on the top-right and select “Desktop site.”

Step 4. Select “New Mail” and tap to create a new email, then expand the editor with the expand button on the right (next to the “Bin” icon).

Step 5. From this point, the process is the same as using Outlook on the PC. Note that tapping on the screen might automatically zoom in, so you’ll need to zoom out to see the “Insert” tab and more options.

Method 3 – How to Insert a Table in an Email on All Platforms
If you don’t know how to insert table in Gmail email, this follows the same principle as Method 1. You can use a dedicated table editor like Google Sheets or Excel to create a table, then paste it directly into the email.
Step 1. Create a table in a table editor of your choice. We’ll use a test table with randomly generated text in it.
Step 2. Drag over the section of the table you want to copy.

Step 3. Press “Ctrl + C” to copy (long-press and tap “Copy to clipboard” on mobile devices).
Step 4. Go to Outlook (or whichever email client you use), click on the place where you want a table, then press “Ctrl + V” to paste (or long-press and tap “Paste” on mobile). Make sure to use the option “Paste” instead of “Paste as image” if you’re using the context menu.

Step 5. The table should be pasted, and you can edit it as needed. If you want to see the table grid, select the entire table, click on the “Styles” option, and click “Clear formatting.”

Was this helpful?
Last updated on 21 July, 2025
Read Next
 How to Insert a Table of Contents in Microsoft Word
 (Windows and Mac) As a part of the Office redesign, Microsoft revamped the Word app on the desktop.
How to Insert a Table of Contents in Microsoft Word
How to Insert a Table of Contents in Microsoft Word (Windows and Mac) As a part of the Office redesign, Microsoft revamped the Word app on the desktop.
 How to Insert Emojis in a Microsoft Outlook Email
Have you ever typed a work email and wished there was a way to add a touch of personality or convey emotions through your words?
How to Insert Emojis in a Microsoft Outlook Email
Have you ever typed a work email and wished there was a way to add a touch of personality or convey emotions through your words?
 How to Create and Use Custom Table Templates in Microsoft Word
How to Create a Custom Table Template in Microsoft Word On Microsoft Word, there is a feature called Quick Tables.
How to Create and Use Custom Table Templates in Microsoft Word
How to Create a Custom Table Template in Microsoft Word On Microsoft Word, there is a feature called Quick Tables.
 5 Steps to Convert a Word Table to Microsoft Excel
Although Microsoft Word has definitely improved its functionality for dealing with numbers and tables over the years, there are times when you need the advanced functionality of Microsoft Excel.
5 Steps to Convert a Word Table to Microsoft Excel
Although Microsoft Word has definitely improved its functionality for dealing with numbers and tables over the years, there are times when you need the advanced functionality of Microsoft Excel.
 How to Create a Dynamic Table of Contents in Excel
A table of contents is a total game-changer when working with large files – it keeps everything organized and easy to navigate.
How to Create a Dynamic Table of Contents in Excel
A table of contents is a total game-changer when working with large files – it keeps everything organized and easy to navigate.
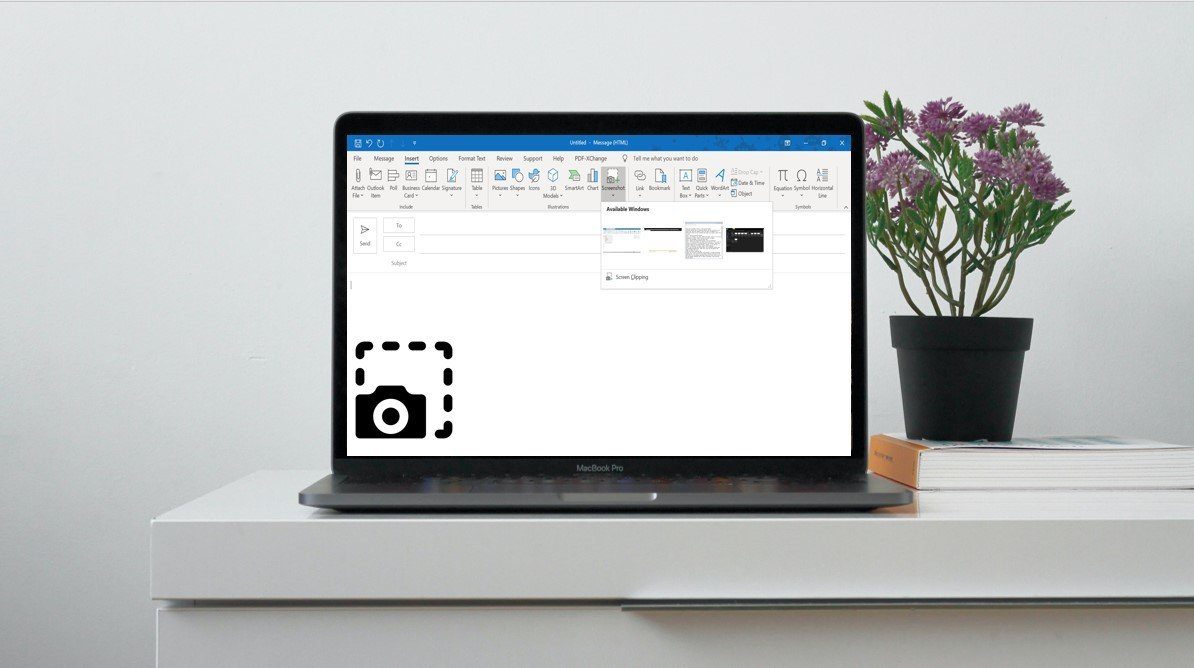 Top 3 Ways to Insert Screenshots in Microsoft Outlook
Screenshots can be very helpful when passing certain information over messages or social media.
Top 3 Ways to Insert Screenshots in Microsoft Outlook
Screenshots can be very helpful when passing certain information over messages or social media.
 6 Best Table-Top TV Stands For Large TVs
A large-screen TV is one of the building pillars of a great entertainment room.
6 Best Table-Top TV Stands For Large TVs
A large-screen TV is one of the building pillars of a great entertainment room.
 How to Remove Table Formatting in Excel
Method 1: Clear Table Style When working with data tables, Excel often applies predefined styles that include various formatting elements such as colors, borders, and fonts.
How to Remove Table Formatting in Excel
Method 1: Clear Table Style When working with data tables, Excel often applies predefined styles that include various formatting elements such as colors, borders, and fonts.
The article above may contain affiliate links which help support Guiding Tech. The content remains unbiased and authentic and will never affect our editorial integrity.