PowerPoint slideshows are a great way to present information, elevator pitches, academic work, and more. Images help illustrate your text and bullet points, making presentations “pop” and adding interest. Finding the highest quality images for PowerPoint slideshows is easy when you follow the steps below.
Steps to Find and Insert High Quality Images for PowerPoint
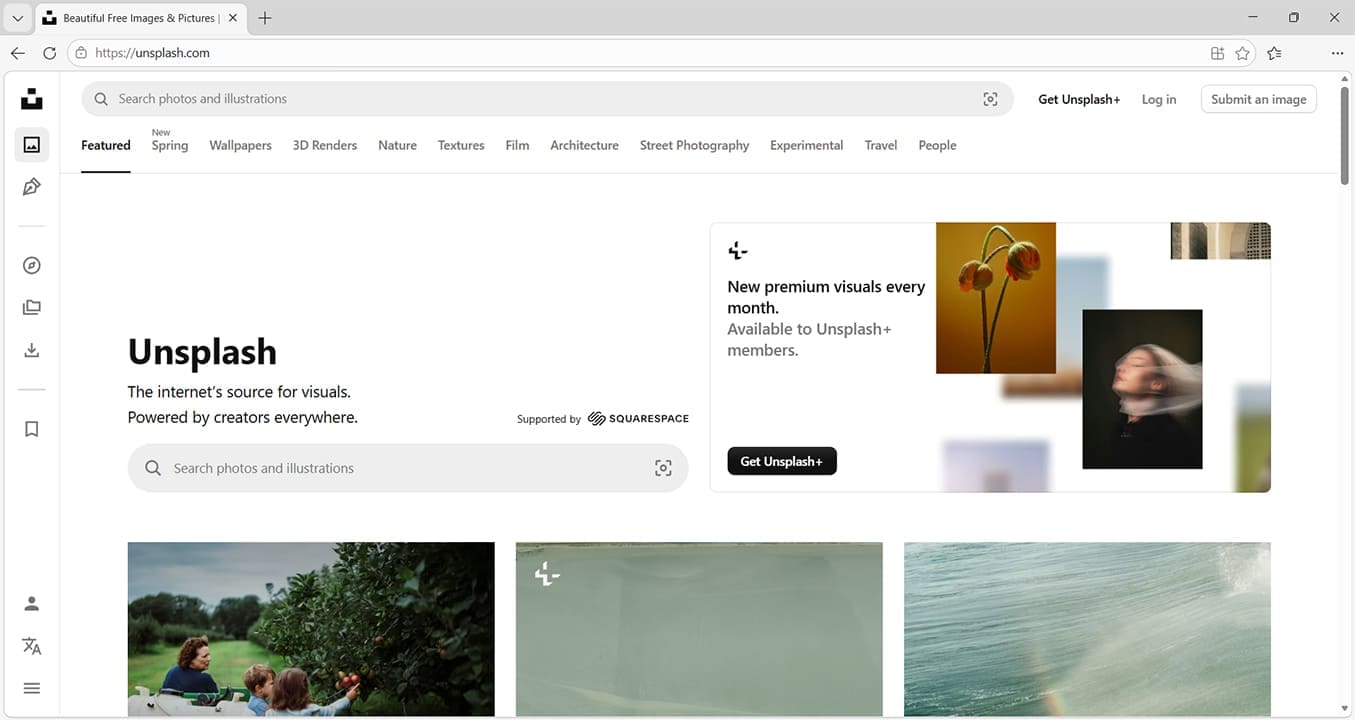
Step 1. Find a reputable resource for free, high-quality images. Unsplash is one option, which offers both free and premium images.
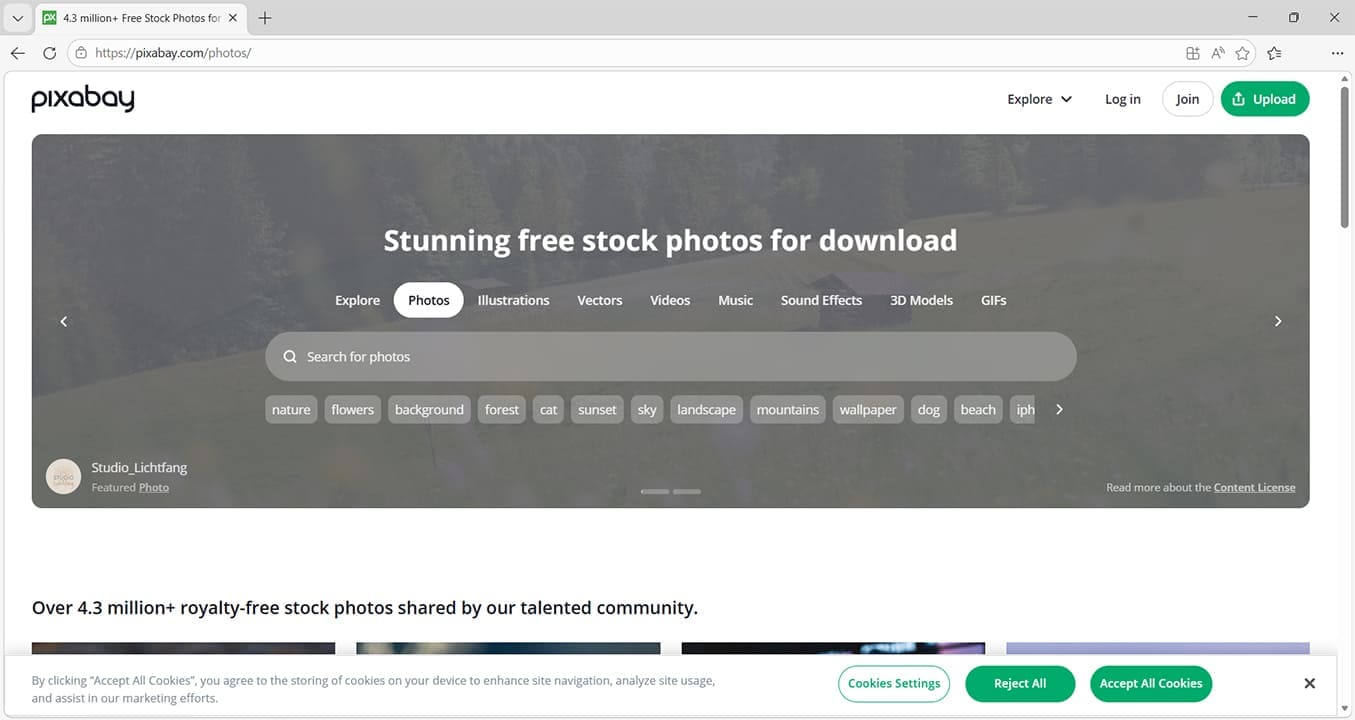
Another option is Pixabay, which is also a resource for copyright-free music and sound effects.
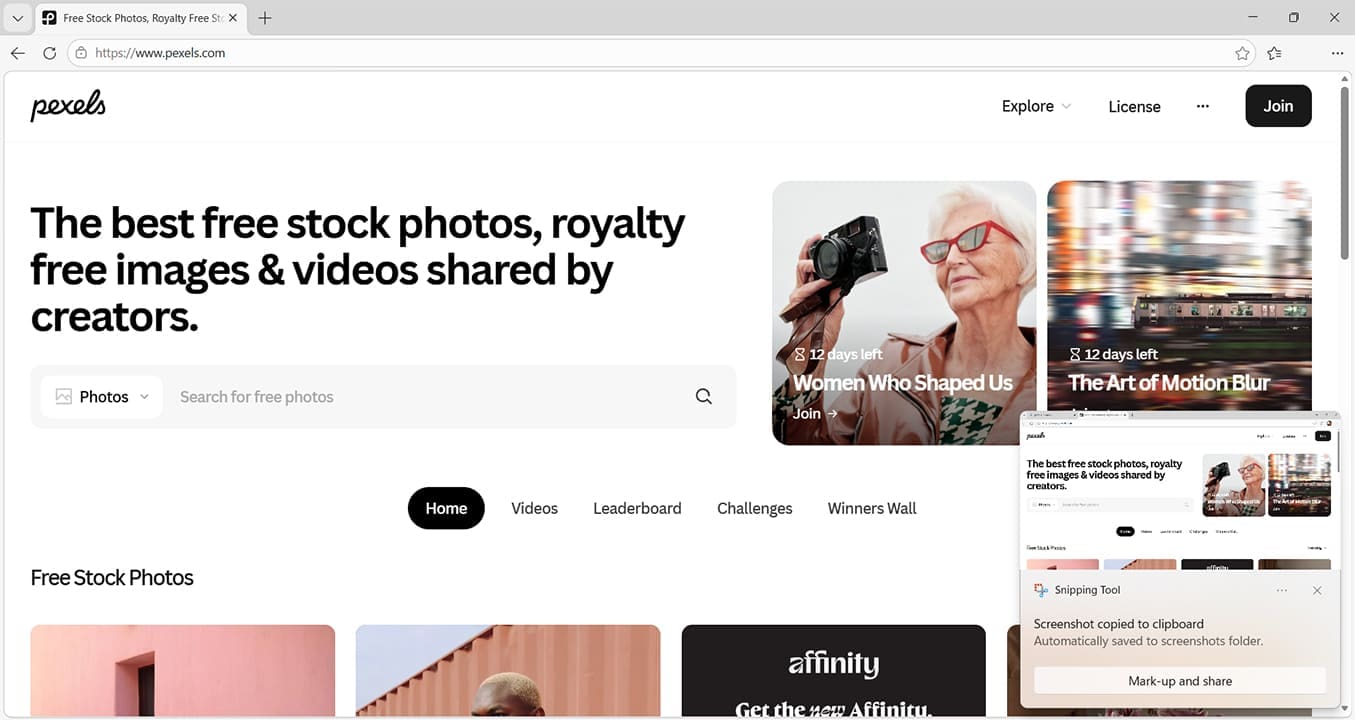
You could also use Pexels, where you can find both high-quality images and videos.
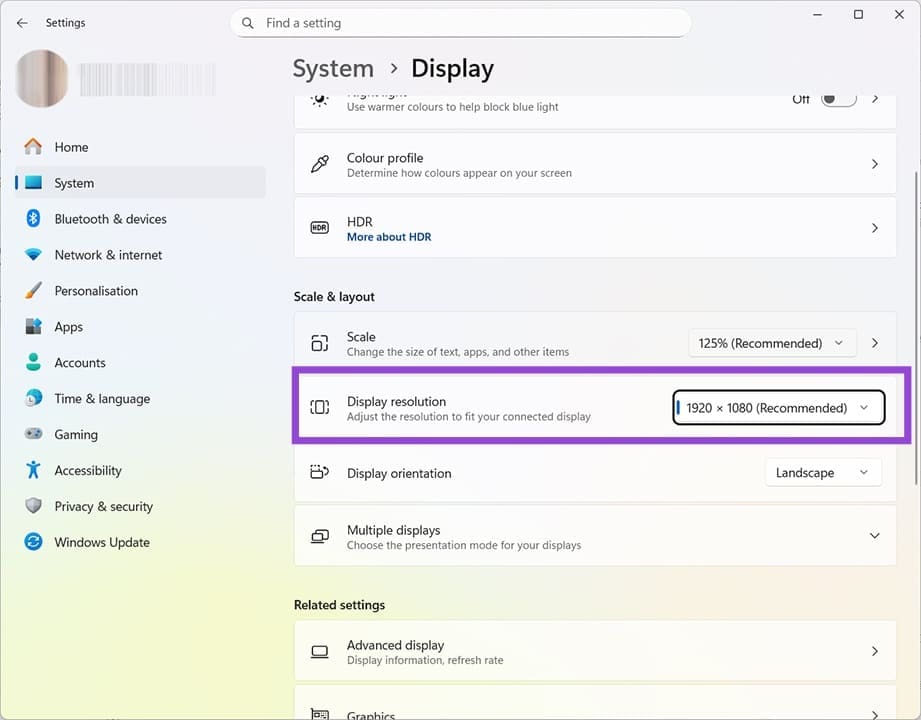
Step 2. The highest quality images for PowerPoint slideshows need to be at a resolution that’s the same as or higher than the screen resolution of the device you’re going to present them on. This is to avoid problems like pixelation or blurred images. Check your resolution by heading to System > Display. The example below shows that the resolution is set to 1920 by 1080 pixels.
Step 3. To choose an image in this resolution or higher, head to your chosen resource and search for a relevant image.
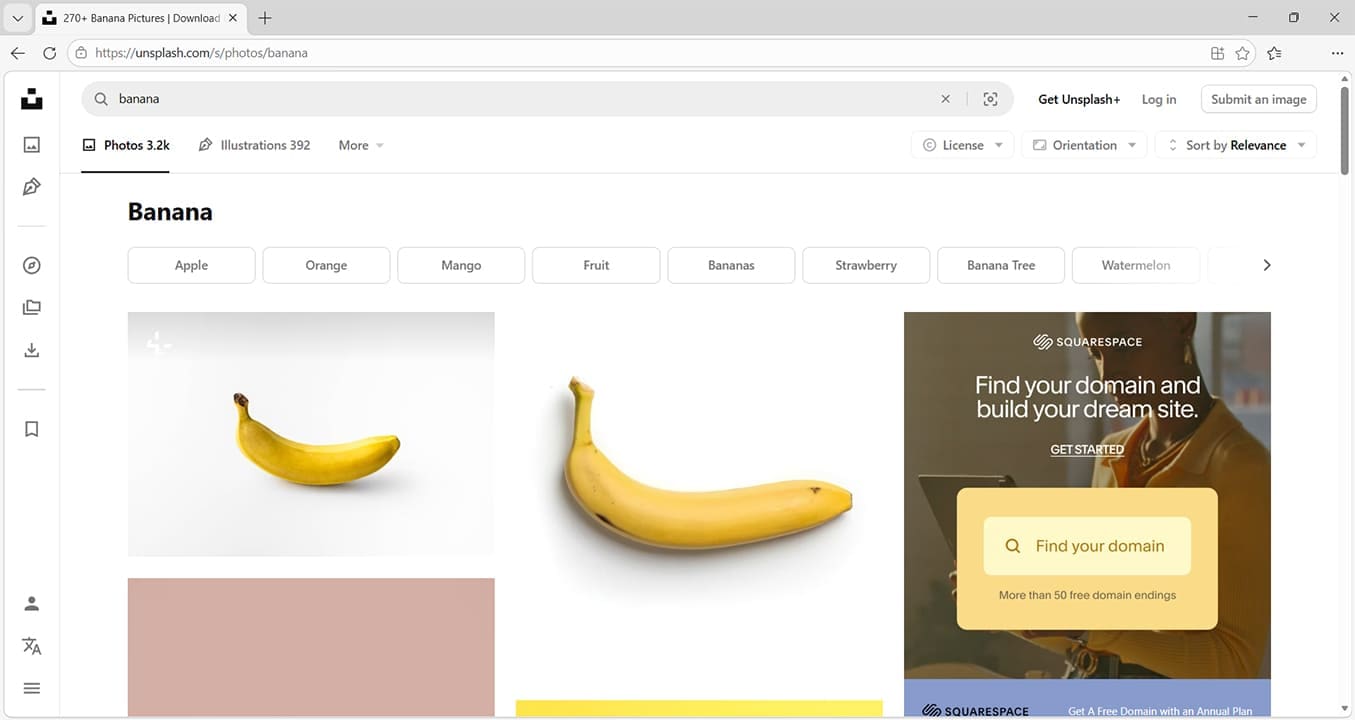
Step 4. Change the filters to only include free images (unless you’re happy to pay) and include any other requirements, such as a particular orientation.

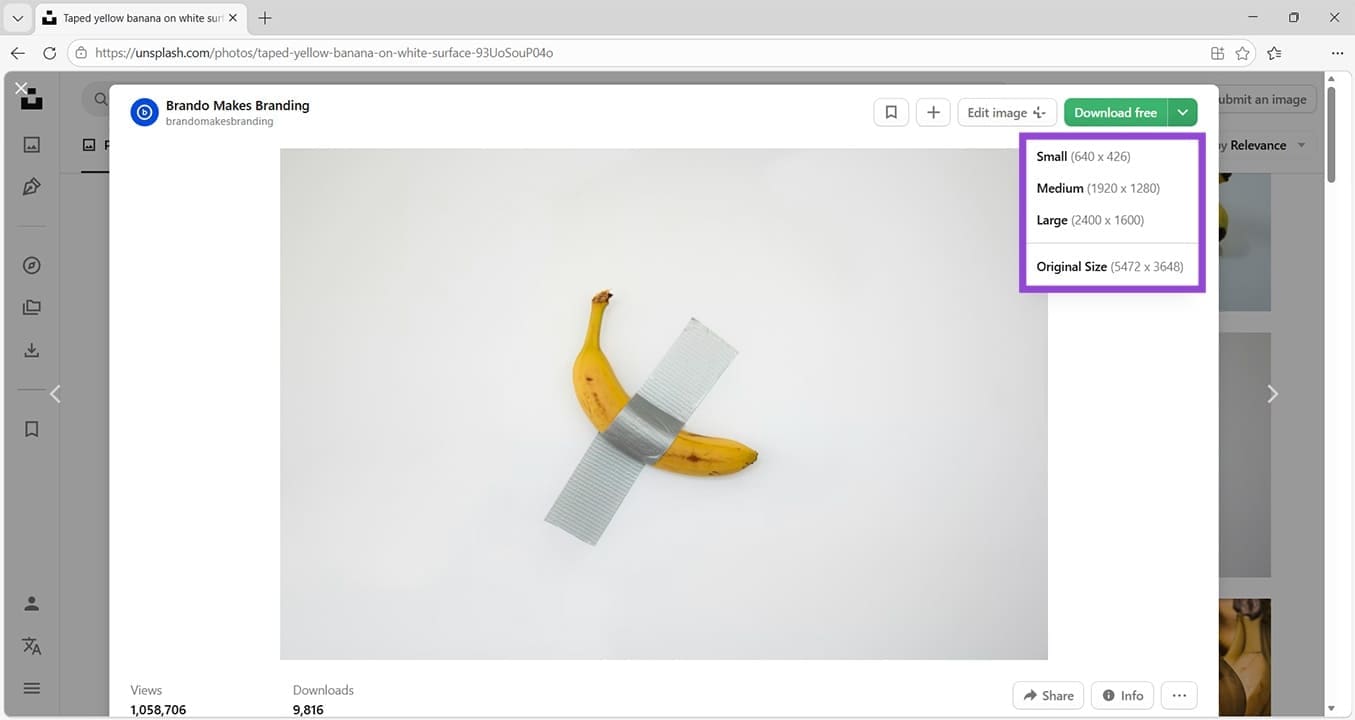
Step 5. Choose an image that’s relevant to your PowerPoint slideshow. Check the download options. You should have the choice to download it in several resolutions. Pick a resolution that’s at least the same as the screen resolution you discovered earlier. In this instance, medium quality offers a resolution of 1920 by 1280, which is more than adequate. Choosing a higher resolution will mean the image takes up more space on your hard drive/cloud storage, and it will increase the overall size of your presentation. Click the chosen option to immediately download the image.
Step 6. Open your PowerPoint slideshow.

Step 7. Click where you want your image to be and then click on Insert on the top menu.
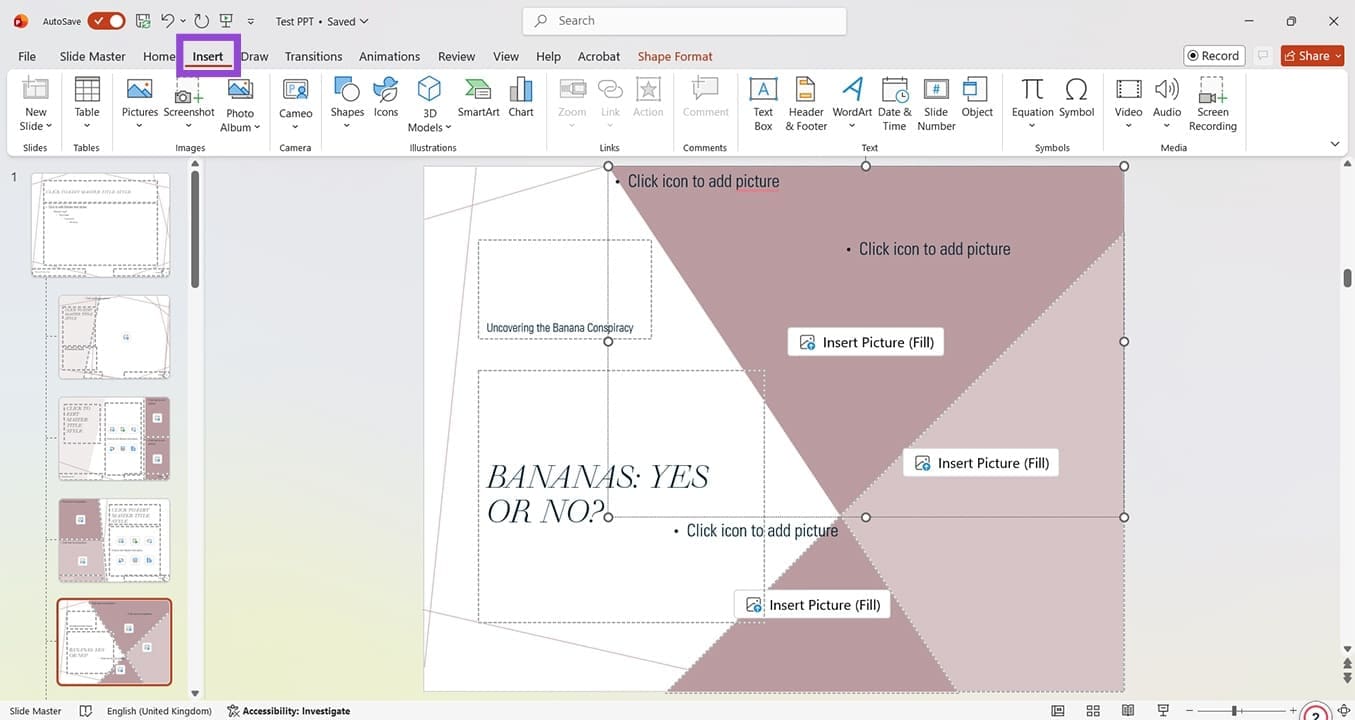
Step 8. Select Pictures, then Insert Pictures From, and choose This Device.
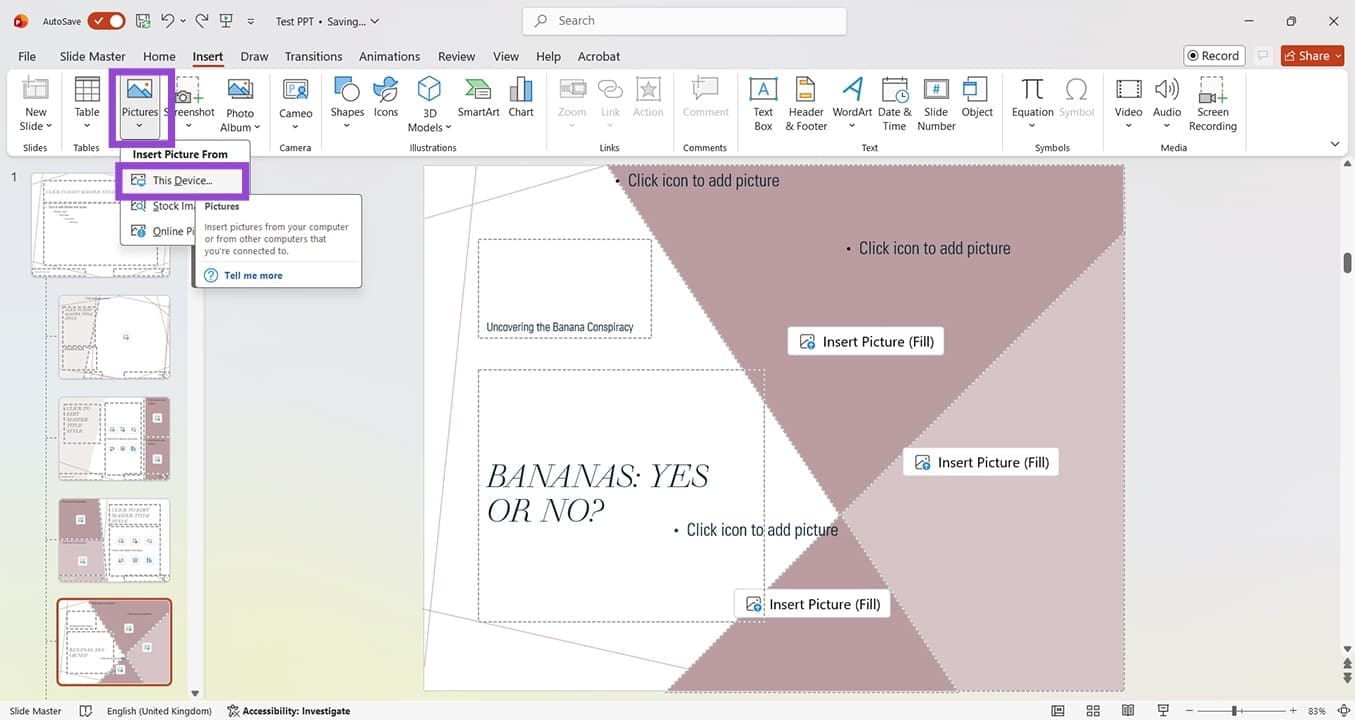
Step 9. Navigate to Downloads and select the image you just downloaded. Click Open.

Step 10. Use the Picture Format screen to edit the image as required.

Step 11. When you’ve completed your slideshow, run it on the device you intend to show it on. That way, you can quickly assess if there are any image issues, such as pixelation. If you discover that some images are of too low a resolution to be useful, simply follow the above steps to source higher resolution photos or images. To test the slideshow, look for the Start From Beginning button above the main taskbar or press F5.

Was this helpful?
Last updated on 07 March, 2026
Read Next
 3 Ways to Extract Images From a PowerPoint Presentation
Method 1: Use the "Save as Picture" Option Using the "Save as Picture" option is the quickest way to extract an image from a PowerPoint file.
3 Ways to Extract Images From a PowerPoint Presentation
Method 1: Use the "Save as Picture" Option Using the "Save as Picture" option is the quickest way to extract an image from a PowerPoint file.
 How to Send High Quality Videos on WhatsApp (iPhone and Android)
Method 1.
How to Send High Quality Videos on WhatsApp (iPhone and Android)
Method 1.
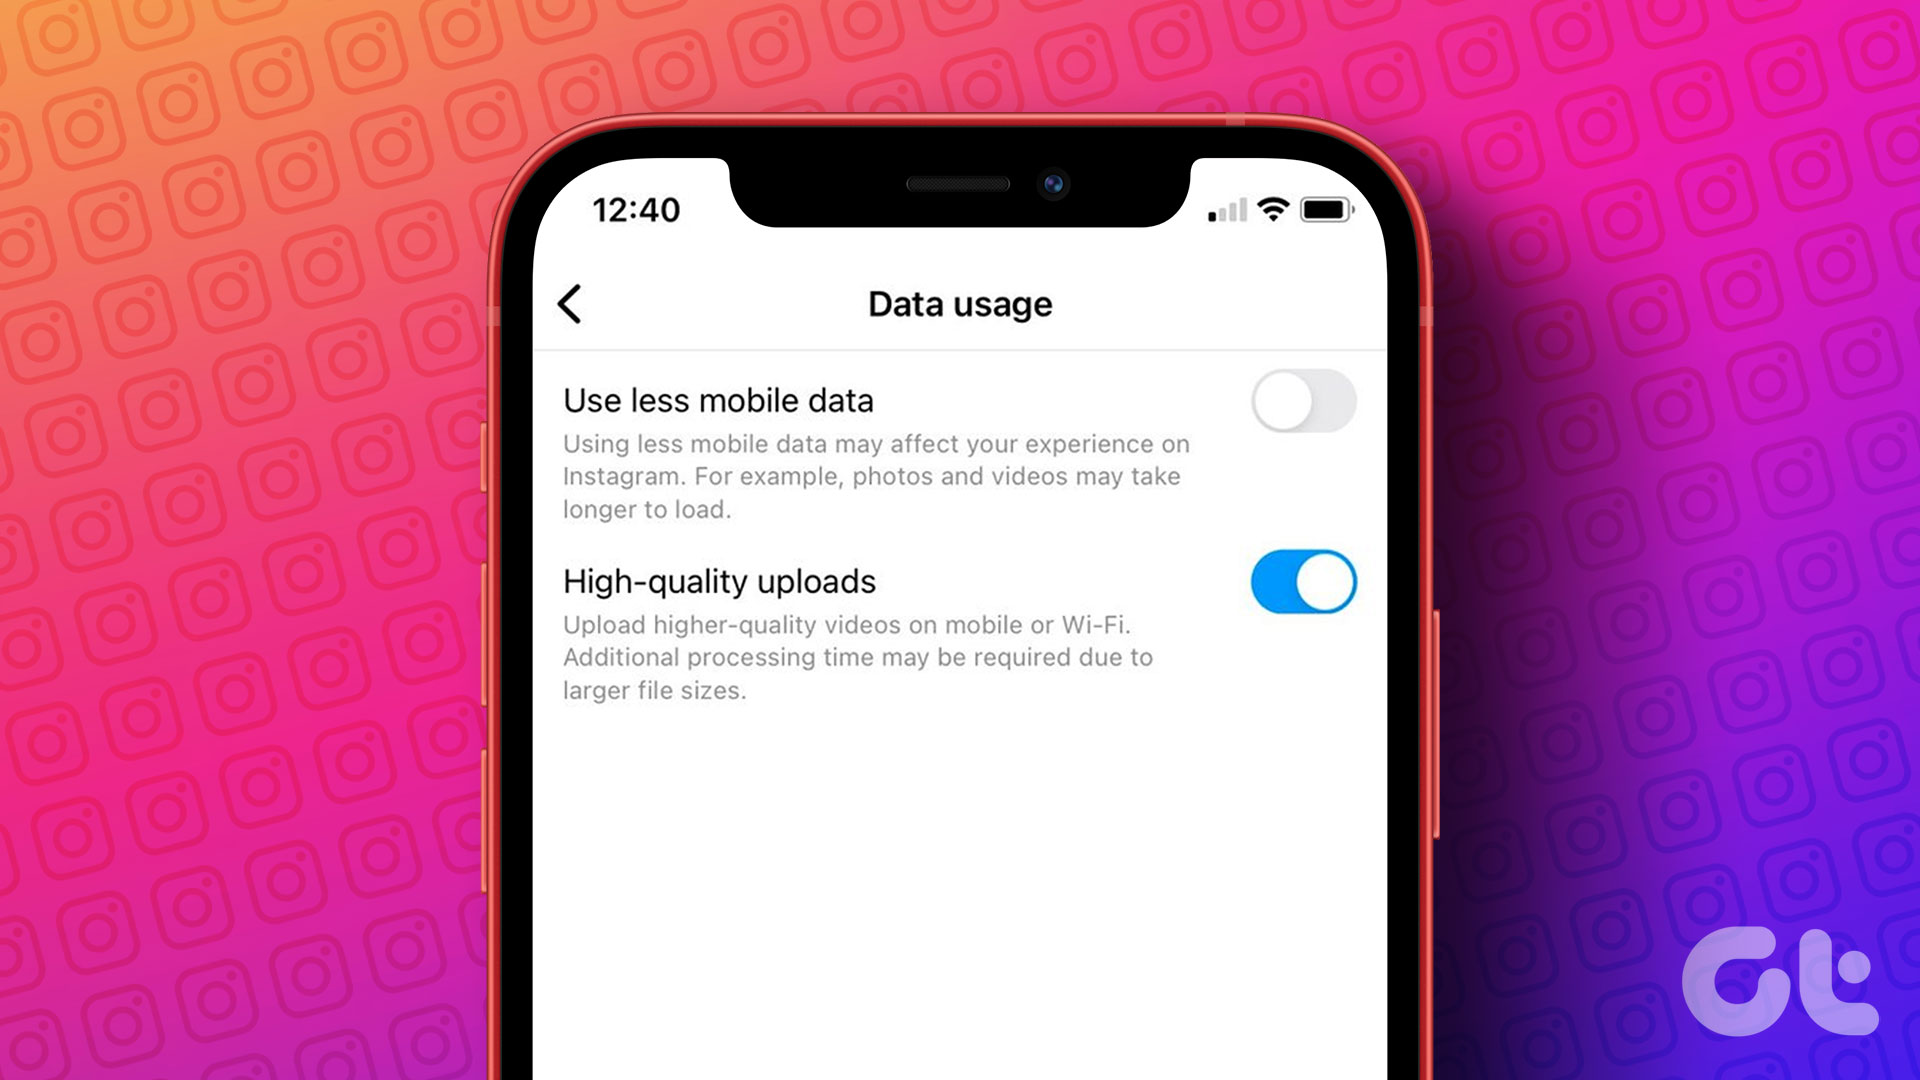 How to Turn on High Quality Uploads in Instagram
https://youtu.be/4ciQ4fT42Sc Step 1: Open your Profile on Instagram, and tap on the three-bar menu icon at the top right corner.
How to Turn on High Quality Uploads in Instagram
https://youtu.be/4ciQ4fT42Sc Step 1: Open your Profile on Instagram, and tap on the three-bar menu icon at the top right corner.
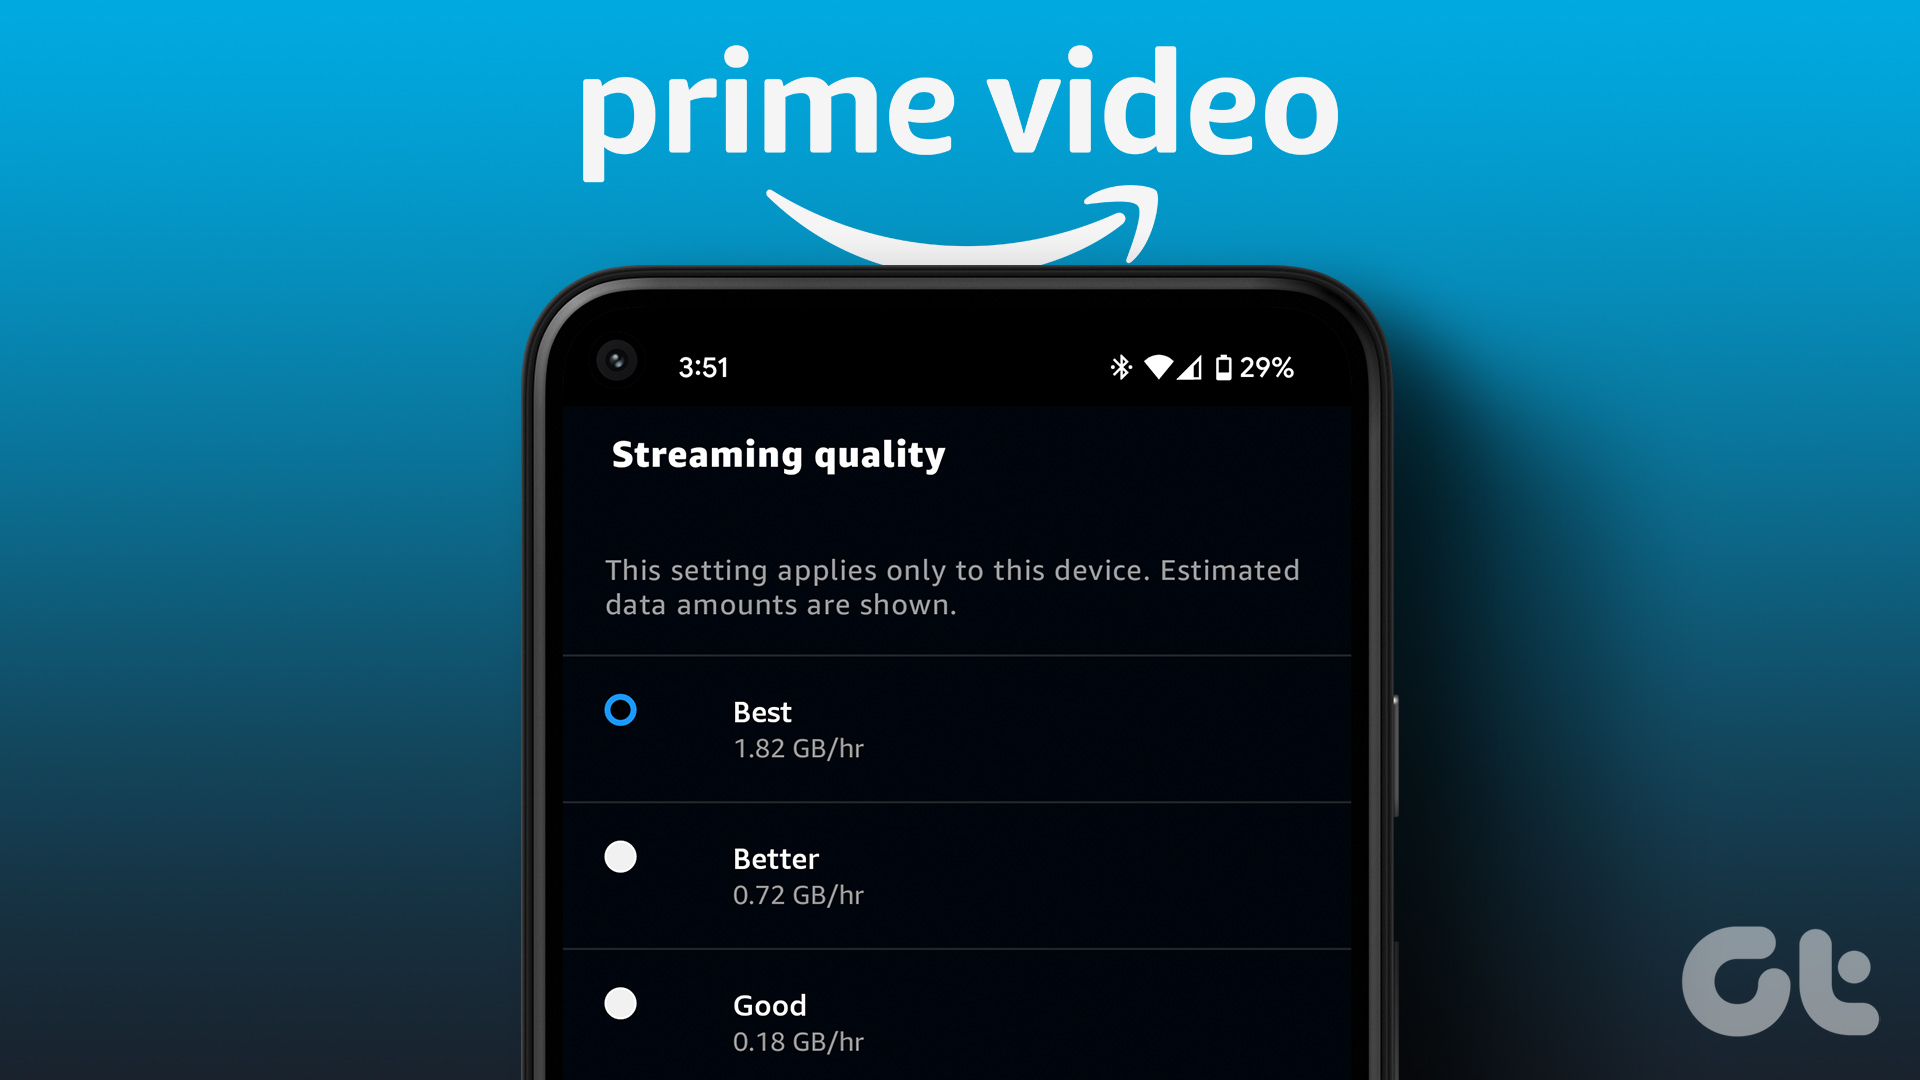 How to Change Amazon Prime Video Streaming Quality on Any Device
Most streaming services these days offer the best quality possible.
How to Change Amazon Prime Video Streaming Quality on Any Device
Most streaming services these days offer the best quality possible.
 How to Fix Poor Video Call Quality in WhatsApp for Android and iPhone
Try Basic Fixes Disable battery and data saver mode: Enabling battery and data saver mode can affect WhatsApp's ability to use the internet freely and result in poor video call
How to Fix Poor Video Call Quality in WhatsApp for Android and iPhone
Try Basic Fixes Disable battery and data saver mode: Enabling battery and data saver mode can affect WhatsApp's ability to use the internet freely and result in poor video call
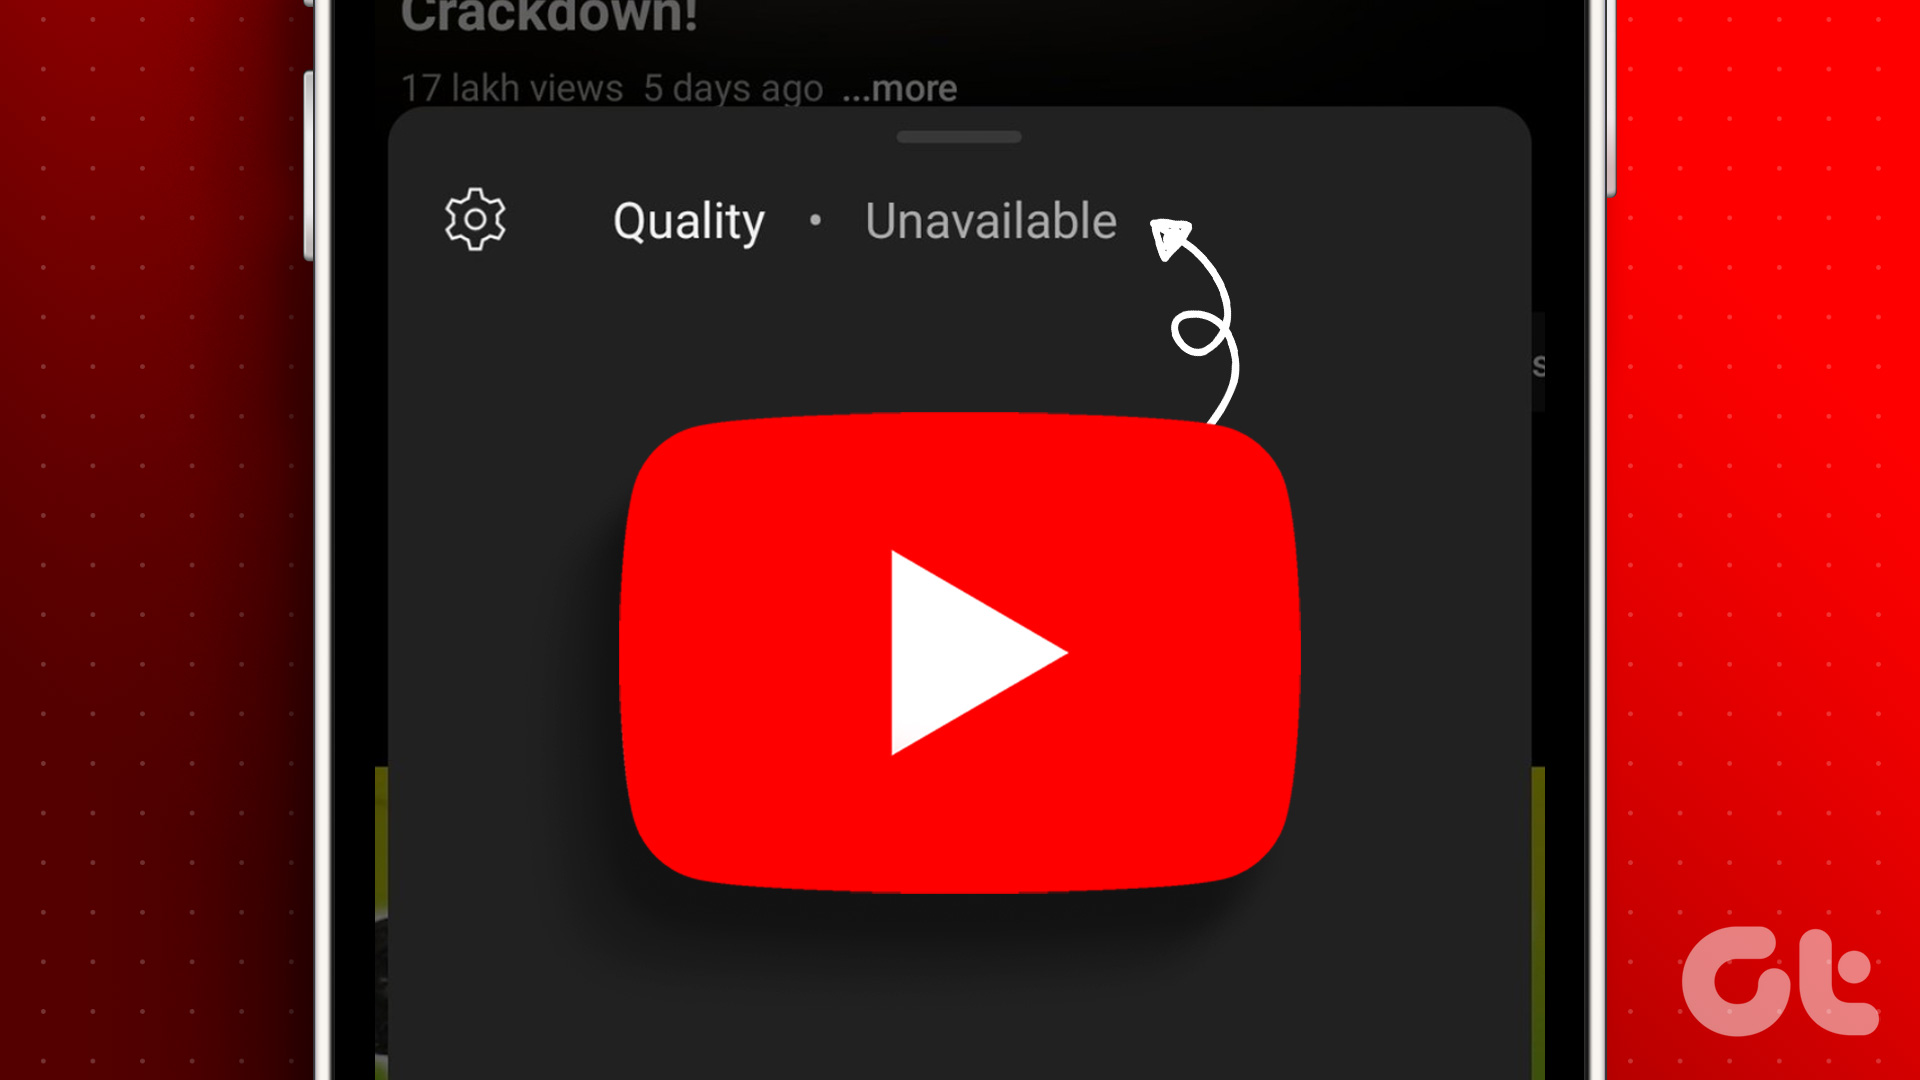 4 Ways to Fix YouTube Quality Unavailable on iOS and Android
Basic Fixes Check Internet Connectivity: Ensure your device is connected to a Wi-Fi network or cellular data with good signal strength and an active plan.
4 Ways to Fix YouTube Quality Unavailable on iOS and Android
Basic Fixes Check Internet Connectivity: Ensure your device is connected to a Wi-Fi network or cellular data with good signal strength and an active plan.
 5 Ways to Fix Apple TV+ Low Quality on Windows
Fix 1: Install Apple TV App: A Sureshot Way to Fix the Problem Download the Apple TV app from the Microsoft App Store and sign in with your credentials.
5 Ways to Fix Apple TV+ Low Quality on Windows
Fix 1: Install Apple TV App: A Sureshot Way to Fix the Problem Download the Apple TV app from the Microsoft App Store and sign in with your credentials.
 How to Send High Quality Photos and Video on Telegram
Send High-Quality Photos and Videos on Telegram on Mobile Let us show you the steps to send photos and videos without losing quality on your iPhone and Android using Telegram.
How to Send High Quality Photos and Video on Telegram
Send High-Quality Photos and Videos on Telegram on Mobile Let us show you the steps to send photos and videos without losing quality on your iPhone and Android using Telegram.
The article above may contain affiliate links which help support Guiding Tech. The content remains unbiased and authentic and will never affect our editorial integrity.