Method 1: Find and Delete Extra Spaces in Microsoft Word Using Find and Replace
The first obvious way is to do it manually since you wouldn’t want automation to cause errors. But, to fix those spacing errors, you’ll need Word to locate them first. After identifying the locations, update the spacing using the replace function.
Step 1: Launch the Word app.
Step 2: In Microsoft Word, click on the drop-down beside Find at the top-right corner of the ribbon.

Step 3: Select Advanced Find from the options and launch the Find and Replace box.
Step 4: On the Find and Replace box, click on the Find tab.
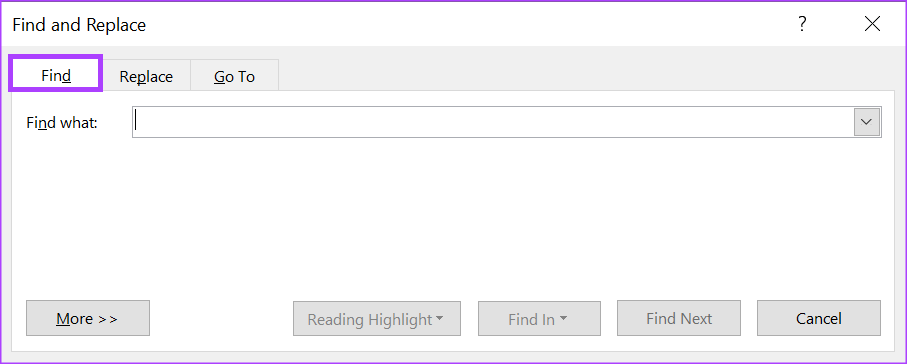
Step 5: Place your cursor within the Find What field, and tap your spacebar twice to add two spaces. Note that the Find What field will still appear blank, but you will see the space in the box.

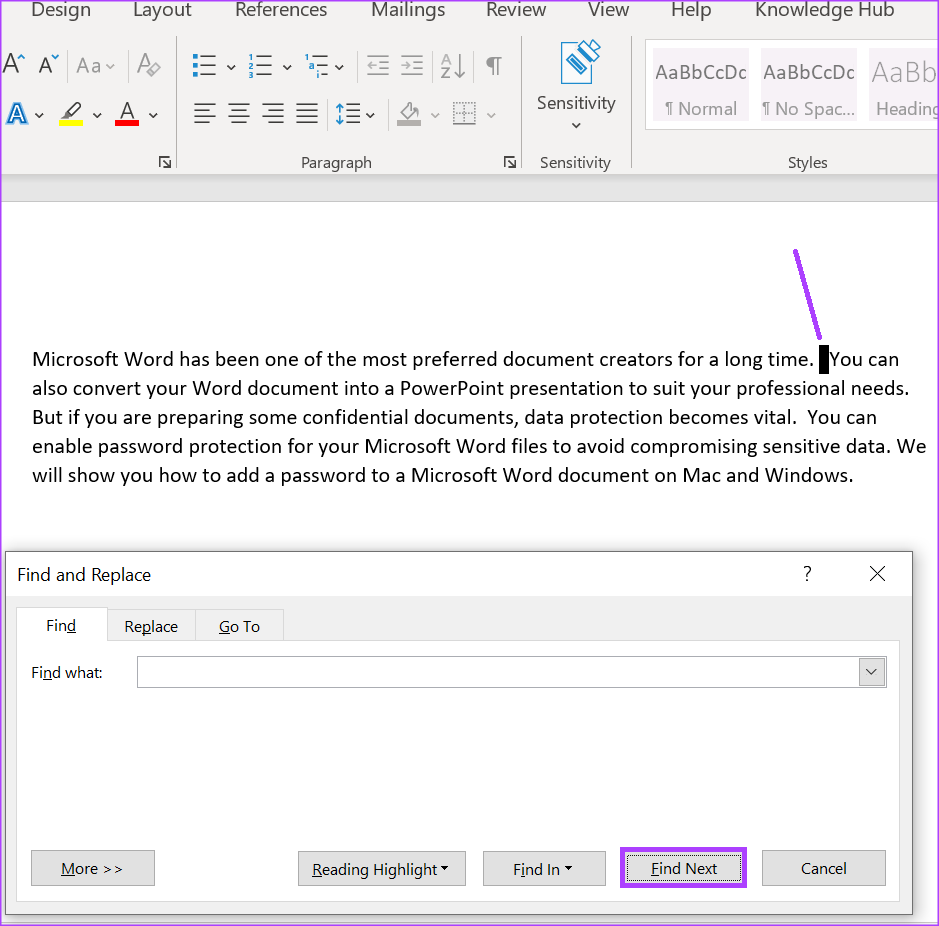
Step 6: Click the Find Next button to identify the extra spaces within your Word document. The Word cursor will highlight where the spaces appear more than once in the document.
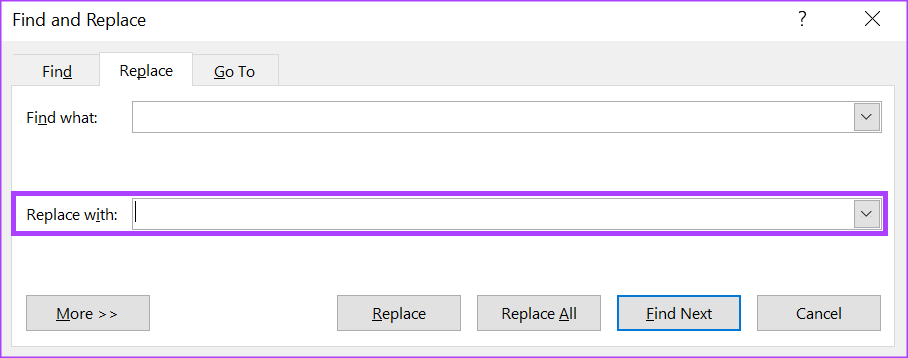
Step 7: At the top of the Find and Replace, click the Replace tab.

Step 8: Place your cursor within the Replace with field > tap your spacebar once to signify a single space.
Step 9: At the bottom of the Find and Replace box, click Replace or Replace All to change the document spacing from double to single.

Step 10: Close the dialog box after Word prompts you that the replacements have been done.
This method requires you to check the document consciously. But if you want Word to do that automatically, here’s what you’ll need to do.
Method 2: Find and Delete Extra Spaces in Microsoft Word Using Proofing Settings
You can update the proofing settings to lock the type of spacing in your Word document. So, whenever you make an error, Word’s spell check will automatically flag it. As such, you can update the Word document as you type instead of retrospectively, like in the Find and Replace method.
Step 1: Launch Word.
Step 2: Click on the File tab at the top left of the Microsoft Office Ribbon.

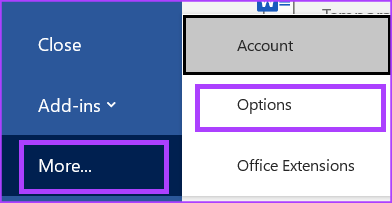
Step 3: Scroll to the bottom of the File menu and click on More Options to reveal a collapsed menu.
Step 4: Click Options.
Step 5: On the left of the Word Options pop-up, click the Proofing tab.
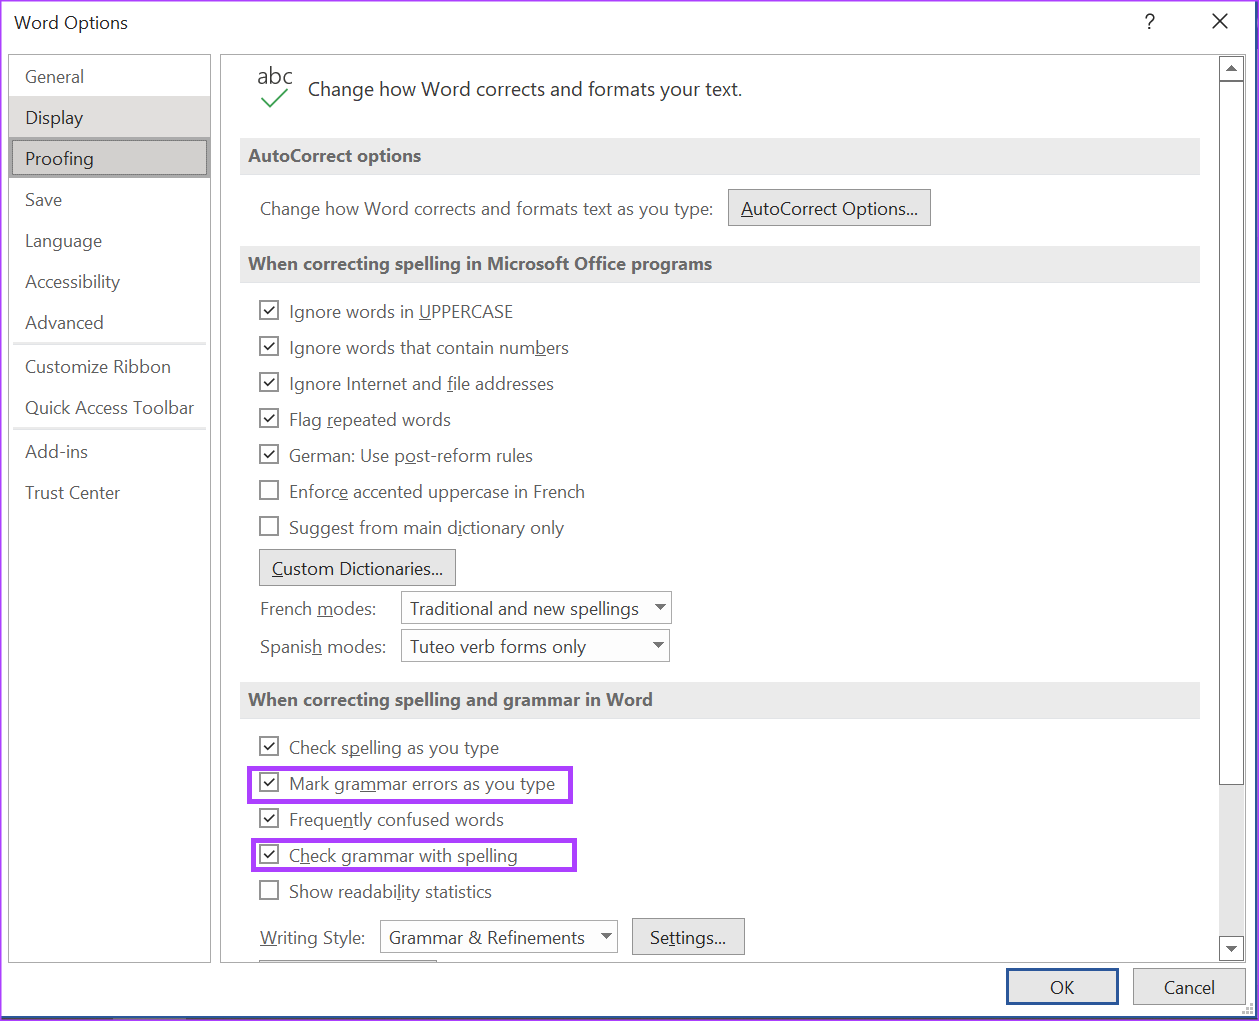
Step 6: From the Proofing settings, scroll to the When correcting spelling and grammar in Word section.
Step 7: Tick the boxes beside Mark grammar errors as you type and Check grammar with spelling.
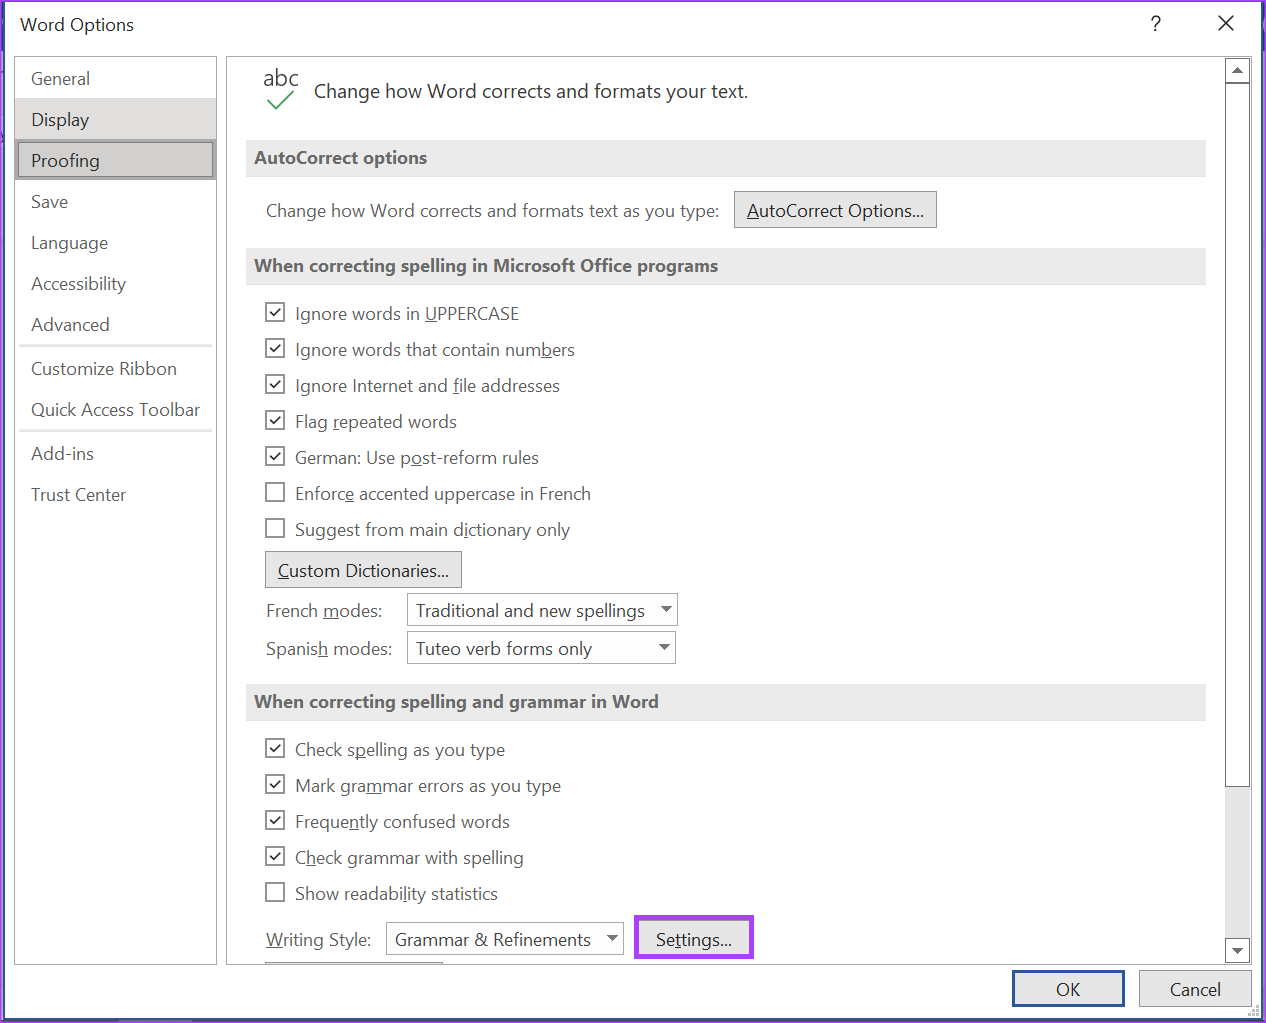
Step 8: Click the Settings button beside Writing Style to launch the Grammar Settings box.
Step 9: Scroll through the options in the Grammar Settings box until you reach Spacing. Uncheck the box next to Spacing.

Step 10: Scroll to the Punctuation Conventions section.
Step 11: Check the drop-down beside Space between sentences.
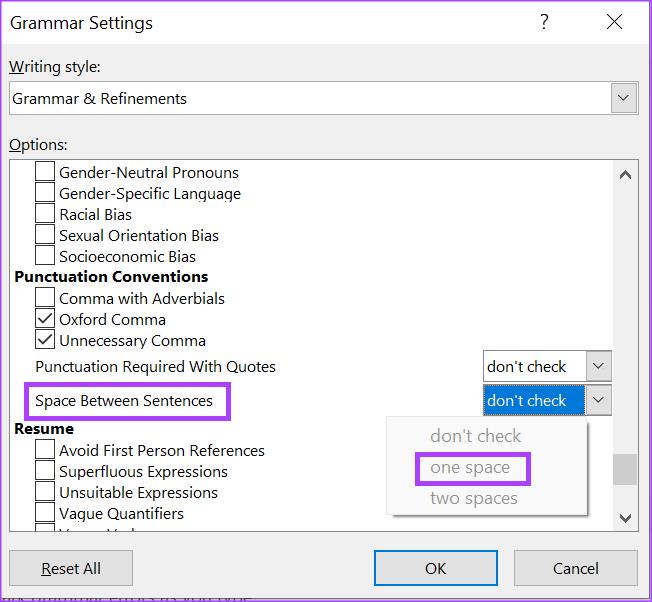
Step 12: Choose your preferred spacing between sentences and click OK at the bottom of the window to save your changes.
Was this helpful?
Last updated on 29 May, 2024
Read Next
 3 Ways to Delete Blank or Extra Pages in Word
The Easiest Way to Delete a Page on Microsoft Word All you need to do is select the text or content on the page and hit the Backspace or Delete
3 Ways to Delete Blank or Extra Pages in Word
The Easiest Way to Delete a Page on Microsoft Word All you need to do is select the text or content on the page and hit the Backspace or Delete
 How to Add Special Effects to Words on Facebook Messenger
You can add effects to words or phrases on Facebook Messenger -- to make them look cool.
How to Add Special Effects to Words on Facebook Messenger
You can add effects to words or phrases on Facebook Messenger -- to make them look cool.
 Google Docs vs. Microsoft Word Online: Which Word Processor Is Better
Google Docs vs.
Google Docs vs. Microsoft Word Online: Which Word Processor Is Better
Google Docs vs.
 How to Add and Remove Line Numbers in Microsoft Word
If you are working on a text-heavy document, and want to make referencing or browsing the document easy, you can try line numbering.
How to Add and Remove Line Numbers in Microsoft Word
If you are working on a text-heavy document, and want to make referencing or browsing the document easy, you can try line numbering.
 How to Use Microsoft Edge Drop Feature to Share Files Between Devices
How to Send Files From Your Desktop Using Microsoft Edge Drop Microsoft Edge’s Drop feature is only available in version 110.0.1587.41 or later.
How to Use Microsoft Edge Drop Feature to Share Files Between Devices
How to Send Files From Your Desktop Using Microsoft Edge Drop Microsoft Edge’s Drop feature is only available in version 110.0.1587.41 or later.
 Apple Pages vs Microsoft Word: Which Word Processing Software Is Better
Every major tech company out there is offering their version of the productivity suite.
Apple Pages vs Microsoft Word: Which Word Processing Software Is Better
Every major tech company out there is offering their version of the productivity suite.
 How to Free up Space on C Drive in Windows
Fix 1: Clear the Recycle Bin Let's begin with some simple yet effective solutions.
How to Free up Space on C Drive in Windows
Fix 1: Clear the Recycle Bin Let's begin with some simple yet effective solutions.
 6 Ways to Free Up Space on Windows 11 Without Deleting Apps
Method 1.
6 Ways to Free Up Space on Windows 11 Without Deleting Apps
Method 1.
The article above may contain affiliate links which help support Guiding Tech. The content remains unbiased and authentic and will never affect our editorial integrity.