In the world of document formatting, creating a clean and professional look can make all the difference. If you’ve ever wondered how to make those neat lists or bibliography entries where the first line sticks out to the left while the subsequent lines are neatly aligned to the right, you’re in the right place. We’re talking about hanging indents. In this article, we will guide you on how to do a hanging indent on Google Docs.

But before we dive into the nitty-gritty of creating a hanging indent, let’s understand the difference between indent and spacing. While both influence the layout of your text, they serve distinct purposes. Indentation involves shifting the entire paragraph to the right or left while spacing deals with the gaps between lines or paragraphs.
With that out of the way, let’s start with our guide. First, let’s compare regular and hanging indents.
What’s the Difference Between Regular and Hanging Indentations
The key distinction between regular and hanging indents lies in their application and how they affect text formatting, mainly in documents or presentations. A regular indent is used to set off the first line of a paragraph from the left margin. It’s commonly used in various writing styles, such as APA or MLA citations for academic papers, to visually separate paragraphs.

On the other hand, a hanging indent is typically used in reference lists, bibliographies, or outlines. Unlike a regular indent, it’s characterized by having the first line flush with the left margin while the subsequent lines are indented. In essence, it’s the opposite of a regular indent. With this, let’s begin with the desktop methods.
Also Read: How to check word count in Google Docs
How to Make a Hanging Indent in Google Docs on Desktop
There are two ways to add hanging indent on Google Docs. The first method uses indentation, which is the easiest. However, if you want more flexibility, the second method, which uses a ruler, works best.
Let’s begin with Google Docs’ native option.
1. Using Indentation Options
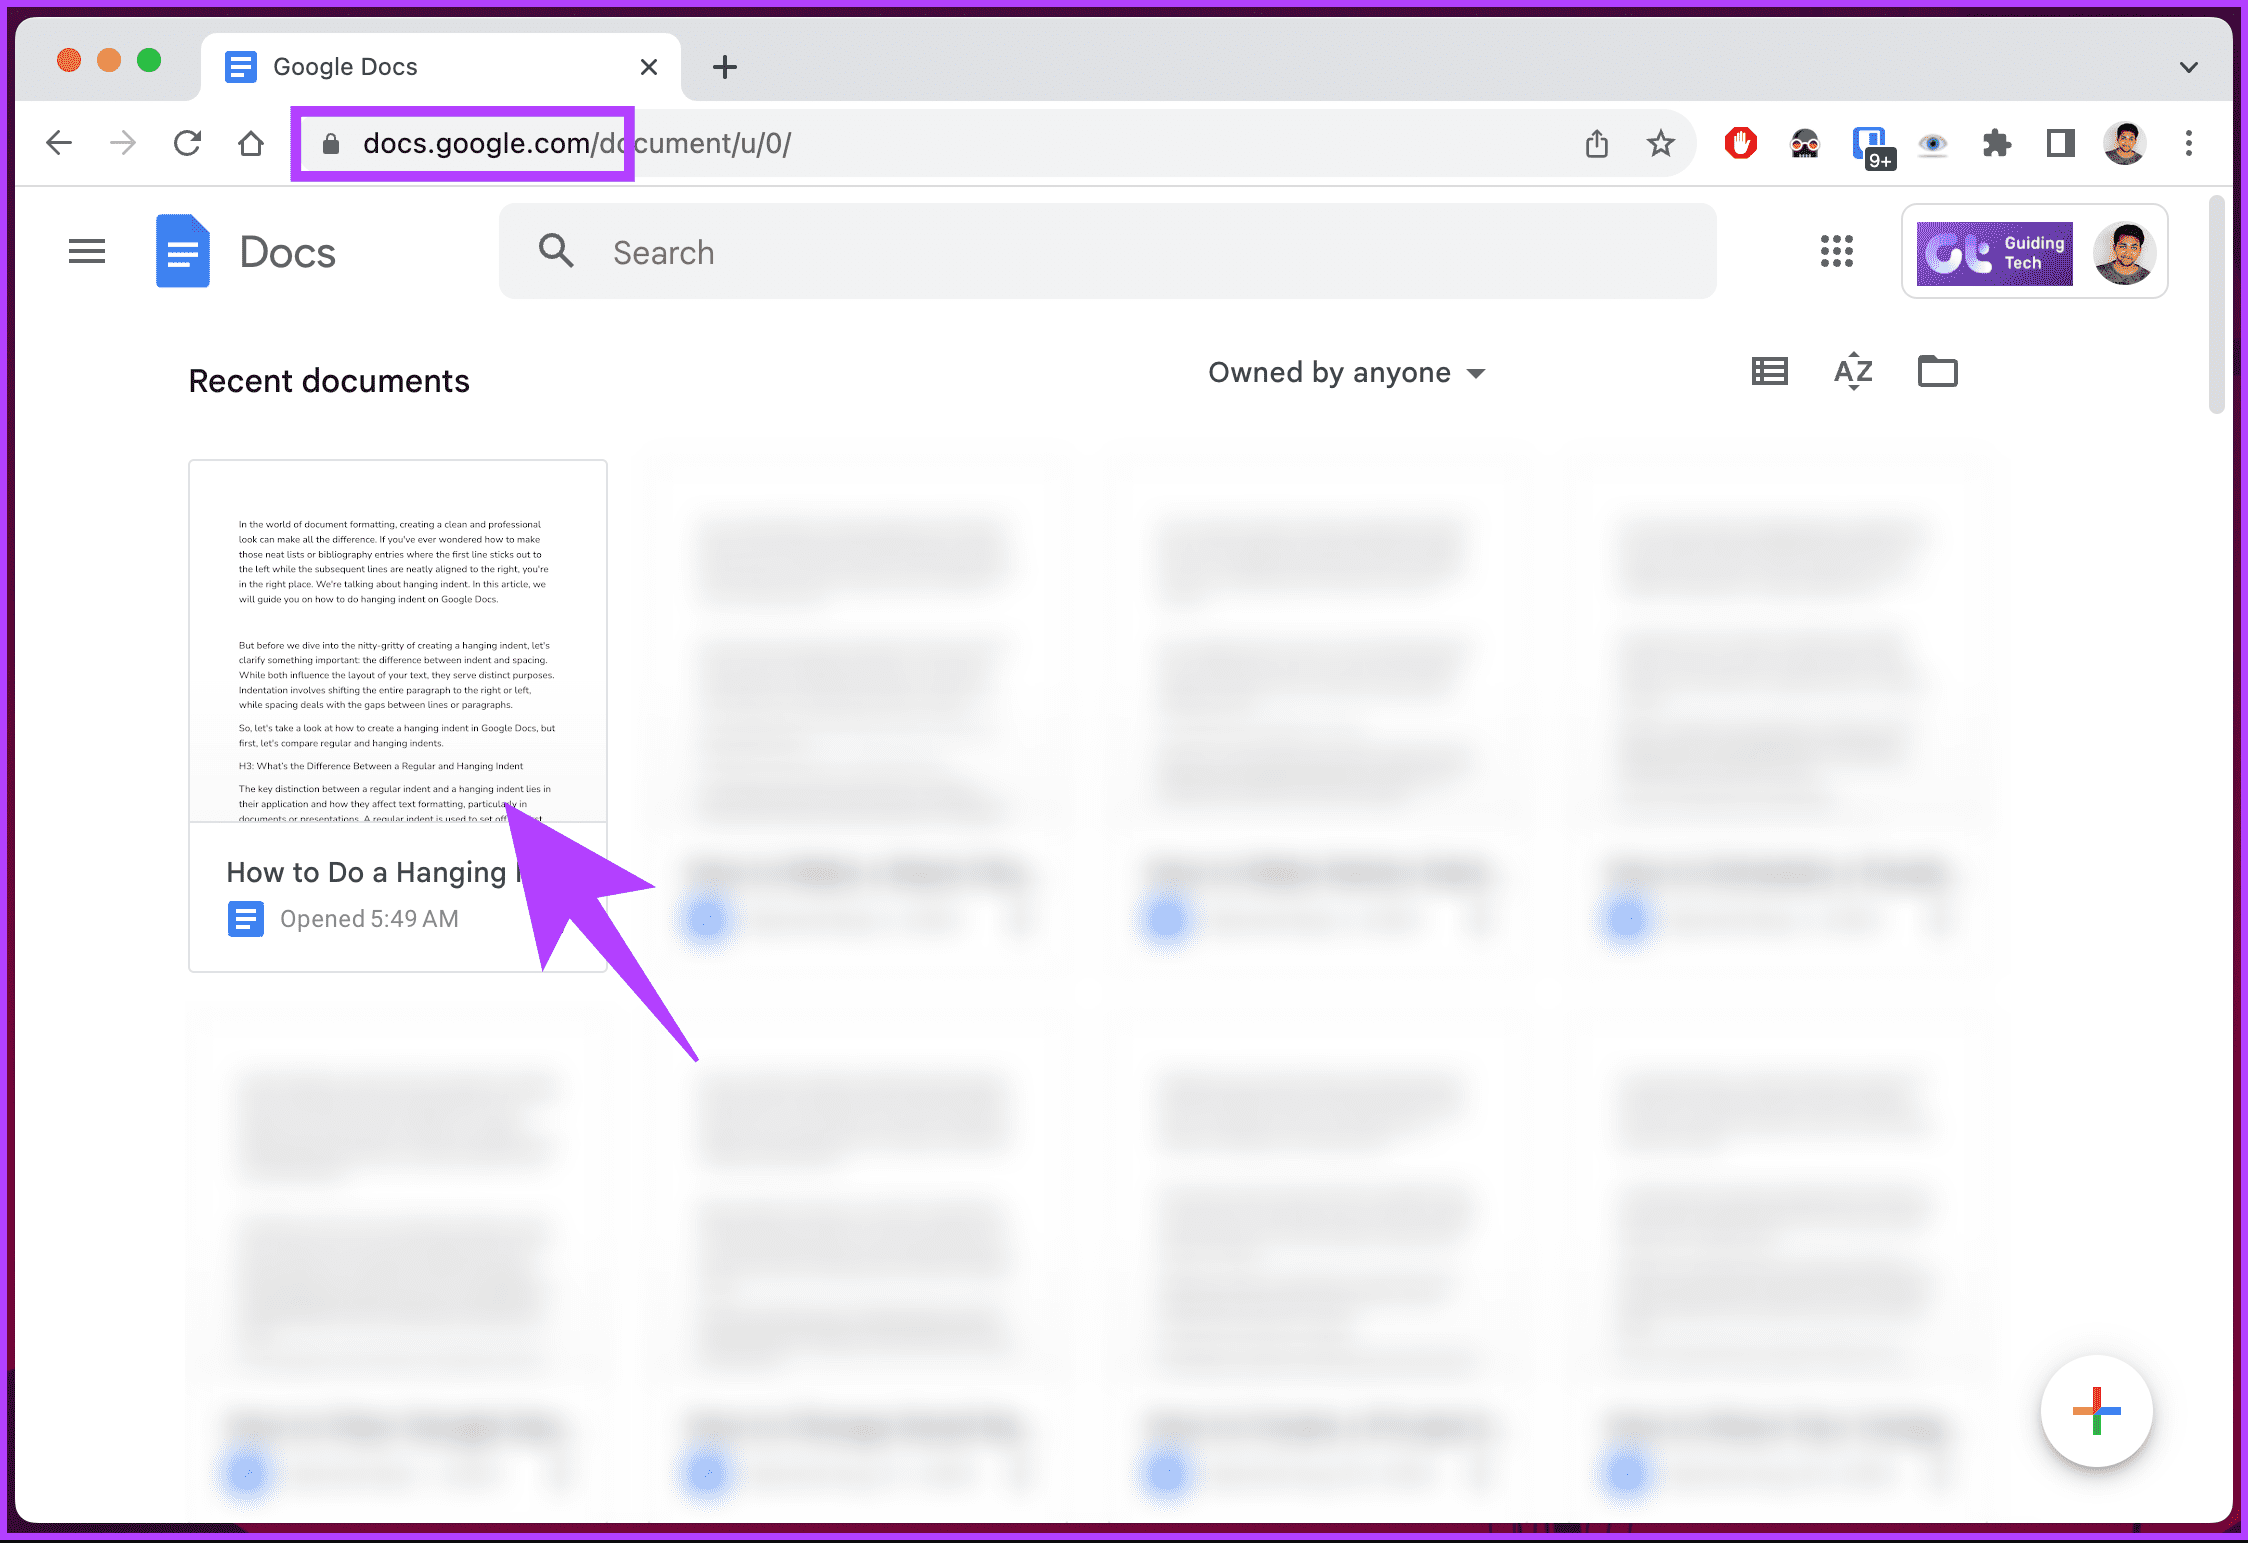
Step 1: Firstly, open Google Docs in your preferred browser. Navigate to the document in which you want to do indentation.
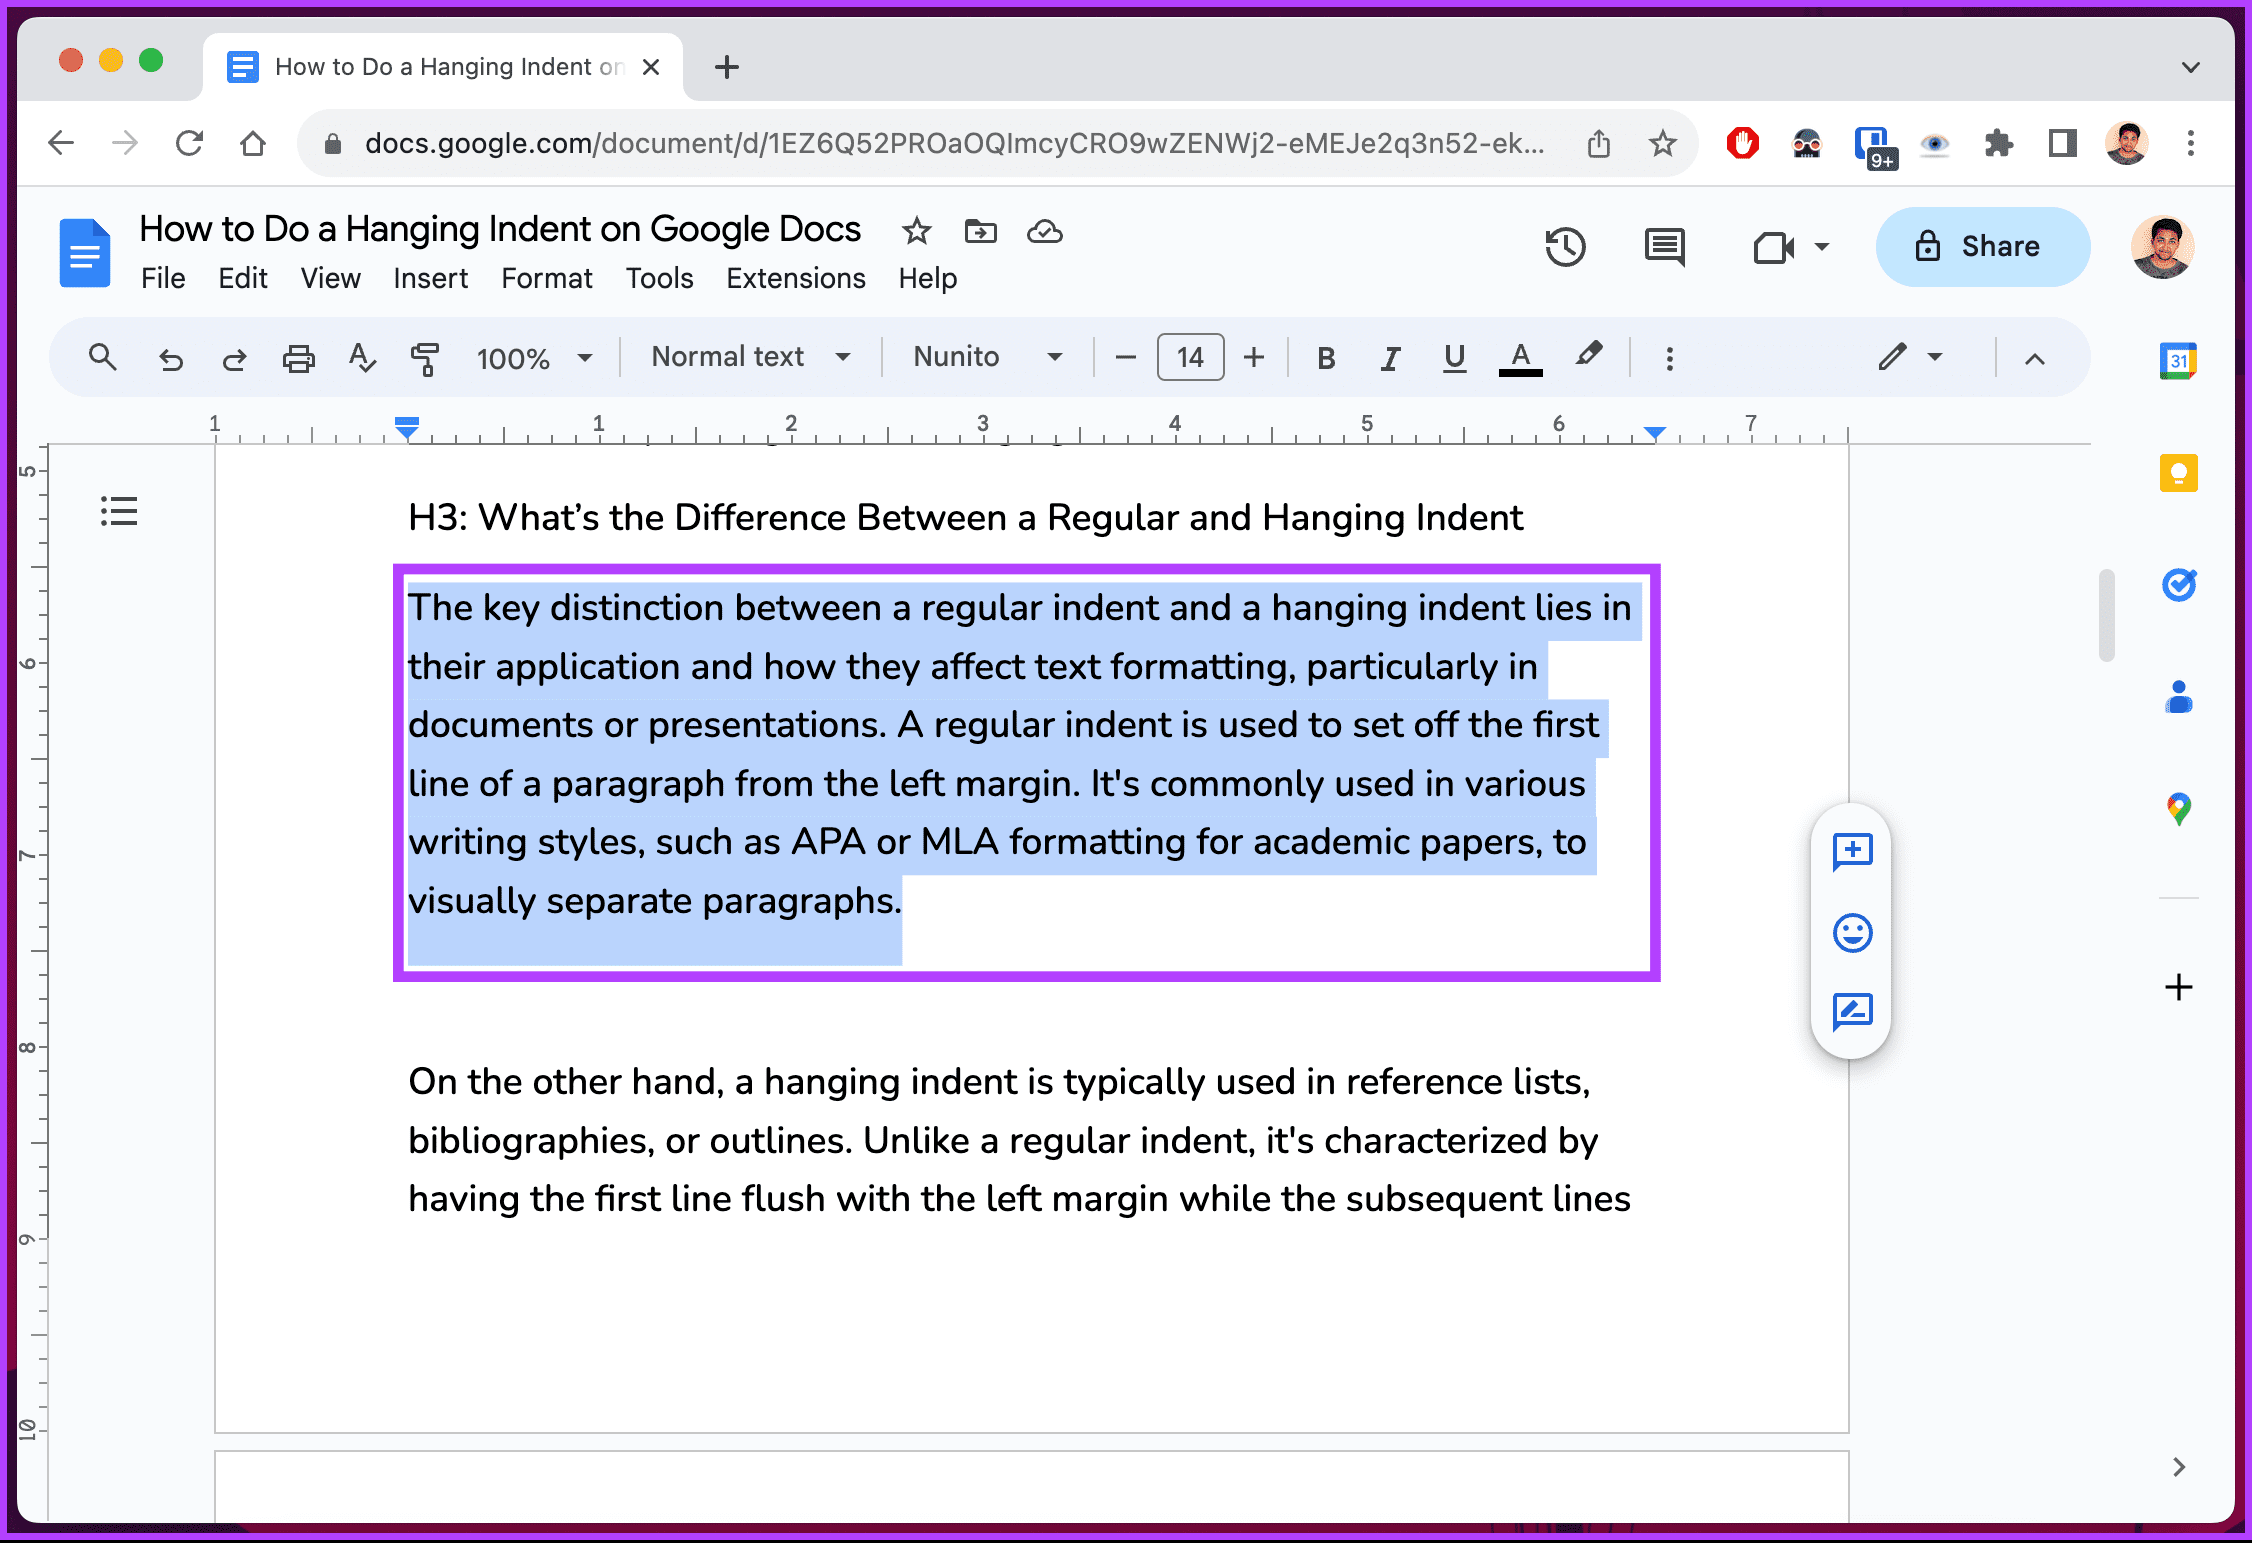
Step 2: Once in the document, select the text to which you want to apply the hanging indent.
Step 3: Now, go to Format in the top ribbon.
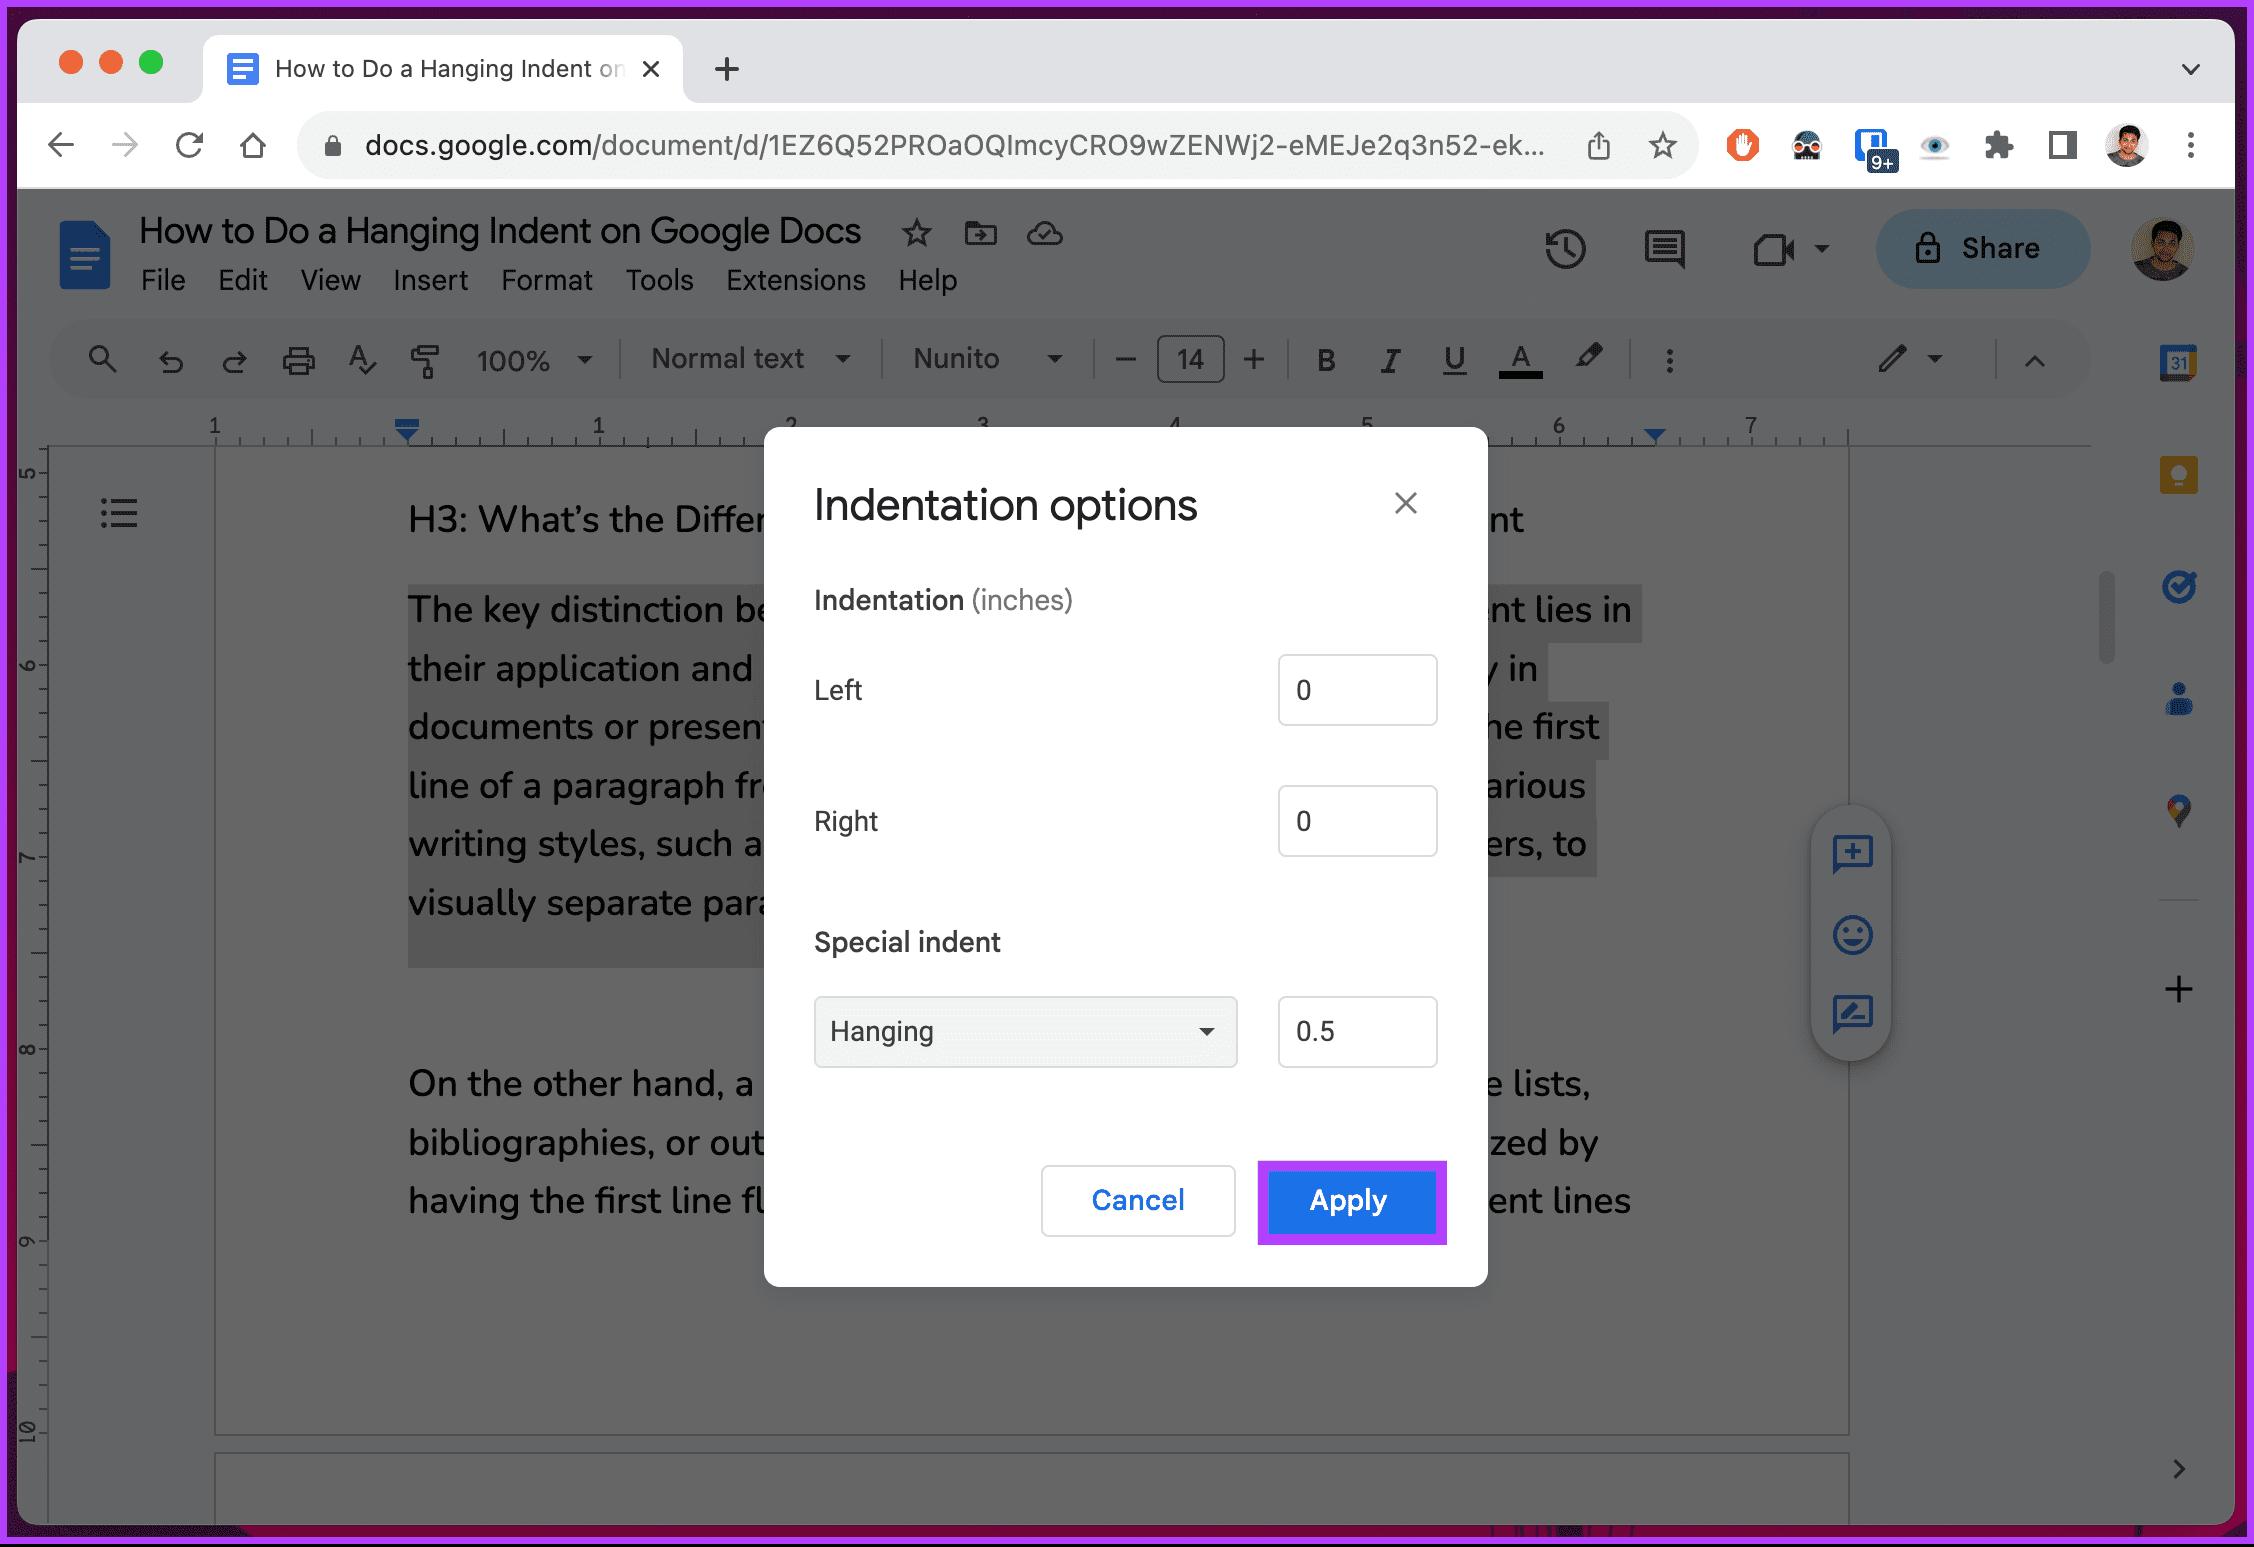
Step 4: Select ‘Align & indent’ from the drop-down menu and choose Indentation options.

Step 5: In the pop-up, click on the chevron (arrow) icon under Special indent and select Hanging from the drop-down menu.
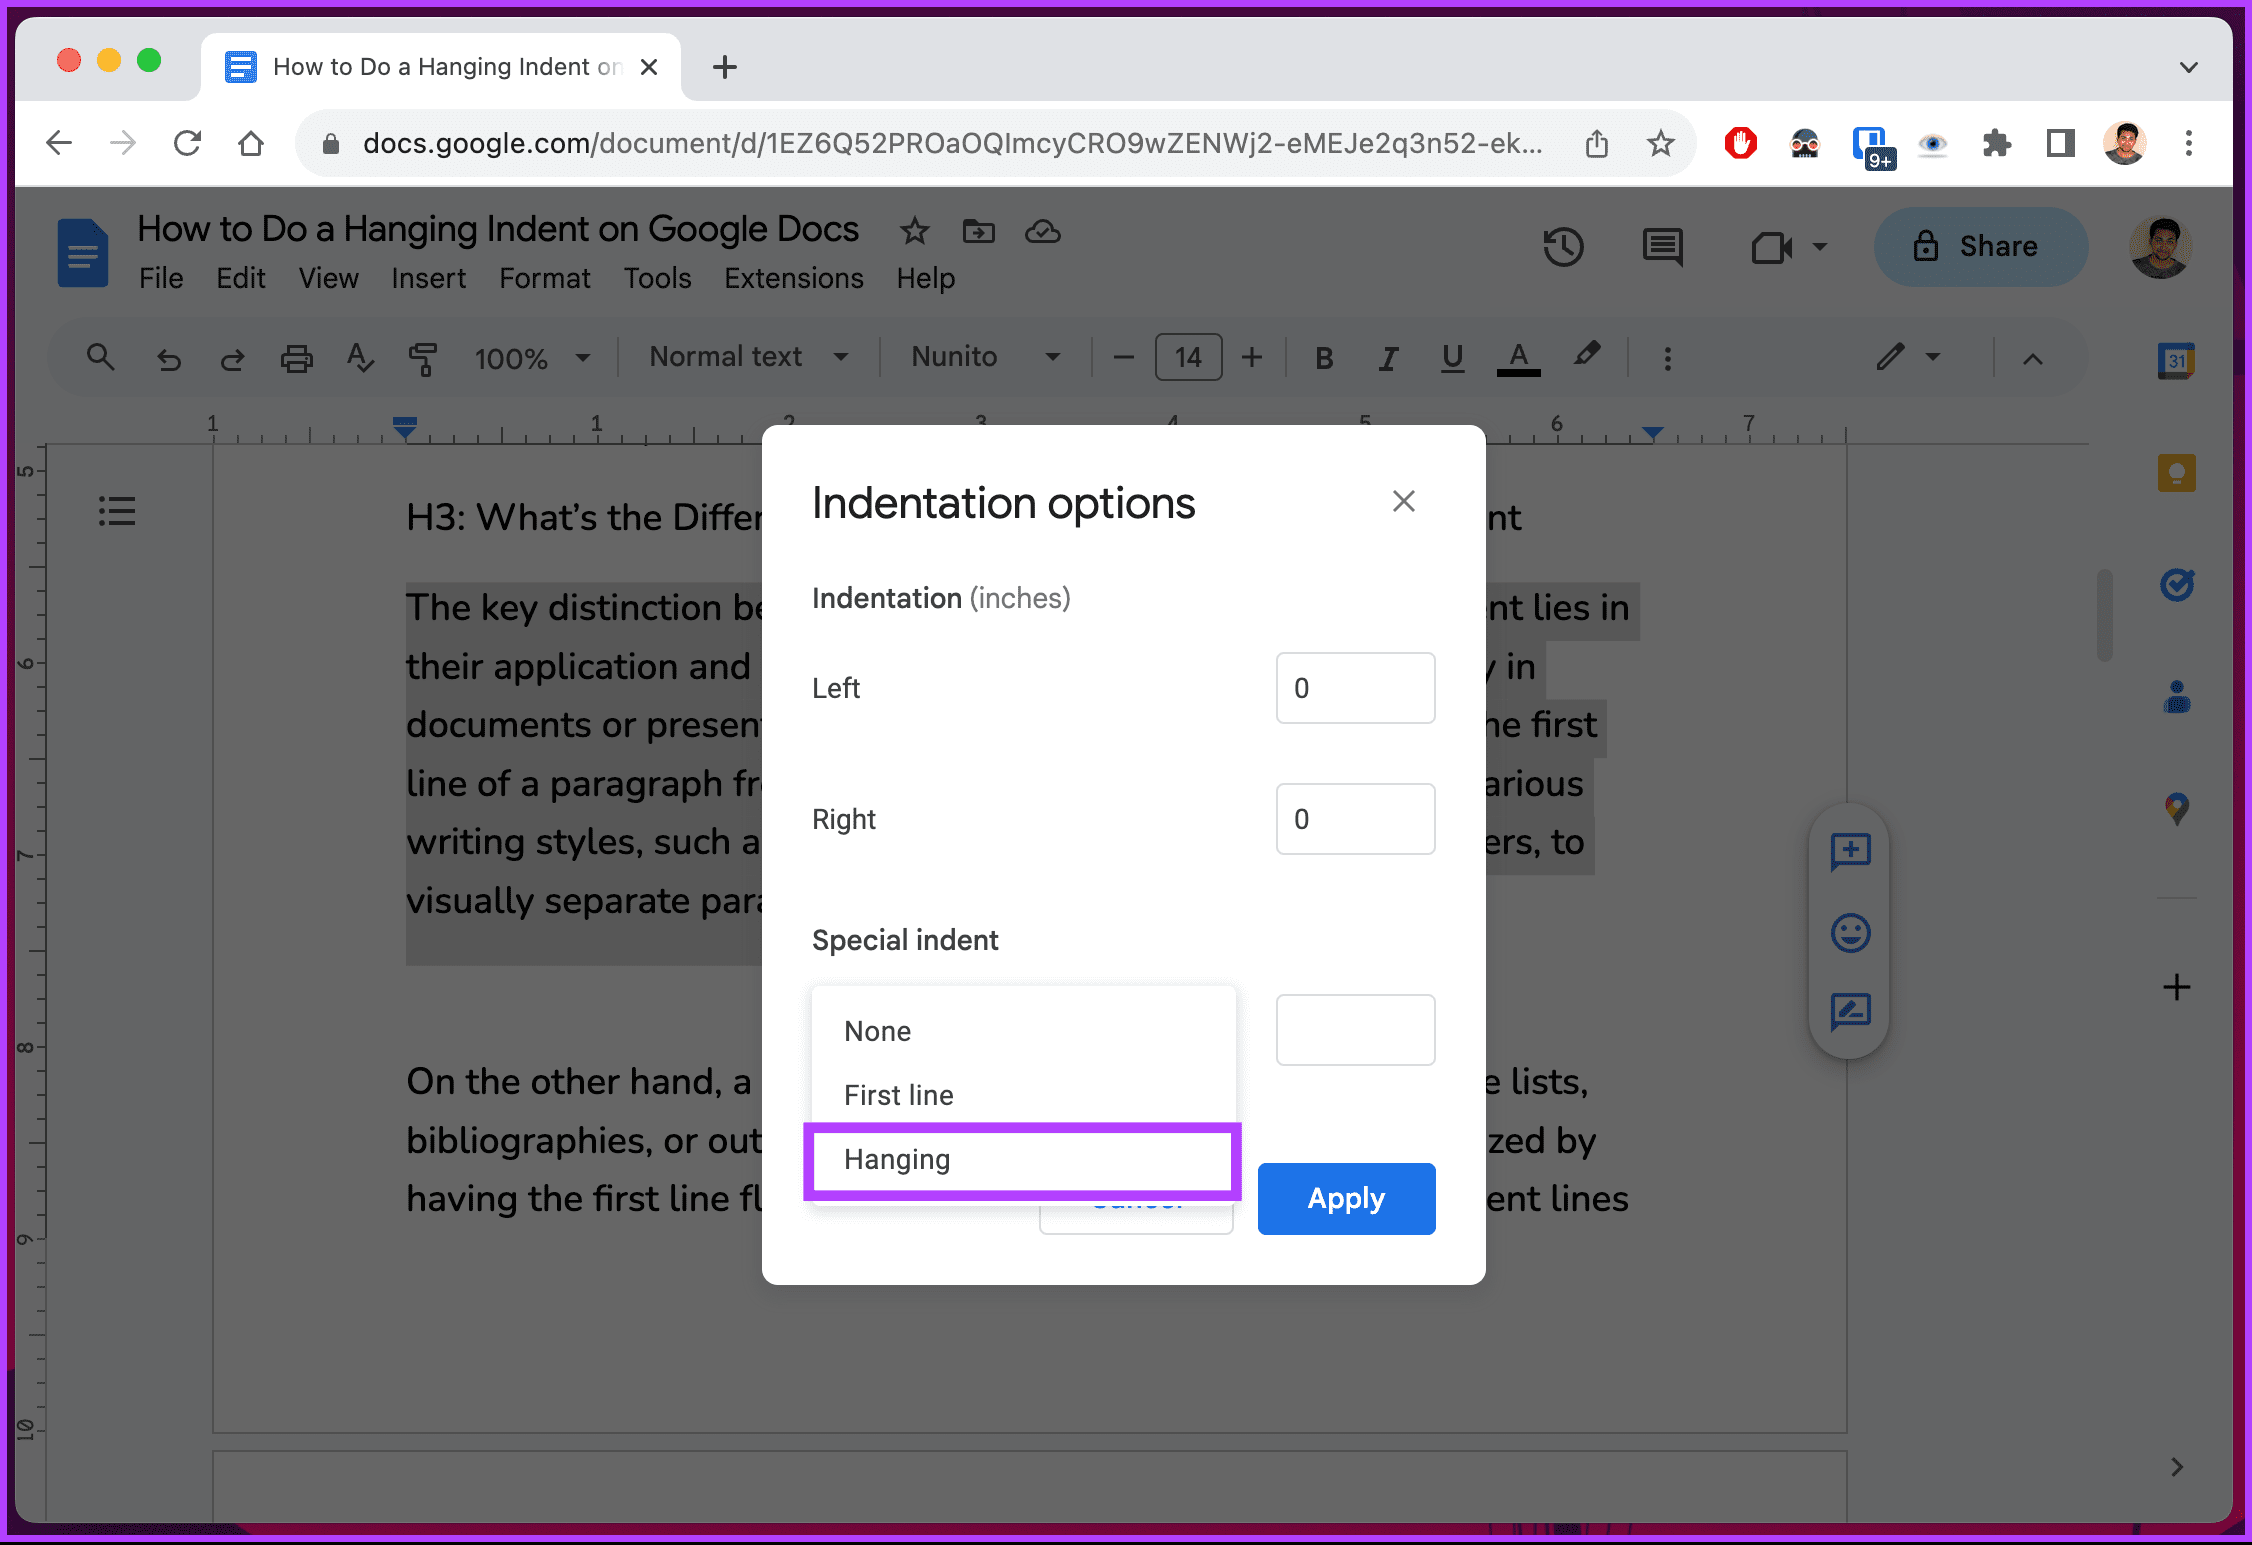
Step 6: In the field next to Hanging, enter a value for how far right you want the hanging indent to be. The default hanging indent is 0.5 inches. Finally, click Apply.
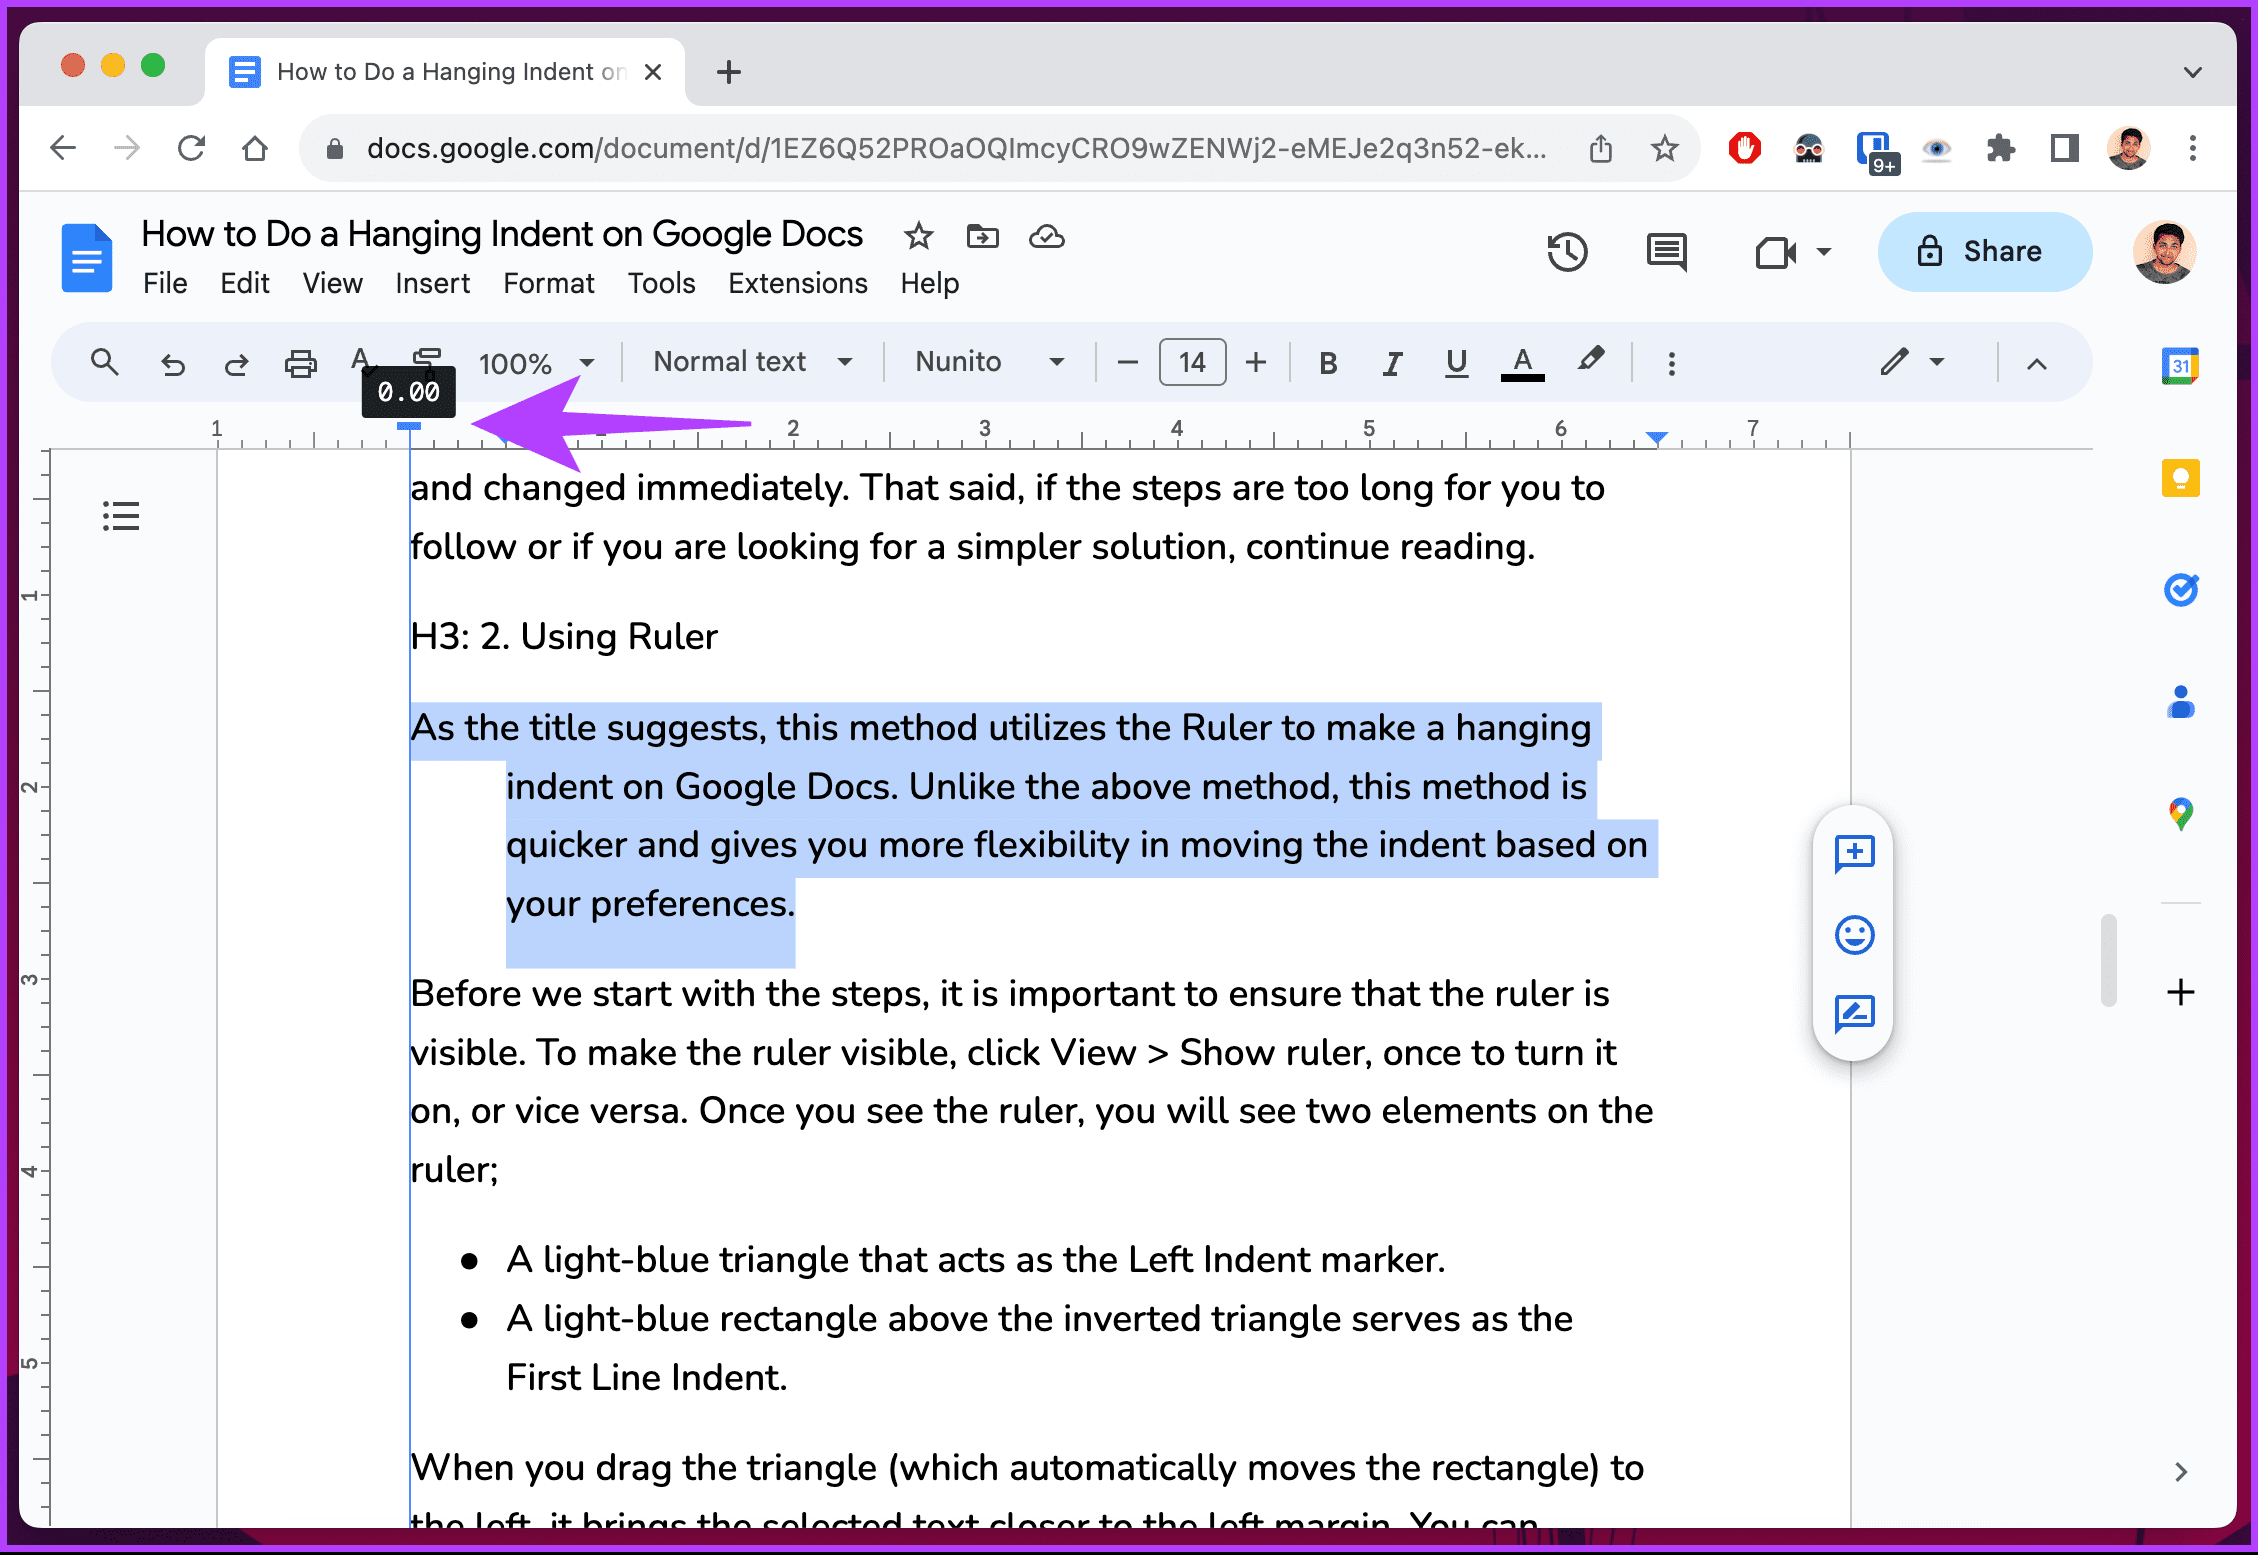
That’s it. Once you apply the indent, the selected text will be formatted and changed immediately. That said, if the steps are too long for you to follow or if you are looking for a simplified solution, continue reading.
2. Using Ruler
As the title suggests, this method utilizes the ruler to make a hanging indent on Google Docs. Unlike the above method, this method is quicker and gives you more flexibility in moving the indent based on your preferences.
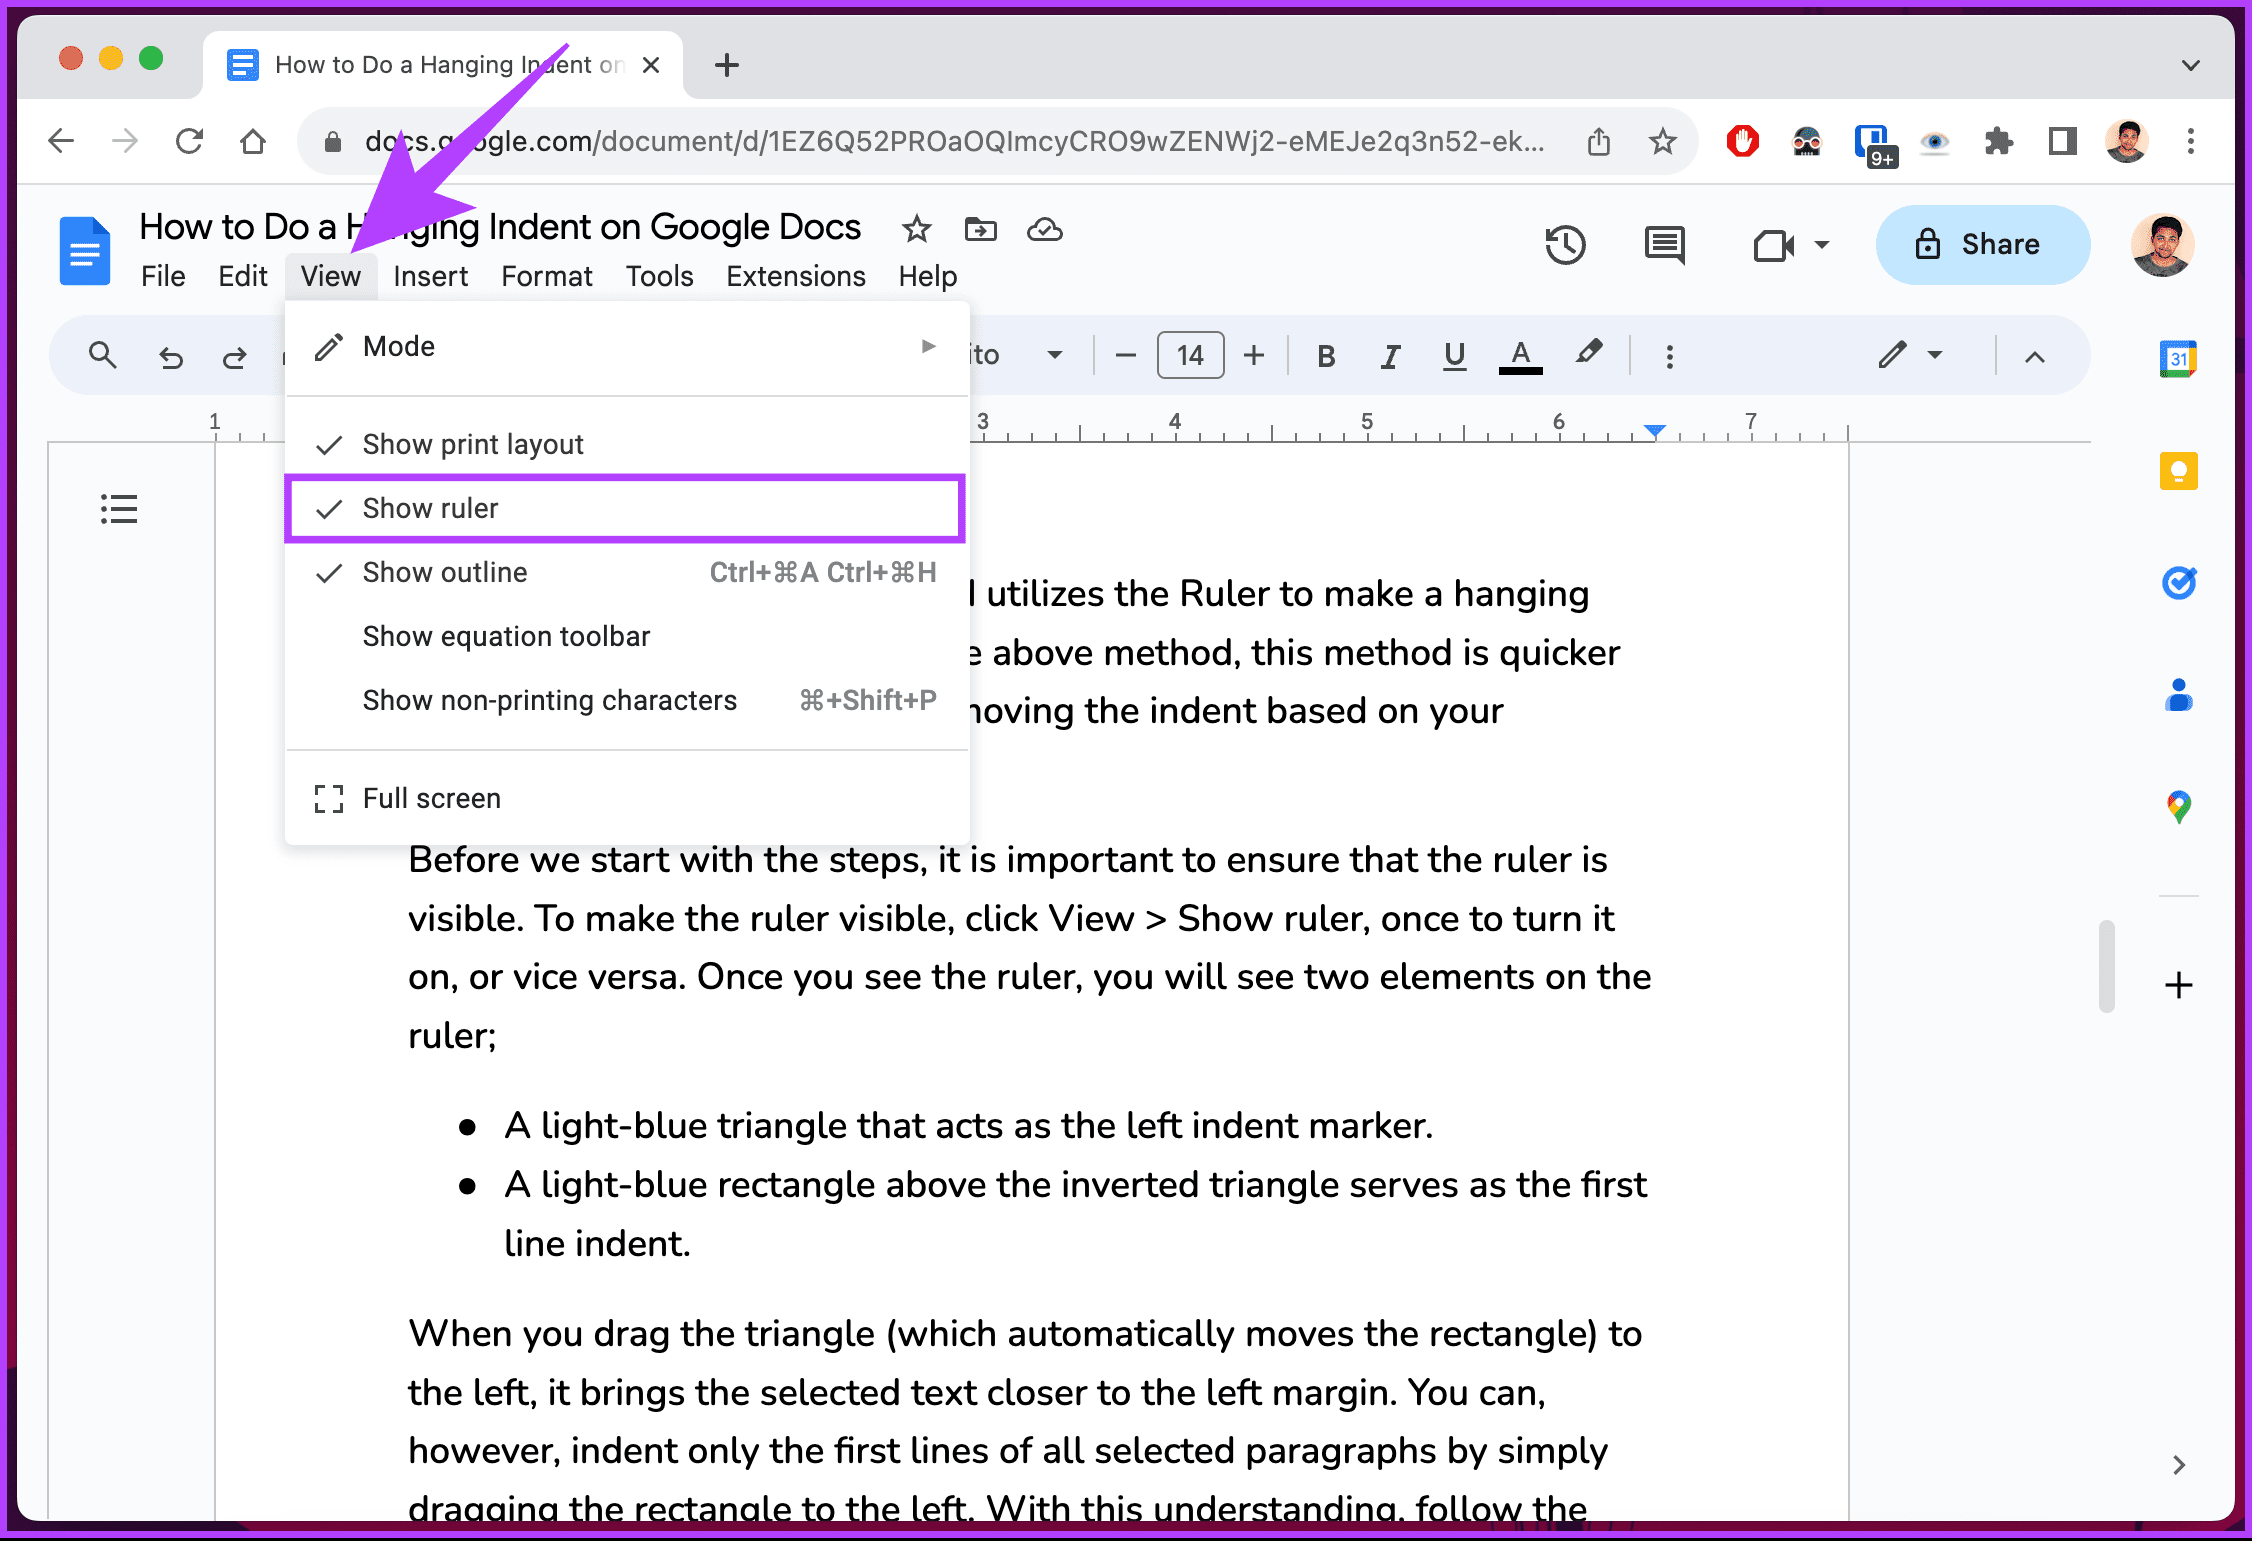
Before we start with the steps, it is essential to ensure the ruler is visible. If it’s not visible, click View > select Show ruler. A tick should appear before it, indicating its visibility.
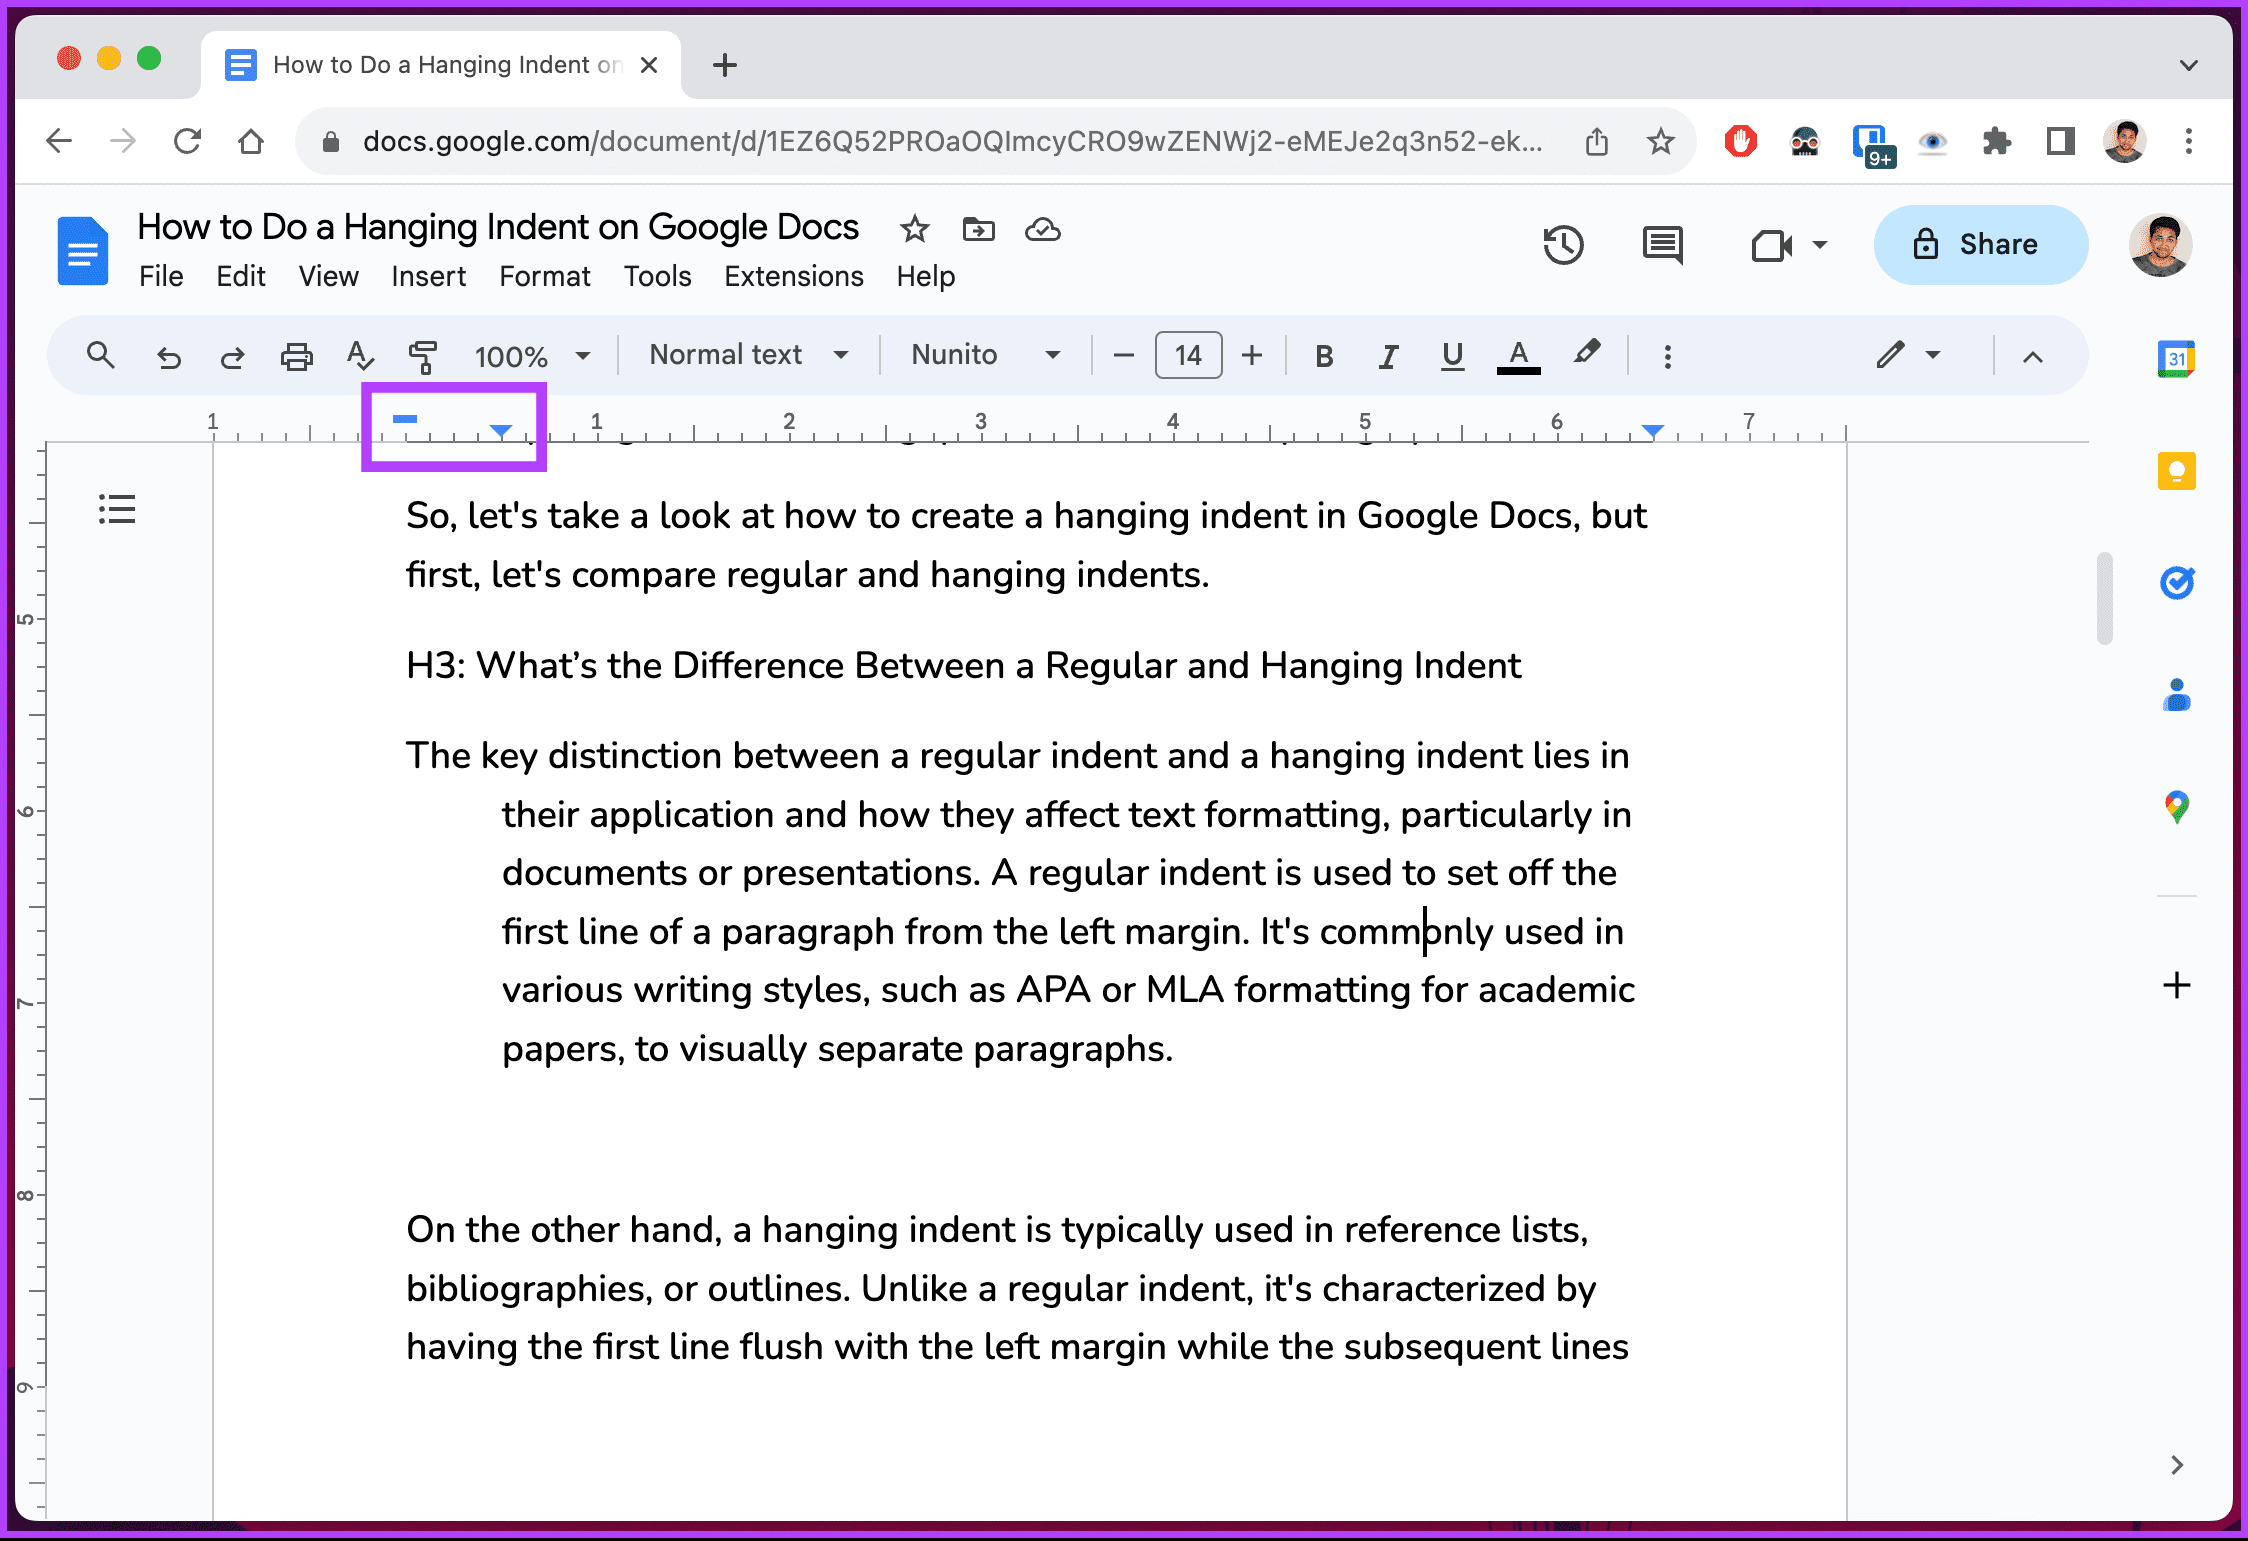
Once you see the ruler, you will see two elements on the ruler;
- A light-blue triangle that acts as the left indent marker.
- A light-blue rectangle above the inverted triangle serves as the first line indent.
When you drag the triangle (which automatically moves the rectangle) to the left, it brings the selected text closer to the left margin. However, you can indent only the first lines of all selected paragraphs by dragging the rectangle to the left. Follow the steps below.
Note: We assume you are already in the document you wish to indent.
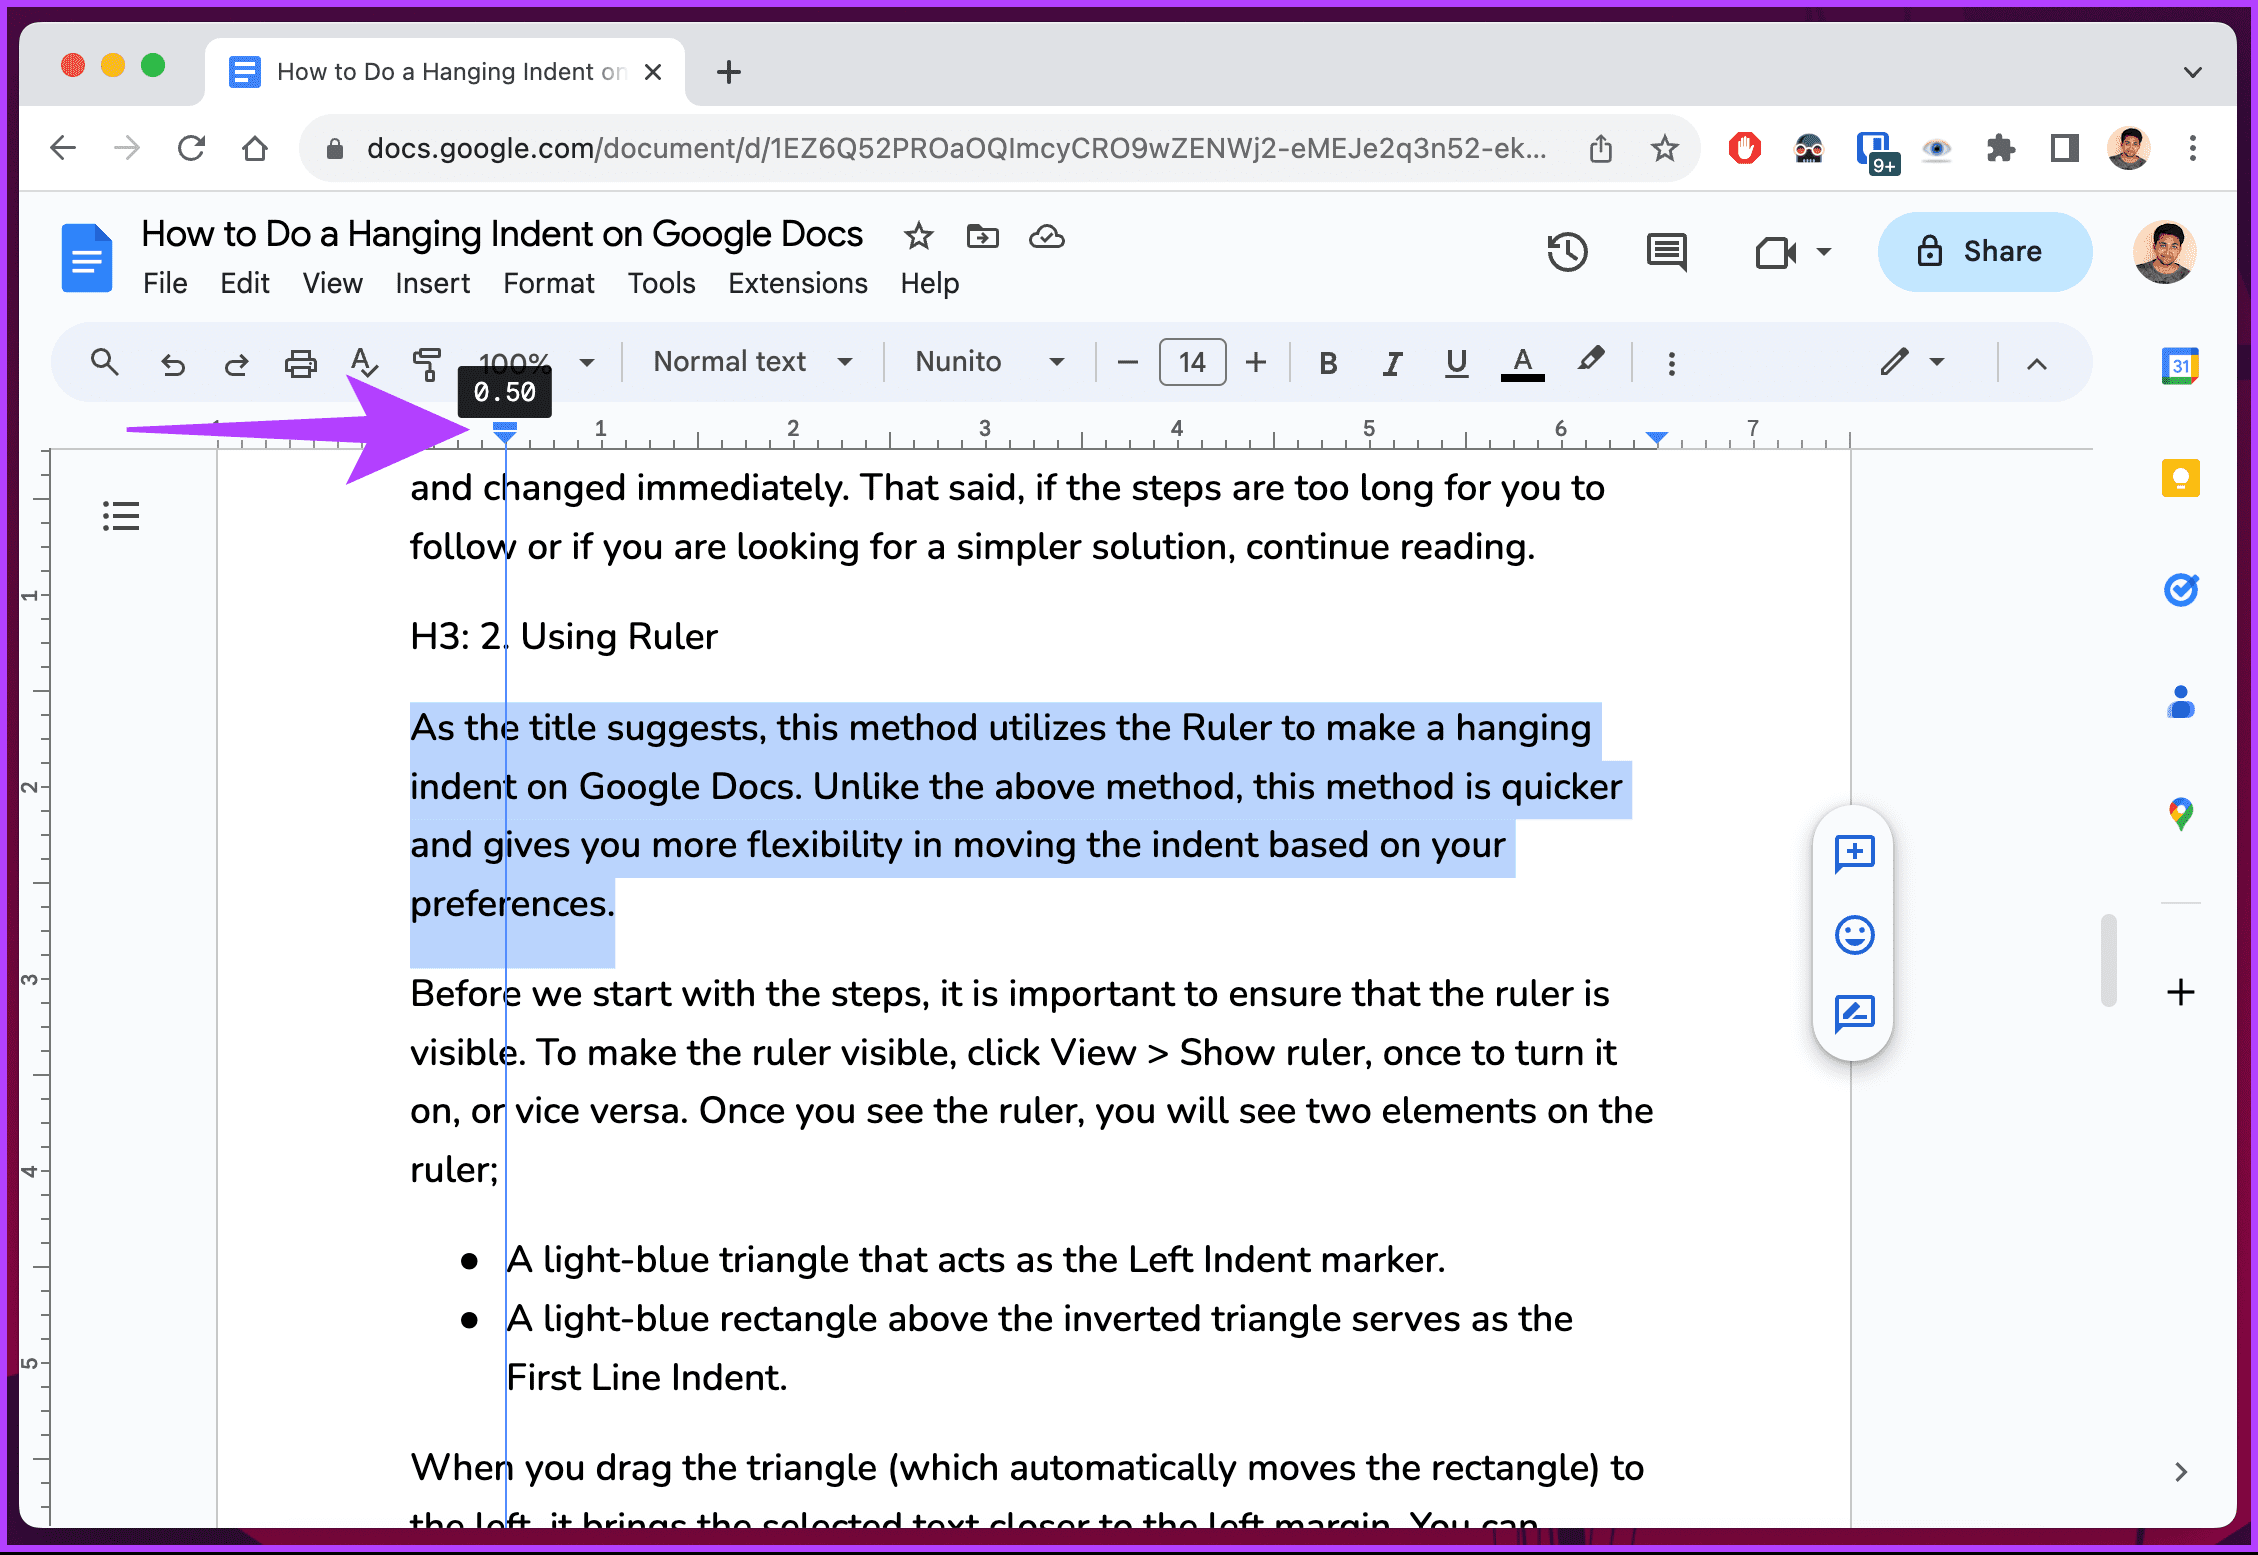
Step 1: Select the text to which you want to apply the hanging indent.
Step 2: Click and drag the left indent marker (light-blue triangle). To demonstrate, we are moving it 0.5 inches to the right.
Step 3: If you are okay with the indent, click the first line indent (light-blue rectangle) and drag it back to the gray line marking the page margin.
There you go. You have successfully given a hanging indent to the selected text. You will have to repeat the above steps if you have multiple indents to be made in the document. Check out the following method if you don’t like dragging markers.
3. Using Keyboard Shortcut
To break things down for you, there is no shortcut to hanging indent on Google Docs. However, there is a workaround that works perfectly fine. If you are working on professional documents, we recommend using the above methods for fine-tuning.
Step 1: Firstly, open Google Docs in your preferred browser on your Windows or Mac computer. Navigate to the document in which you want to do indentation.
Step 2: Once in the document, position the cursor where you want to create the hanging indent and press Shift + Enter on Windows or Shift + Return on Mac on your keyboard.
Note: You won’t see any visible changes until you execute the next step.
Step 3: Finally, press Tab. This will create a line break subjecting to create a hanging indent.

That’s about it. It’s straighforward and gets the job done. However, it is not highly recommended.
Also Read: How to make a table of contents in Google Docs
How to Add a Hanging Indent in Google Docs App
Unlike desktop, there’s no direct way (as of writing this guide) to make a hanging indent on Google Docs’ mobile app. However, there’s a trick to using formatting options to get your intended results. Note that the output may not always be accurate, but it should be sufficient to get things rolling. Follow the instructions below.
Note: The steps are the same for both Android and iOS. However, for demonstration, we are going with Android.
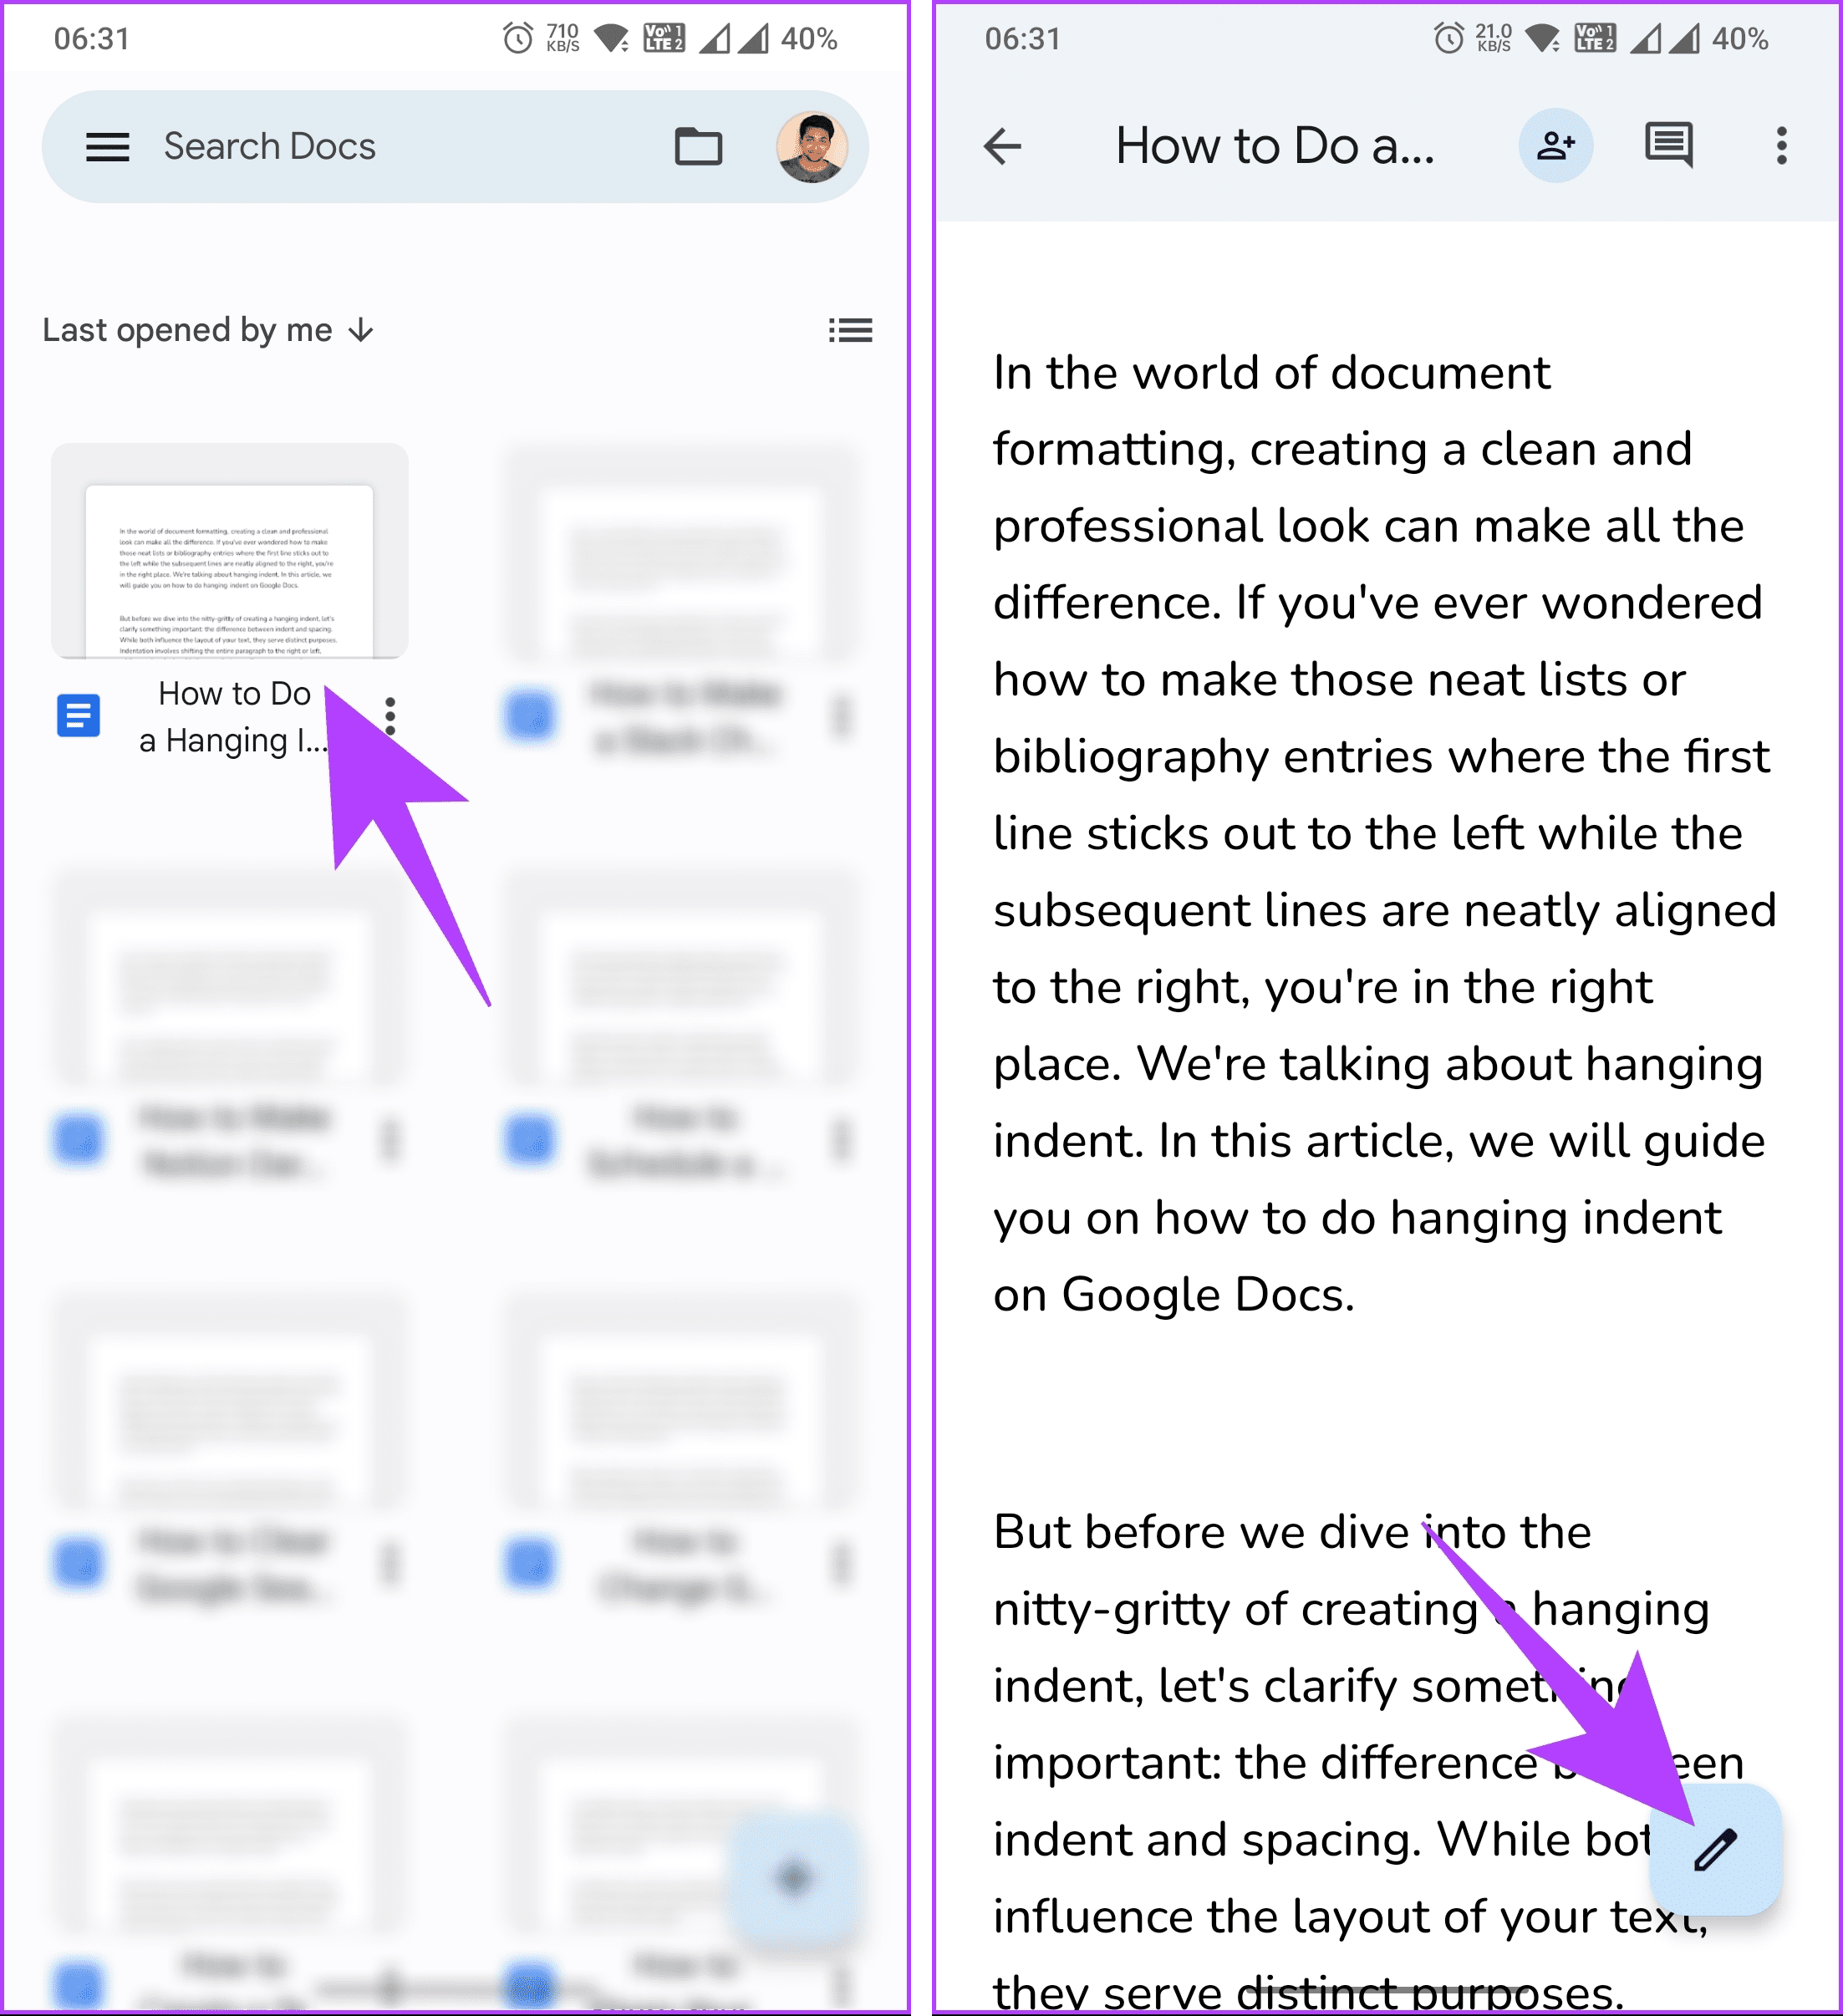
Step 1: Launch Google Docs on your Android or iOS device. Navigate to the document you want to add hanging indent to and tap on the floating pencil icon in the bottom right corner.
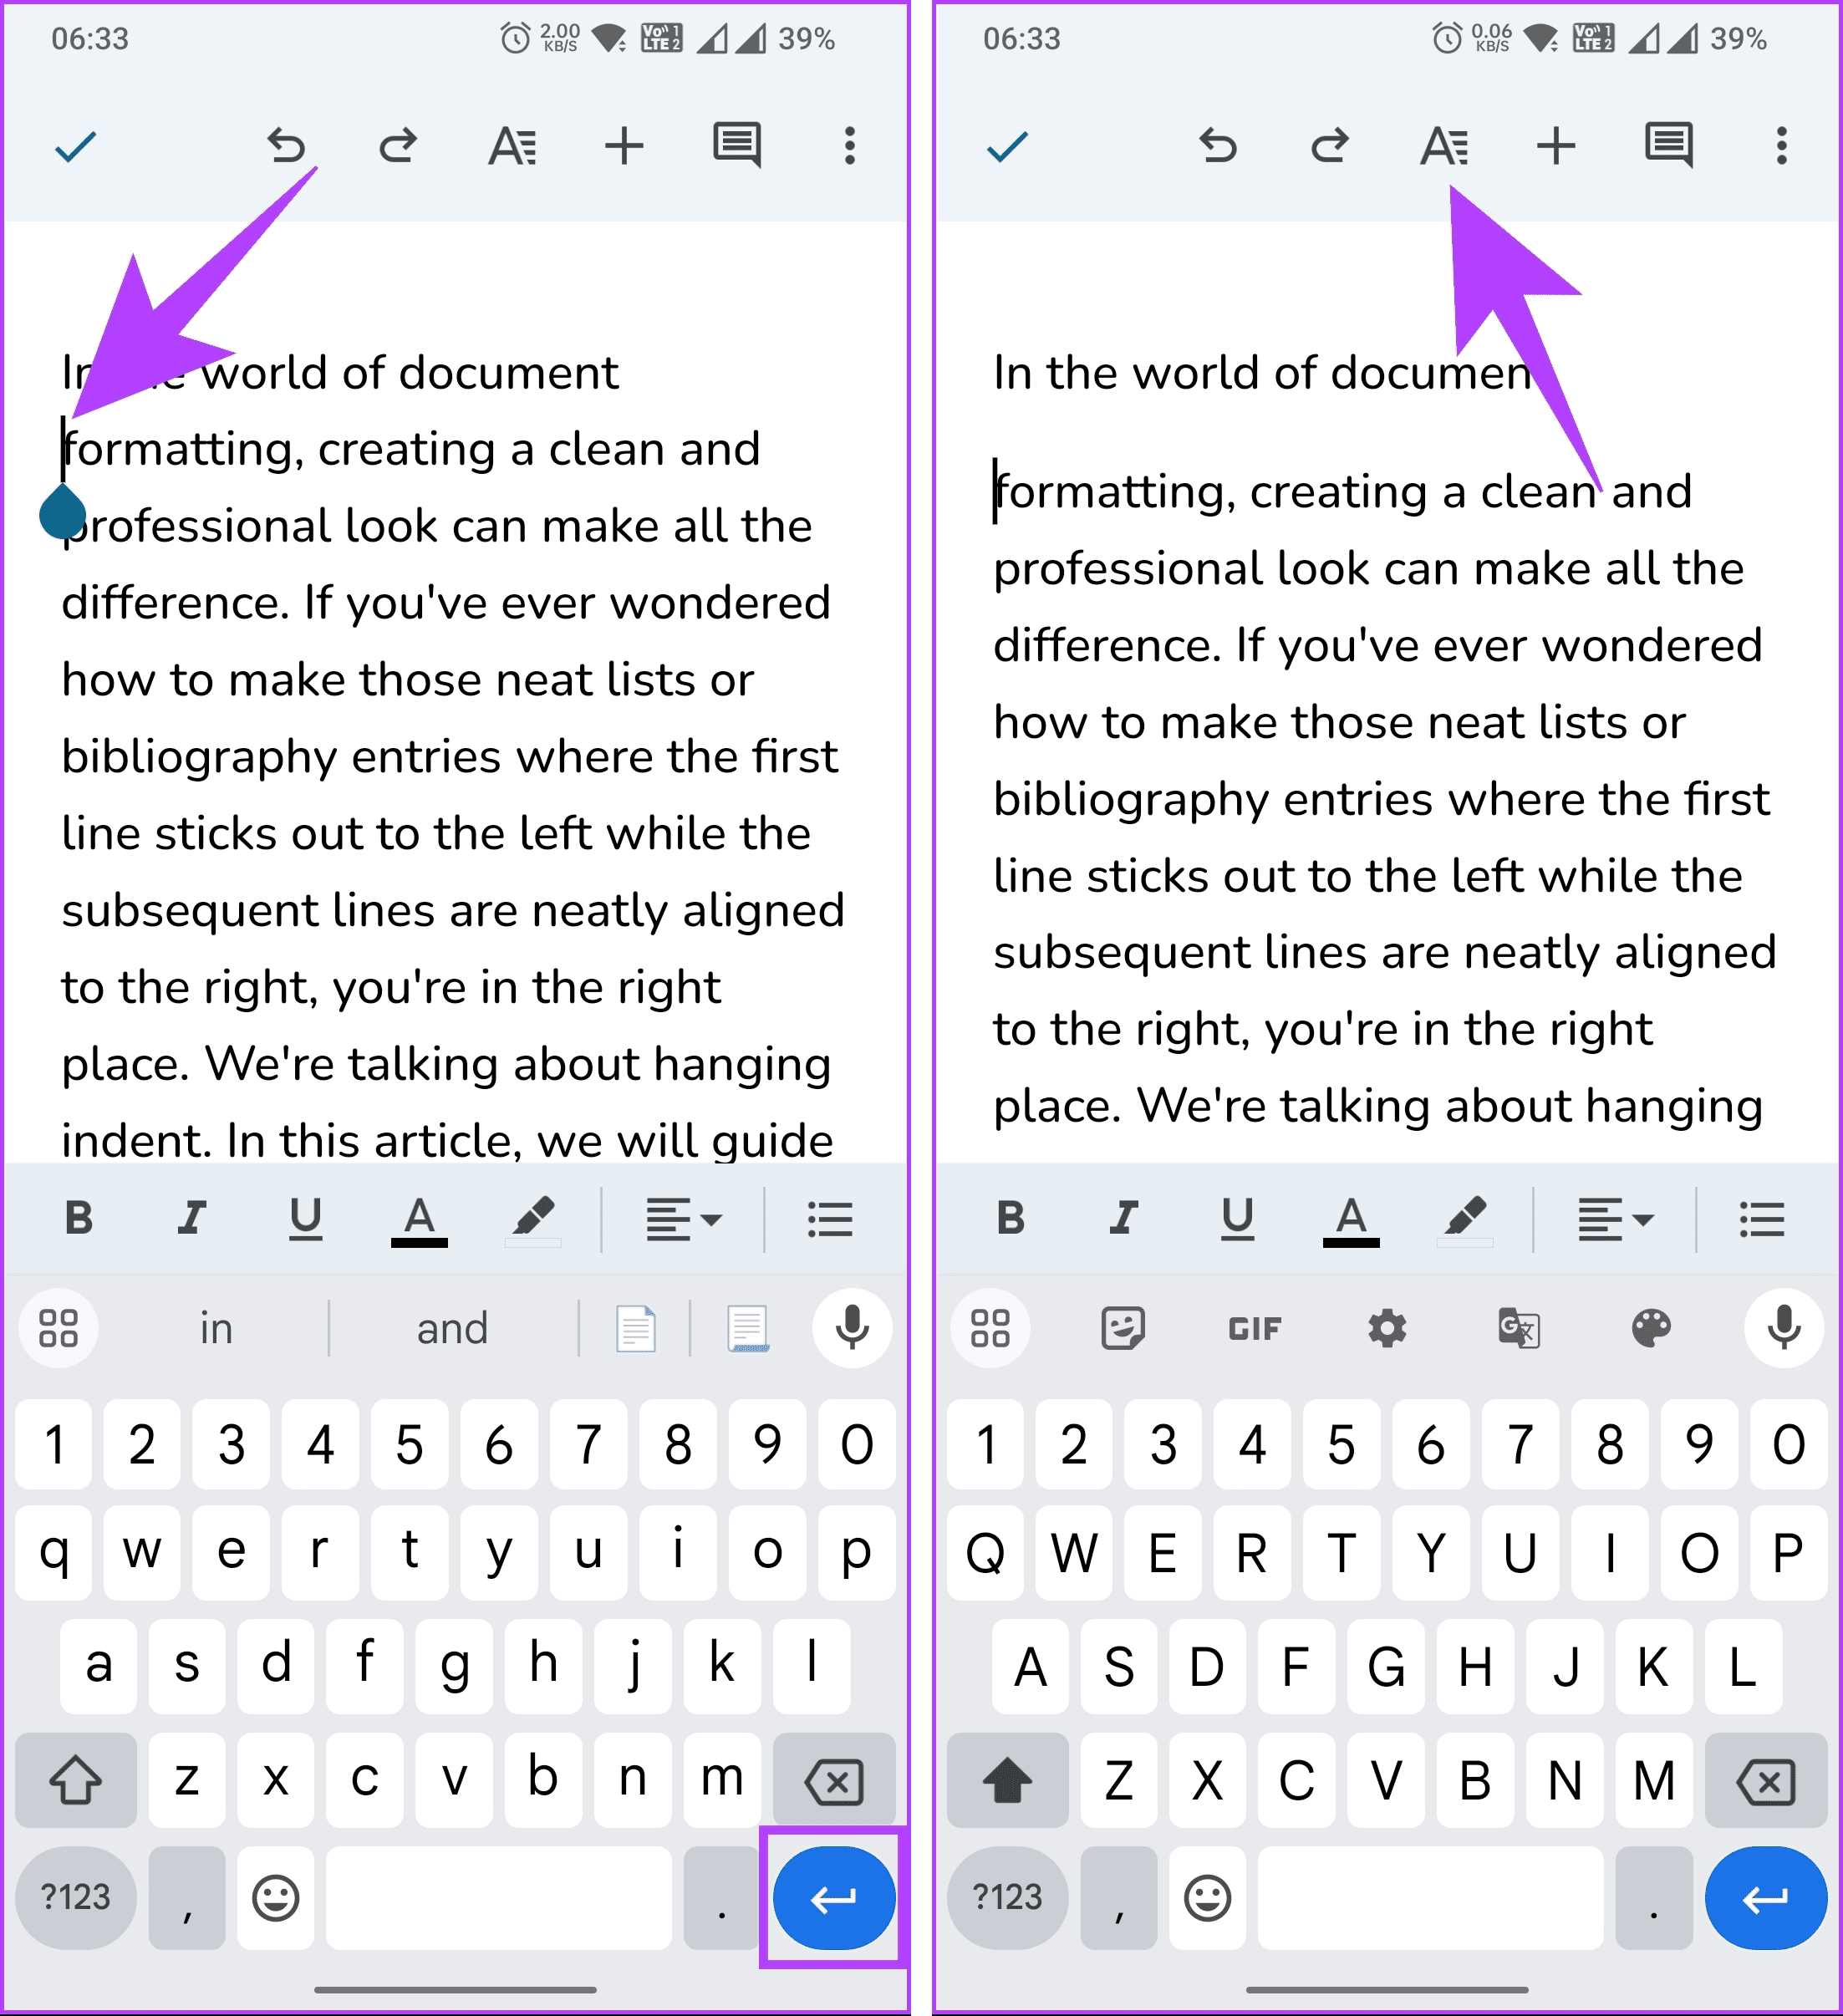
Step 2: Place the cursor before the text you want to add an indent and press the return key on your keyboard.
Step 3: Now, tap the A icon in the top navigation bar.
Step 4: In the bottom sheet, switch to the Paragraph tab. Now, select the right-indent option.
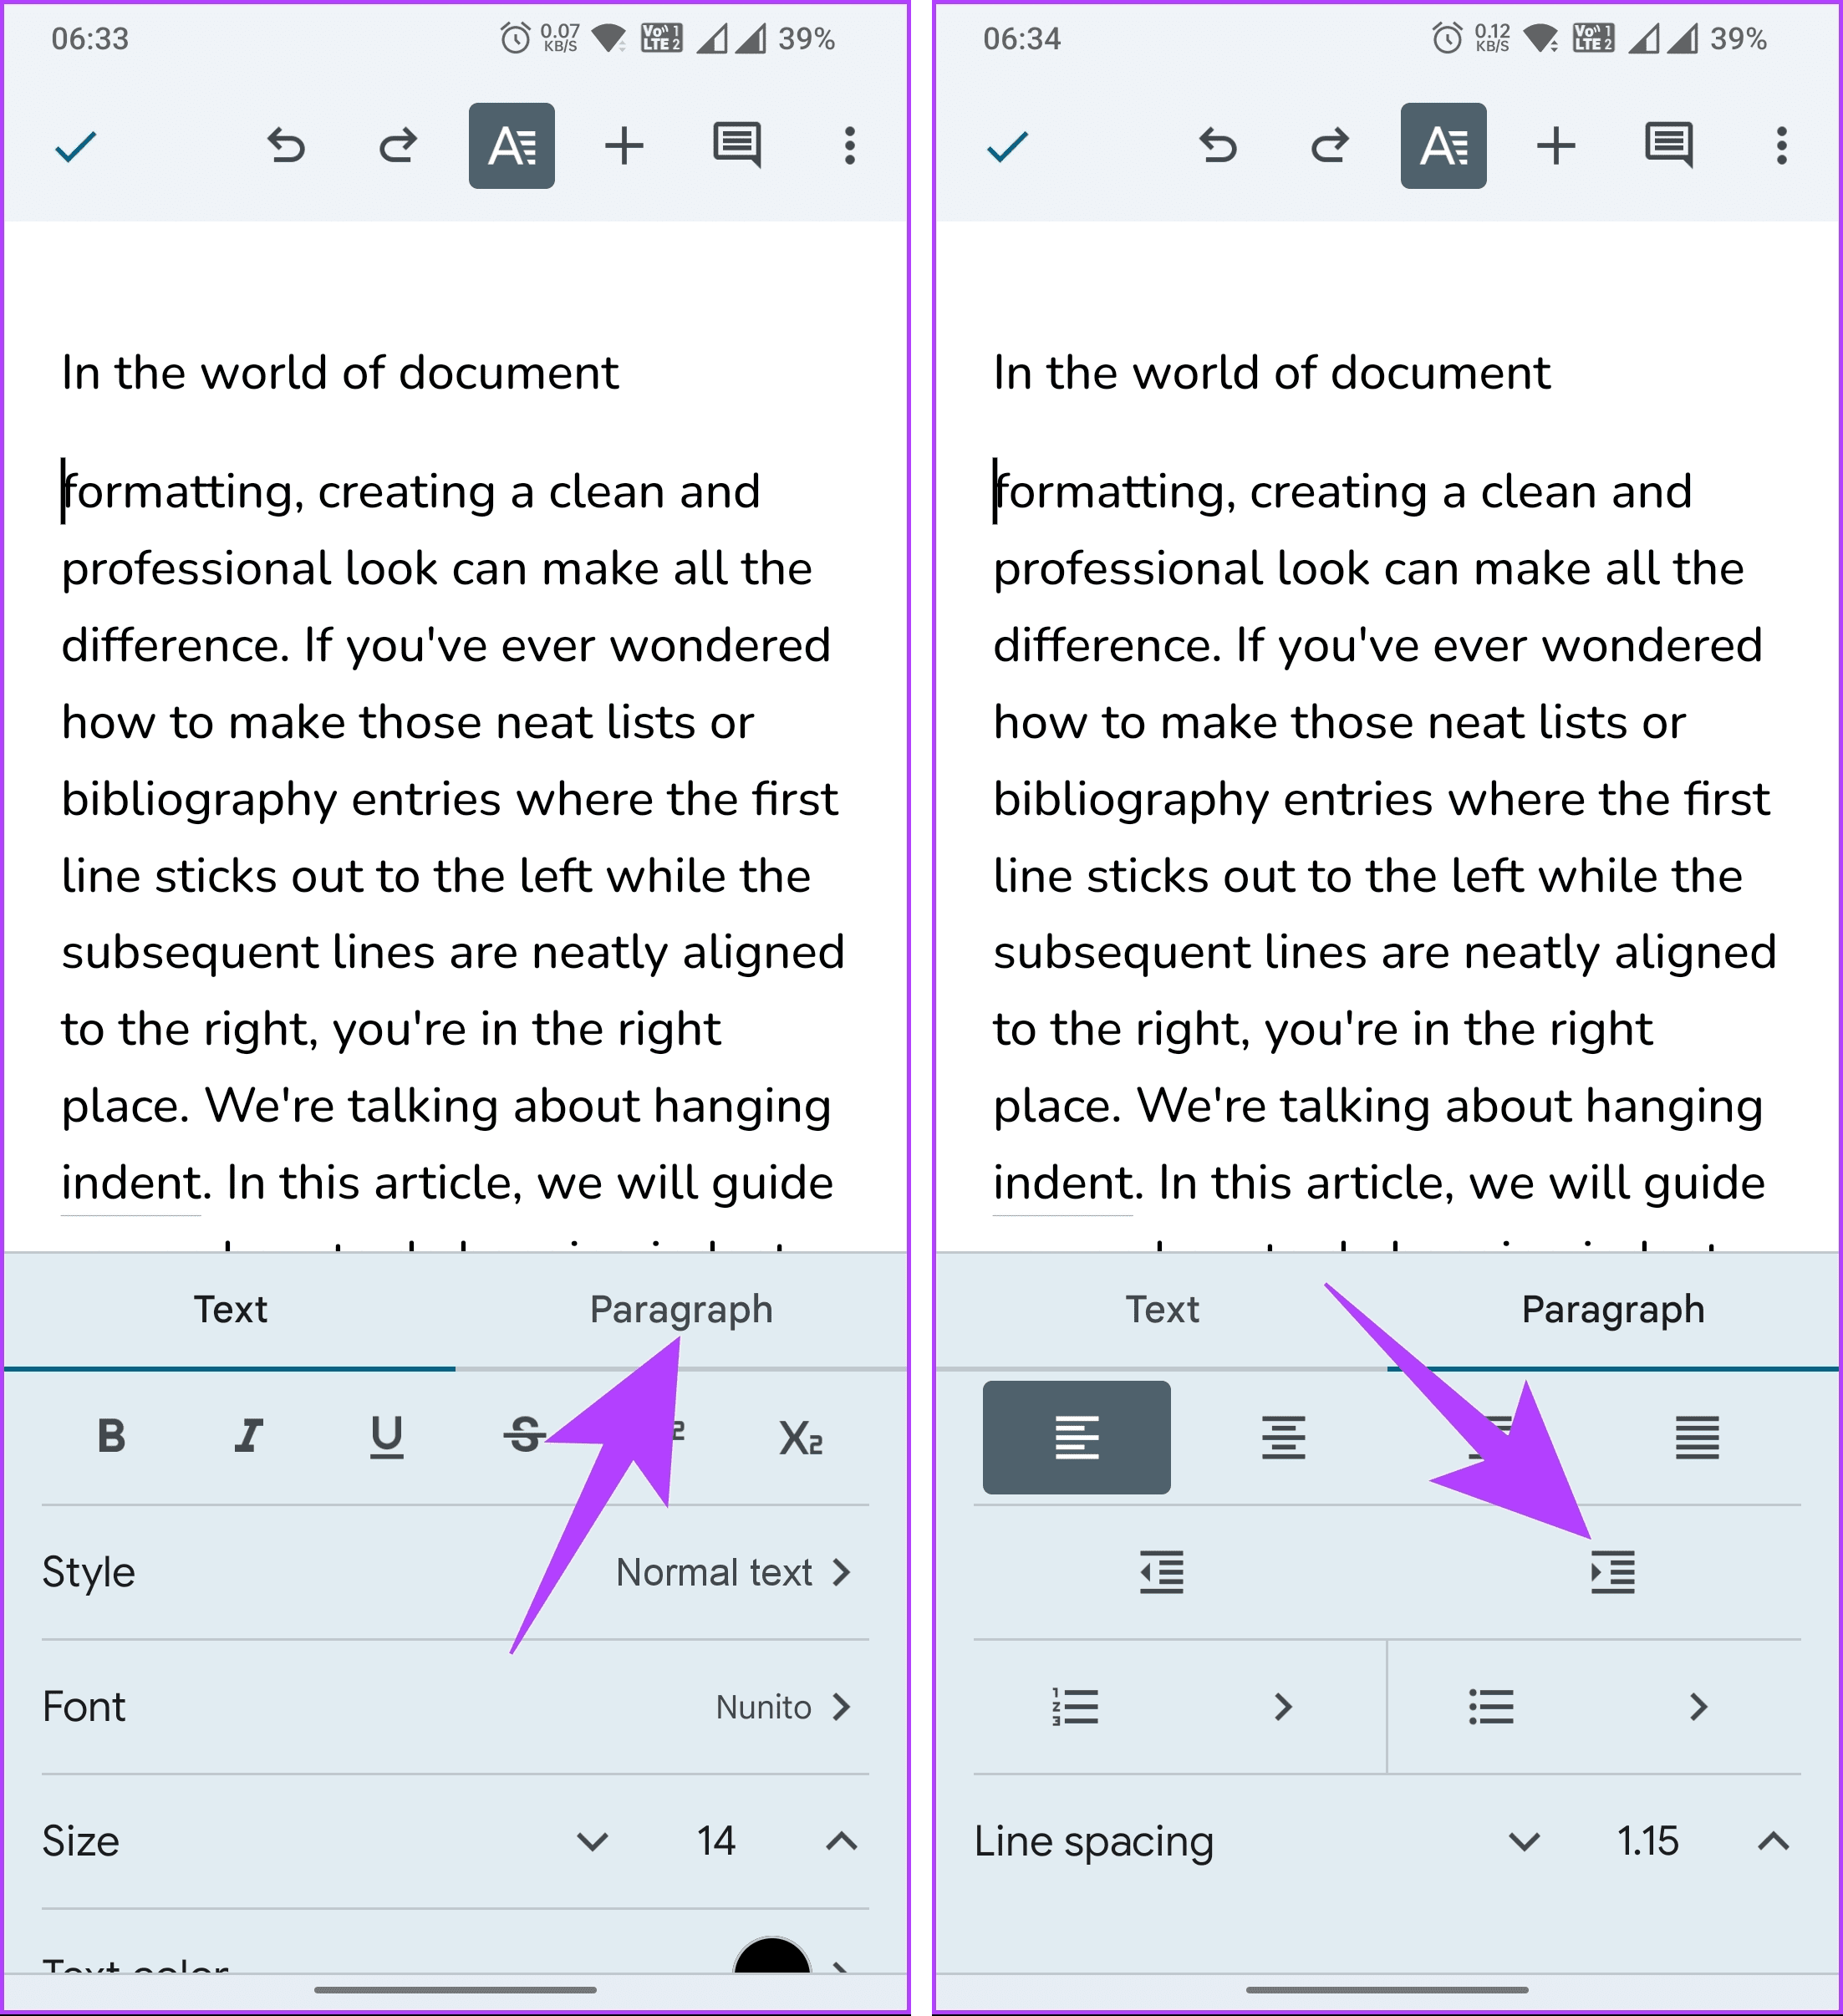
There you have it. You should now see a hanging indent. That said, you don’t have as much flexibility as you would on a desktop, but you have access to edit on the go with a mobile device.
FAQs on Creating a Hanging Indent in Google Docs
There could be several reasons why you cannot create a hanging indent in Google Docs. One of the most common errors is positioning the cursor at the beginning of the line where you want the hanging indent to appear. Another common cause is an Internet connection problem.
The default hanging indent spacing in Google Docs is 0.5 inches or 1.27 cm. You can, however, customize the spacing to meet your needs.
Format Your Document
Now that you know how to do hanging indent on Google Docs, you can effectively give your papers, references, and bibliographies a more organized appearance. You may also want to read how to use AI writing tool in Gmail and Google Docs.
Was this helpful?
Last updated on 08 September, 2023
Read Next
 3 Best Ways to Indent a Paragraph in Microsoft Word
An indent is a gap between the left page margin and the beginning of the text in a Word document.
3 Best Ways to Indent a Paragraph in Microsoft Word
An indent is a gap between the left page margin and the beginning of the text in a Word document.
 How to Convert Google Forms to PDF, Google Docs, or Word
There are multiple ways to share Google Forms.
How to Convert Google Forms to PDF, Google Docs, or Word
There are multiple ways to share Google Forms.
 How to Insert a Date Picker in Google Sheets and Google Docs
Google Sheets and Google Docs provide a free, online alternative to Microsoft Office, along with unique features.
How to Insert a Date Picker in Google Sheets and Google Docs
Google Sheets and Google Docs provide a free, online alternative to Microsoft Office, along with unique features.
 How to Clear the Cache in Google Drive and Docs
Both Google Drive and Google Docs are two of the finest cloud-based services that you can try.
How to Clear the Cache in Google Drive and Docs
Both Google Drive and Google Docs are two of the finest cloud-based services that you can try.
 How to Create a Custom Template in Google Docs
Google Docs is excellent word-processing platform.
How to Create a Custom Template in Google Docs
Google Docs is excellent word-processing platform.
 How to Insert Endnotes and Footnotes In Google Docs
In Google Docs, endnotes and footnotes share similarities with citations and references to provide additional information for a particular part of a document.
How to Insert Endnotes and Footnotes In Google Docs
In Google Docs, endnotes and footnotes share similarities with citations and references to provide additional information for a particular part of a document.
 8 Best Fixes for Google Docs Not Downloading PDF File
Google Docs lets you create and share documents with your professional or personal contacts.
8 Best Fixes for Google Docs Not Downloading PDF File
Google Docs lets you create and share documents with your professional or personal contacts.
 How to Search for a Word in Google Docs on Desktop and Mobile
Google Docs simplifies collaborative document creation with its cloud-based word-processing features.
How to Search for a Word in Google Docs on Desktop and Mobile
Google Docs simplifies collaborative document creation with its cloud-based word-processing features.
The article above may contain affiliate links which help support Guiding Tech. The content remains unbiased and authentic and will never affect our editorial integrity.