How to Disable Password Expiration for a Microsoft Account
It’s possible to turn off password expiration for your Microsoft account on Windows, but it requires resetting your current password. If you are fine with that, employ these steps to disable the password expiration feature for your Microsoft account.
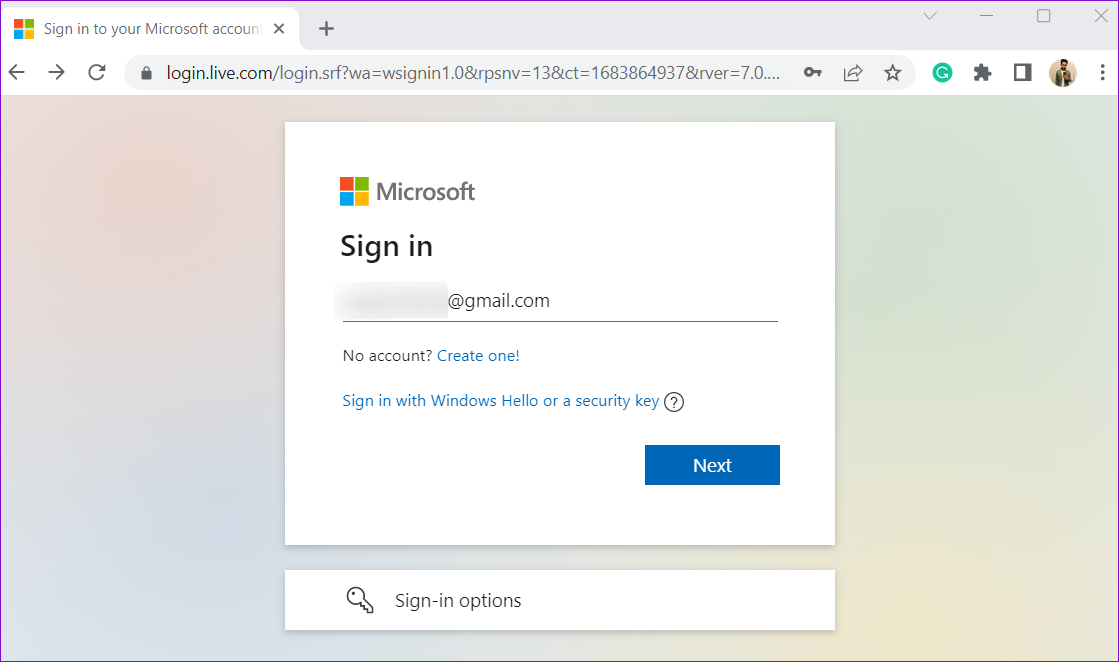
Step 1: Open up your preferred web browser, head over to Microsoft’s account security page, and sign in with your account credentials.
Step 2: Under Password security, click on Change my password.

Step 3: Enter your current password and input your new password twice.

Step 4: Clear the Make me change my password every 72 days checkbox and hit Save.

Following that, you should not see the “Your password has expired and must be changed” message at regular intervals.
How to Disable Password Expiration for a Local User Account
For those using a local user account in Windows 11, disabling the password expiration feature is a relatively simple task that does not necessitate a password reset. Here’s how to do it.
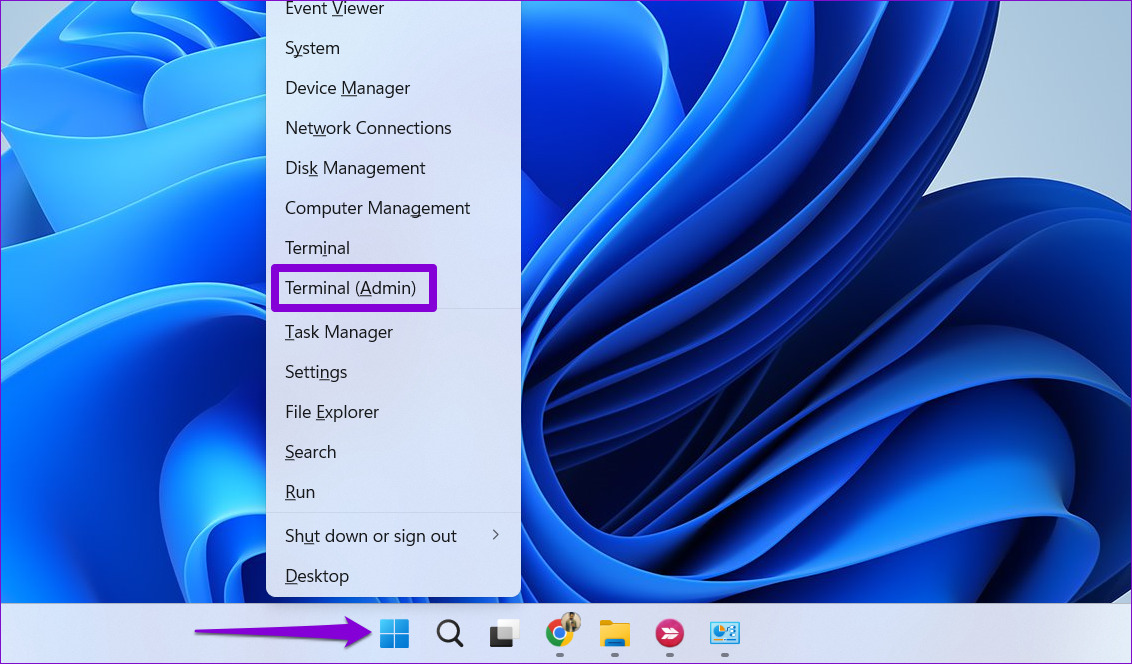
Step 1: Right-click on the Start icon and select Terminal (Admin) from the list.
Step 2: Paste the following command in the console and press Enter to disable password expiration for a local account:
wmic UserAccount where Name="Username" set PasswordExpires=False
Make sure you replace Username in the above command with the actual name of the local account.

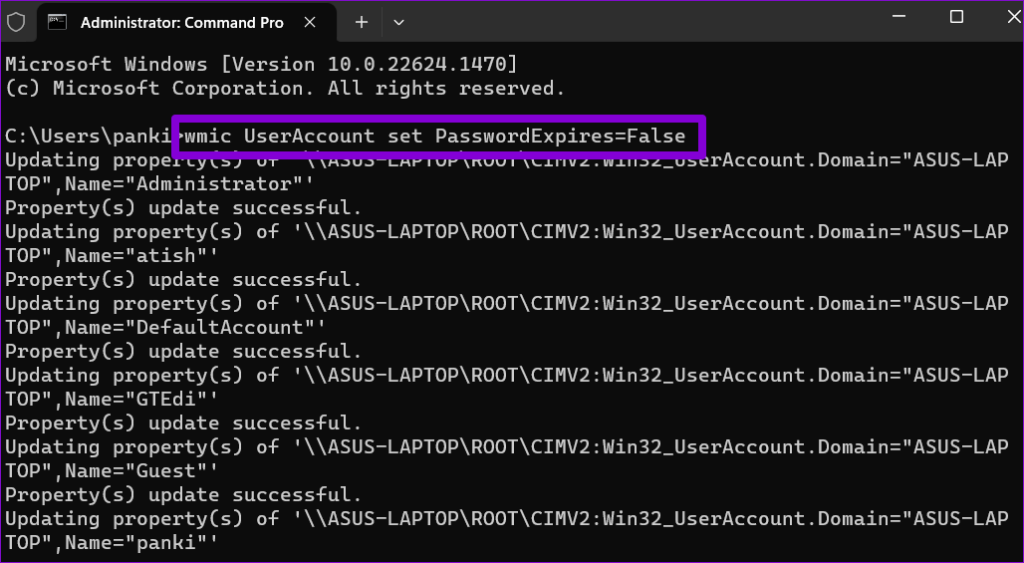
Running the above command will disable the password expiration feature for the specified local account in Windows 11. Alternatively, if you want to disable password expiration for all the local accounts on your system, open the Command Prompt with administrative privileges again. Then, type in the following command and hit Enter.
wmic UserAccount set PasswordExpires=False
Was this helpful?
Last updated on 27 July, 2024
Read Next
 How to Disable the Login Password Screen in Windows 10
Entering a password every time you log in to your Windows 10 computer can get tiring after a while.
How to Disable the Login Password Screen in Windows 10
Entering a password every time you log in to your Windows 10 computer can get tiring after a while.
 What’s the Difference Between PIN and Password for Login in Windows 10
We carry almost our entire digital life in laptops, and if security is compromised, anyone can access our both professional and personal life.
What’s the Difference Between PIN and Password for Login in Windows 10
We carry almost our entire digital life in laptops, and if security is compromised, anyone can access our both professional and personal life.
 5 Ways to Fix iCloud on Windows 10 Keeps Asking for Password Issue
Basic Fixes: Check iCloud Server Status: As a starting point, you should check whether iCloud's servers are running normally.
5 Ways to Fix iCloud on Windows 10 Keeps Asking for Password Issue
Basic Fixes: Check iCloud Server Status: As a starting point, you should check whether iCloud's servers are running normally.
 How to Reset Admin Password in Windows 11/10
Method 1: Reset Microsoft Account Password Windows now uses Microsoft Account to sign into your computer.
How to Reset Admin Password in Windows 11/10
Method 1: Reset Microsoft Account Password Windows now uses Microsoft Account to sign into your computer.
 5 Fixes if Outlook Keeps Asking For Password on Windows
Fix 1: Open Outlook in Safe Mode Opening Outlook in Safe Mode allows you to run the application without add-ins.
5 Fixes if Outlook Keeps Asking For Password on Windows
Fix 1: Open Outlook in Safe Mode Opening Outlook in Safe Mode allows you to run the application without add-ins.
 How to Password Protect a Folder on Windows 11
How to Lock a Folder on Windows 11 Using Built-in Encryption Function Note: The steps to encrypt files on Windows 11 are the same as those for encrypting folders. Step
How to Password Protect a Folder on Windows 11
How to Lock a Folder on Windows 11 Using Built-in Encryption Function Note: The steps to encrypt files on Windows 11 are the same as those for encrypting folders. Step
 4 Ways to Remove Login Password From Windows 11
Method 1.
4 Ways to Remove Login Password From Windows 11
Method 1.
 3 Easy Ways to Password Protect a ZIP File on Windows
Have you ever wanted to keep your sensitive files and documents safe and secure?
3 Easy Ways to Password Protect a ZIP File on Windows
Have you ever wanted to keep your sensitive files and documents safe and secure?
The article above may contain affiliate links which help support Guiding Tech. The content remains unbiased and authentic and will never affect our editorial integrity.