Fix 1: Use Another Installer File
Try using a new installer file and then check if the installation completes without an error. To avoid any problems, re-download the app’s installer file from the official website.
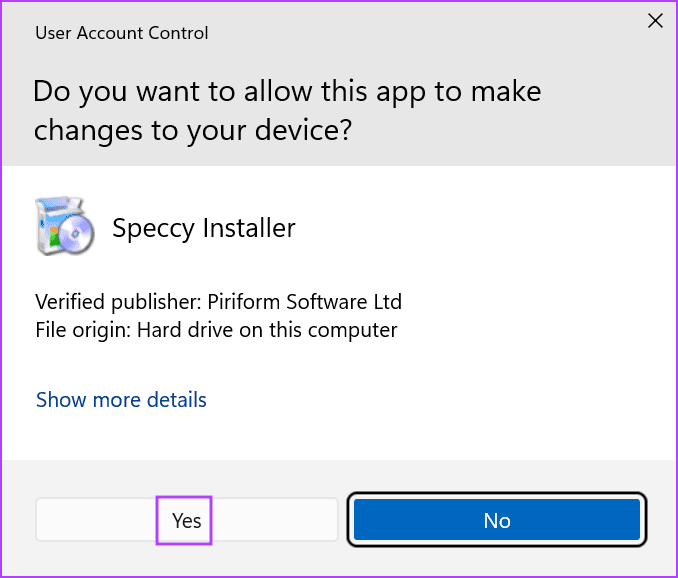
Step 1: Open File Explorer > navigate to the Downloads section > right-click on the installer file > select Run as administrator.

Step 2: The User Account Control window will pop up. Click on Yes to launch the installer file with administrator rights.
Step 3: Check if the error pops up now.
Fix 2: Restart Windows Installer Service
If the service glitches and stops working properly, you can’t install these packages and will see the error message. Restarting the service will help.
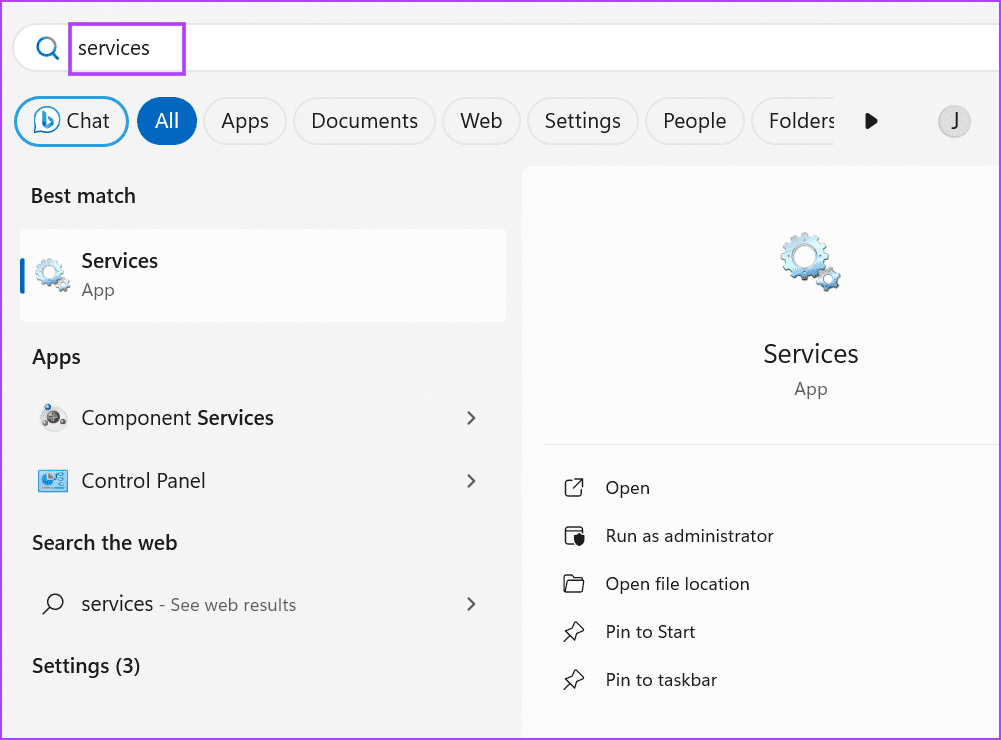
Step 1: Press the Windows key to open the Start menu. Type services in the search bar and press Enter to launch the Services utility.
Step 2: Scroll down and find the Windows Installer service. Right-click on it and select Restart.

Fix 3: Temporarily Disable User Account Control
User Account Control can sometimes act overprotectively and prevent installers from running. So, you must temporarily disable the feature to install the app and re-enable it once the job is complete.
Step 1: Press the Windows key to open the Start menu. Type UAC in the search bar and press Enter to open the User Account Control.

Step 2: Drag the slider down to the bottom and click on OK.

Step 3: The User Account Control window will pop up. Click on Yes.
Step 4: Reattempt the installation and ensure to re-enable User Account Control settings afterward.

Fix 4: Fix Group Policy Editor Settings
Changes in a system policy can prevent you from installing apps and result in an error message.
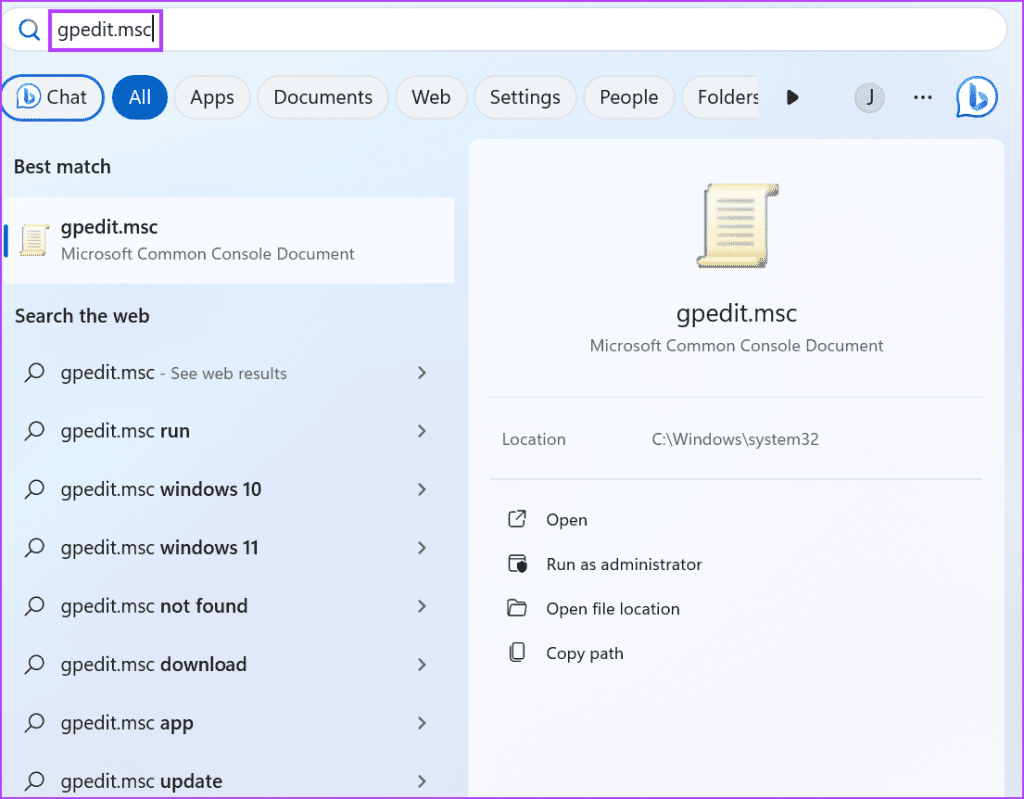
Step 1: Press the Windows key to open the Start menu. Type gpedit.msc in the search bar and press Enter to open the Group Policy Editor.
Step 2: Navigate to the Computer Configuration section on the left-hand side. Click on Administrative Templates.
Step 3: Click on Windows Components.
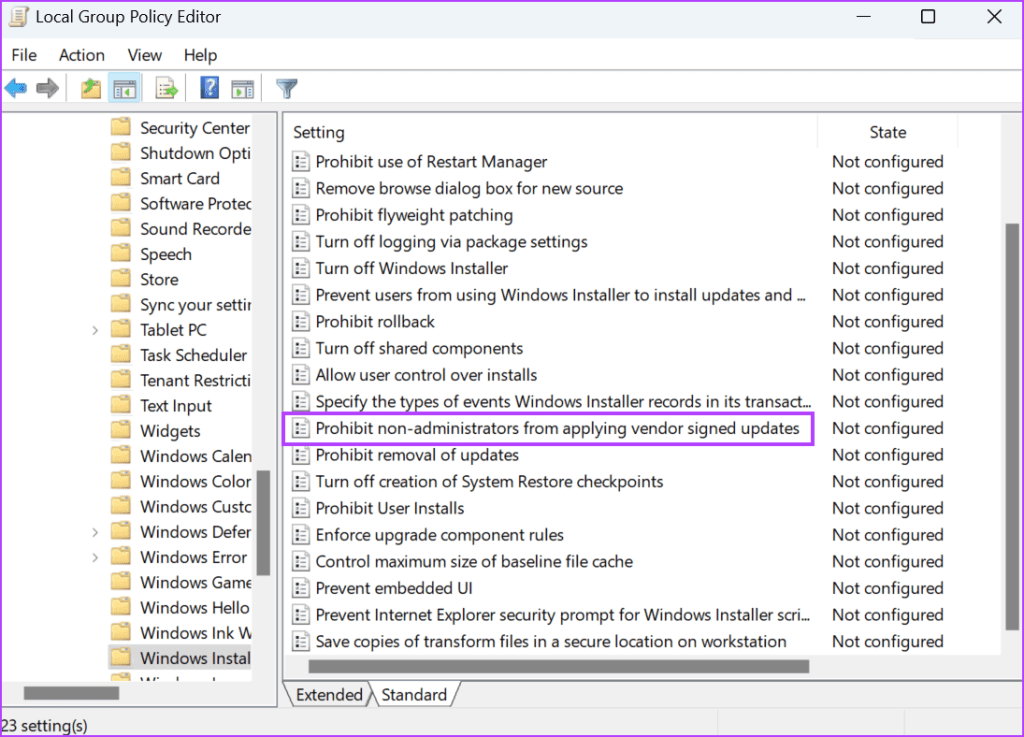
Step 4: Scroll down and click on Windows Installer on the right.

Step 5: Double-click on the Prohibit non-administrators from applying vendor signed updates policy to open its properties.
Step 6: Select Disabled > click on Apply > OK.
Step 7: Close the Group Policy Editor and restart your PC to apply the changes.

Fix 5: Edit System Registry
If you use the Windows 11 Home version, you must use the Registry Editor to disable the policy. But before doing that, create a registry backup and proceed with this method.
Step 1: Press the Windows key to open the Start menu > type regedit in the search bar > press Enter.

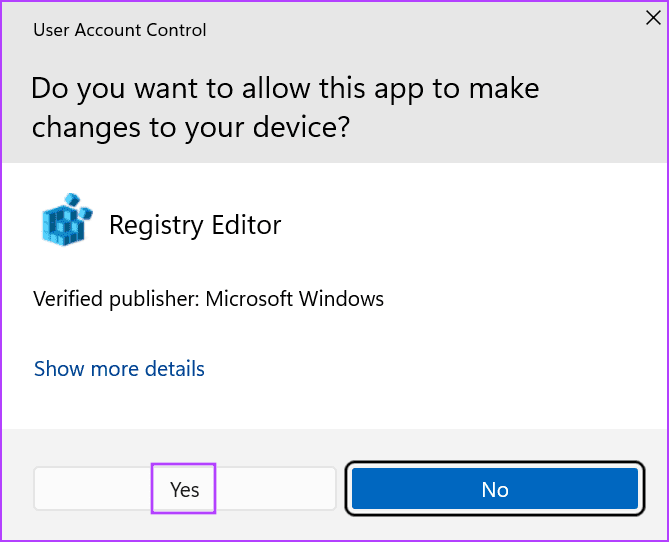
Step 2: The User Account Control Window will launch. Click on Yes to open the Registry Editor.
Step 3: Go to the address bar at the top, paste the following path, and press Enter:
Computer\HKEY_LOCAL_MACHINE\SOFTWARE\Policies\Microsoft\Windows
Step 4: Right-click on the Windows key to open the context menu. Click on the New option > select Key.

Step 5: Name the key Installer and press Enter.

Step 6: Navigate to the right pane. Right-click on the empty area and click on New. Then, click on DWORD (32-bit) Value.
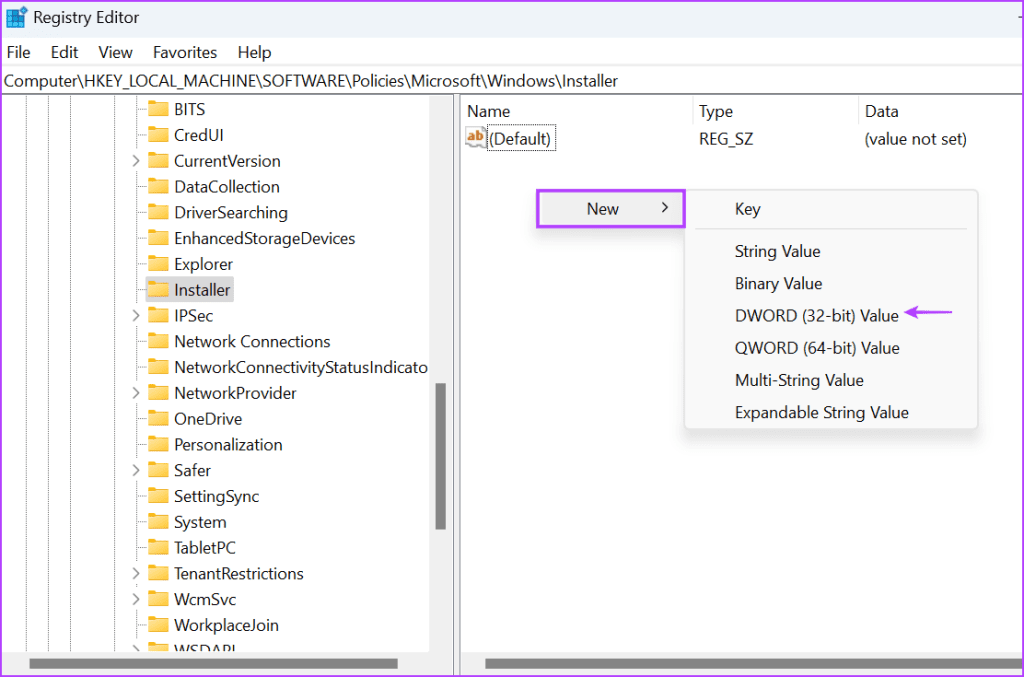
Step 7: Name the newly created DWORD value as DisableLUAPatching.

Step 8: Double-click on the DWORD value to open the Edit window. Type 1 in the Value Data text box and keep the base as hexadecimal.
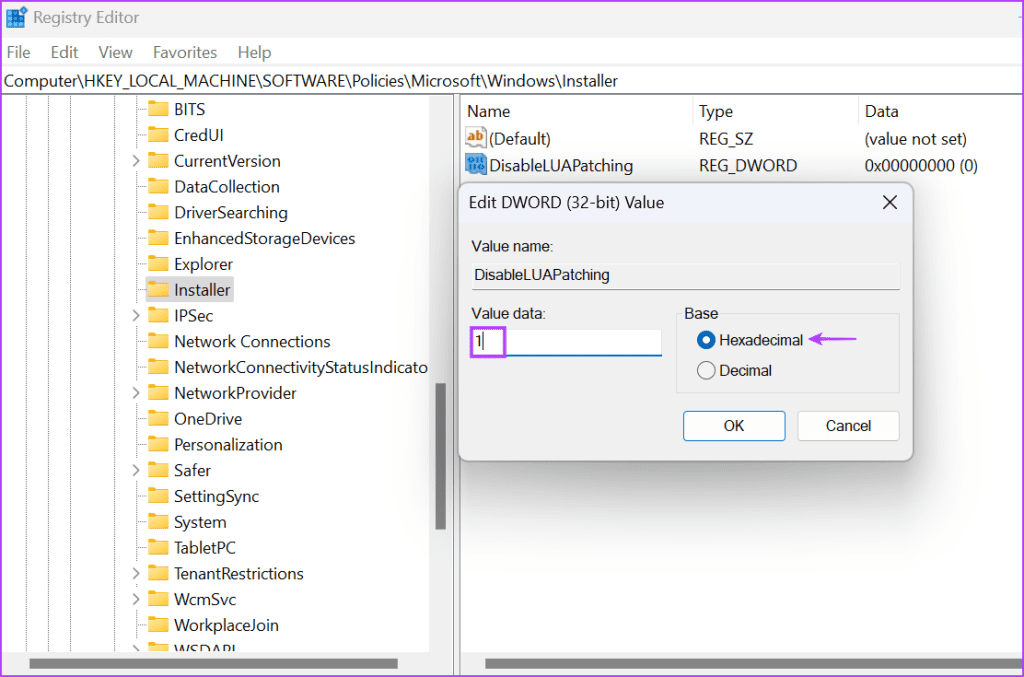
Step 9: Click on OK.
Step 10: Close the Registry Editor and restart your PC to apply the changes.

Fix 6: Re-Register the Windows Installer Service
If changing the policy has no effect, re-register the Windows Installer service using the Command Prompt.
Step 1: Press the Windows key to open the Start menu > type cmd in the search bar > press Ctrl + Shift + Enter at once.

Step 2: The User Account Control window will pop up. Click on the Yes button to open the Command Prompt with administrator rights.

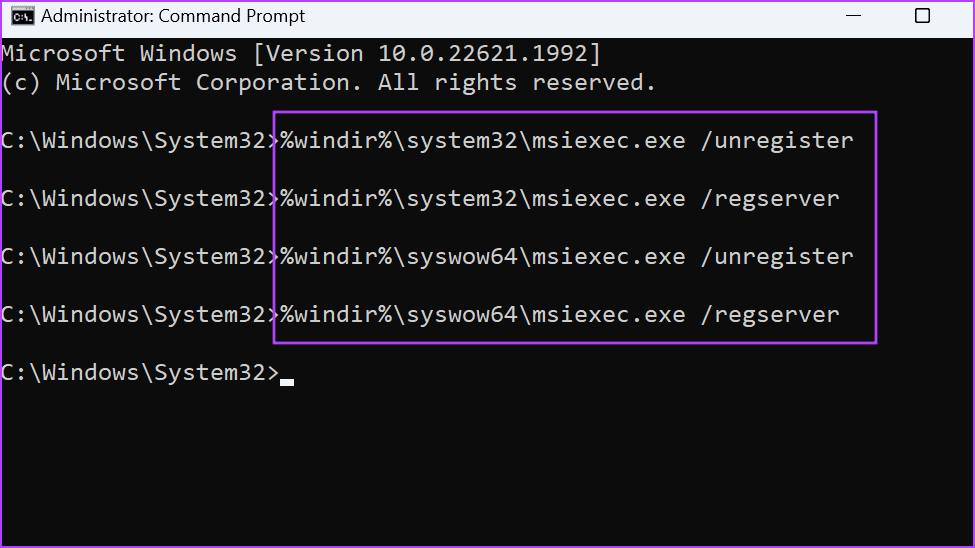
Step 3: Type and press Enter to execute the following commands one by one:
%windir%\system32\msiexec.exe /unregister
%windir%\system32\msiexec.exe /regserver
%windir%\syswow64\msiexec.exe /unregister
%windir%\syswow64\msiexec.exe /regserver
Step 4: After the commands finish execution, close the Command Prompt window and restart your PC.
Was this helpful?
Last updated on 12 August, 2024
Read Next
 Top 5 Ways to Fix ‘Steam Stuck on Verifying Installation’ Error in Windows
Basic Fixes Check Your Internet Connection: As a starting point, it's important to ensure that your internet connection is working.
Top 5 Ways to Fix ‘Steam Stuck on Verifying Installation’ Error in Windows
Basic Fixes Check Your Internet Connection: As a starting point, it's important to ensure that your internet connection is working.
 3 Ways to Fix Google Chrome Installation Failed on Windows
Basic Fixes: Ensure adequate storage for the installation: If your drive is full, there may not be room for the new installation, which may trigger the problem.
3 Ways to Fix Google Chrome Installation Failed on Windows
Basic Fixes: Ensure adequate storage for the installation: If your drive is full, there may not be room for the new installation, which may trigger the problem.
 6 Ways to Fix Xbox Games Installation Stuck on Windows
Try These Fixes First Restart the Xbox app: You can close the Xbox app and try installing the apps again.
6 Ways to Fix Xbox Games Installation Stuck on Windows
Try These Fixes First Restart the Xbox app: You can close the Xbox app and try installing the apps again.
 How to Repair Microsoft Office Installation Errors in Windows
Are you having trouble installing Microsoft Office on your Windows computer?
How to Repair Microsoft Office Installation Errors in Windows
Are you having trouble installing Microsoft Office on your Windows computer?
 2 Ways to Fix Group Policy Editor (gpedit) Missing on Windows
Why Can't I Find the Group Policy Editor on Windows PC?
2 Ways to Fix Group Policy Editor (gpedit) Missing on Windows
Why Can't I Find the Group Policy Editor on Windows PC?
 2 Ways to Reset Local Group Policy Settings on Windows 11
Method 1: Reset Local Group Policy Settings Using the Group Policy Editor To reset local group policy settings on Windows 11, set all policies to 'Not Configured' individually using the
2 Ways to Reset Local Group Policy Settings on Windows 11
Method 1: Reset Local Group Policy Settings Using the Group Policy Editor To reset local group policy settings on Windows 11, set all policies to 'Not Configured' individually using the
 6 Ways to Open Local Security Policy in Windows 10 and 11
Method 1: Using Windows Search Step 1: Press the Windows key on your keyboard or click the on-screen Windows icon. Step 2: Type Local Security Policy and click Run as
6 Ways to Open Local Security Policy in Windows 10 and 11
Method 1: Using Windows Search Step 1: Press the Windows key on your keyboard or click the on-screen Windows icon. Step 2: Type Local Security Policy and click Run as
 3 Ways to Fix Can’t Take Screenshot Due to Security Policy on Android
Fix 1: Enable Screenshots in Chrome Incognito Mode The Android OS prevents screenshots from being taken while in Incognito Mode in the Chrome browser.
3 Ways to Fix Can’t Take Screenshot Due to Security Policy on Android
Fix 1: Enable Screenshots in Chrome Incognito Mode The Android OS prevents screenshots from being taken while in Incognito Mode in the Chrome browser.
The article above may contain affiliate links which help support Guiding Tech. The content remains unbiased and authentic and will never affect our editorial integrity.