Fix 1. Restart the Task Scheduler Service
One simple and effective troubleshooting step to fix this issue is to restart the Task Scheduler Service. Adhere to the procedures listed below to do so:
Step 1: Open Run prompt (Win + R), type services.msc, and press Enter.
Step 2: Locate and right-click on Task Scheduler service and select Restart.

Note: If your Restart button is grayed out, your Task Scheduler is already running, or you’re not logged in as an administrator.
Step 3: You can also set Automatic from the drop-down list and click Start in the properties window.

Try running your scheduled tasks again to see if they work correctly.
Fix 2. Delete Corrupted Task Scheduler Tasks
If you’re having trouble with the Task Scheduler’s functioning, it might be because the scheduled tasks’ associated files are damaged. Deleting those files will restore the program’s ability to operate normally.
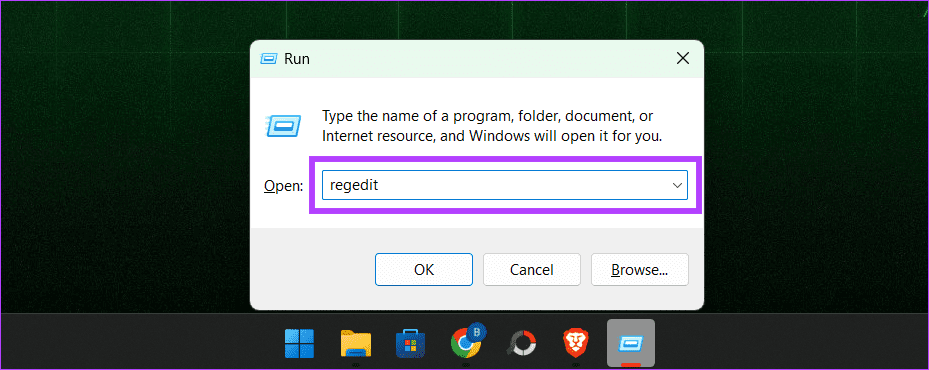
Step 1: Press Windows + R > type regedit > hit Enter.
Step 2: Select HKEY_LOCAL_MACHINE > SOFTWARE > Microsoft in the left pane.

Step 3: Head to Windows NT > CurrentVersion. Open Schedule > TaskCache > select the Tree.

Step 4: Right-click on the Tree and rename it to Tree.old or something similar.

Now, check if the problem is fixed by running the Task Scheduler. If the Task Scheduler starts acting normally, one of the entries in the Tree is messed up. To find the bad entry, follow the steps below:
Step 1: Rename Tree.old back to Tree.
Step 2: One by one, add .old to the end of each entry in the Tree registry.
Step 3: Test the Task Scheduler each time you rename an entry.
If the issue goes away after renaming a specific entry, that’s the troublemaker. Delete it, then restart your PC to save the changes.
Fix 3. Run the System File Checker (SFC)
Step 1: Open Command Prompt as administrator.

Step 2: Type the below-mentioned command and press the Enter key on your keyboard to execute the command.
sfc /scannow

Your computer will now be checked for corrupted system files; if any are discovered, they will be replaced with the appropriate ones.
Fix 4. Run a Deployment Image Servicing and Management (DISM) Scan
DISM is a built-in command-line tool to repair Windows images by fixing corrupt or missing system files.
Step 1: Launch Command Prompt as administrator.
Step 2: Enter the following command and hit Enter.
DISM /Online /Cleanup-Image /RestoreHealth

Examining the PC for broken Windows files will take a while, and fixing them takes some time. Once it is complete, make sure to restart your PC.
Fix 5. Disable Third-Party Security Software
The Task Scheduler can sometimes become unresponsive due to interference from third-party security programs like antivirus or firewall software. Temporarily deactivating these programs can avoid potential conflicts and pinpoint the problem’s core cause.
After troubleshooting, it’s crucial to re-activate your security software to keep your machine secure. If Task Scheduler functions appropriately with these programs deactivated, configure them to allow Task Scheduler or seek updates from the software developer to guarantee compatibility with your Windows version.
Fix 6. Troubleshoot in Clean Boot State
Clean boot temporarily disables all non-essential startup programs and services, ensuring no third-party software interferes with the Task Scheduler’s functionality. This method helps isolate and identify the root cause of the problem, which could be related to conflicting software, drivers, or services.
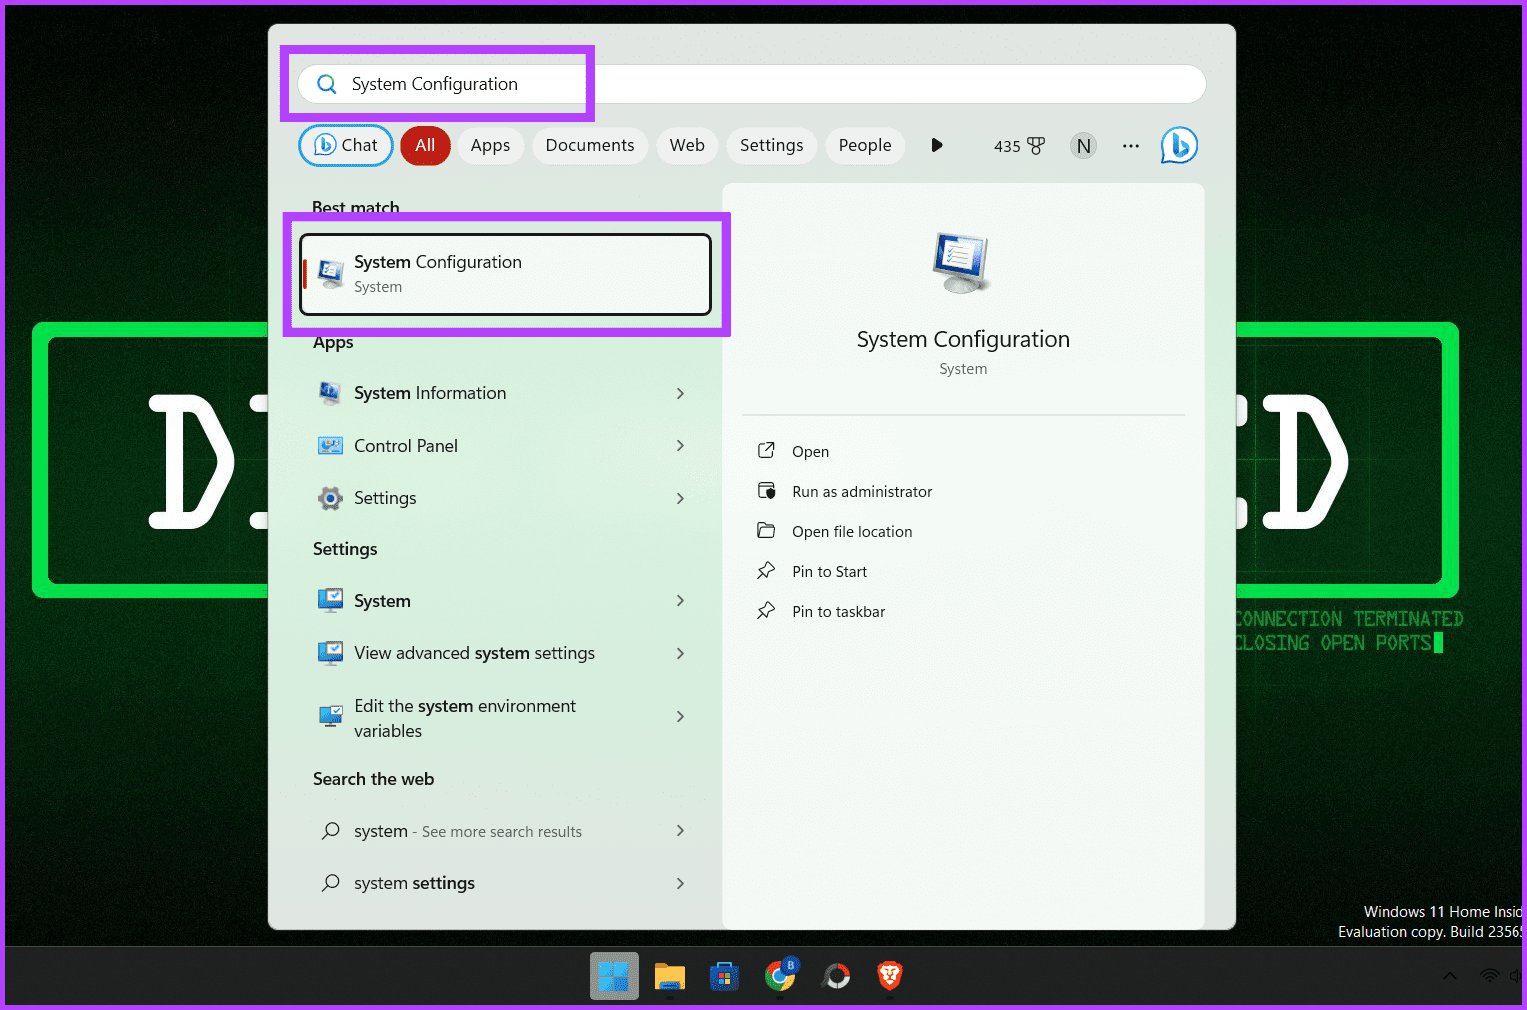
Step 1: Search the System Configurations in the Start menu and click to open it.
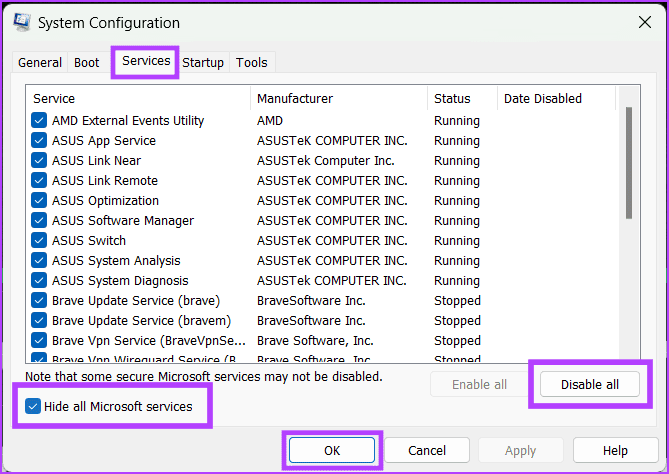
Step 2: Navigate to the Services tab and check the box for Hide all Microsoft services.
Step 3: Click Disable all and press OK to close the window.
Step 4: Press CTRL + Shift + Esc to open the Task Manager, go to the Startup tab, select the apps you want to disable, and press the Disable button.

FAQs
How Do I Run a Task Immediately in Task Scheduler?
To run a scheduled task immediately, head to the Task Scheduler window, right-click on the task you want to start, and choose Run from the menu.
What Are the Different Types of Triggers I Can Use for a Task?
You can use different triggers for a task, such as time, event, and state triggers. Each has its use case, and you can use them in combination.
Was this helpful?
Last updated on 09 July, 2024
Read Next
 12 Ways to Open Task Scheduler in Windows 11 and Windows 10
Task Scheduler is a powerful tool in Windows that allows you to schedule or automate various tasks and improve your workflow.
12 Ways to Open Task Scheduler in Windows 11 and Windows 10
Task Scheduler is a powerful tool in Windows that allows you to schedule or automate various tasks and improve your workflow.
 6 Ways to Fix Task Manager Not Working on Windows 11
Basic Fixes Install Windows updates: Such issues with Task Manager can also arise due to faulty Windows builds.
6 Ways to Fix Task Manager Not Working on Windows 11
Basic Fixes Install Windows updates: Such issues with Task Manager can also arise due to faulty Windows builds.
 9 Ways to Open Task Manager on Windows 10 and Windows 11
Task Manager is one of the most commonly used programs on Windows, regardless of its version.
9 Ways to Open Task Manager on Windows 10 and Windows 11
Task Manager is one of the most commonly used programs on Windows, regardless of its version.
 3 Ways to Disable Task Manager for Specific Users in Windows
Method 1: Using Command Line or Powershell Step 1: Press the Windows key, type PowerShell or Command Prompt, and click on Run as administrator.
3 Ways to Disable Task Manager for Specific Users in Windows
Method 1: Using Command Line or Powershell Step 1: Press the Windows key, type PowerShell or Command Prompt, and click on Run as administrator.
 7 Best Windows 10 Task View Settings and Tips in 2020
Microsoft continues to pump Windows 10 with exciting new features and elements with each new update.
7 Best Windows 10 Task View Settings and Tips in 2020
Microsoft continues to pump Windows 10 with exciting new features and elements with each new update.
 How to Disable Task View in Windows 10 Completely
The Task View feature in Windows 10 is a boon for power users.
How to Disable Task View in Windows 10 Completely
The Task View feature in Windows 10 is a boon for power users.
 5 Ways to Create a Task in Microsoft Outlook
For most people, a new day brings about a set of fresh tasks to complete.
5 Ways to Create a Task in Microsoft Outlook
For most people, a new day brings about a set of fresh tasks to complete.
 7 Ways to Fix Windows Key Not Working in Windows 11
Basic Fixes Check for physical damage: There might be physical damage or dirt buildup on your keyboard.
7 Ways to Fix Windows Key Not Working in Windows 11
Basic Fixes Check for physical damage: There might be physical damage or dirt buildup on your keyboard.
The article above may contain affiliate links which help support Guiding Tech. The content remains unbiased and authentic and will never affect our editorial integrity.