Basic Fixes
- Download the installer file again: A partially downloaded or corrupt installer file can cause an installer integrity check failure. You may want to delete the installer file and download it again.
- Relaunch the installer with administrative privileges: This is a valid fix because the NSIS ‘Error Launching Installer’ can pop up if the app installation file doesn’t have administrator privileges.
- Run a malware scan: Malware infestation can also prevent you from installing programs and result in system errors. To rule out this cause, run a malware scan.
Fix 1: Locate Problematic App Using Task Manager and Uninstall It
This problem may be caused by a third-party app trying to update. To fix it, locate it in the Task Manager and uninstall it.
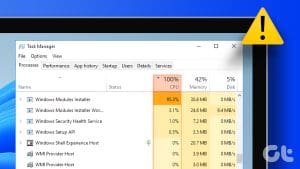
Step 1: Press Ctrl + Shift + Esc to open the Task Manager.
Step 2: In the search bar, type NSIS, NSIS installer, or NSIS (Nullsoft Scriptable Install System).

Step 3: Right-click an option with NSIS and click Open file location. You should see the problematic app.
Step 4: Press Windows + R, type appwiz.cpl, and hit Enter.
Step 5: Click the problematic app, Uninstall, and follow the wizard to complete the process.

Fix 2: Clean Boot the Computer
Clean boot allows you to manage the services that start when your PC boots up. So, it is a handy tool for discovering the culprit services causing problems like the NSIS error on your Windows PC. Here’s how to perform a clean boot:
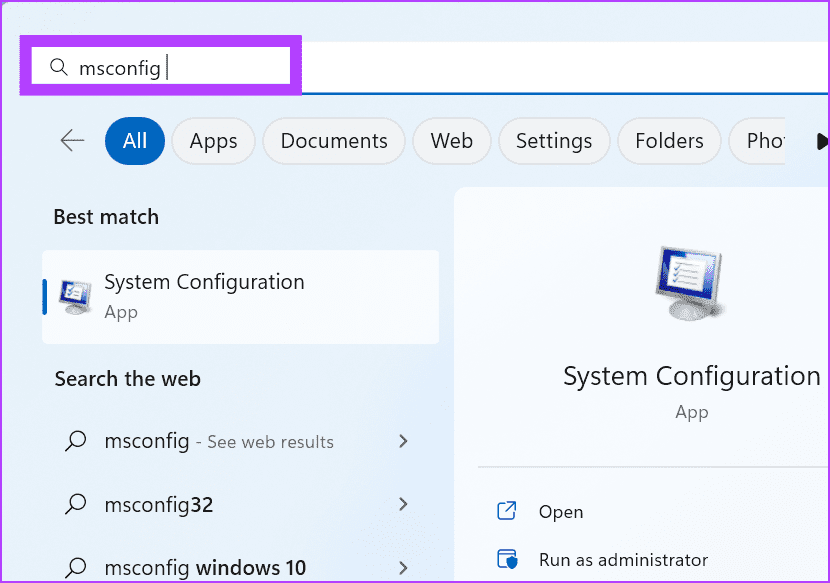
Step 1: Press the Windows key to open the Start menu. Type msconfig in the search box and press Enter to open the System Configuration utility.
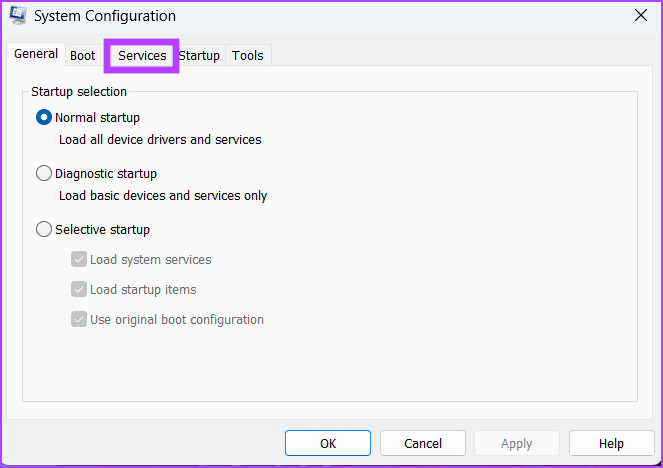
Step 2: Switch to the Services tab.
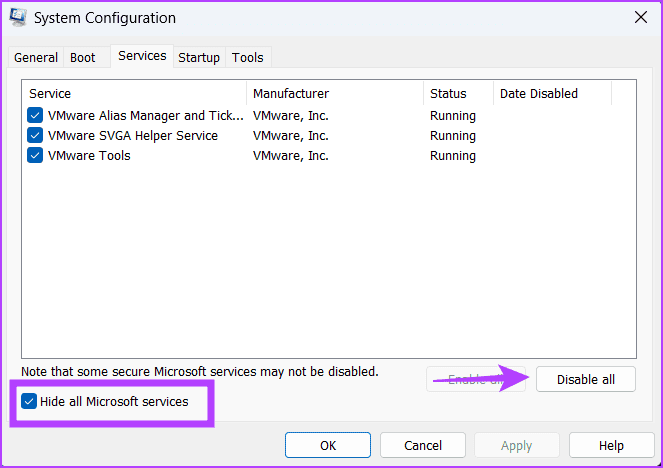
Step 3: Check the box for Hide all Microsoft services. Then, click the Disable all button.
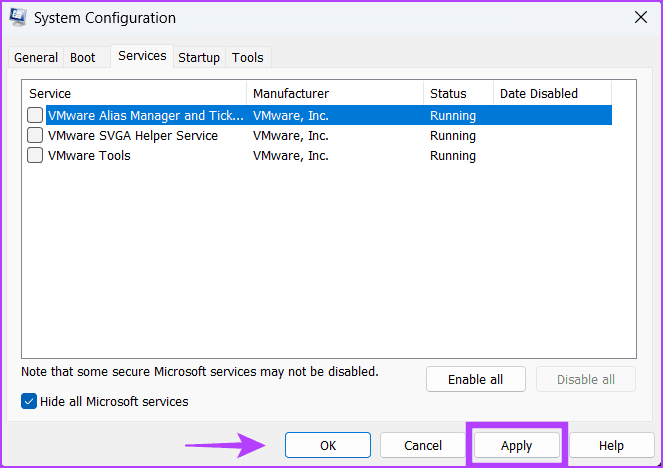
Step 4: Click on Apply and then OK.
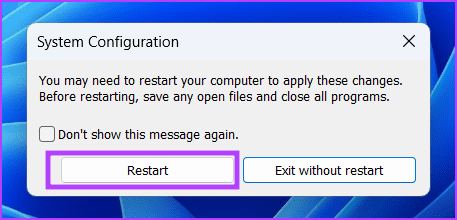
Step 5: Click on the Restart button.
Step 6: Wait for the PC to restart and relaunch the installer file. Check if the NSIS ‘Error Launching Installer’ message appears.
Reopen the System Configuration utility and enable some third-party services. Restart your PC and repeat this process till you identify the meddlesome program on your PC.
Fix 3: Perform a System Restore
System Restore is a handy tool that can help you revert to the last known good configuration on your Windows PC. If you face the NSIS error after installing or updating an app, pick an old restore point when your PC worked fine and apply it. Here’s how:
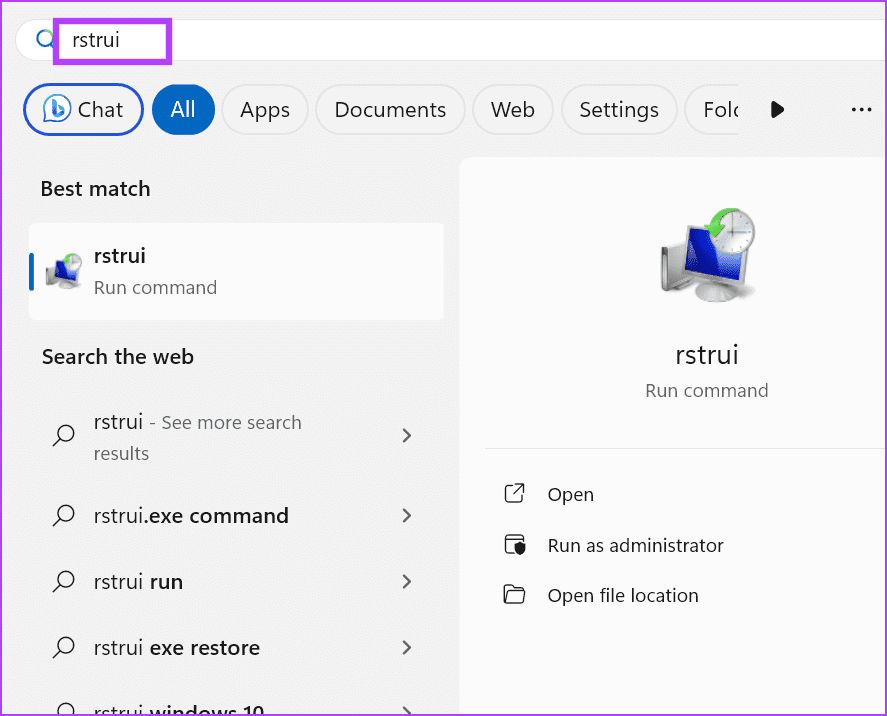
Step 1: Press the Windows key to open the Start menu. Type rstrui in the search box and press Enter to open System Restore.
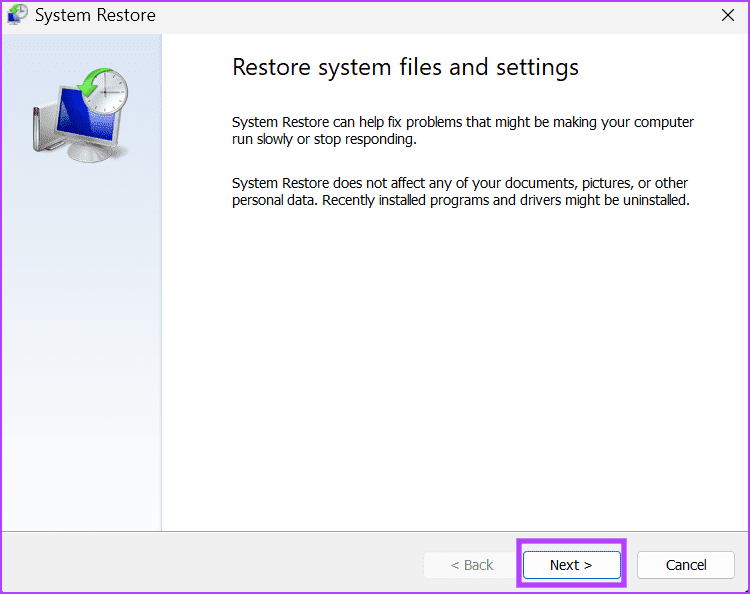
Step 2: Click on the Next button.
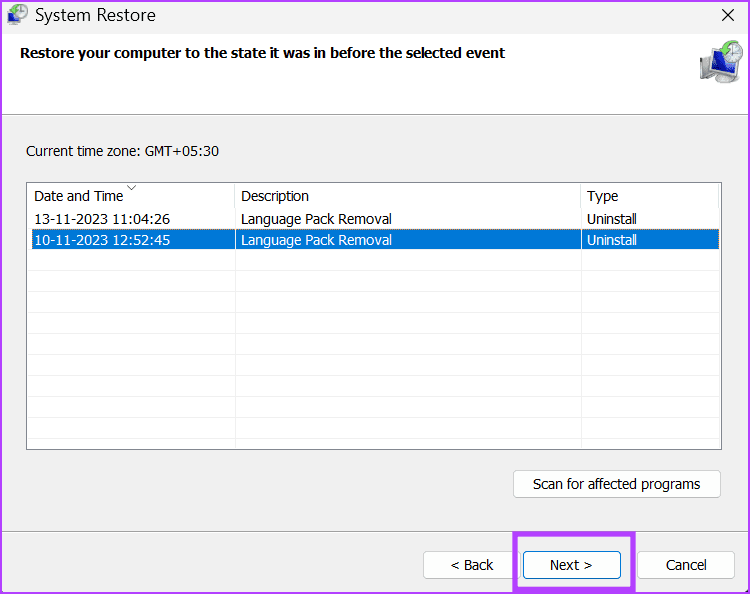
Step 3: Select a suitable restore point from the list and click the Next button.
Follow the on-screen instructions to continue with the System Restore process. Your PC will restart and apply the selected restore point on your PC.
Fix 4: Re-Register the Windows Installer Service
If restarting the Windows Installer service has no effect, you must re-register the service using Command Prompt. Here’s how to do it:
Step 1: Press the Windows key to open the Start menu. Type cmd in the search bar and press the Ctrl + Shift + Enter keyboard shortcut.

Step 2: The User Account Control window will launch. Click on Yes to open Command Prompt with administrator privileges.
Step 3:Type the following commands and hit Enter after each one:
%windir%\system32\msiexec.exe /unregister
%windir%\system32\msiexec.exe /regserver
%windir%\syswow64\msiexec.exe /unregister
%windir%\syswow64\msiexec.exe /regserver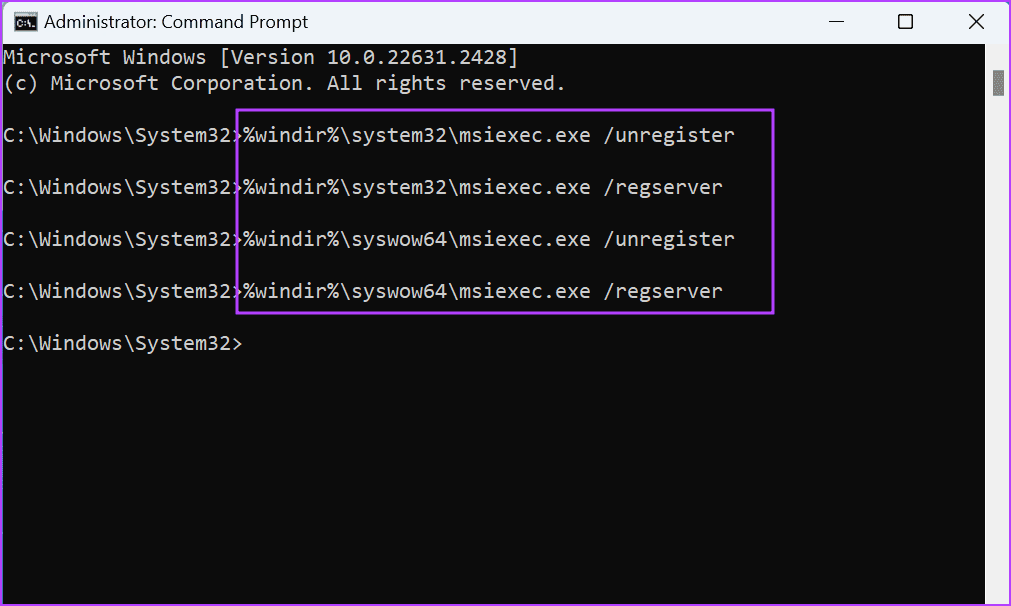
Step 4: You won’t see any message after executing the commands. Close the Command Prompt window.
Was this helpful?
Last updated on 28 May, 2024
Read Next
 4 Ways to Fix Windows Installer Package Error
Preliminary Fixes Run the file as an administrator: This is often crucial in resolving Windows Installer Package errors.
4 Ways to Fix Windows Installer Package Error
Preliminary Fixes Run the file as an administrator: This is often crucial in resolving Windows Installer Package errors.
 How to Fix “Windows Installer Service Could Not Be Accessed” Error
Common Fixes Restart your PC: Press the Windows + X shortcut to open the Power User Menu, select Shut down or sign out, and click on Restart.
How to Fix “Windows Installer Service Could Not Be Accessed” Error
Common Fixes Restart your PC: Press the Windows + X shortcut to open the Power User Menu, select Shut down or sign out, and click on Restart.
 3 Ways to Fix Zoom Not Launching on Windows 11 and 10
Preliminary Fixes Restart PC: Refreshing system processes and clearing temporary glitches can resolve the Zoom not launching issue.
3 Ways to Fix Zoom Not Launching on Windows 11 and 10
Preliminary Fixes Restart PC: Refreshing system processes and clearing temporary glitches can resolve the Zoom not launching issue.
 5 Ways to Fix Startup Programs Not Launching on Windows 10 or 11
Try Basic Fixes Install Windows updates: A buggy or outdated Windows build could cause such issues.
5 Ways to Fix Startup Programs Not Launching on Windows 10 or 11
Try Basic Fixes Install Windows updates: A buggy or outdated Windows build could cause such issues.
 6 Ways to Fix Steam Games Not Launching on Windows 11
Basic Fixes Restart the Steam Client: Before starting the Steam client, close it using the Task Manager.
6 Ways to Fix Steam Games Not Launching on Windows 11
Basic Fixes Restart the Steam Client: Before starting the Steam client, close it using the Task Manager.
 7 Best Ways to Fix Valorant Not Launching on Windows 11
Valorant is a popular free-to-play battle royale game for Windows.
7 Best Ways to Fix Valorant Not Launching on Windows 11
Valorant is a popular free-to-play battle royale game for Windows.
 5 Ways to Fix Rocket League Not Launching in Windows 11
Fix 1: Restart Your Computer Step 1: Press the Windows key to open the Start menu.
5 Ways to Fix Rocket League Not Launching in Windows 11
Fix 1: Restart Your Computer Step 1: Press the Windows key to open the Start menu.
 6 Ways to Fix Windows Modules Installer Worker High CPU Usage
If you've ever found your computer's fan working overtime and the CPU usage going sky-high, you're not alone.
6 Ways to Fix Windows Modules Installer Worker High CPU Usage
If you've ever found your computer's fan working overtime and the CPU usage going sky-high, you're not alone.
The article above may contain affiliate links which help support Guiding Tech. The content remains unbiased and authentic and will never affect our editorial integrity.