Basic Fixes
- Check the USB cable: It is suggested to use the official cable provided inside your Kindle’s box for connecting it with your Windows 11 PC or laptop.
- Update Kindle OS version: An outdated software version can also be the reason behind this issue.
Fix 1: Disable Screen Lock and Passcode
If the Lock Screen password is active on your Kindle, it might not show up in the File Explorer window on your PC.
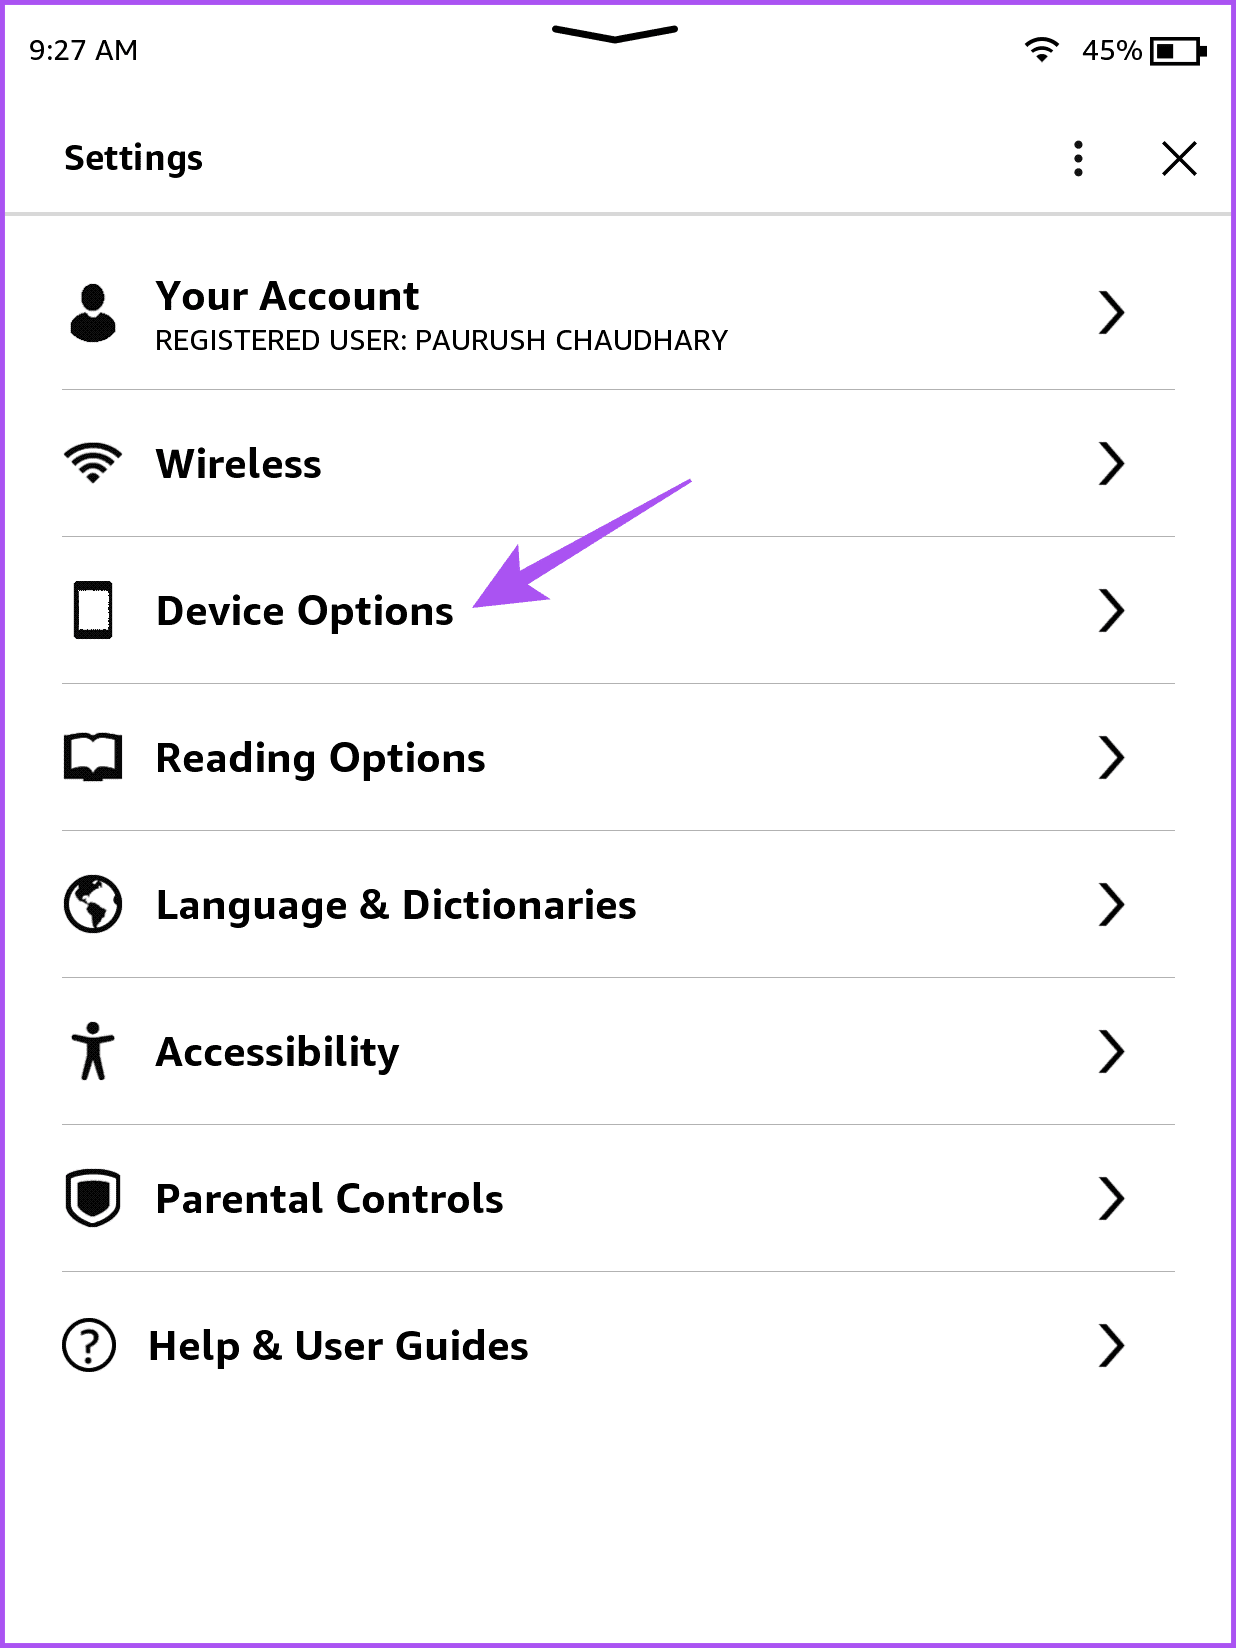
Step 1: On your Kindle homepage, tap the down-facing arrow > All Settings.
Step 2: Tap on Device Options and then select Device Passcode.
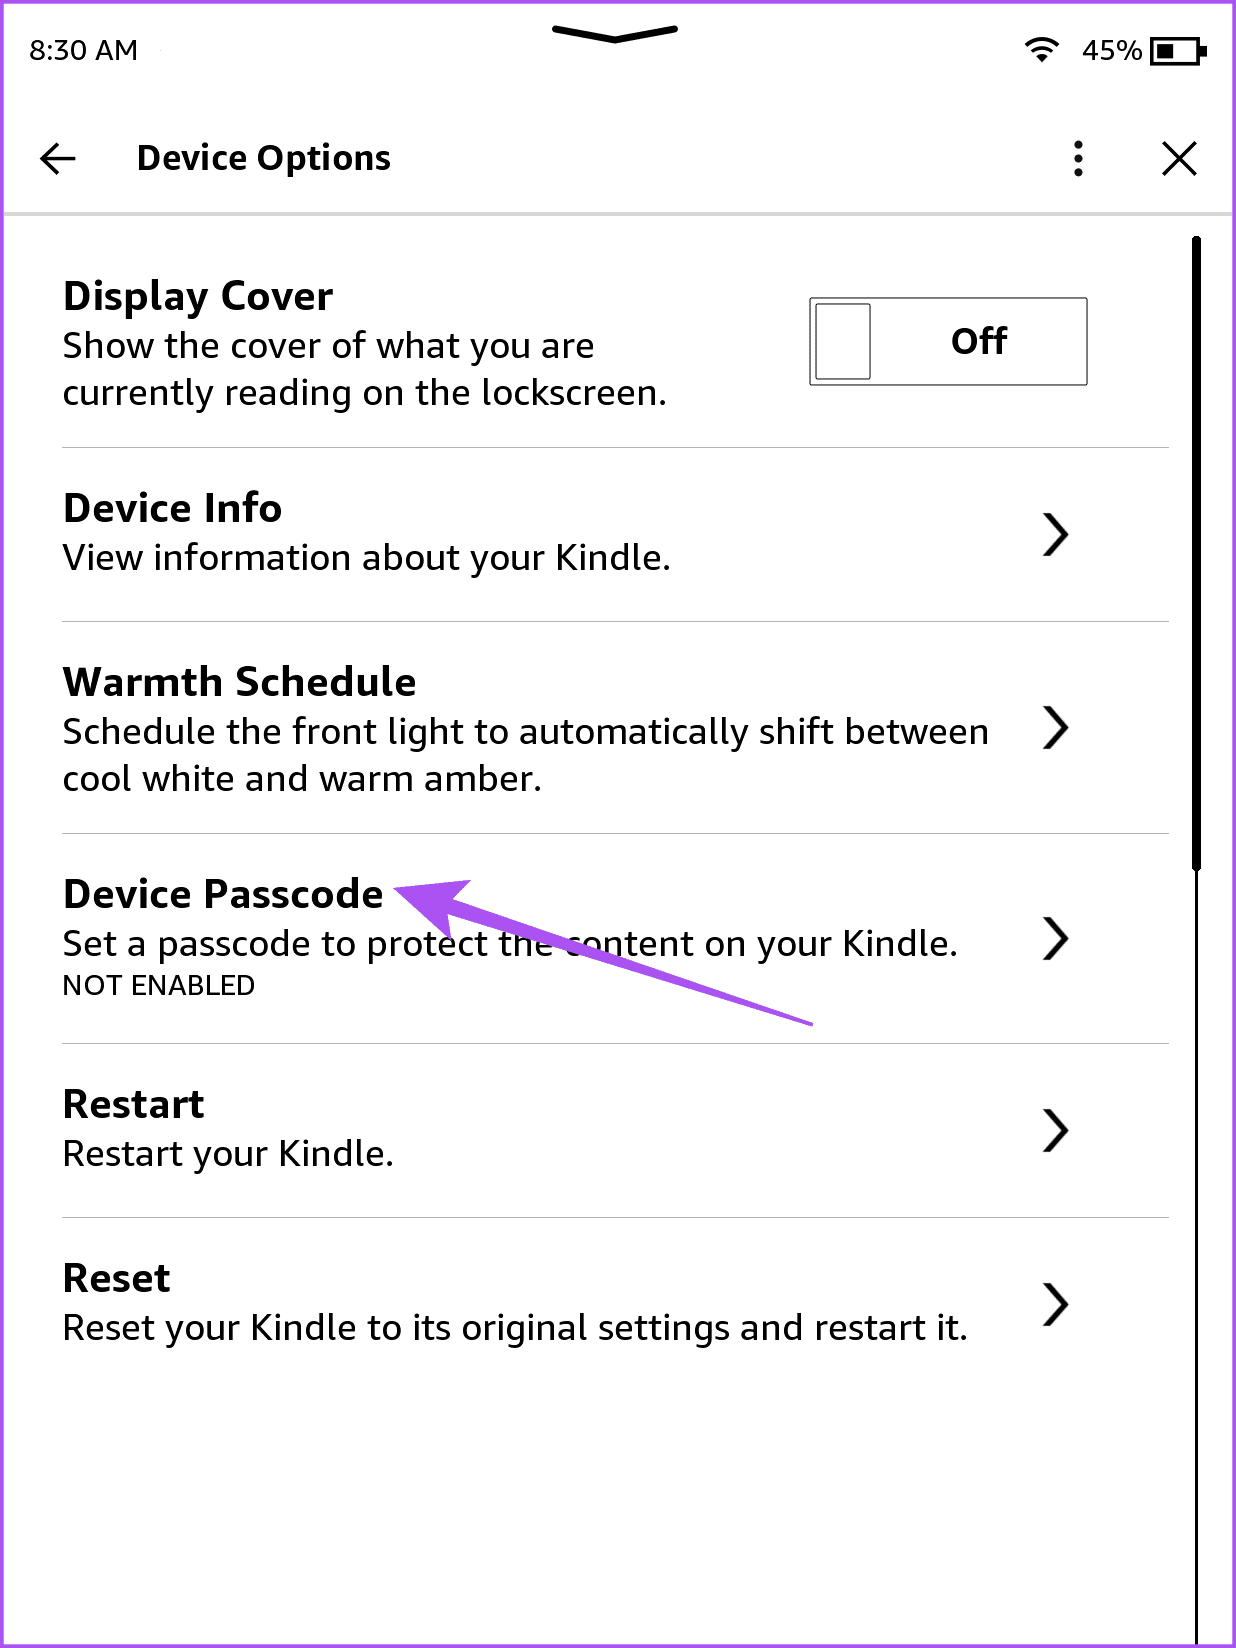
Step 3: Tap on Turn Off Passcode, enter your existing passcode, and then tap on Ok.
Fix 2: Update Kindle Driver
Outdated Kindle device drivers can also prevent it from showing on your Windows 11 PC.
Step 1: Connect your Kindle via a USB cable to your Windows 11 PC.
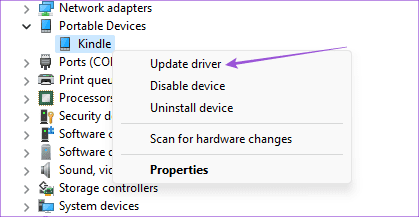
Step 2: Open Device Manager and then select Portable Devices.
Step 3: Right-click on MTP Device or Kindle and then select Update driver.
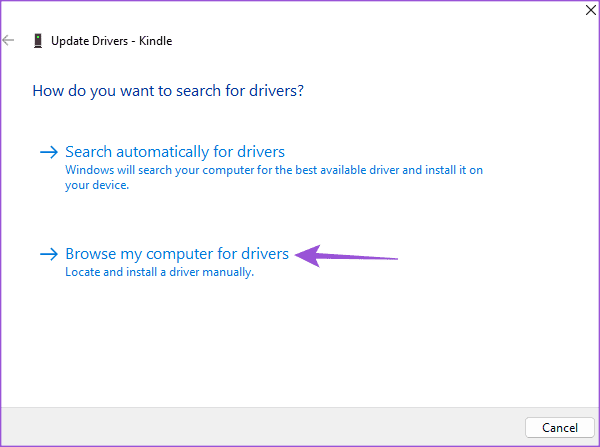
Step 4: Select Browse my computer for drivers.
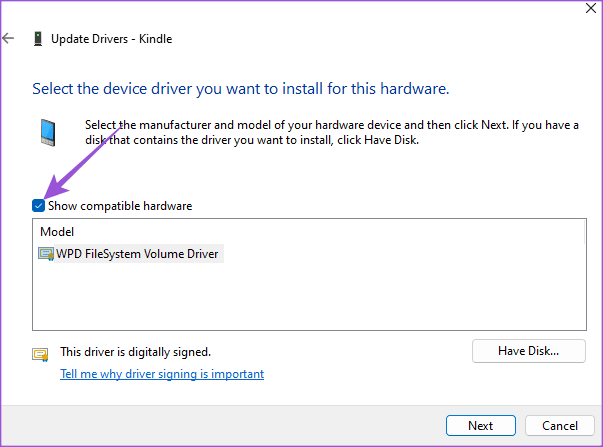
Step 5: Click on Let me pick from a list of available drivers on my computer > check the box for Show Compatible Hardware.
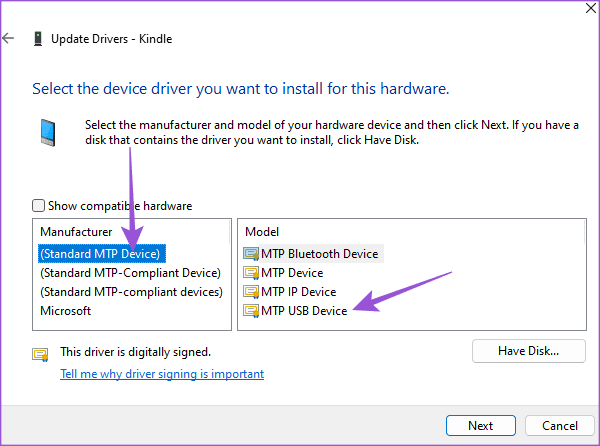
Step 6: Select Standard MTP Device > click on MTP USB Device.
Step 7: Click on Ok to confirm the Update Driver Warning.
Install the driver on your Windows 11 PC and then check if the problem is solved.
Fix 3: Disable USB Selective Suspend Feature
Though enabled by default for all USB devices connected to your PC, you can try disabling it once to see if the issue gets solved.
Step 1: Connect your Kindle via a USB cable to your Windows 11 PC.
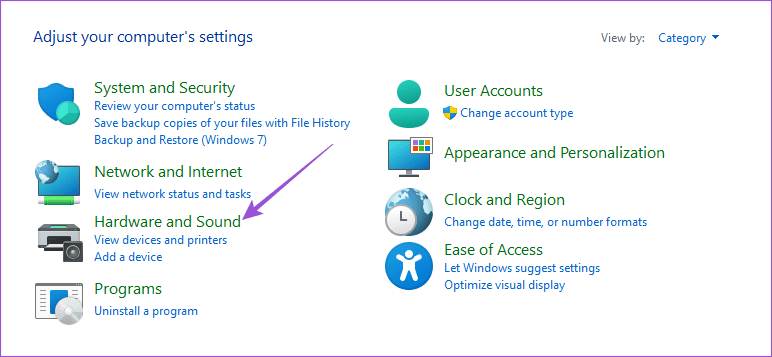
Step 2: Open the Control Panel window and then select Hardware and Sound.
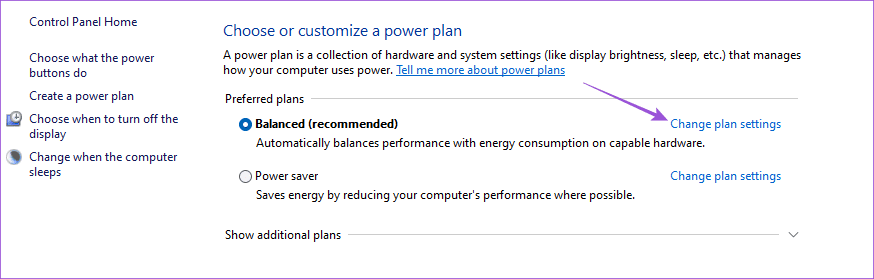
Step 3: Select Power Options > click on Change plan settings.
Step 4: Click on Change advanced power settings.
Step 5: Select USB settings > click on Disable below USB selective suspend setting.
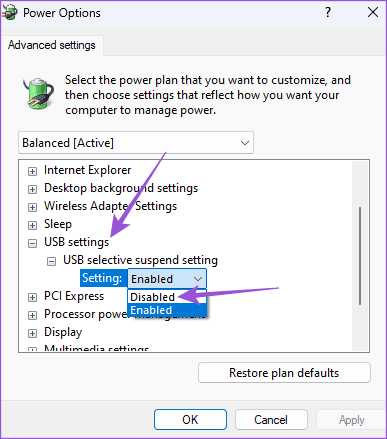
Step 6: Click on Apply > Ok at the bottom to confirm.
After that, check if the problem is solved.
Was this helpful?
Last updated on 20 May, 2024
1 Comment
Leave a Reply
Read Next
 3 Fixes for Amazon Kindle Not Showing Book Covers
Basic Fixes Check the side loaded book file type: Besides ebooks, you can also documents and webpages to your Kindle reader.
3 Fixes for Amazon Kindle Not Showing Book Covers
Basic Fixes Check the side loaded book file type: Besides ebooks, you can also documents and webpages to your Kindle reader.
 4 Fixes for Kindle Books Not Syncing Between Devices
Basic Fixes Use the same Kindle account: You should be using the same Amazon Kindle account on all your devices.
4 Fixes for Kindle Books Not Syncing Between Devices
Basic Fixes Use the same Kindle account: You should be using the same Amazon Kindle account on all your devices.
 7 Best Ways to Fix Kindle for PC Desktop App Won’t Open on Windows
Many users prefer the Kindle app on their desktop for reading eBooks.
7 Best Ways to Fix Kindle for PC Desktop App Won’t Open on Windows
Many users prefer the Kindle app on their desktop for reading eBooks.
 5 Fixes for Windows Security App Showing White Screen on Windows 11
Common Fixes Reboot PC: Press the Windows + X shortcut to open the Power User Menu, select Shut down or sign out, and click Restart.
5 Fixes for Windows Security App Showing White Screen on Windows 11
Common Fixes Reboot PC: Press the Windows + X shortcut to open the Power User Menu, select Shut down or sign out, and click Restart.
 4 Ways to Fix Kindle Not Charging
Basic Fixes Check charging accessories: If there’s any visible damage to the charging cable/adapter, it can certainly cause issues while you try and charge your Kindle reader. Check power source:
4 Ways to Fix Kindle Not Charging
Basic Fixes Check charging accessories: If there’s any visible damage to the charging cable/adapter, it can certainly cause issues while you try and charge your Kindle reader. Check power source:
 5 Ways to Fix the Kindle Won’t Turn On Issue
Fix 1: Charge Kindle The most likely reason why your Kindle is not turning on is that its battery might have completely drained.
5 Ways to Fix the Kindle Won’t Turn On Issue
Fix 1: Charge Kindle The most likely reason why your Kindle is not turning on is that its battery might have completely drained.
 How to Use Dictionary in Any Kindle: A Comprehensive Guide
How to Download Dictionary on Kindle By default, an English dictionary will be downloaded onto your Kindle.
How to Use Dictionary in Any Kindle: A Comprehensive Guide
How to Download Dictionary on Kindle By default, an English dictionary will be downloaded onto your Kindle.
 How to Use Text-To-Speech on Amazon Kindle
Enable Text-To-Speech on Kindle The VoiceView Screen Reader is an accessibility feature that lets you listen to Kindle books over Bluetooth.
How to Use Text-To-Speech on Amazon Kindle
Enable Text-To-Speech on Kindle The VoiceView Screen Reader is an accessibility feature that lets you listen to Kindle books over Bluetooth.
The article above may contain affiliate links which help support Guiding Tech. The content remains unbiased and authentic and will never affect our editorial integrity.

I’ve been having trouble with this problem for a while, so I’m really glad I came across your article. I was going mad from the frustration of not being able to access my Kindle on Windows 11. Before, I gave a few things a shot, but nothing seemed to take.
Thanks