Basic Fixes:
- Ensure both devices are running iOS 17: Because the Check In feature is exclusive to iOS 17, to use it, both you and your contact must have iOS 17 installed on your devices. Check and ensure both devices are updated.
- Check the Messages app server status: As the Check In feature can be accessed only through iMessage, the iMessage app must be working properly. To check, go to Apple’s System Status page and see if any issues are visible.
- Restart the Messages app: If the issue of Check In not working is due to a temporary app glitch, force close and restart the Messages app. This will close all app functions and start them again, fixing any such issues.
Fix 1: Enable Location Services and Significant Locations
The Check In feature on your iPhone uses your location data to notify your friends and family about the progress of your journey to the designated location. So, if Check In is suddenly unavailable or not working properly, check and see if all the necessary location-sharing permissions have been granted. Here’s how.
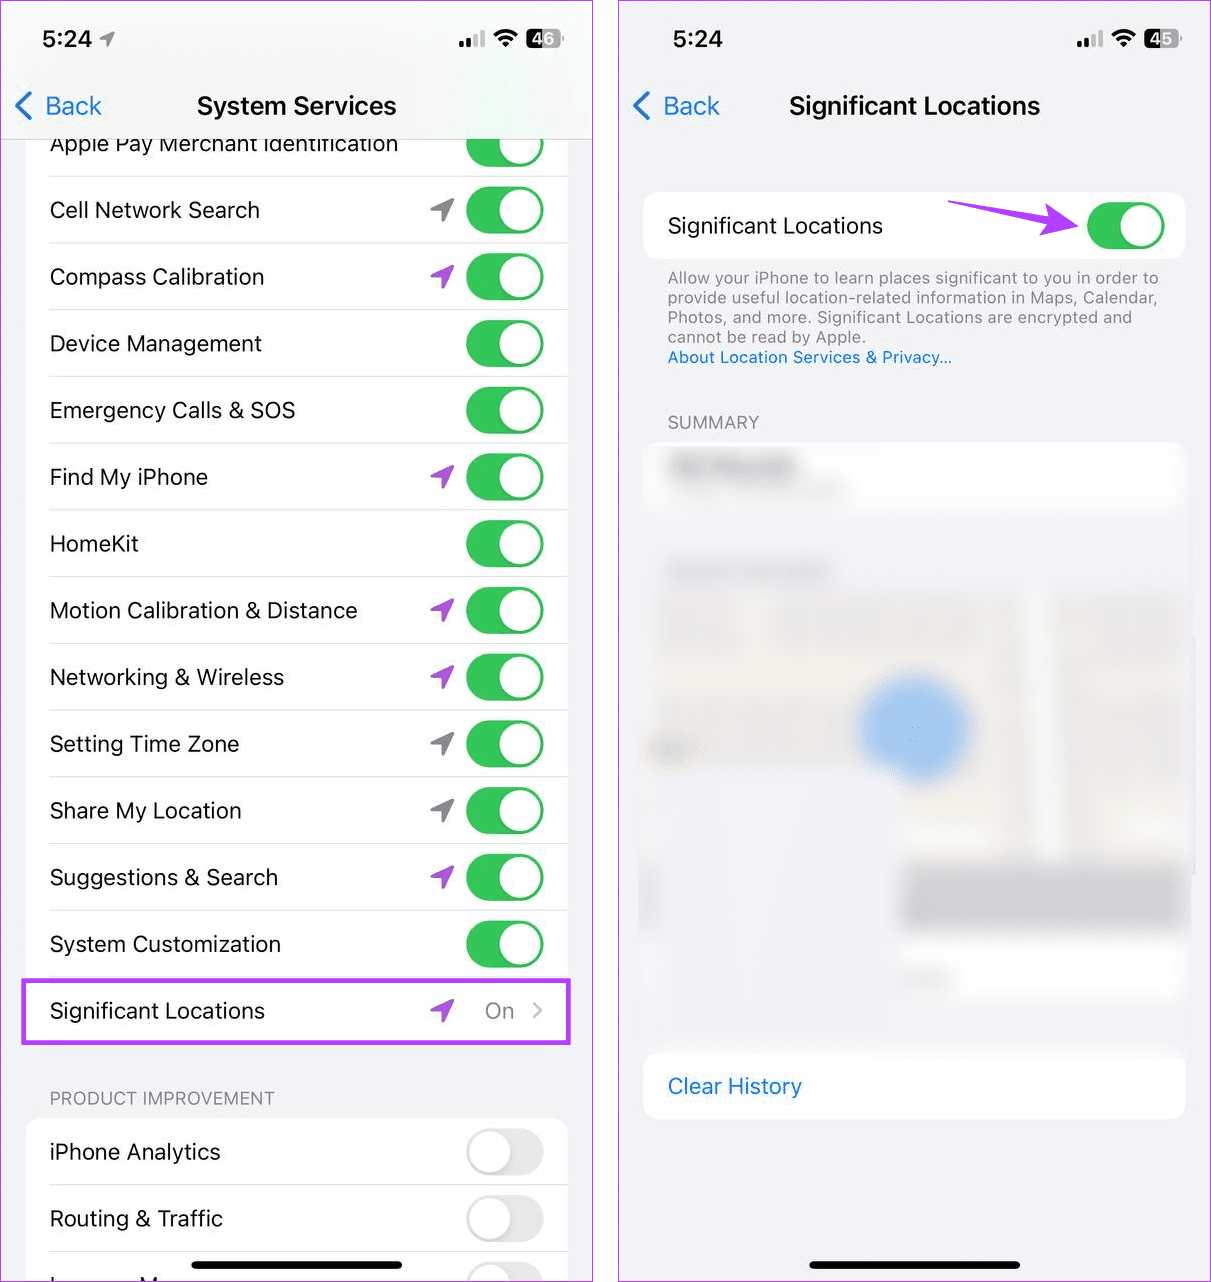
Step 1: Open Settings and tap on Privacy & Security. Tap on Location Services.
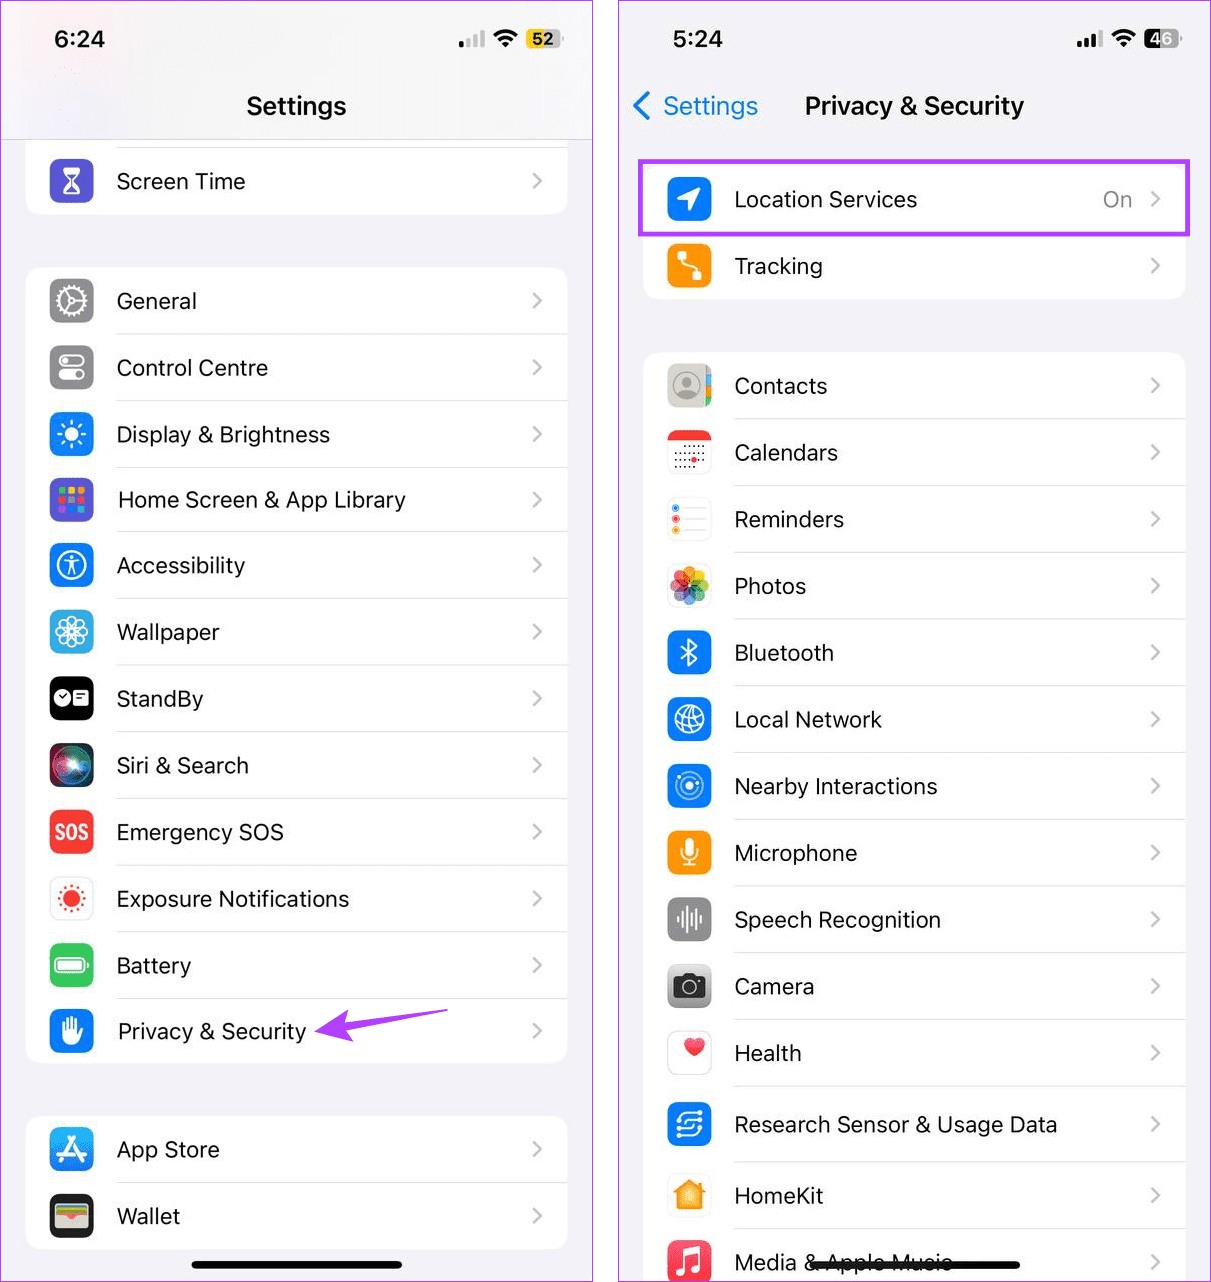
Step 2: Ensure the Location Services toggle is turned on. Tap on System Services.

Step 3: Tap on Significant Locations and enable the Significant Locations toggle.
This will ensure your device has access to all the latest location data, including locations that might be significant.
Fix 2: Change Check in Data Settings
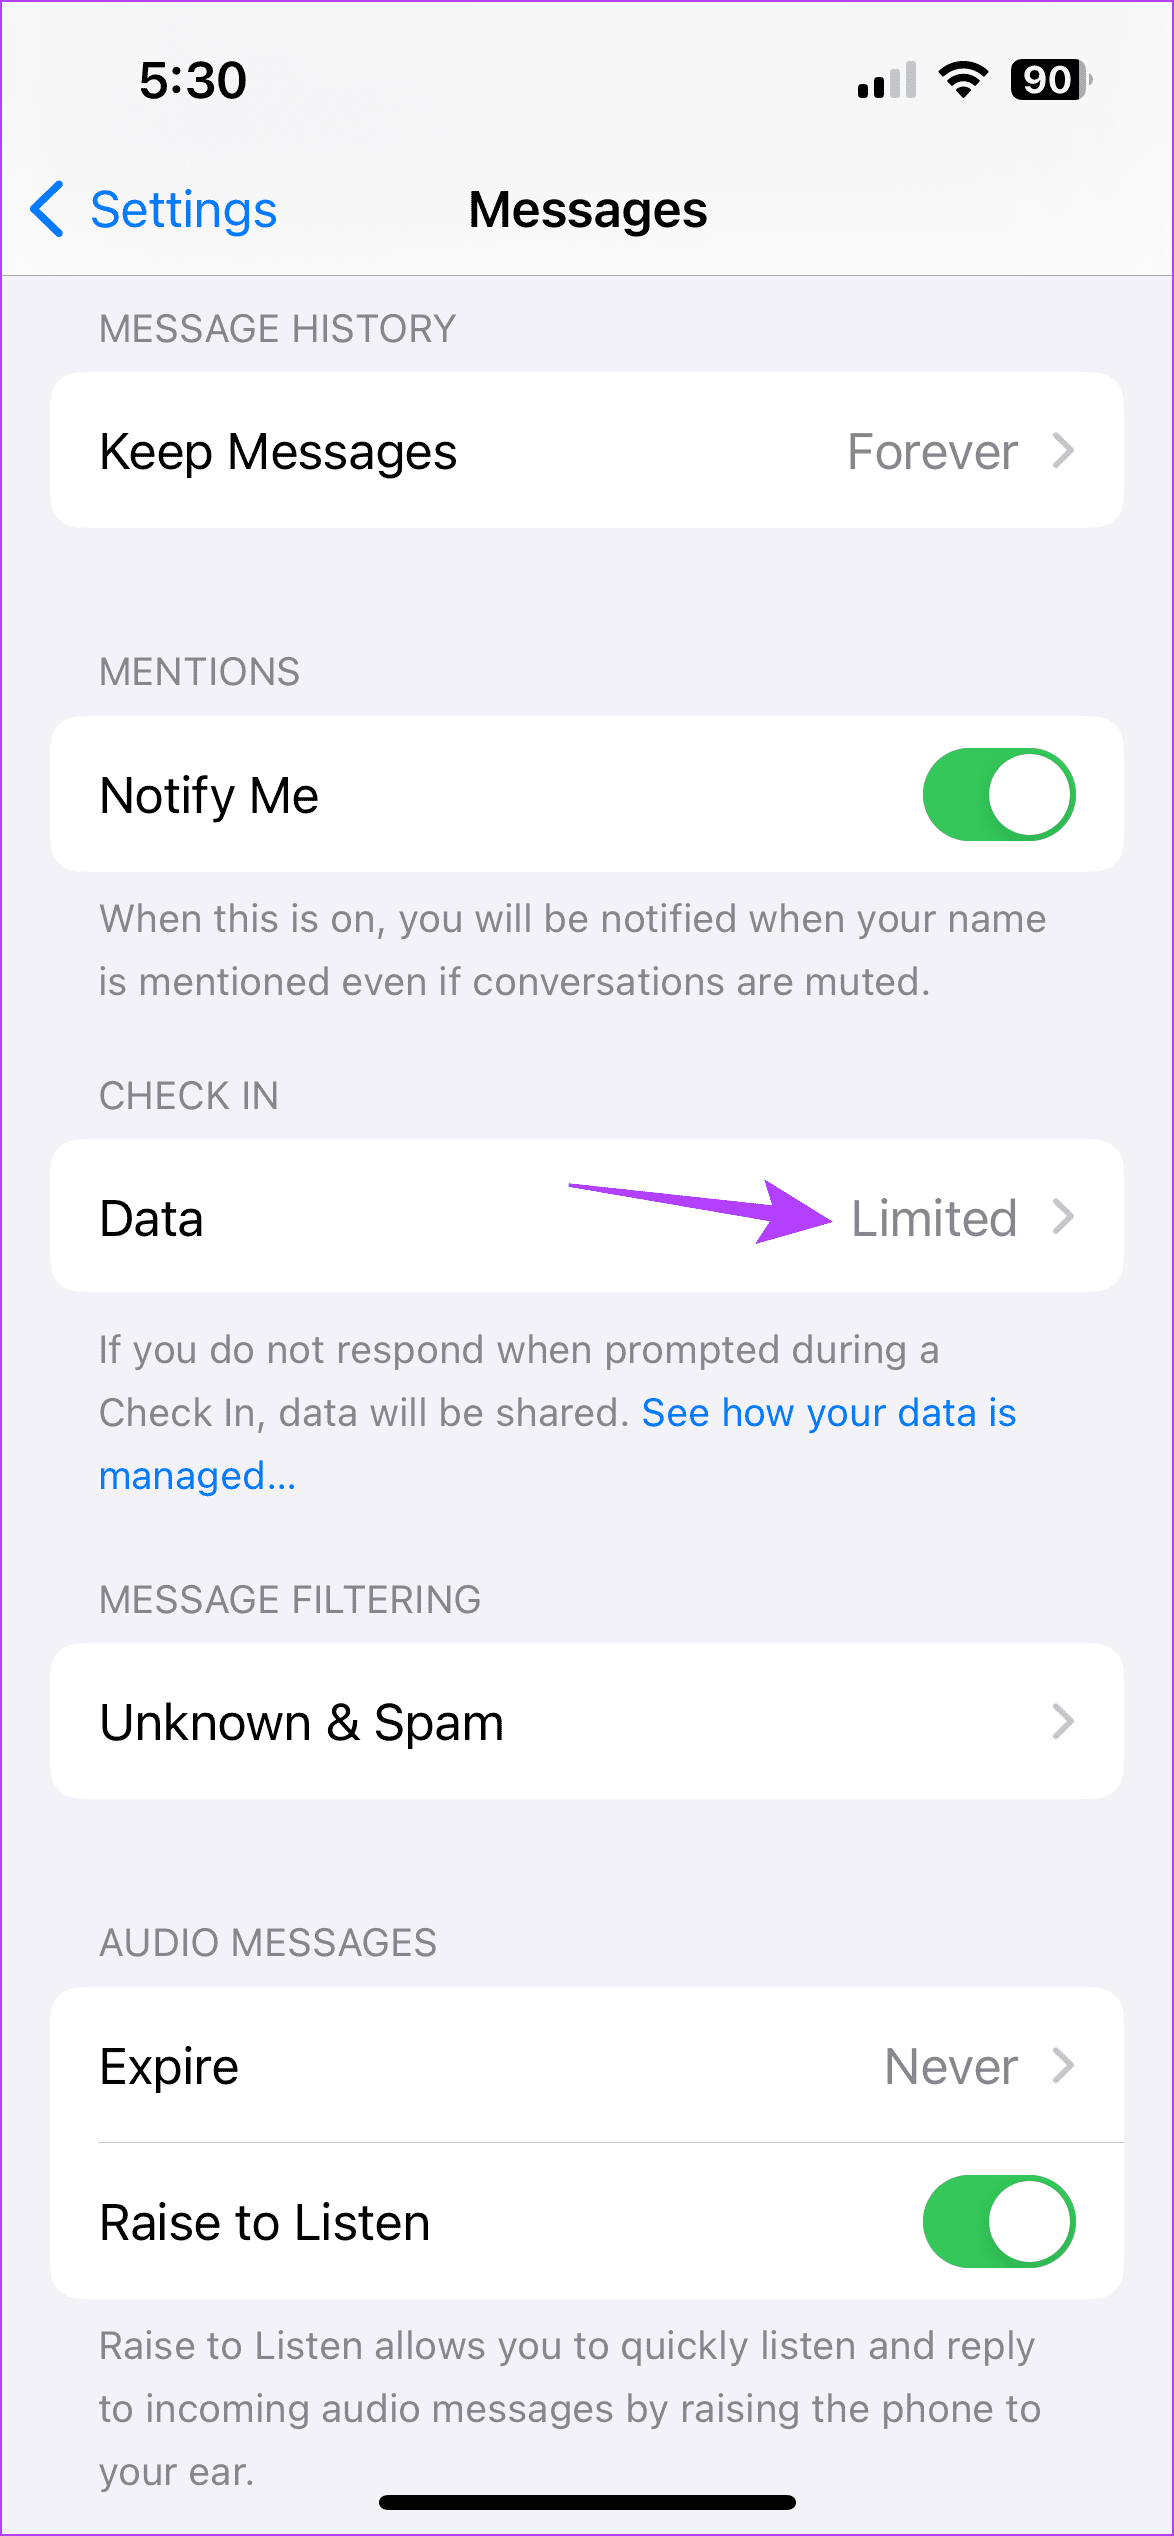
When using Check In, you can choose how much data you would like to share. But if you select the Limited option, it might limit the amount of information that can be shared, especially if you’re in a location with connectivity issues. This can also make the feature unavailable. Here’s how to check.
Note: This setting will only be available if you’ve previously used the Check In feature on your iPhone.
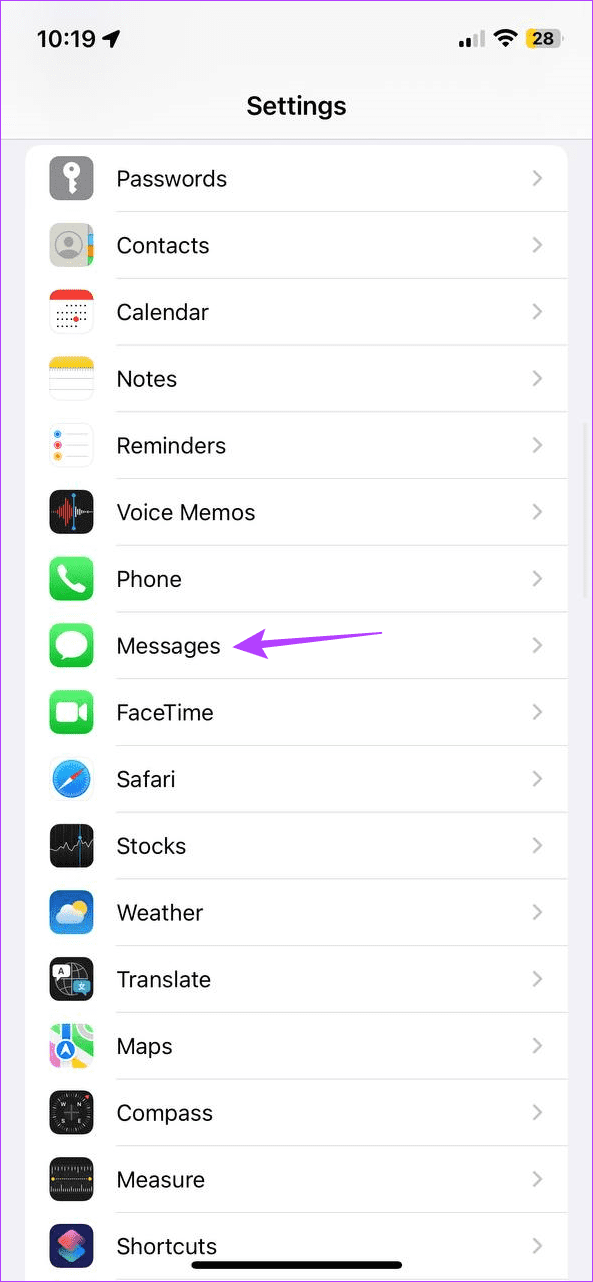
Step 1: Open Settings and tap on Messages. Go to the Check In section and tap on Data. Select Full.

Also Read: Check these 12 phone tips before going on vacation this summer
Fix 3: Disable and Enable iMessage
Apple gives you the option to disable iMessage from the settings menu. This will help you turn off the iMessage features within the Messages app. Then, turn it back on again. Do this if you still see the “Check In is not available to send to this recipient” when accessing the feature. Here’s how.
Step 1: Open Settings and tap on Messages. Turn off the toggle for iMessage.

Wait a few minutes and turn the iMessage toggle back on. Then, try using Check In again in the Messages app to see if this fixes the issue.
Was this helpful?
Last updated on 31 July, 2024
1 Comment
Leave a Reply
Read Next
 3 Fixes for Attachment Unavailable Error in Facebook Messenger
Try Basic Fixes The post may have been removed: Is the Facebook Messenger app showing the "Attachment Unavailable" error when you share someone else’s post?
3 Fixes for Attachment Unavailable Error in Facebook Messenger
Try Basic Fixes The post may have been removed: Is the Facebook Messenger app showing the "Attachment Unavailable" error when you share someone else’s post?
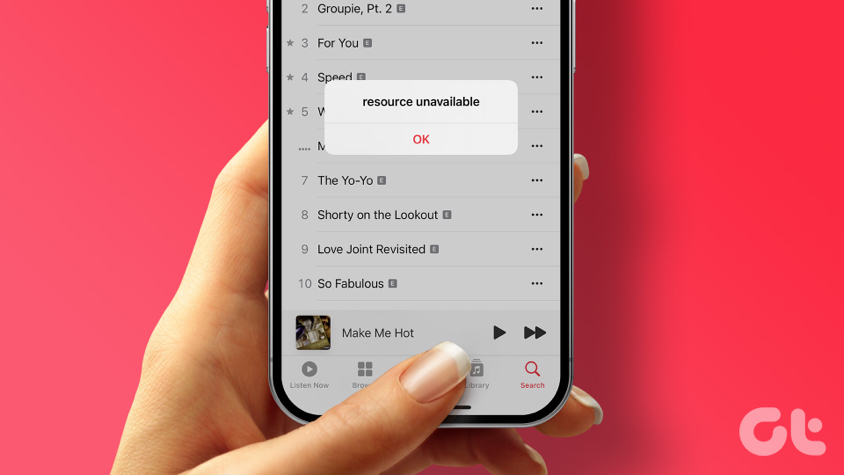 3 Ways to Fix the Resource Unavailable Error in Apple Music on iPhone
What Is the Apple Music Resource Unavailable Error The Resource Unavailable Error in Apple Music is something that we faced while playing certain songs only, and we suspect that the
3 Ways to Fix the Resource Unavailable Error in Apple Music on iPhone
What Is the Apple Music Resource Unavailable Error The Resource Unavailable Error in Apple Music is something that we faced while playing certain songs only, and we suspect that the
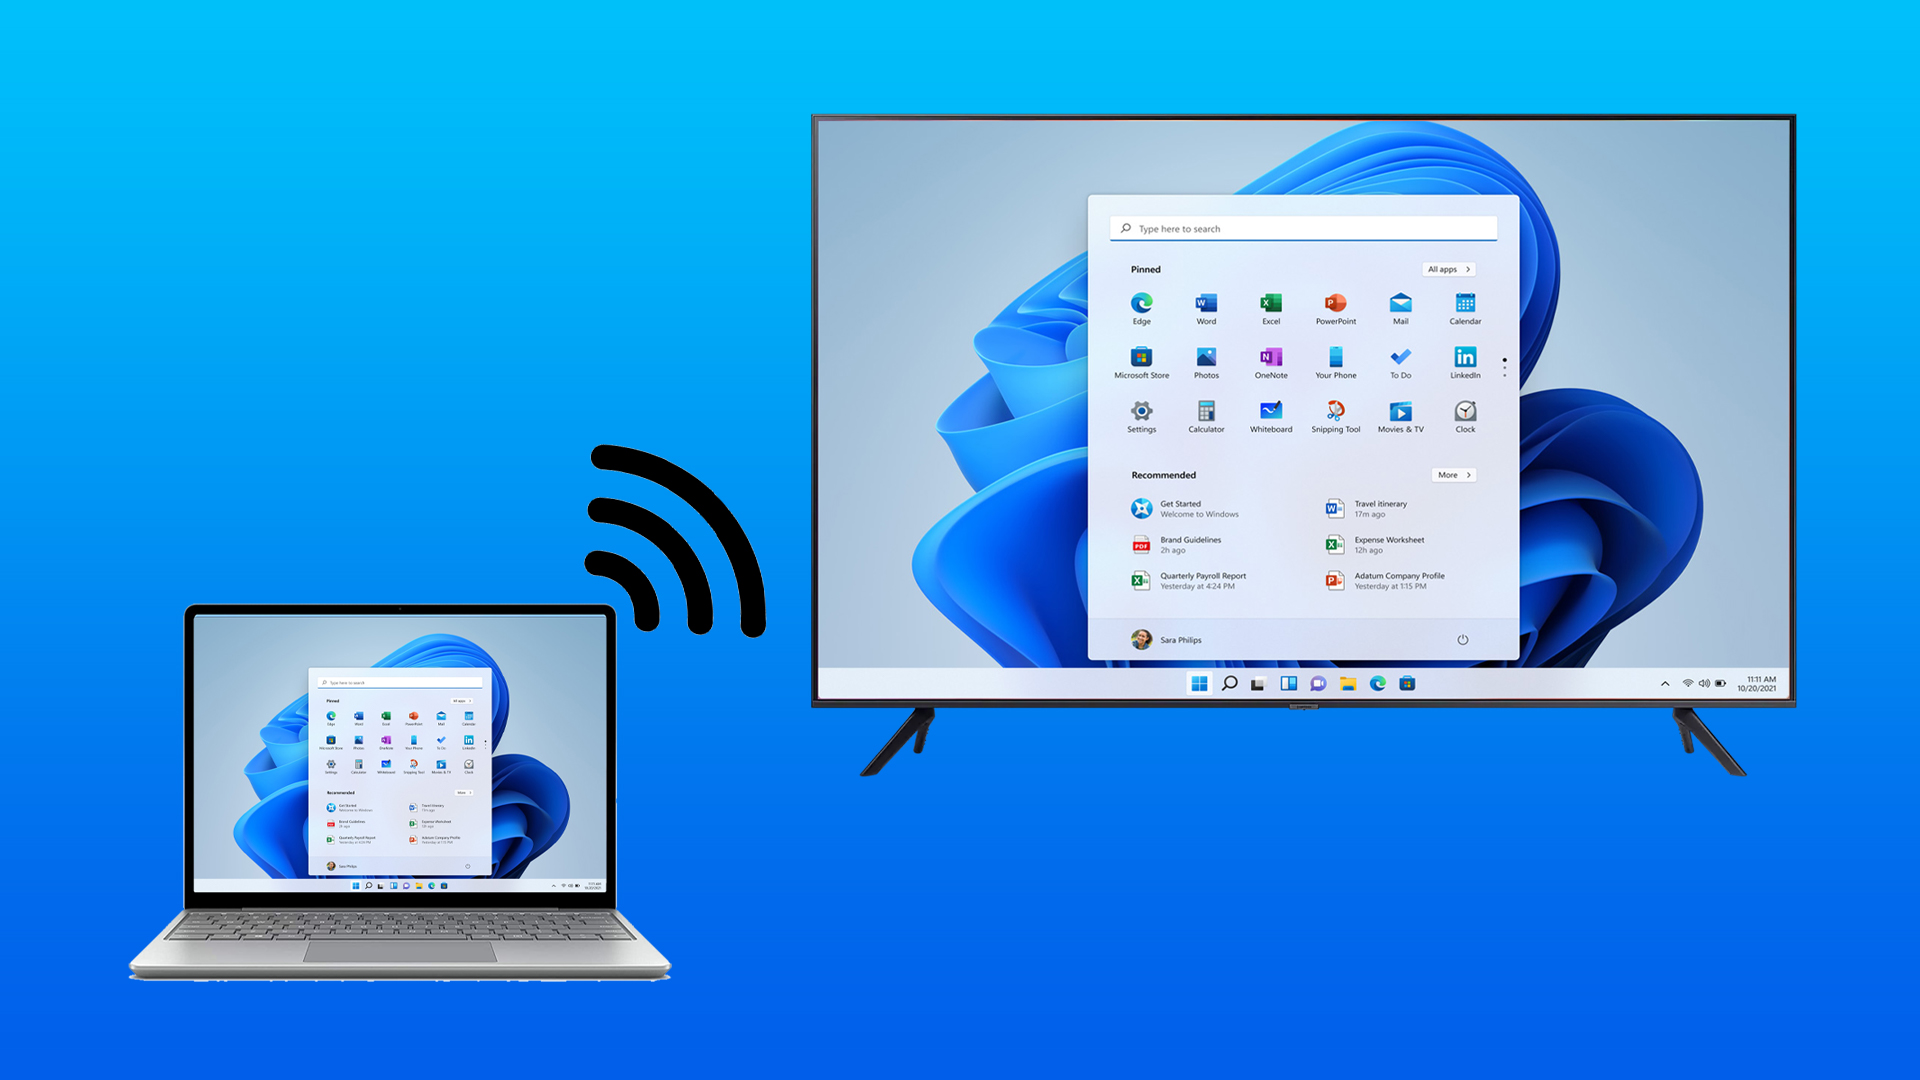 5 Fixes When Wireless Display Feature is Not Working on Windows 11
Basic Fixes: Ensure your devices support Miracast and Wi-Fi Direct protocol: One essential prerequisite for using the wireless display feature on Windows 11 is that all your devices, including your
5 Fixes When Wireless Display Feature is Not Working on Windows 11
Basic Fixes: Ensure your devices support Miracast and Wi-Fi Direct protocol: One essential prerequisite for using the wireless display feature on Windows 11 is that all your devices, including your
 How to Fix Instagram Insights Unavailable or Stopped Working
Basic Troubleshooting Clear Instagram cache: If Instagram collects a corrupt cache, it may fail to load the latest insights.
How to Fix Instagram Insights Unavailable or Stopped Working
Basic Troubleshooting Clear Instagram cache: If Instagram collects a corrupt cache, it may fail to load the latest insights.
 6 Ways to Fix Windows Hello Fingerprint Option Unavailable or Not Working
Basic Fixes Restart PC: Restart your PC to fix any temporary bugs and glitches.
6 Ways to Fix Windows Hello Fingerprint Option Unavailable or Not Working
Basic Fixes Restart PC: Restart your PC to fix any temporary bugs and glitches.
 4 Ways to Fix Spotify Jam Not Working Issue
https://youtu.be/VlNJzz-q-Gs Basic Fixes: Check for Spotify app updates: Since Spotify Jam is a recent addition, the Spotify mobile app needs to be updated to use it.
4 Ways to Fix Spotify Jam Not Working Issue
https://youtu.be/VlNJzz-q-Gs Basic Fixes: Check for Spotify app updates: Since Spotify Jam is a recent addition, the Spotify mobile app needs to be updated to use it.
 5 Ways to Fix Printer Driver Is Unavailable Error on Windows 11
Fix 1: Run the Printer Troubleshooter Windows 11 includes several troubleshooters that can help you fix common system-level issues.
5 Ways to Fix Printer Driver Is Unavailable Error on Windows 11
Fix 1: Run the Printer Troubleshooter Windows 11 includes several troubleshooters that can help you fix common system-level issues.
The article above may contain affiliate links which help support Guiding Tech. The content remains unbiased and authentic and will never affect our editorial integrity.

I went thru your article after getting the ‘recipient not available’ message when sending this to someone. We went through the steps you outlined on both phones. She could then send me a check-in but I still was getting the same error message when I attempted to send the check-in. Then figuring maybe it was caught up with the last error I sent an unrelated imessage. Then the check-in worked!