Basic Fixes
- Check Wi-Fi connection: Ensure that you have connected to a 5GHz Wi-Fi network for faster speeds to send your emails.
- Force quit and relaunch the app: Click the Apple logo > Force Quit > Mail app > Force Quit.
- Update the Mail app: Open Settings > General > Software Update.
Fix 1: Check Server Connection
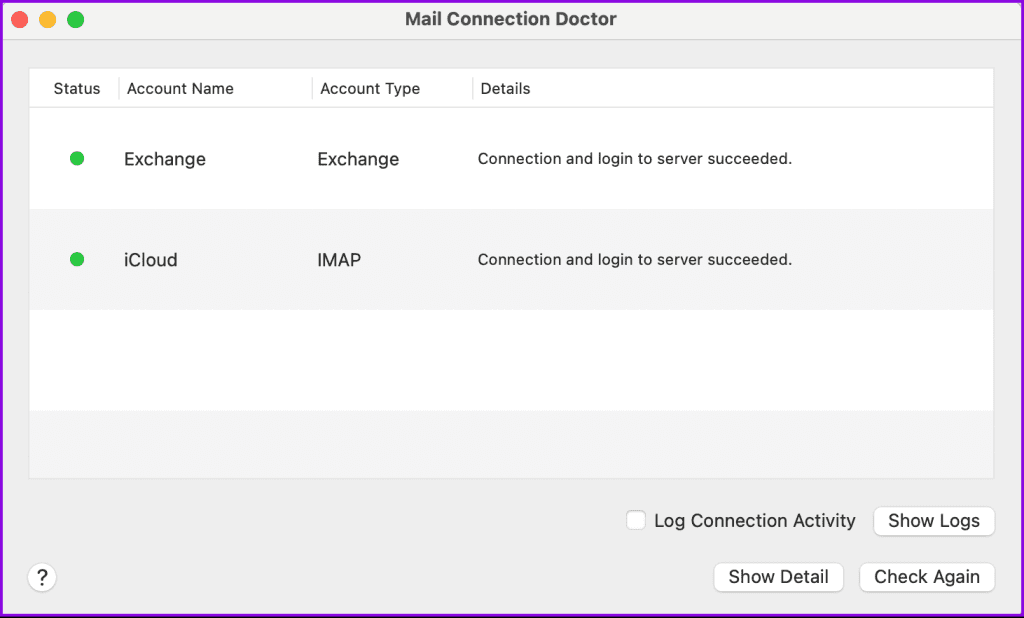
The Mail app allows you to check your server connection status. Your email client should be connected to the email server.
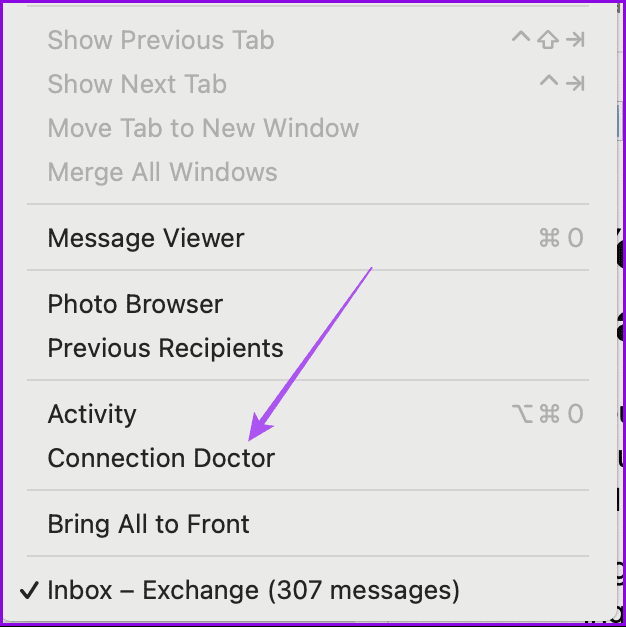
Step 1: Open the Mail app > Window > Connection Doctor.
Step 2: Check whether your email account is connected to the server. You can click on Check Again to confirm the same.
Fix 2: Check SMTP Server Settings
If you see the Cannot Send Message Using the Server error in Apple Mail on your Mac, you need to check and then verify your SMTP server settings. SMTP or Simple Mail Transfer Protocol helps computers and servers to exchange emails. You should verify the required server for your email account. You need to check the configuration settings of your SMTP server.
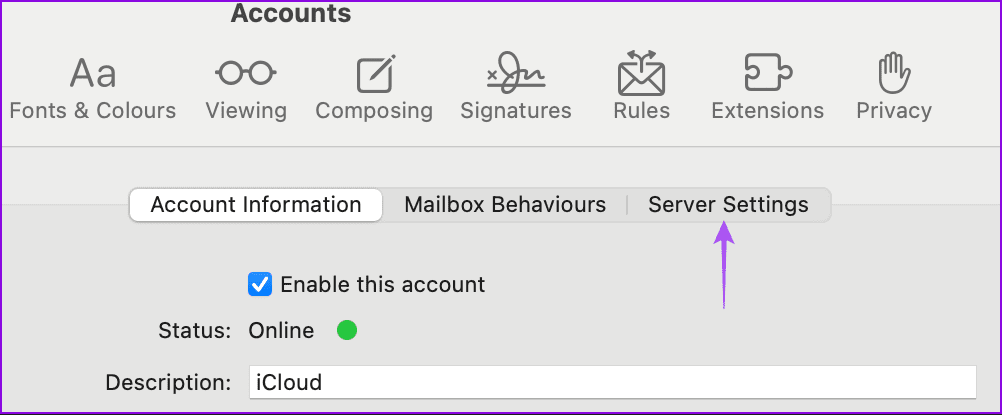
Step 1: Open the Mail app > Settings > Accounts > Select your email account.

Step 2: Click on Server Settings.
Step 3: Click the drop-down menu and then select Edit SMTP Server List.
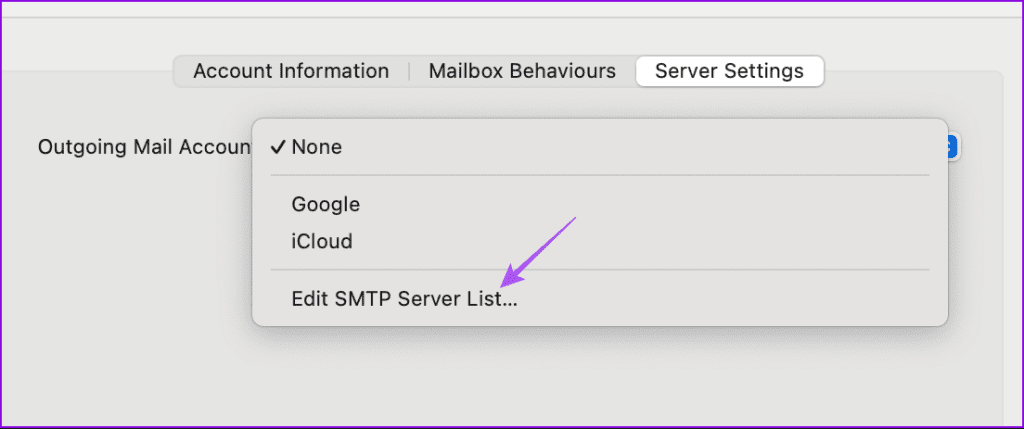
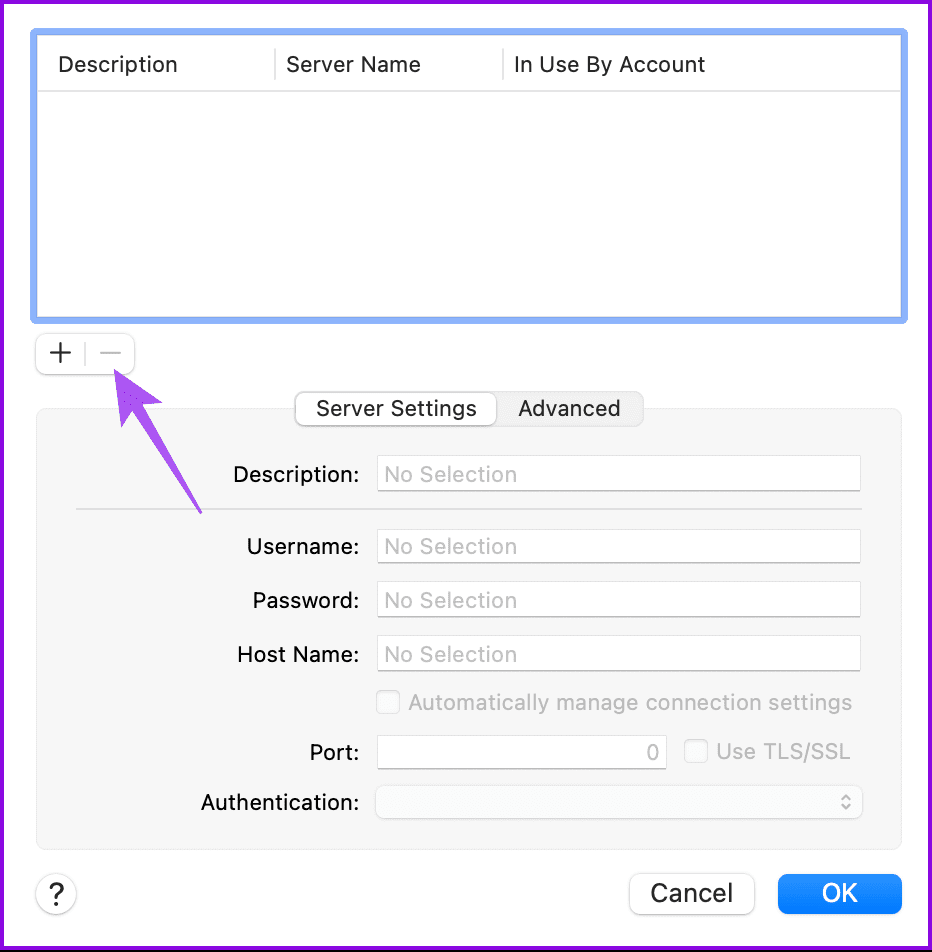
Step 4: Select the SMTP server that your email account uses and then verify the information displayed.
You can remove duplicate servers by selecting them and then clicking the Minus icon.
Step 5: Click on Advanced and then ensure that all the fields match the information provided by your email account server.
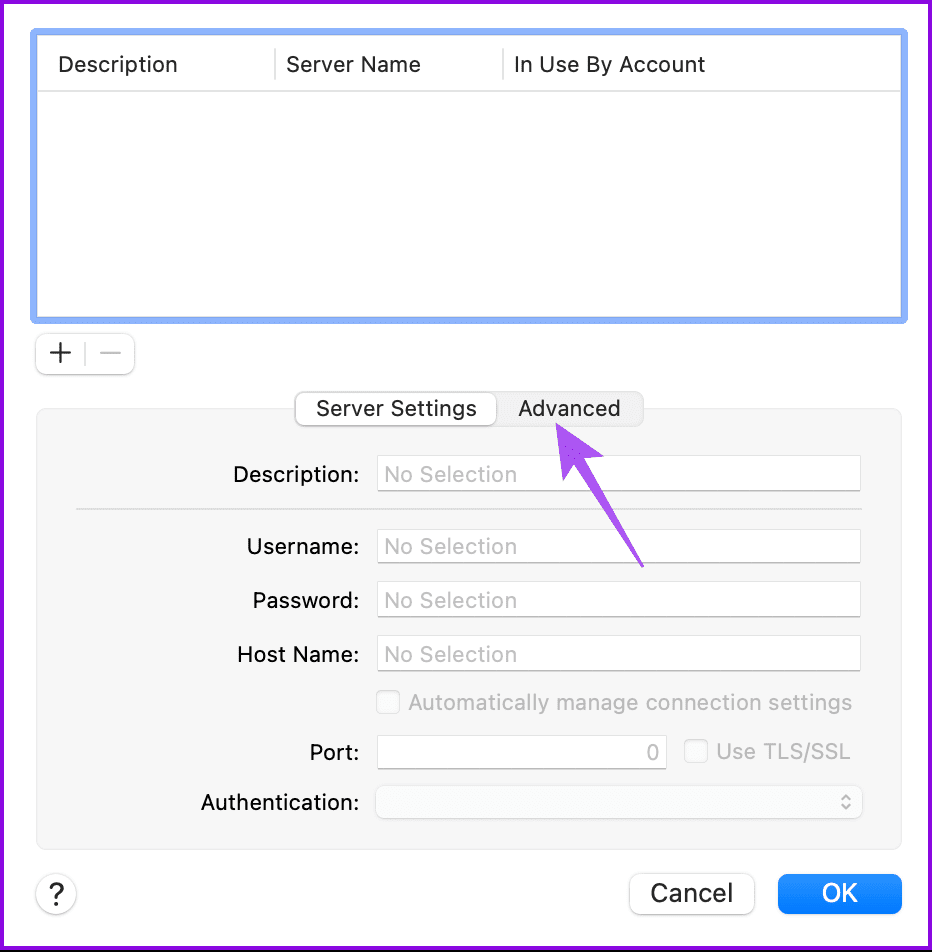
Step 6: After confirmed, click on Ok and then try sending an email to yourself.
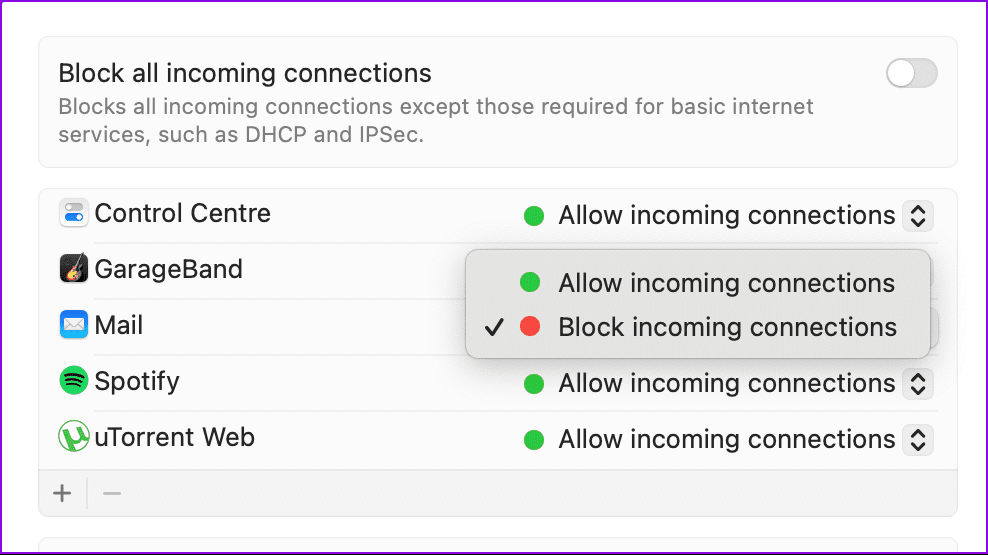
Fix 3: Disable Firewall
A firewall on your Mac prevents unwanted contact from other computers while you are connected to the internet. Your Mac allows you to restrict certain apps using Firewall and then ensure that Apple Mail hasn’t been added to the list.
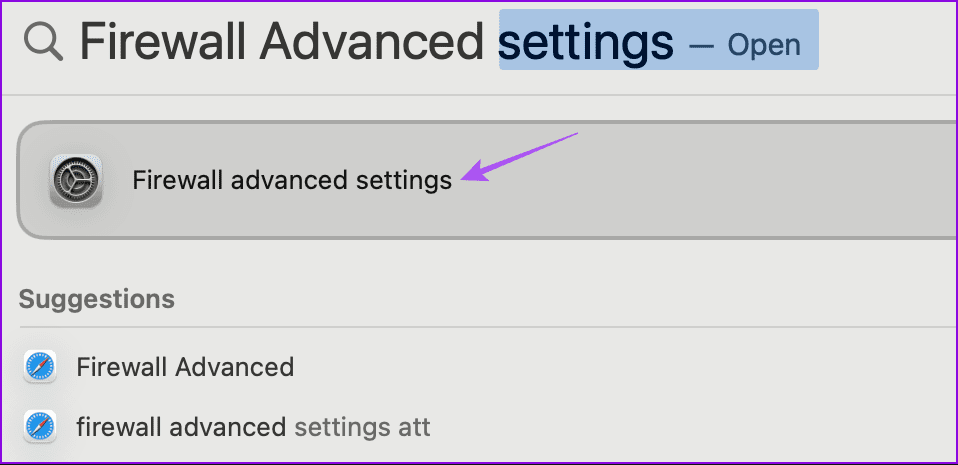
Step 1: Press Command + Spacebar keyboard shortcut to open Spotlight Search, type Firewall Advanced Settings, and then press Return.
Step 2: Click on Firewall > Options > If the Mail app has been added, ensure that incoming connections are allowed.
Fix 4: Use Safe Mode
If none of the solutions have worked, we suggest booting your Mac in Safe Mode to troubleshoot the issue with the Mail app. This will prevent third-party app interference and check if system apps like Apple Mail function properly.
For Macs With M-Series Chip
Step 1: Shut down your Mac.
Step 2: After your Mac shuts down, press and hold the Power Button till you see the two startup options – Macintosh HD and Options.
Step 3: Select Macintosh HD while holding the Shift key and then select Continue in Safe Mode.

For Macs With Intel Chip
Step 1: Restart your Mac.
Step 2: Press and hold the Shift key when your Mac restarts. Release the Shift key when you see the login window.
Tip: Refer to our post to learn how to set Out of Office message on Mac mail.
Was this helpful?
Last updated on 26 August, 2024
Read Next
 5 Ways to Fix Mail App Not Receiving Emails on Mac
Basic Fixes Check junk mail: Sometimes, Gmail, iCloud, or Outlook algorithms can be aggressive and send emails directly to the Junk box.
5 Ways to Fix Mail App Not Receiving Emails on Mac
Basic Fixes Check junk mail: Sometimes, Gmail, iCloud, or Outlook algorithms can be aggressive and send emails directly to the Junk box.
 Outlook App vs Apple Mail: Which Is a Better iOS Mail App
Frankly, there are so many mail apps for the iOS platform that it can be difficult to zero in on one.
Outlook App vs Apple Mail: Which Is a Better iOS Mail App
Frankly, there are so many mail apps for the iOS platform that it can be difficult to zero in on one.
 Top 8 Fixes When Mail App Quit Unexpectedly on Mac
The default Mail app on the Mac received a much-needed makeover with the macOS Big Sur update.
Top 8 Fixes When Mail App Quit Unexpectedly on Mac
The default Mail app on the Mac received a much-needed makeover with the macOS Big Sur update.
 3 Fixes for Gmail Login Failed in Mail App on Mac
Basic Fixes Check your internet speed: Try connecting to a 5GHz frequency band if you have a dual-band router.
3 Fixes for Gmail Login Failed in Mail App on Mac
Basic Fixes Check your internet speed: Try connecting to a 5GHz frequency band if you have a dual-band router.
 5 Ways to Fix Delayed Emails in Mail App on iPhone
Common Fixes Enable Background App Refresh - Access General settings on iPhone, tap Background App Refresh, and enable the toggle for the Mail app.
5 Ways to Fix Delayed Emails in Mail App on iPhone
Common Fixes Enable Background App Refresh - Access General settings on iPhone, tap Background App Refresh, and enable the toggle for the Mail app.
 How to Mass Delete Emails in Apple Mail
Mass Delete Emails on iPhone and iPad Let us begin with the steps to bulk delete emails in the Mail app on your iPhone or iPad.
How to Mass Delete Emails in Apple Mail
Mass Delete Emails on iPhone and iPad Let us begin with the steps to bulk delete emails in the Mail app on your iPhone or iPad.
 3 Fixes for Apple Mail Not Syncing With Gmail on Mac
Basic Fixes Check internet connection: Check your internet speed and rest assured that your Internet Service Provider is not facing any downtime or undergoing maintenance in your area.
3 Fixes for Apple Mail Not Syncing With Gmail on Mac
Basic Fixes Check internet connection: Check your internet speed and rest assured that your Internet Service Provider is not facing any downtime or undergoing maintenance in your area.
The article above may contain affiliate links which help support Guiding Tech. The content remains unbiased and authentic and will never affect our editorial integrity.