Have you been running out of disk space on one of your drives? If you are, you’re probably aware of it thanks to repeated warnings from Windows 11, but they might be a bit unwelcome after the fourth or fifth pop-up. Disabling these alerts, though, is a pretty simple task. In this article, we’re going to show you how to do just that.
How to Disable Low Disk Space Warning on Windows 11

There are a few ways to get rid of the “Low Disk Space” warning on your machine. We’ve outlined the steps to follow for each below. Let’s get started:
Disable via the Registry
The Registry contains a lot of important settings for Windows, and changing anything without knowing what to do could end in disaster. However, it’s also one of the best ways to disable annoying features. Don’t worry, we’ll guide you along the way:
Step 1. Open the Run dialog (Win + R) and type “regedit” before pressing (Ctrl + Shift + Enter) to run the process as administrator.

Step 2. In the Registry Editor window, navigate to the following: “HKEY_CURRENT_USER\Software\Microsoft\Windows\CurrentVersion\Policies.” You can copy and paste this in the Pathing bar, too.

Step 3. Right-click on the “Policies” folder in the sidebar and choose “New Key” from the Context menu.

Step 4. Name the new key “Explorer” and press “Enter.”

Step 5. Right-click on the new “Explorer” key in the sidebar and choose “New > DWORD (32-bit) Value” from the Context menu.

Step 6. In the main window, you’ll see a new value appear. Click the value once and rename it “NoLowDiskSpaceChecks” and press “Enter.”

Step 7. Double click the value and set the “Value data” from “0” to “1.”

Step 8. Press “OK”.
Step 9. Restart your machine, and you shouldn’t be troubled by the message again.
Remove Disk From Listing (Partition Only)
If you’ve got a partitioned disk drive meant for storage or backup that’s suddenly become visible following a Windows update (like 24H2), then you can get rid of the “Low Disk Space” message and the drive’s visibility in one go. Here’s how:
Step 1. Type “DiskPart” into the Search Bar and choose the option that appears.

Step 2. Select the visible partition by typing “select volume [letter]” and press “Enter.”

Step 3. Type “remove letter=[letter]” and press “Enter” to remove the disk letter and return it to invisibility.

Step 4. Restart your PC and see if the disk (and the warning) has gone.
Clean Your Temporary Files
Another way to ensure the “Low Disk Space” warning doesn’t pop up is to free up some space on your drive. It sounds obvious, but the temporary files stored on the main drive of PCs are often overlooked as a way to free up a lot of space. Here’s how to run Disk Cleanup:
Step 1. Open the Run dialog (Win + R) and type “cleanmgr” before pressing “Enter.”

Step 2. Select the drive you want to clean up from the drop-down list and press “OK.”

Step 3. Give your PC a few minutes to scan for areas to clean.
Step 4. The Disk Cleanup window will show you files that can be deleted. Check the box next to “Temporary files” and any other group that you don’t need.
Step 5. Press “OK,” and the deletion process will begin.

Was this helpful?
Last updated on 05 August, 2025
Read Next
 6 Ways to Fix Not Enough Disk Space Error in Steam on Windows 11
Why Don’t I Have Enough Disk Space While Running Steam?
6 Ways to Fix Not Enough Disk Space Error in Steam on Windows 11
Why Don’t I Have Enough Disk Space While Running Steam?
 Not Enough Free Disk Space Steam Fix
So, you’re settling down to play the Steam game you’ve been waiting ages for, only to have Steam tell you that your hard drive doesn’t have enough space.
Not Enough Free Disk Space Steam Fix
So, you’re settling down to play the Steam game you’ve been waiting ages for, only to have Steam tell you that your hard drive doesn’t have enough space.
 How to Enable Sensitive Content Warning on iPhone, iPad, and Mac
Apple provides the best security features for iPhone, iPad, and Mac.
How to Enable Sensitive Content Warning on iPhone, iPad, and Mac
Apple provides the best security features for iPhone, iPad, and Mac.
 2 Fixes for “We’ve Detected Automated Behavior on Your Account” Warning on Instagram
Try Basic Fixes Avoid engaging in spammy behavior: Activities such as following, unfollowing, or sending direct messages to a large number of people in a short time can trigger this
2 Fixes for “We’ve Detected Automated Behavior on Your Account” Warning on Instagram
Try Basic Fixes Avoid engaging in spammy behavior: Activities such as following, unfollowing, or sending direct messages to a large number of people in a short time can trigger this
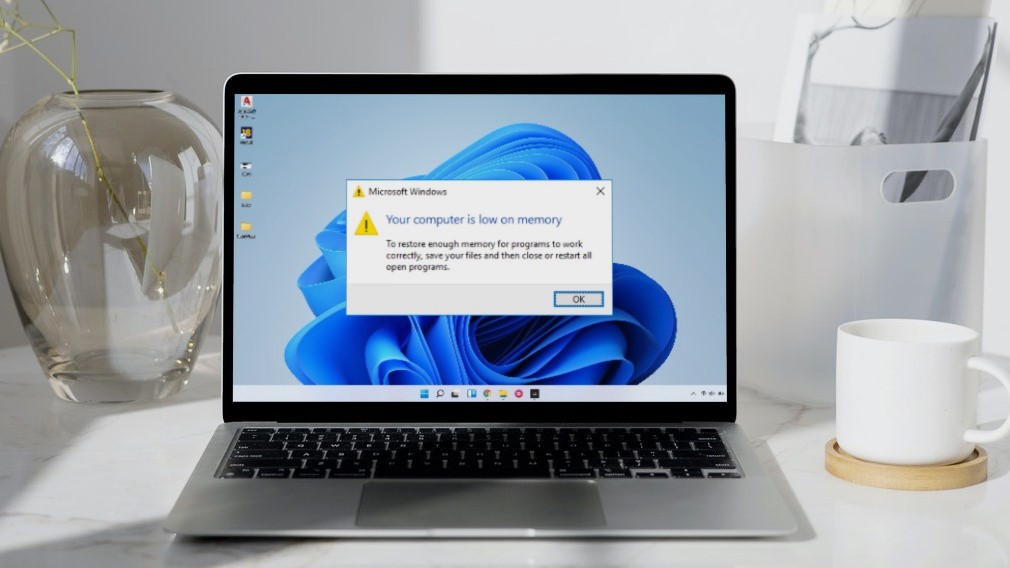 5 Ways to Fix “Your Computer Is Low on Memory” Error on Windows 10 and Windows 11
Try Basic Fixes Close unwanted apps and programs: Start by closing any unwanted apps and programs on your computer, especially the ones consuming a major chunk of your PC’s memory.
5 Ways to Fix “Your Computer Is Low on Memory” Error on Windows 10 and Windows 11
Try Basic Fixes Close unwanted apps and programs: Start by closing any unwanted apps and programs on your computer, especially the ones consuming a major chunk of your PC’s memory.
 Top 5 Fixes for Windows 10 Battery Low Notification Not Working
What would you do if your Windows 10 laptop shuts down abruptly without any warning or notification?
Top 5 Fixes for Windows 10 Battery Low Notification Not Working
What would you do if your Windows 10 laptop shuts down abruptly without any warning or notification?
 7 Ways to Fix Low Volume on Windows 11
https://youtu.be/1snNqM2ZcwI Try Basic Fixes Check the volume mixer: Right-click the speaker icon on the taskbar and select the Open volume mixer option.
7 Ways to Fix Low Volume on Windows 11
https://youtu.be/1snNqM2ZcwI Try Basic Fixes Check the volume mixer: Right-click the speaker icon on the taskbar and select the Open volume mixer option.
 How to Free up Space on C Drive in Windows
Fix 1: Clear the Recycle Bin Let's begin with some simple yet effective solutions.
How to Free up Space on C Drive in Windows
Fix 1: Clear the Recycle Bin Let's begin with some simple yet effective solutions.
The article above may contain affiliate links which help support Guiding Tech. The content remains unbiased and authentic and will never affect our editorial integrity.