Method 1: Use a VPN to Fake Your Location in Chrome, Edge, and Firefox
VPN makes your private network truly private when you connect to its servers. This way, others will only see your location as whatever location’s server you’re currently connected to. So, let us look at how to connect to a VPN to change your IP address and fake your location.
Note: We will use the free version of Proton VPN for demonstration.
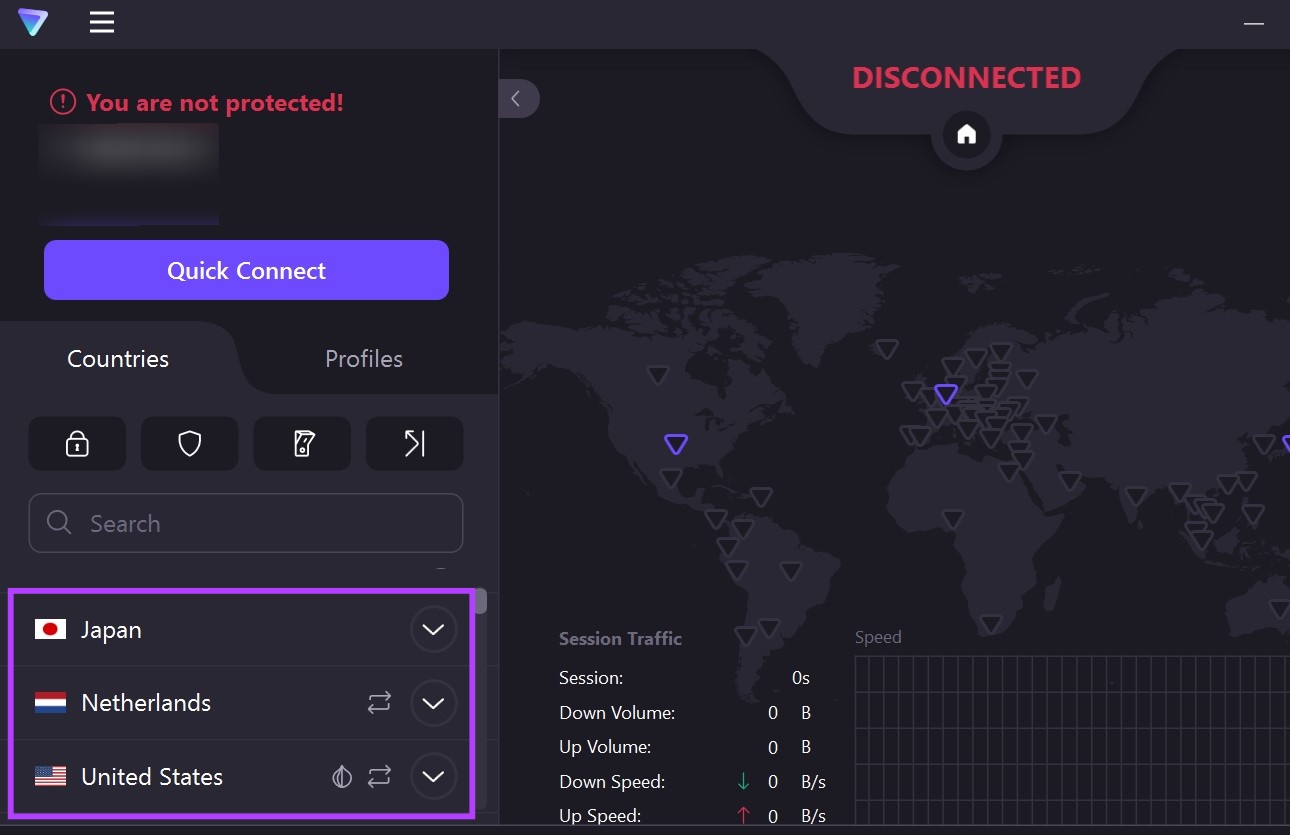
Step 1: Open the Proton VPN app and go to the location you want to connect to.
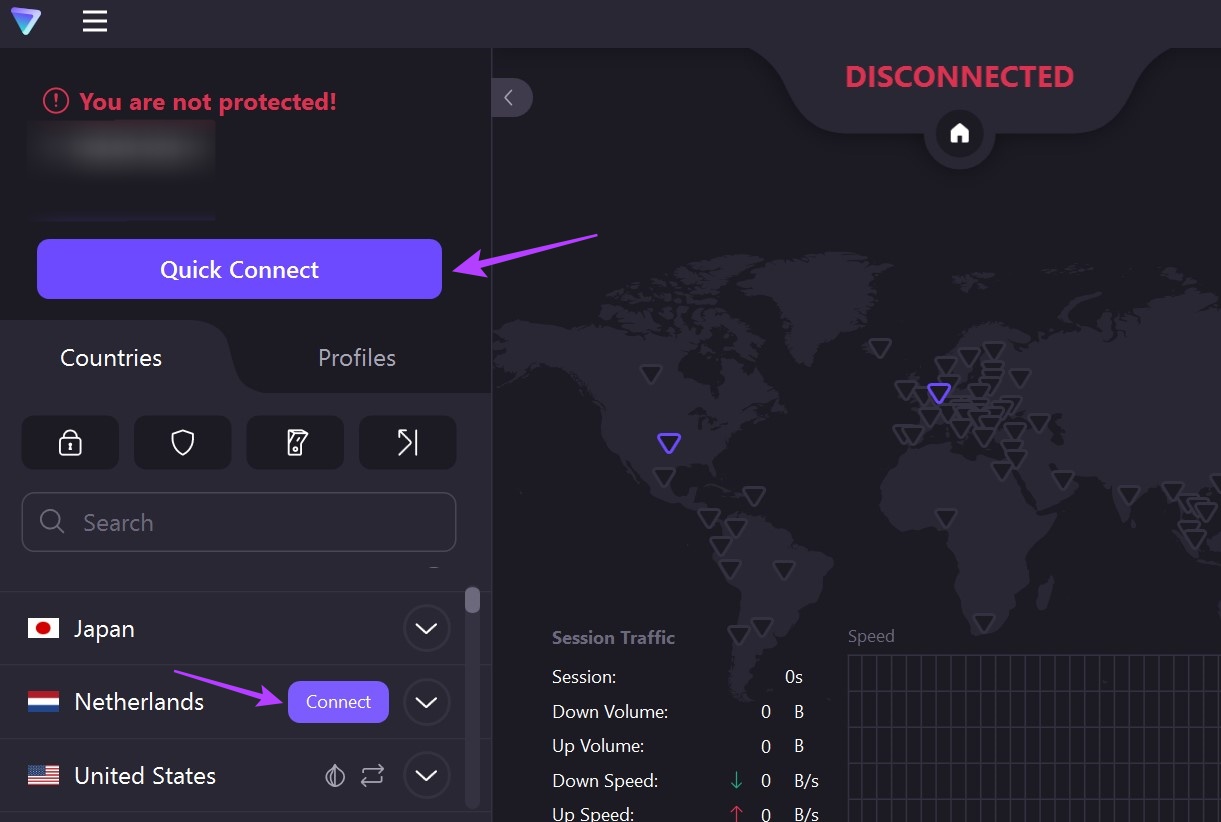
Step 2: Then, click on Connect. Alternatively, click on Quick Connect to let the Proton VPN decide the location and quickly connect to it.
You can also use VPN apps for Android and iOS to change or fake your location in the Chrome, Edge, and Firefox mobile apps. Your location will be visible once the VPN app is disconnected.
Tip: You can also check our list of Android browsers that come with built-in VPN capabilities
Method 2: Spoof Your Location Using an Extension
Using VPN extensions, you can easily change your location in Firefox, Chrome, or Edge, without affecting the rest of your device apps and services. They can be accessed from the browser’s menu options and don’t require a separate app. Here’s how to install the extensions on Chrome, Edge, and Firefox.
For Chrome and Edge
Note: The steps for installing an extension are similar in Microsoft Edge. So, open Edge and go to Free VPN for Edge’s page. Then, follow the below steps to install the extension.
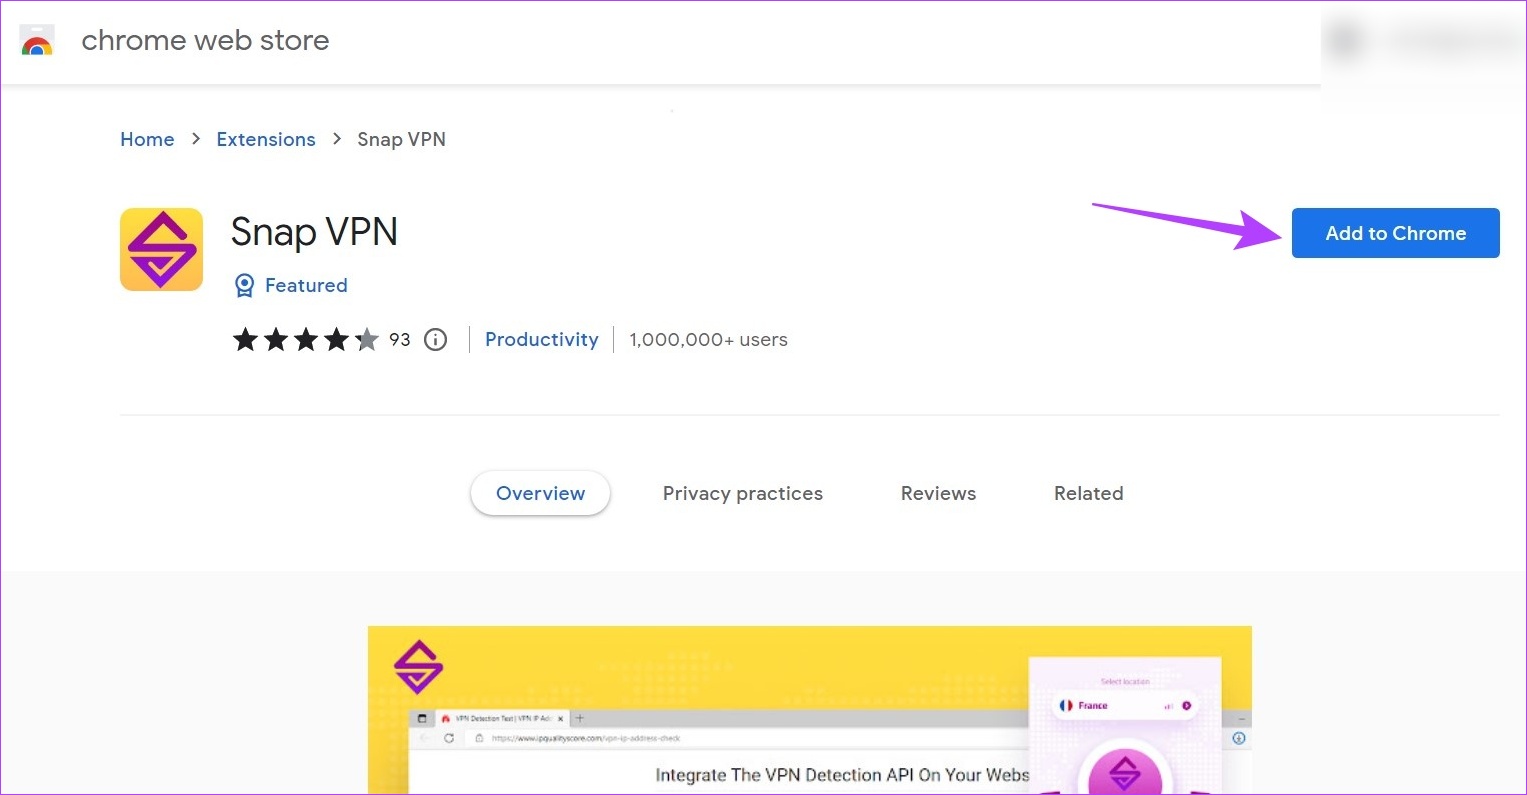
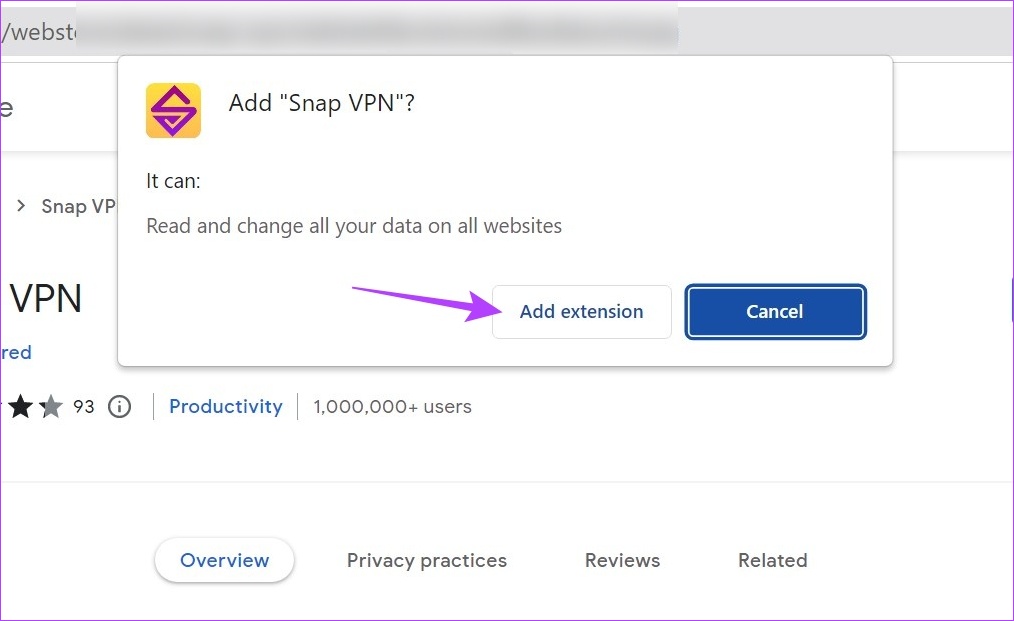
Step 1: Open the Snap VPN page Chrome and click on Add to Chrome.
Step 2: Here, click on Add extension to confirm.
Step 3: Once the extension is installed, click on the Extensions icon and click on Snap VPN.
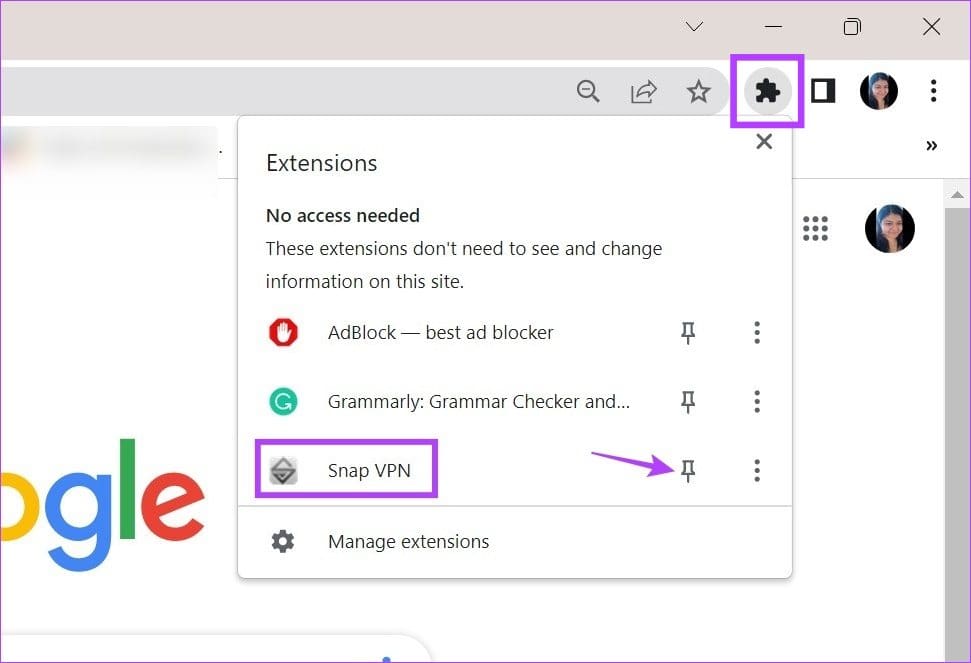
Once the extension opens, select the relevant location and wait for it to connect. Once done, try opening another site, like Google or YouTube, and check if your location has changed.
For Firefox
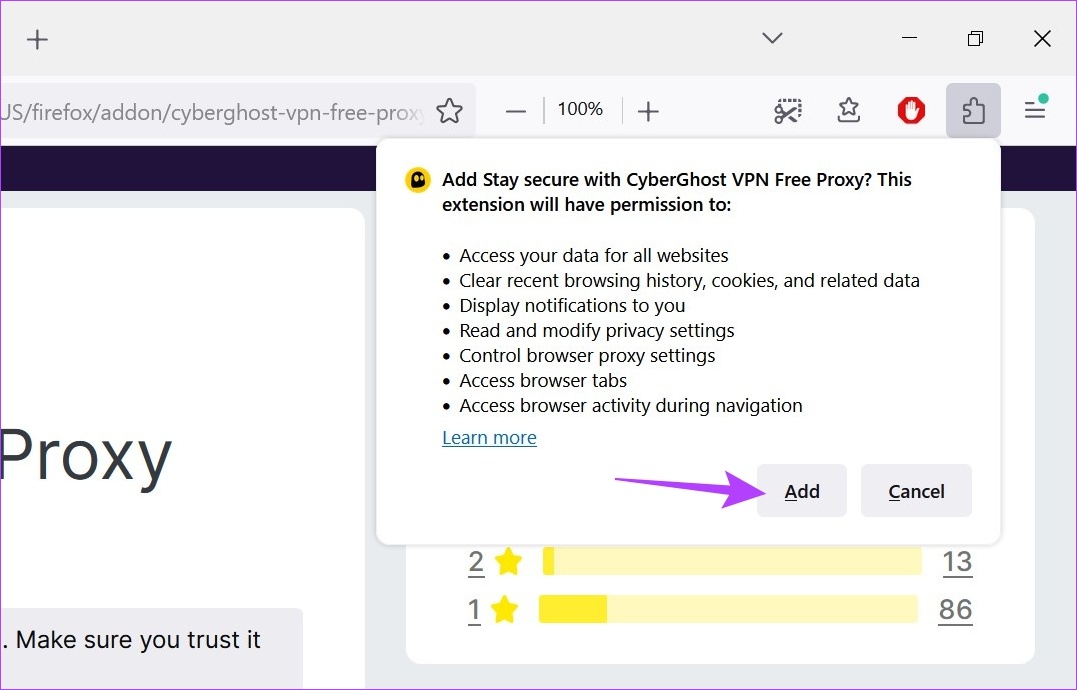
Step 1: Open the CyberGhost VPN add-on page in Firefox and click on Add to Firefox.
Step 2: Then, click on Add.
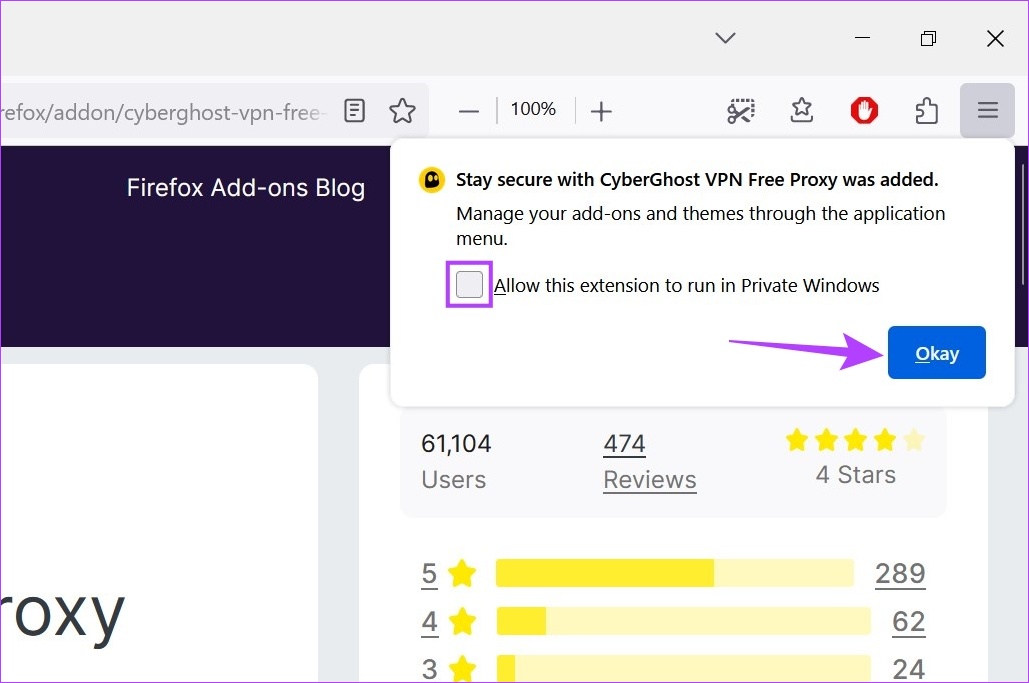
Step 3: Here, check the Allow this extension to run in Private Window option if you want the extension to run in incognito mode as well. Then, click on Okay.
Step 4: Click on the Extension icon, and once the list opens, click on CyberGhost VPN.

Now, select the country you would like to connect to and wait for it to establish a connection. Once the VPN connection is successful, the CyberGhost VPN extension will show a disconnect option.
Method 3: Use Browser Settings to Spoof Current Location
You can also change your browser location using the browser settings. However, certain apps can still detect your changed location, while others might show your location as unknown. Although it’s not a foolproof method, you can try it if you want to mask your immediate location data. Here’s how.
Note: Closing the browser windows will result in your true location being revealed.
For Chrome and Edge
Note: The method for changing location using the settings menu is the same for Chrome and Edge. So, for demonstration, we will use Chrome.
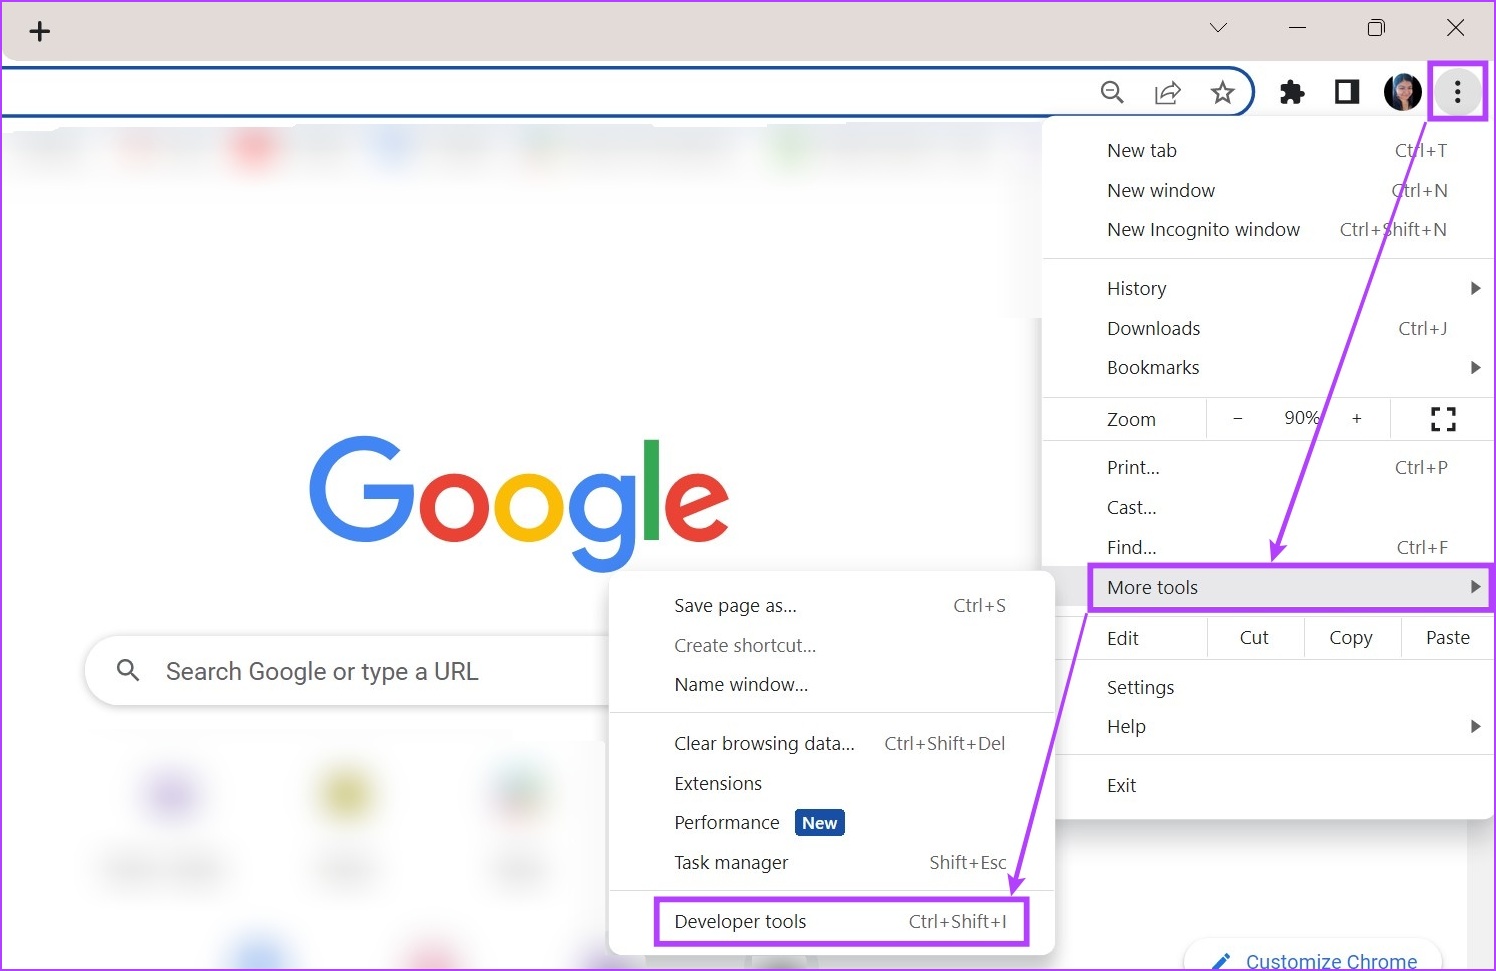
Step 1: Open Google Chrome and click on the three-dot icon. Here, click on More tools > Developer tools.
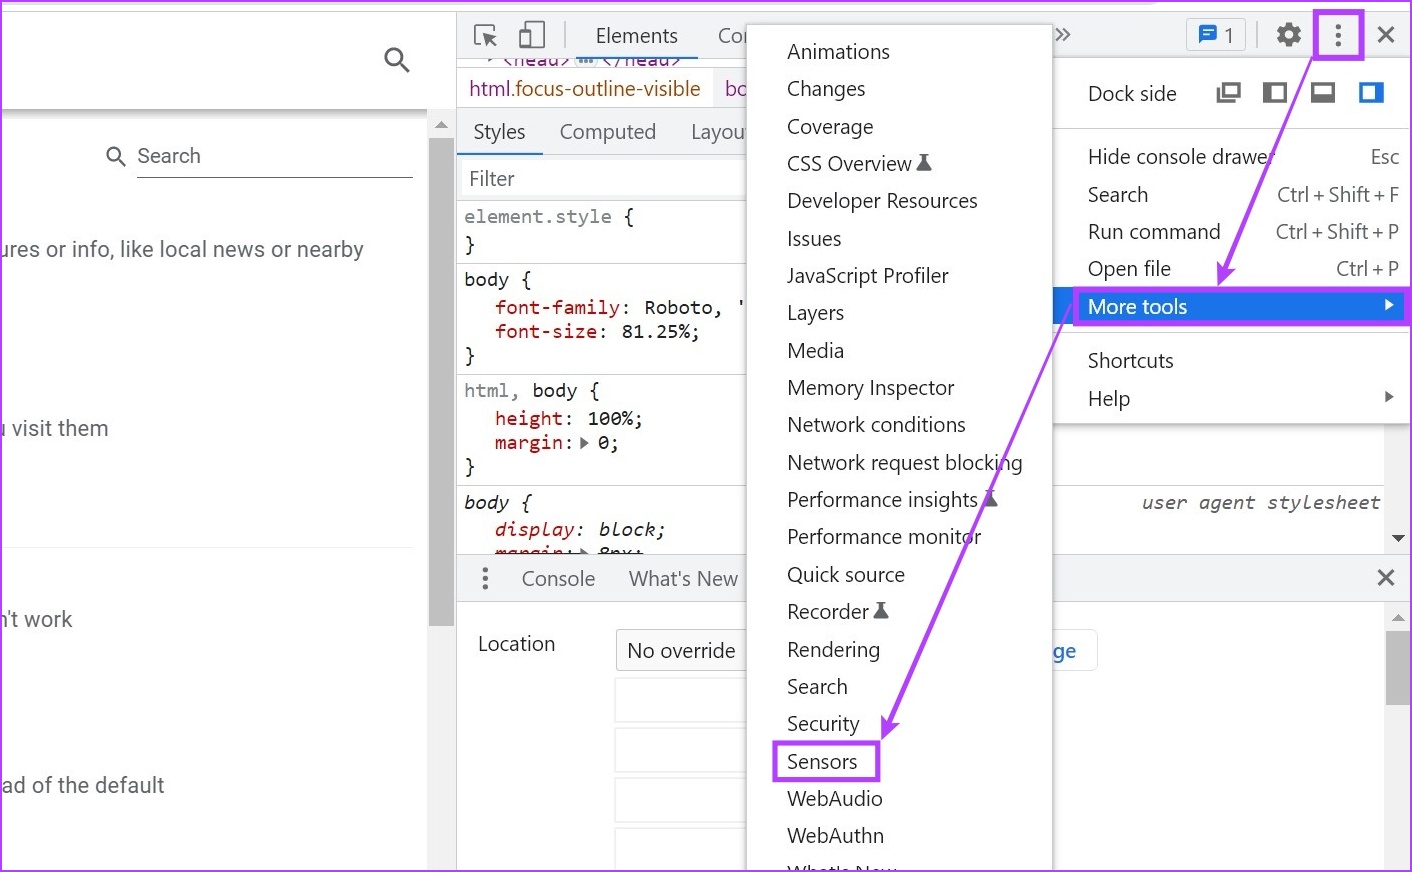
Step 2: Now, in the developer console menu, click on the three-dot icon on the right. Then, go to More tools > select Sensors.
Note: Edge users can click on the + icon from the bottom and click on Sensors.
Step 3: Here, click on the No override dropdown and select any pre-fed location. Or, you can add longitude and latitude coordinates to select the desired location manually.

For Firefox
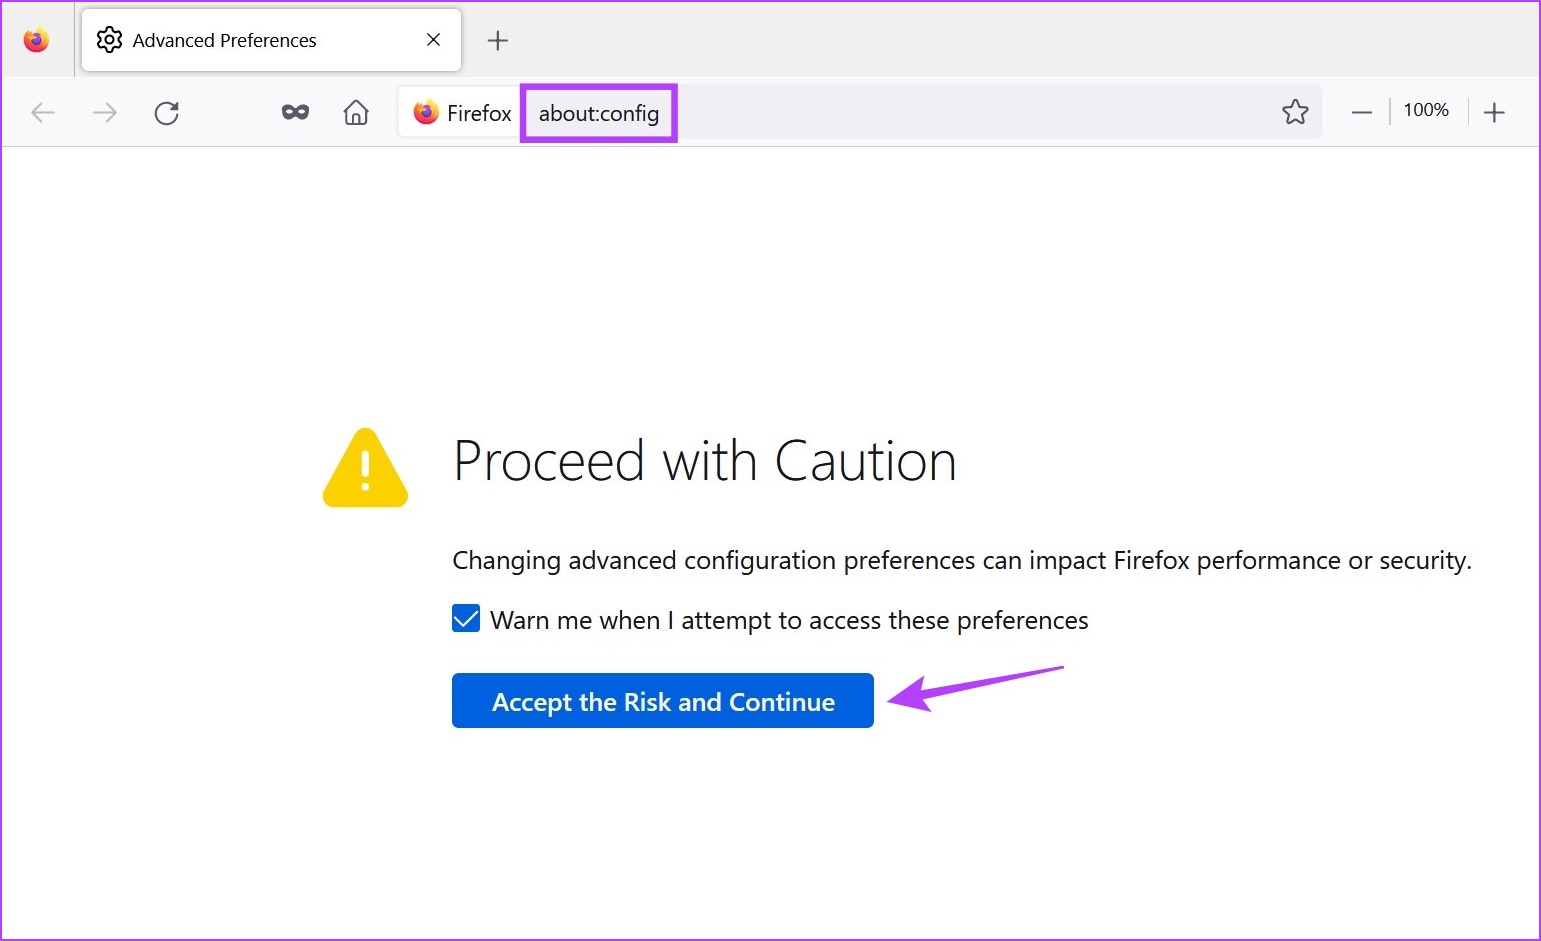
Step 1: Open Firefox, type about:config in the address bar, and press enter. When prompted, click on Accept the Risk and Continue.
Step 2: Now, in the search bar, type geo.enabled and ensure it’s set to True.
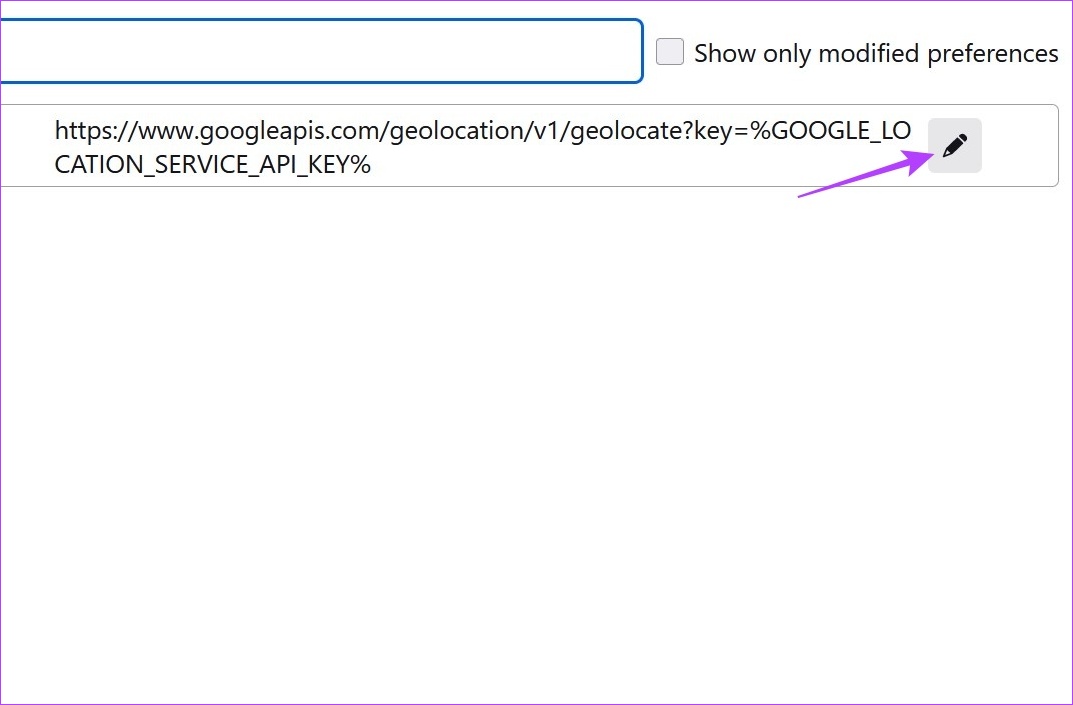
Step 3: Then, type geo.provider.network.url in the search bar and click on the pencil icon.
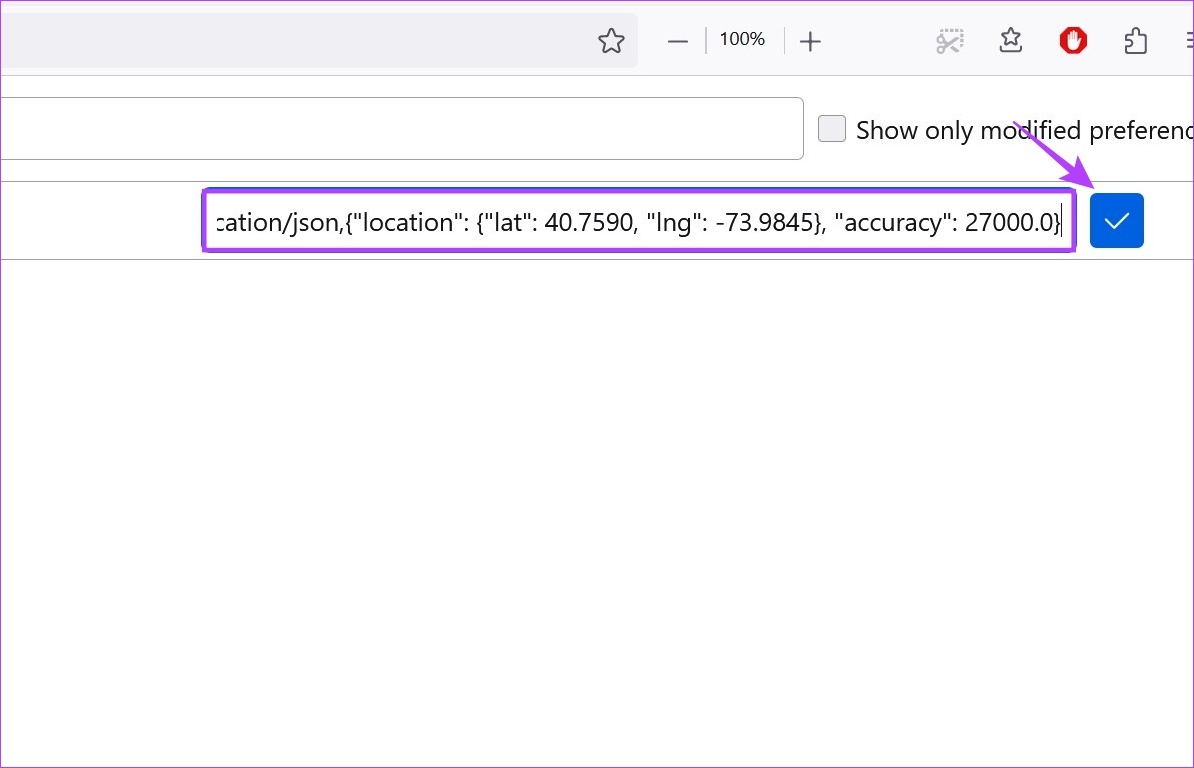
Step 4: Once the editing window opens, delete the previous text and add the following instead:
data:application/json,{"location": {"lat": 40.7590, "lng": -73.9845}, "accuracy": 27000.0}
Note: This would change Firefox’s location to Times Square, New York. If you have any other specific location in mind, change the location coordinates accordingly.
Step 5: Once done, click on the tick icon.
Bonus: Disable Location Access Using Browser Settings
Besides spoofing your location in Chrome, Edge, and Firefox, you can also turn off location access so that apps can’t access your current geolocation. While this will not make geo-restricted services available, it will ensure services don’t have access to your exact location data. Here’s how to do it.
For Chrome
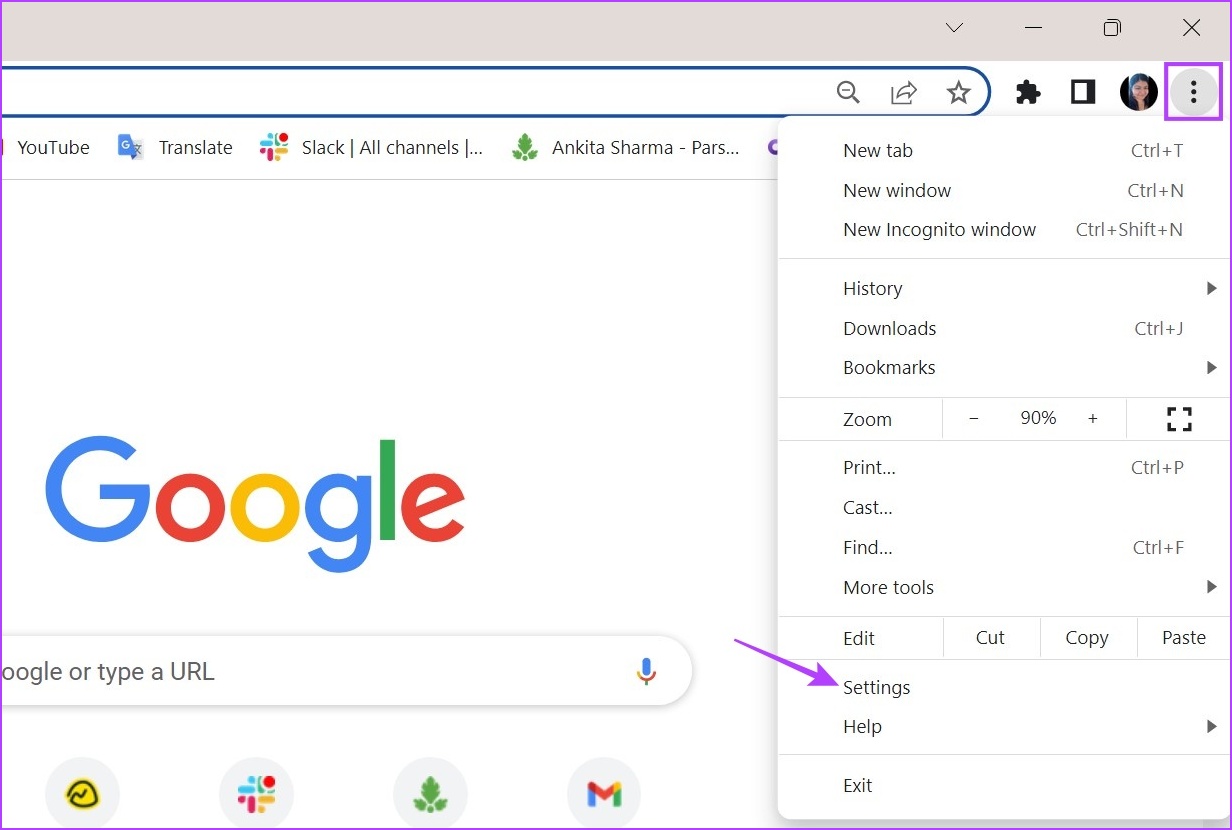
Step 1: Open Chrome and click on the three-dot icon. Then, click on Settings.
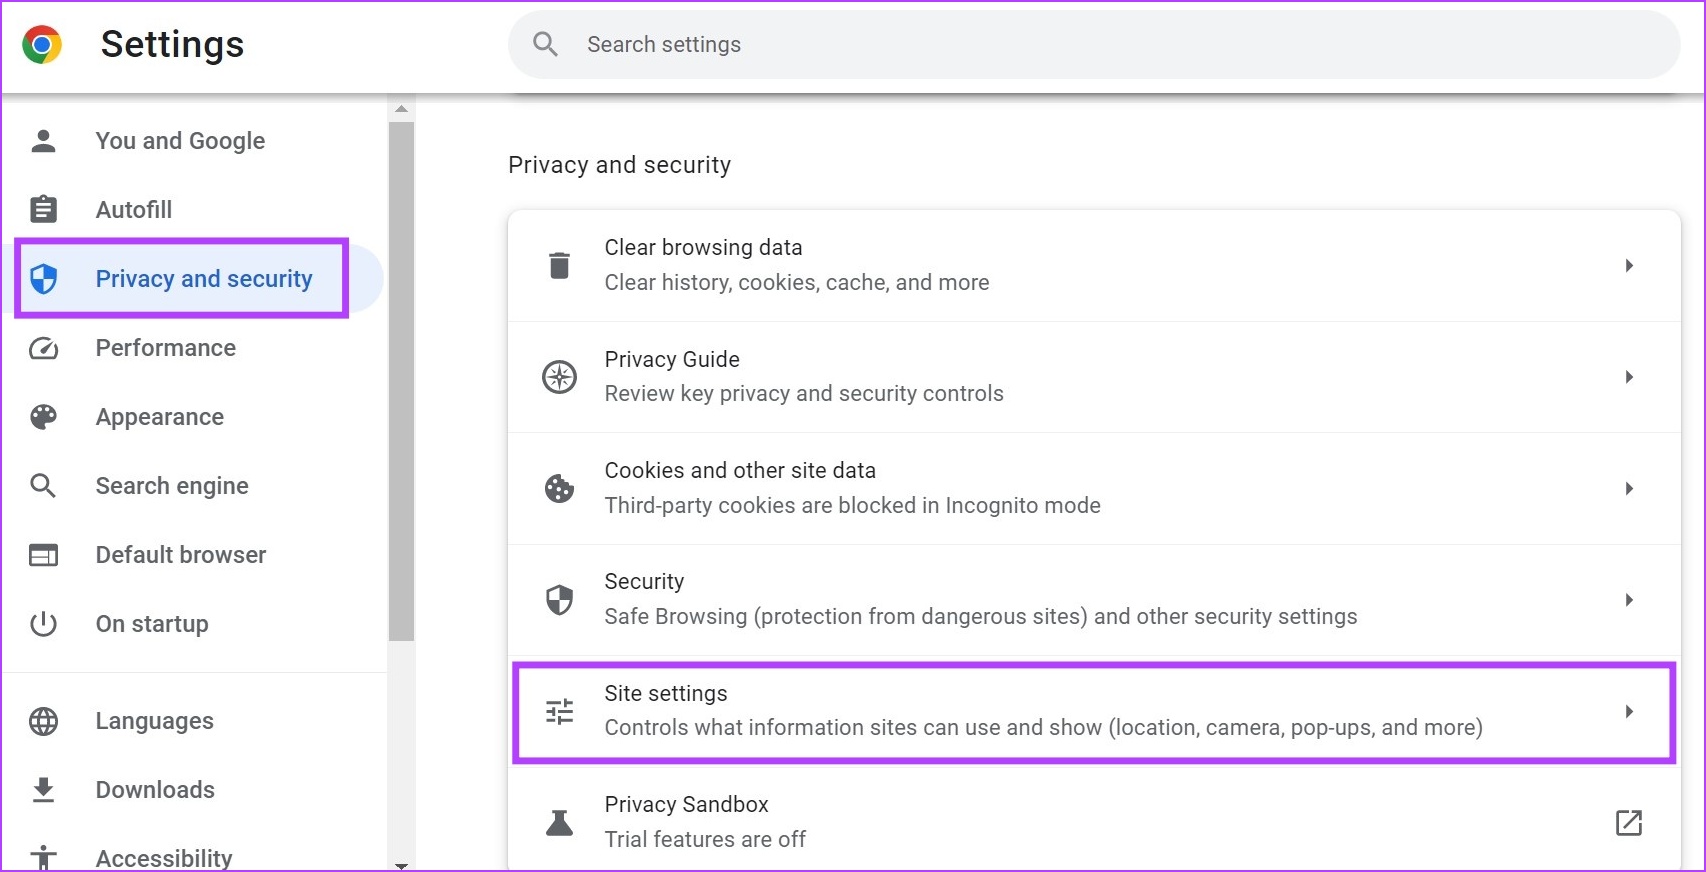
Step 2: From the menu tab, click on Privacy and security. Scroll down and click on Site settings.
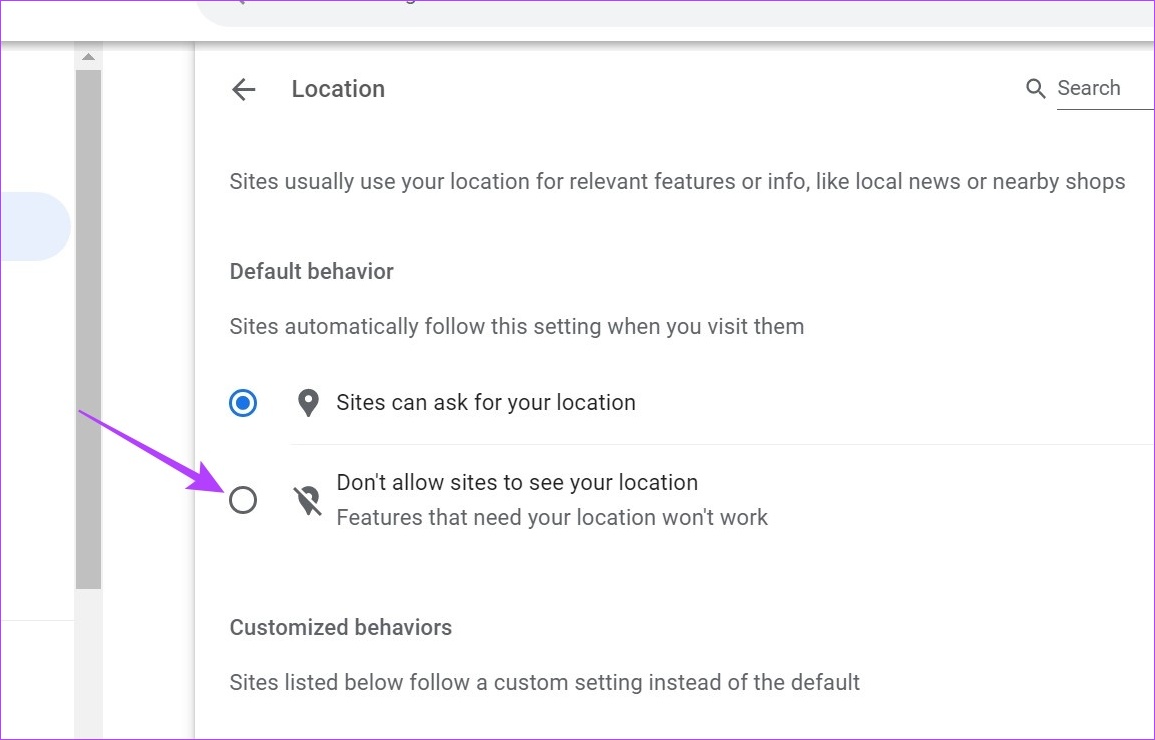
Step 3: Here, go to the Permissions section and click on Location.
Step 4: Select the Don’t allow sites to see your location option.
Additionally, if any site has been added as an exception, delete it as required. You can also check our article to learn more about disabling or enabling location services in Google Chrome.
For Edge
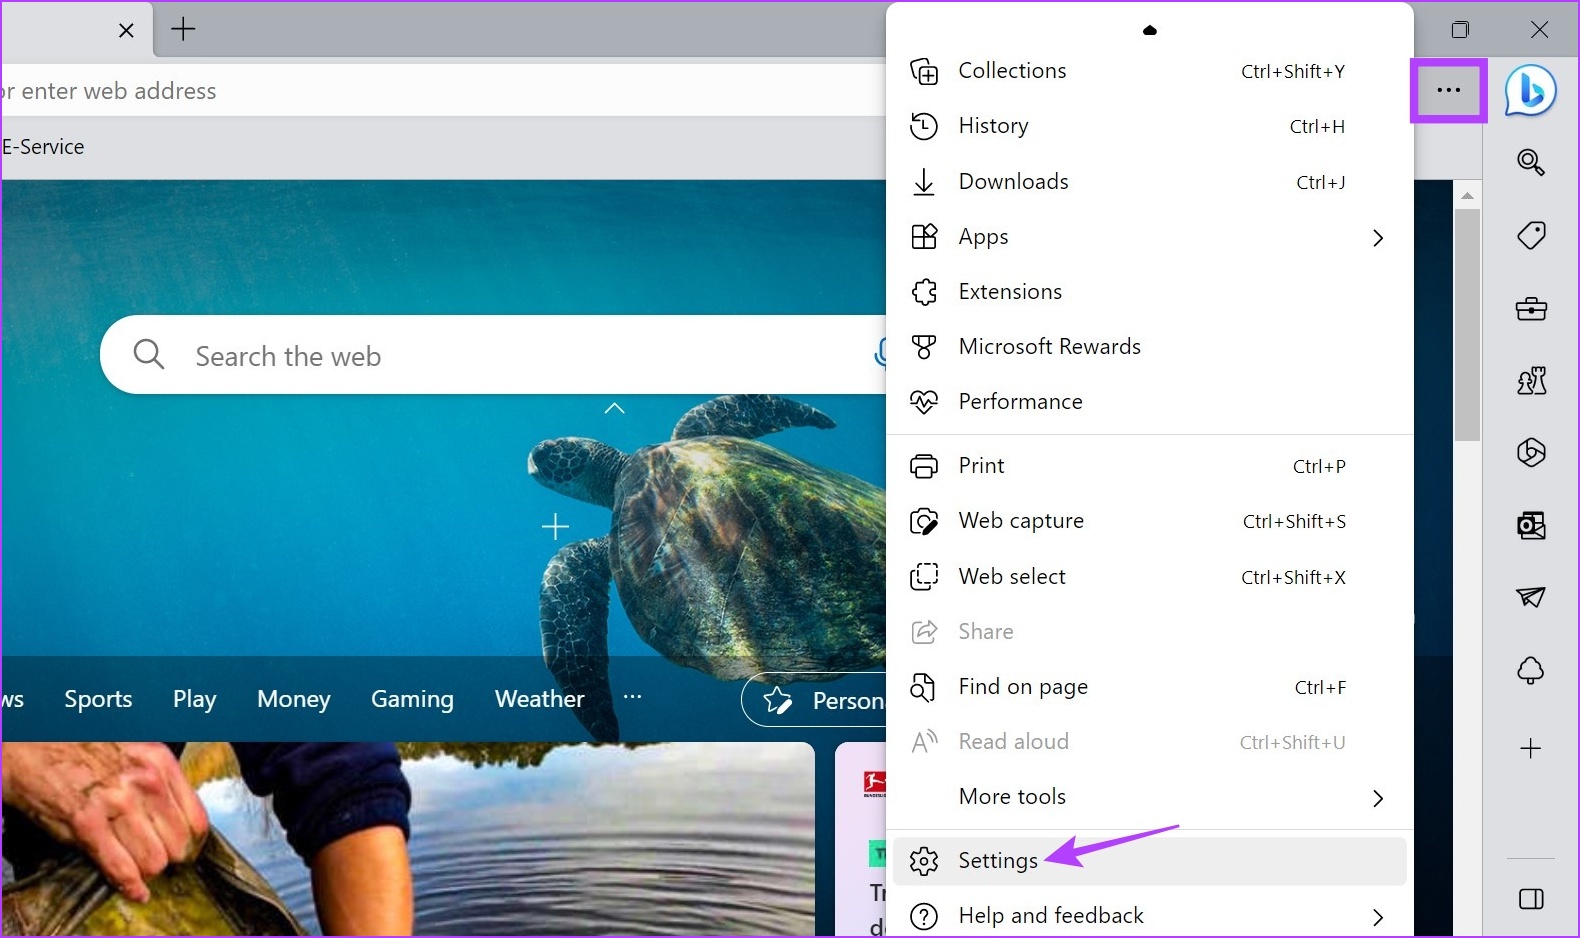
Step 1: Open Edge and click on the three-dot icon. Then, click on Settings.
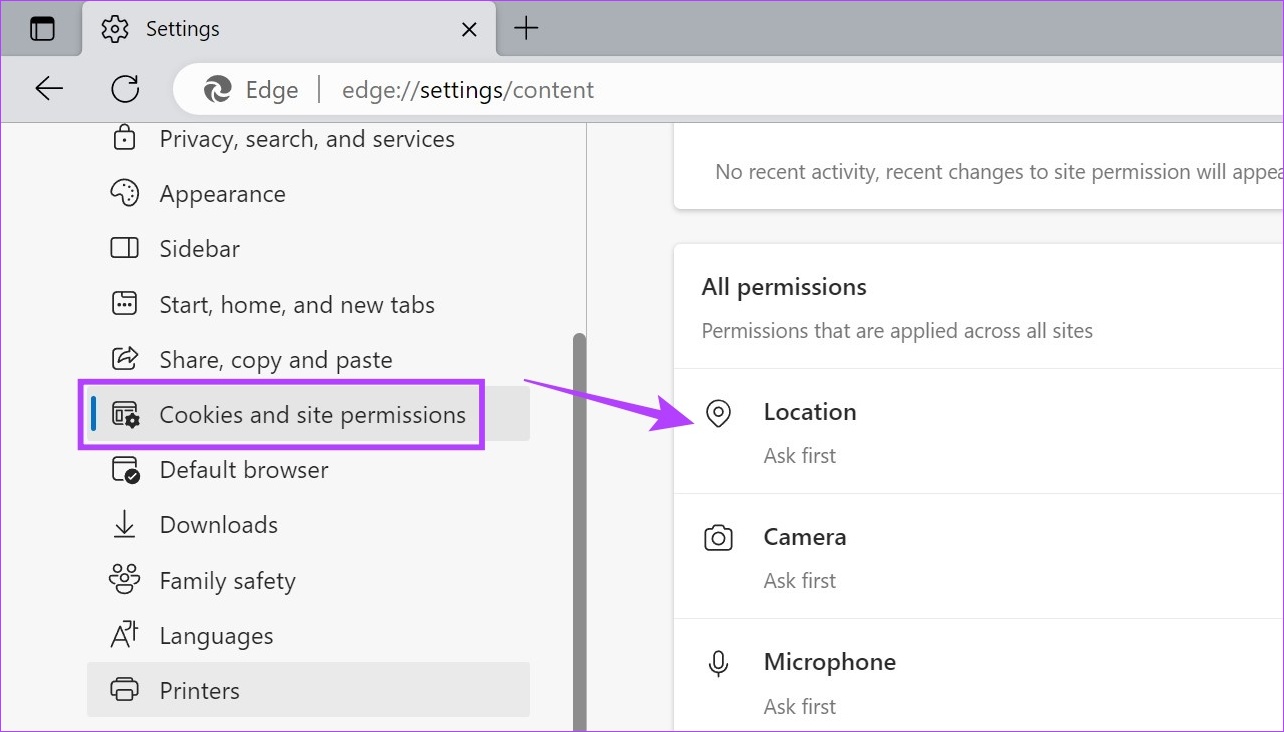
Step 2: From the menu sidebar, click on Cookies and site permissions. Scroll down and click on Location.
Step 3: Here, turn on the toggle for Ask before accessing.
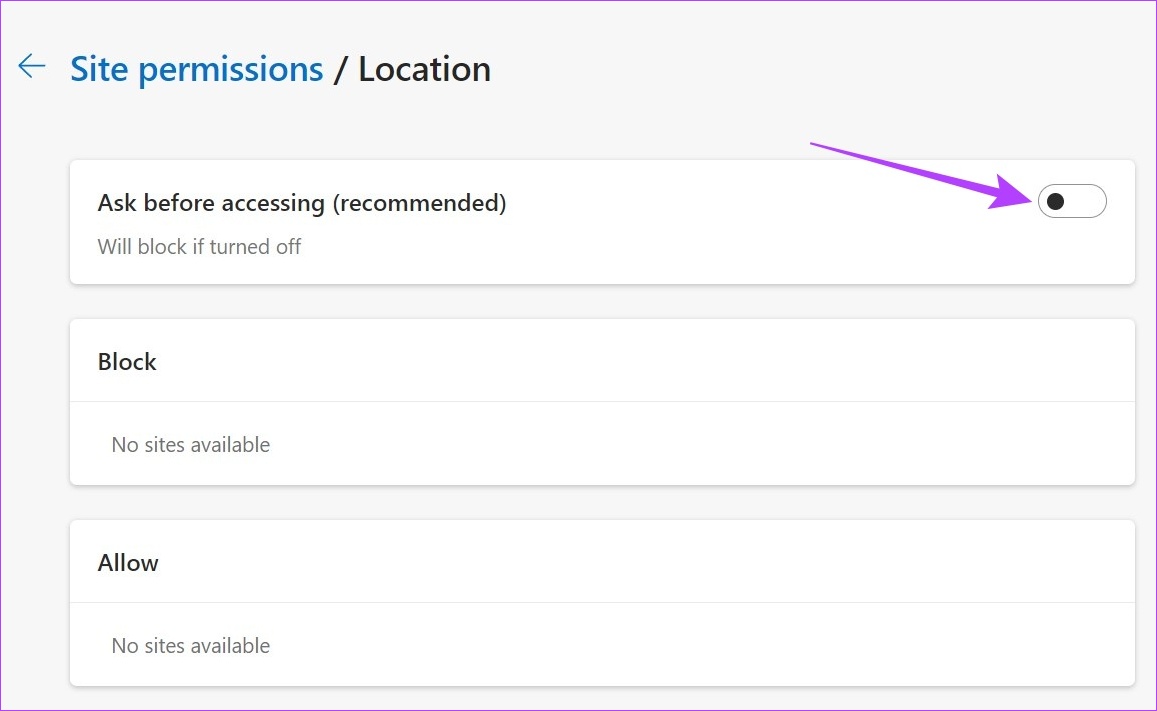
This will ensure that sites ask you for permission every time before accessing your location data.
For Firefox
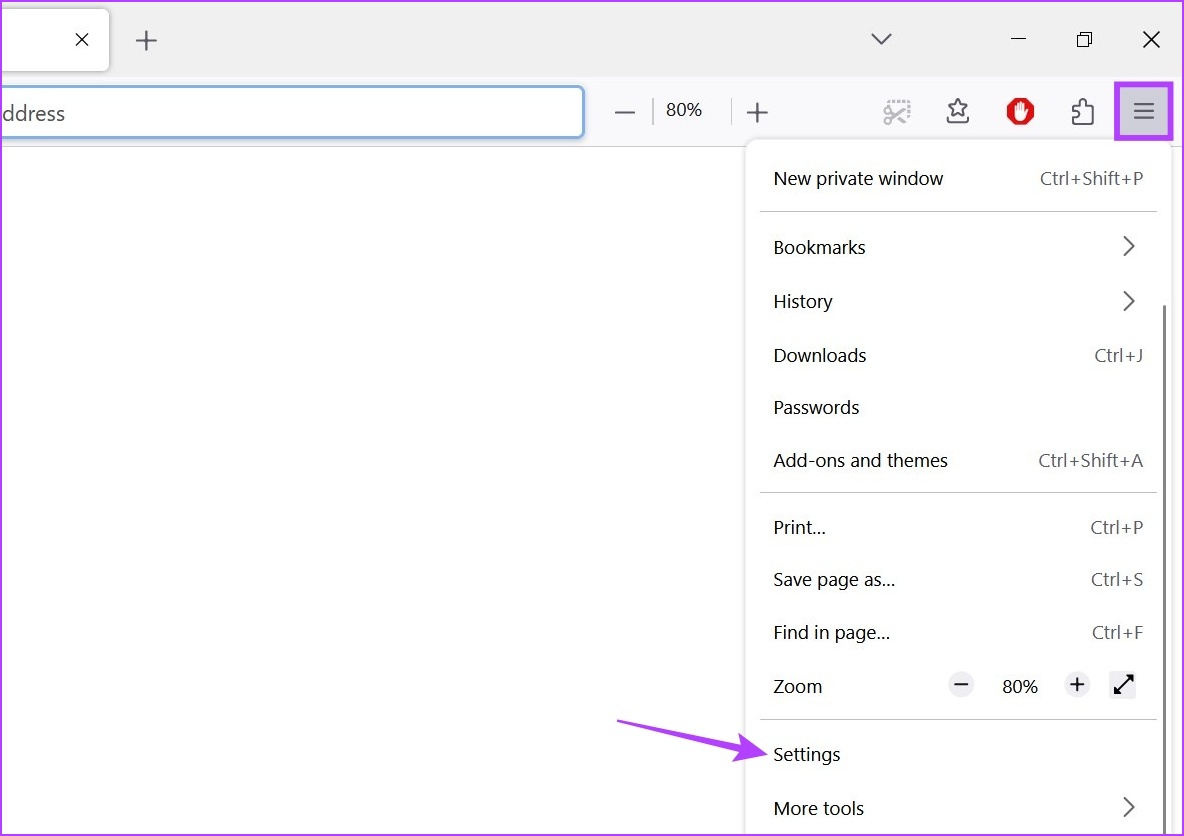
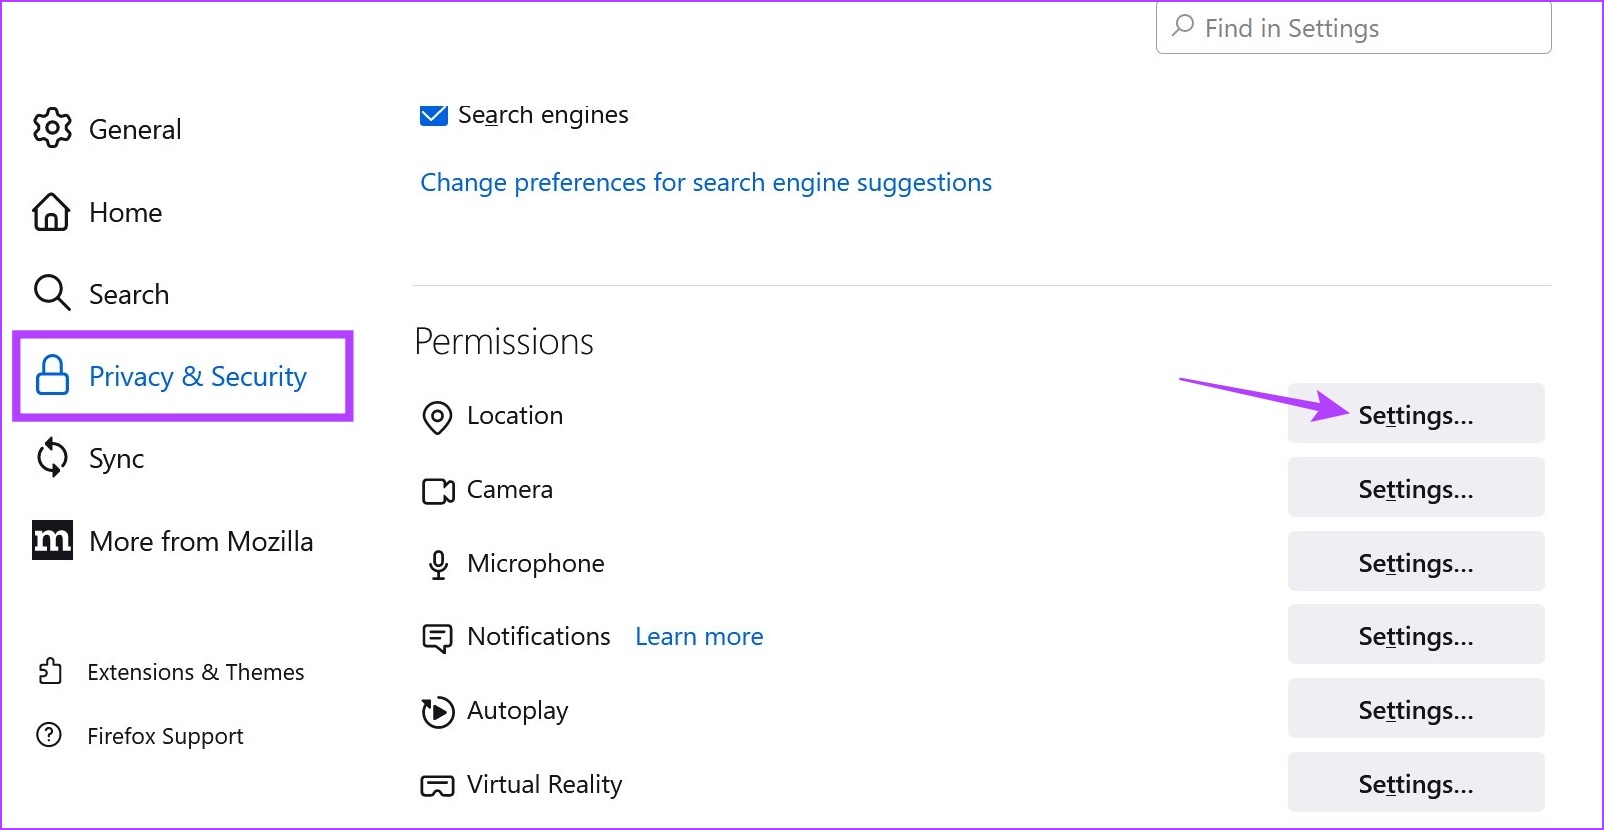
Step 1: Open Firefox and click on the three-dot icon. Then, click on Settings.
Step 2: Here, click on Privacy & Security. Then, scroll down to Location and click on the Settings option in front of it.
Step 3: Here, check the Block new requests asking to access your location option and click on Save Changes.
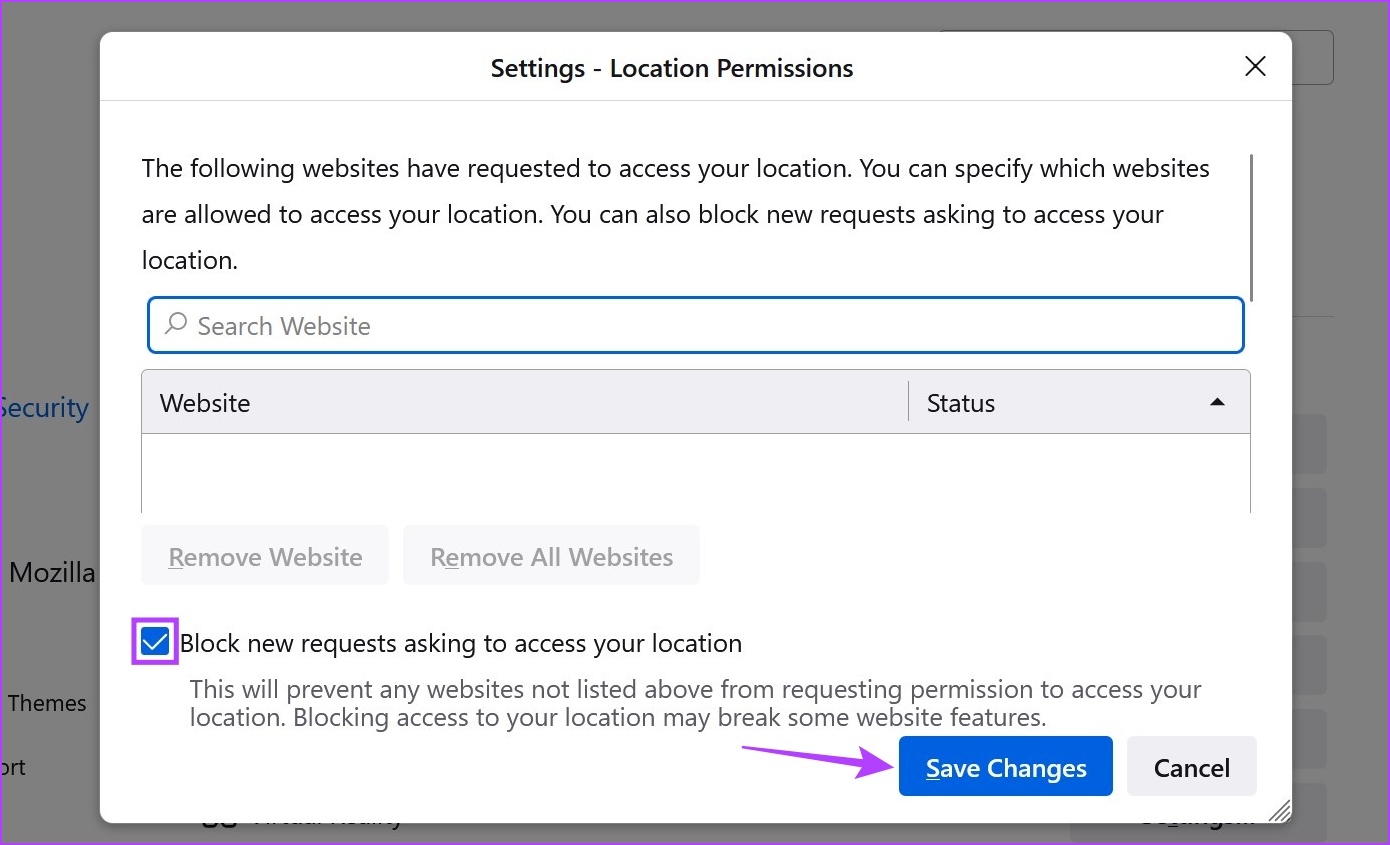
This will block websites from requesting your location in Firefox. You can also go through the websites that might have been added as the exception and delete them before saving the changes in Firefox.
Was this helpful?
Last updated on 16 May, 2024
Read Next
 Fake Your Way Out of Anything With These Fake Call Apps
1.
Fake Your Way Out of Anything With These Fake Call Apps
1.
 How to Integrate KeePassXC with Chrome, Edge & Firefox
Entering your passwords on different websites frequently can be challenging, mainly if you use complex passwords and a different one for each login.
How to Integrate KeePassXC with Chrome, Edge & Firefox
Entering your passwords on different websites frequently can be challenging, mainly if you use complex passwords and a different one for each login.
 Firefox vs Firefox Focus: Should You Switch
Firefox Focus is a strange name for a browser, and the fact that it’s developed by none other Mozilla is even weirder.
Firefox vs Firefox Focus: Should You Switch
Firefox Focus is a strange name for a browser, and the fact that it’s developed by none other Mozilla is even weirder.
 How to Send Fake Current and Live Locations on WhatsApp
WhatsApp allows sending multimedia and even locations apart from messages.
How to Send Fake Current and Live Locations on WhatsApp
WhatsApp allows sending multimedia and even locations apart from messages.
 8 Methods to Check If an iPhone Is Original or Fake
https://youtu.be/zLp5RAEeHUE Method 1: Check the Hologram on the iPhone 15 Series Box Can I check if the iPhone is original without opening the box?
8 Methods to Check If an iPhone Is Original or Fake
https://youtu.be/zLp5RAEeHUE Method 1: Check the Hologram on the iPhone 15 Series Box Can I check if the iPhone is original without opening the box?
 How to Check if Your Samsung Phone Is Original or Fake
While buying phones online can help you get the best price for your desired Samsung phone, there might be times when a deal looks too good to be true.
How to Check if Your Samsung Phone Is Original or Fake
While buying phones online can help you get the best price for your desired Samsung phone, there might be times when a deal looks too good to be true.
 6 Ways to Fix reCAPTCHA Not Working in Chrome, Firefox, and Other Browsers
Before you begin, ensure there are no problems with the network connection on your device.
6 Ways to Fix reCAPTCHA Not Working in Chrome, Firefox, and Other Browsers
Before you begin, ensure there are no problems with the network connection on your device.
The article above may contain affiliate links which help support Guiding Tech. The content remains unbiased and authentic and will never affect our editorial integrity.