Method 1: Using a New Background Color
Changing the background color of your Word document is a little similar to the process you would take when changing the font color. Perhaps the only difference is that to make the change, you must access the Design tab on the Word Ribbon.
Step 1: Launch Microsoft Word from your desktop to open a blank file.
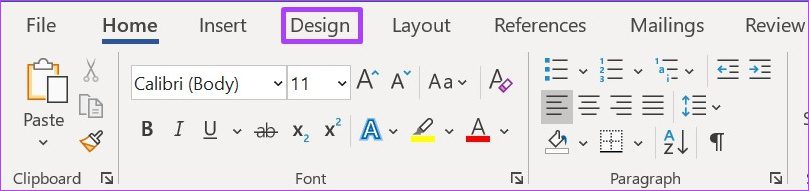
Step 2: On the Ribbon, click on the Design tab.
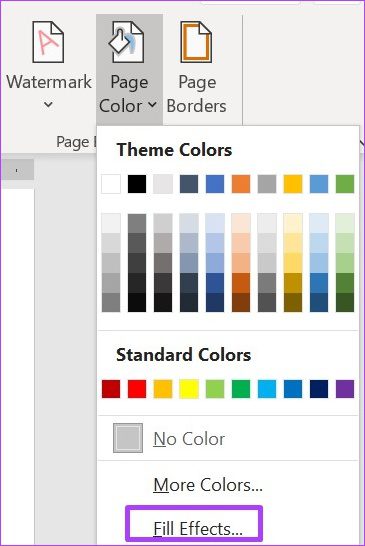
Step 3: Click the drop-down beside Page Color within the Page Background group.

Step 4: Select a preferred background color from the Theme Colors or Standard Colors group. You can also create your color by selecting More Colors.

Step 5: Click on Save or simultaneously press the Ctrl + S keys on your keyboard to save the changes.
Microsoft Word automatically updates the font to white if you select Black as a background color. However, if you use any other color, update the font color to ensure the text is visible to the user.
Method 2: Using an Image as Background
Another way to edit the Word Background is by inserting a picture. Instead of plain old colors, you have images on each new page. Here’s how to do so:
Step 1: Launch Microsoft Word from your desktop to open a blank file.
Step 2: On the Ribbon, click on the Design tab.
Step 3: Click the drop-down beside Page Color within the Page Background group.
Step 4: Click on Fill Effects.
Step 5: In the Fill Effects dialog box, go to the Picture tab > Select Picture.
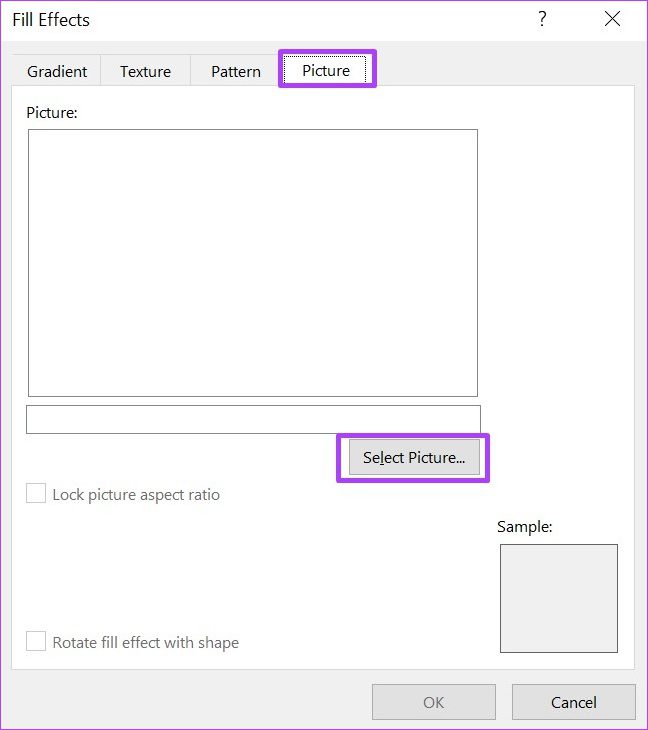
Step 7: On the Insert Pictures group, select the source of the image.

Step 8: Click OK on the Fill Effects dialog box after selecting the image. The new image should take effect.
The Fill Effect dialog box can also be used to change the texture of the background of your Word document. When you launch Fill Effects, instead of clicking Picture, select Texture or Pattern.
Method 3: Using Texture as a Background
A texture background in Word allows you to add a decorative pattern that mimics a real-world surface. To add this, follow the first four steps from the above method to open your document to Fill Effects, then continue with the steps below.
Step 1: Click the Texture tab.
Step 2: Click your desired texture from the available options and click on OK.

Alternatively, you may click the Other Texture button to get more options.
Method 4: Using Gradient as a Background
A Word gradient background blends two or more colors smoothly, creating a gradual transition effect. To add this, follow the first four steps from Method 2 to open your documents to Fill Effects, then continue with the steps below.
Step 1: Click the Gradient tab.
Step 2: Select your Colors > pick your Shading styles > click OK.

Method 5: Using a Watermark Background
If you want a particular section of your Word page to reflect a certain color, image, or text, using a Watermark is best. Here’s how it works:
Adding a Text Watermark
Step 1: Launch Microsoft Word.
Step 2: On the Ribbon, click on the Design tab.
Step 3: Within the Page Background group, click the drop-down beneath Watermark.

Step 4: Go through the list of options. If your preferred option isn’t listed, click on Custom Watermark.

Step 5: On the Printed Watermark dialog box, click the field beside the Text watermark to activate its options.
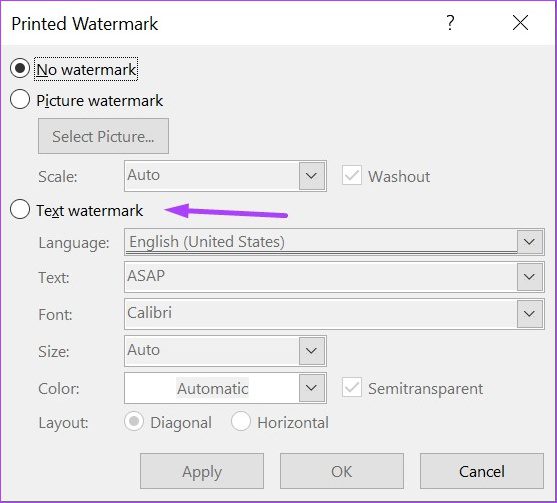
Step 6: Customize the Language, Text, Font, Size, Color, and Layout fields to your preference.

Step 7: Click Apply to enable your changes and select Close to exit the dialog box.

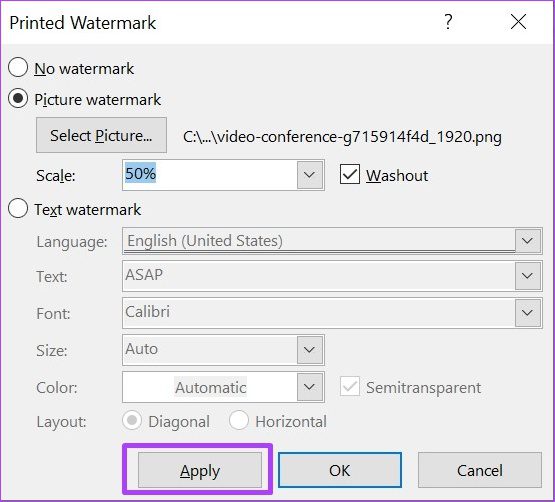
Adding a Picture Watermark
To add a watermark with a picture, here’s what you need to do:
Step 1: Launch Microsoft Word.
Step 2: On the ribbon, click on the Design tab.
Step 3: Within the Page Background group, click the drop-down beneath Watermark.
Step 4: Click on Custom Watermark.
Step 5: In the Printed Watermark dialog box, click the field beside the Picture watermark to activate its options.
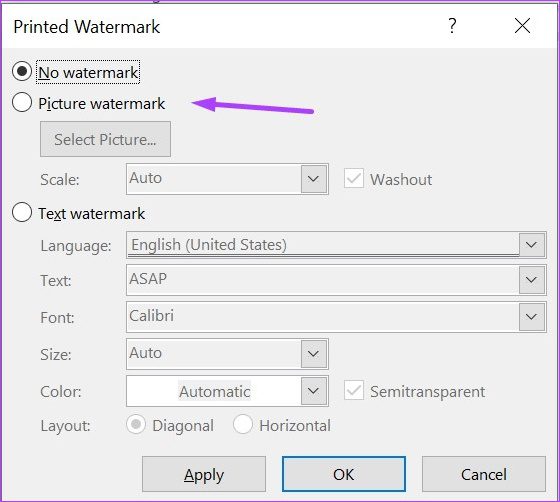
Step 6: Click Select Picture to launch an Insert Pictures dialog box.

Step 7: Select your preferred Scale in the drop-down beside the scale.

Step 8: Click Apply to enable your changes and select Close to exit the dialog box.
Other than backgrounds, you may try other document customization options.
Was this helpful?
Last updated on 12 August, 2024
Read Next
 How to Lock Parts of a Microsoft Word Document
Method 1: Using Restrict Editing Feature As the name suggests, this feature lets you set up editing restrictions for your Word document.
How to Lock Parts of a Microsoft Word Document
Method 1: Using Restrict Editing Feature As the name suggests, this feature lets you set up editing restrictions for your Word document.
 How to Convert WordPad Document to Microsoft Word
Method 1: Using WordPad Step 1: Open the WordPad document you want to convert to Docx.
How to Convert WordPad Document to Microsoft Word
Method 1: Using WordPad Step 1: Open the WordPad document you want to convert to Docx.
 2 Ways to Convert a Webpage to a Word Document
Method 1: Convert Web Page to PDF to Word Most browsers allow you to convert any webpage to a PDF file.
2 Ways to Convert a Webpage to a Word Document
Method 1: Convert Web Page to PDF to Word Most browsers allow you to convert any webpage to a PDF file.
 3 Ways to Insert an Excel Spreadsheet into a Word Document
Method 1: Using the Insert Table Option The Insert tab on the Word Ribbon has different options, including an Insert Table button, which can be used to insert an Excel
3 Ways to Insert an Excel Spreadsheet into a Word Document
Method 1: Using the Insert Table Option The Insert tab on the Word Ribbon has different options, including an Insert Table button, which can be used to insert an Excel
 6 Ways to Duplicate a Word Document on Any Device
Duplicating a Word document might seem like a simple task, but it holds significance in various scenarios.
6 Ways to Duplicate a Word Document on Any Device
Duplicating a Word document might seem like a simple task, but it holds significance in various scenarios.
 How to Use the SEQ Field Code to Number a Word Document
How to Insert an SEQ Field in Microsoft Word In Microsoft Word, starting a simple numbered list requires typing a number, a period, and some text afterward.
How to Use the SEQ Field Code to Number a Word Document
How to Insert an SEQ Field in Microsoft Word In Microsoft Word, starting a simple numbered list requires typing a number, a period, and some text afterward.
 How to Save a Word Document as a PDF on Windows and Mac
While Microsoft Word is a powerful word processing tool, it is ideal to convert the document to a PDF before sharing it with anyone.
How to Save a Word Document as a PDF on Windows and Mac
While Microsoft Word is a powerful word processing tool, it is ideal to convert the document to a PDF before sharing it with anyone.
The article above may contain affiliate links which help support Guiding Tech. The content remains unbiased and authentic and will never affect our editorial integrity.