Many users like to watch their favorite shows on Apple TV from the comfort of their Mac. Apart from facing the problem of the Apple TV app not working on Mac, some users have reported a new black screen issue while watching content. These users can hear the audio very clearly. The subtitles are also appearing in perfect sync with the audio.

But the screen goes black especially after maximizing the playback window. This posts brings you the best ways to fix Apple TV’s black screen with Sound on Mac.
1. Force Quit and Restart Apple TV App
The Apple TV app on Mac gives you access to a huge content library. But if you keep viewing a black screen with a sound issue whenever you play any movie or a TV show, all your binge-watch sessions get ruined in an instant. To avoid curbing your enthusiasm, let’s quickly start with the first solution for solving this problem, i.e., force quit and restart the Apple TV app. Follow these steps.
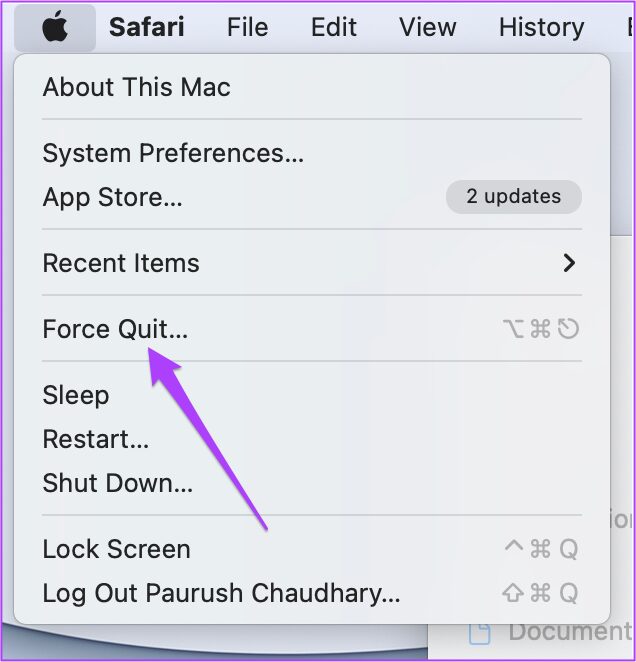
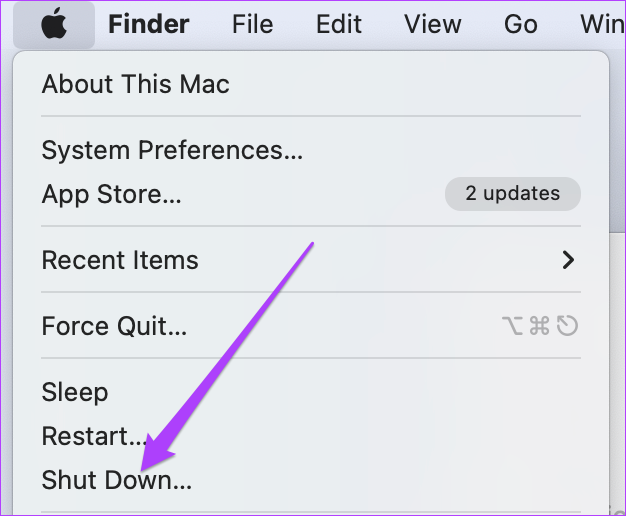
Step 1: Click the Apple logo in the top-left corner.
![]()
Step 2: Select Force Quit from the drop-down menu.
Step 3: Select Apple TV from the list of apps in the Force Quit menu.

Step 4: Click on Force Quit.

Step 5: Relaunch the Apple TV app and play something to check if the issue is resolved.

The is the first, most basic plan of action whenever you face any issues with an app on your Mac. If this solution doesn’t work, proceed with the next steps.
2. Check for HDCP Compliance in External Monitor
If you’ve attached your Mac to an external monitor for watching sports or Live TV on a bigger screen, this is an important thing to check. Attaching an external monitor can also cause the black screen with the audio issue due to a lack of HDCP compliance in your monitor’s ports (HDMI or DVI).
HDCP or High Bandwidth Digital Content Protection helps streaming platforms like Apple prevent the possible copying of digital audio and video content. So, if you are using a monitor that does not have HDCP compliant ports, we suggest you unplug it and use a monitor or TV that has HDCP-supported ports.
3. Downgrade Streaming Quality to Data Saver
By default, the Apple TV app is calibrated to streaming content up to 4K resolution. This helps users to enjoy content in the best possible resolution. And now the latest Macbook and Mac models have support for Dolby Vision and HDR. But if you are facing the black screen issue, you can try to downgrade the streaming quality. Follow these steps.
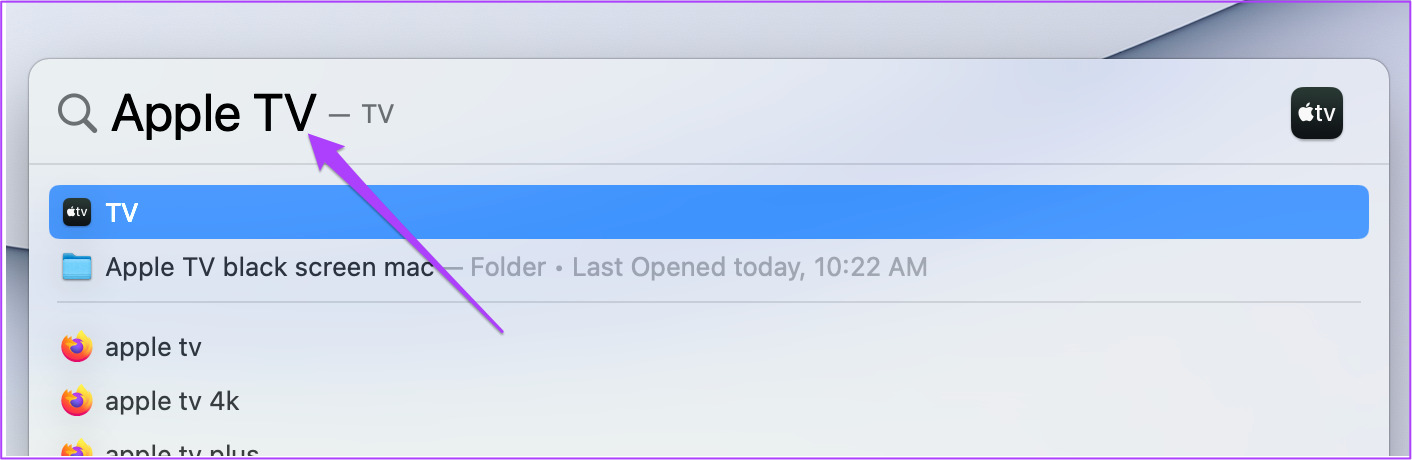
Step 1: Press Command + Spacebar, type Apple TV and press Return.
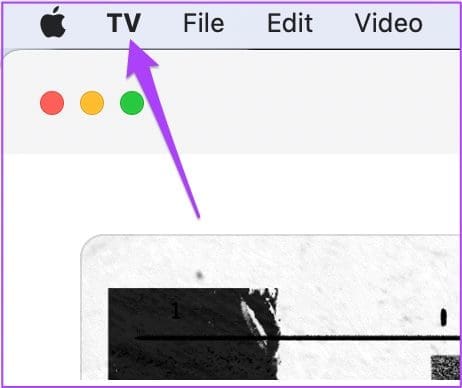
Step 2: Once the app opens, click on TV at the top menu bar.
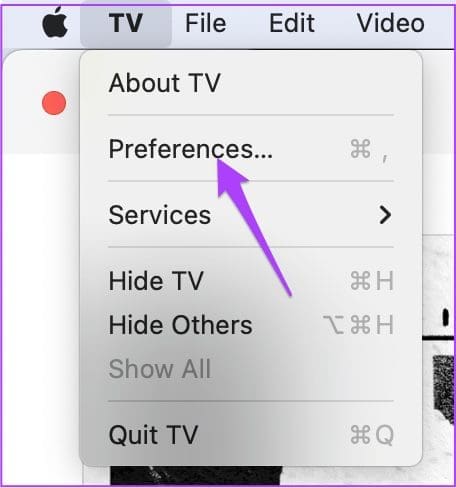
Step 3: Select Preferences from the drop down menu.
Step 4: Click on the Playback tab.

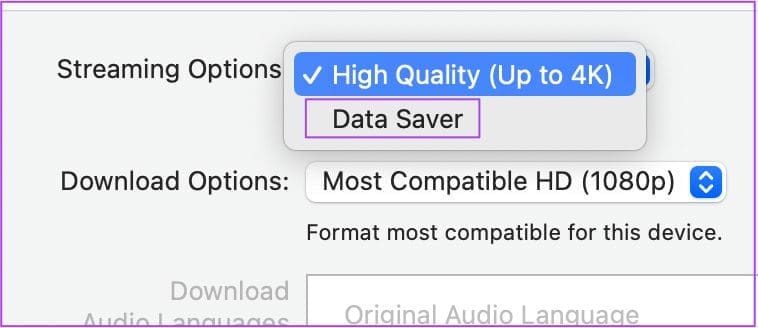
Step 5: Click the dropdown menu alongside Streaming Options.

Step 6: Select Data Saver.
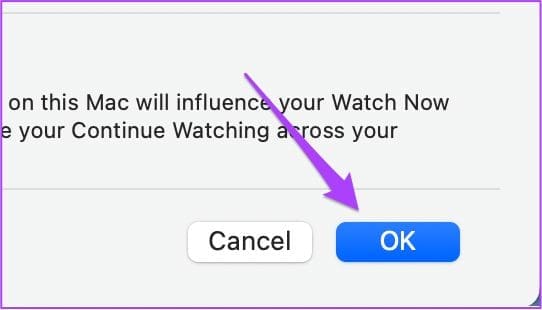
Step 7: Click on Ok at the bottom right corner.
Step 8: Resume playback of your content in Apple TV and see if the problem is solved.
4. Logout and Login Again to Your Apple ID
If downgrading your streaming quality doesn’t help, you can try to log out and log in again to your Apple TV account. You’ll need to sign out and sign in again with your Apple ID on your Mac. Follow these steps.
Step 1: Open the Apple TV app.
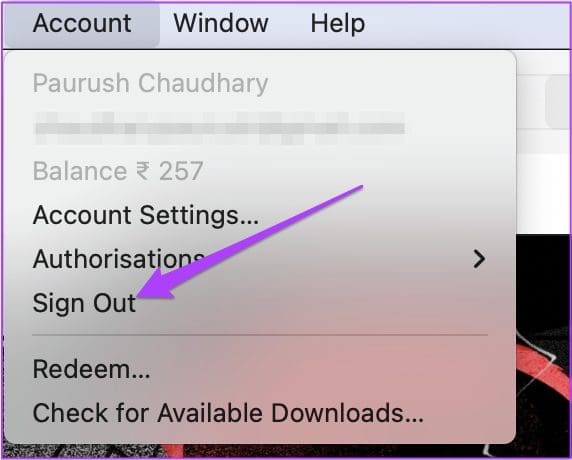
Step 2: Click on Account in the top menu bar.

Step 3: Click on Sign Out.
Step 4: After signing out, click on Account again and select Sign In.

Step 5: Enter your Apple ID and password.
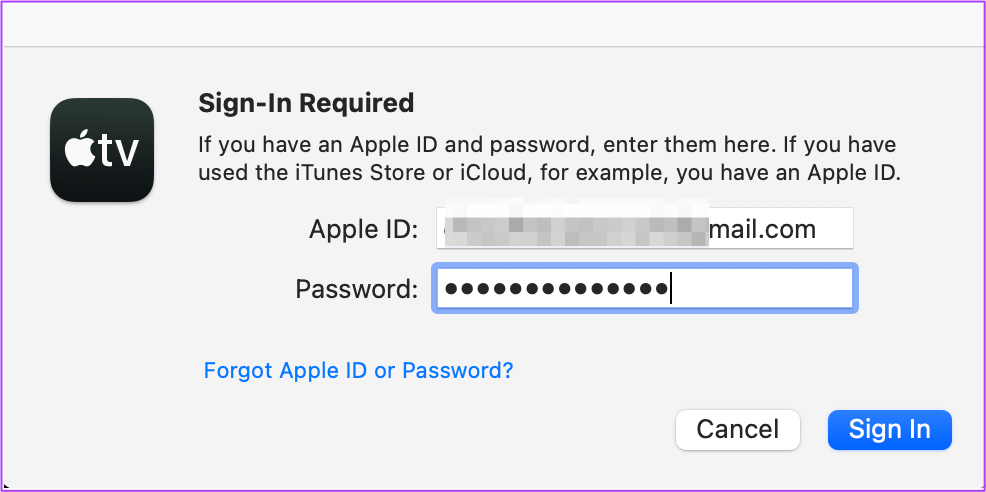
Step 6: Click on Sign In,

Step 7: Try to resume playback of your content.
5. Reset NVRAM of Your Mac
NVRAM or Non-Volatile Random Access Memory has all the information about settings like sound volume, startup disk selection, time zone and more. So if you are still getting a black screen with sound in Apple TV on your Mac, you can try resetting the NVRAM by following these steps. Note that you would have to adjust these settings again on your Mac after performing NVRAM reset. This method only applies to Macs with Intel processor.
Step 1: Click the Apple logo and click on Shut Down.
Step 2: Boot your Mac again.
Step 3: While your Mac is turning on, press Option + Command + P + R for 20 seconds.

Step 4: Release all four keys when the Apple logo appears for the second time.
That indicates that the NVRAM reset was a success. After that, your Mac will restart.
After the Mac reboots, open the Apple TV app and try playing some content.
6. Boot Your Mac in Safe Mode
Safe Mode will remove any third-party app interference and only allow system apps to run while turning on. This is a great troubleshooting option for the black screen with a sound issue in Apple TV app. Follow these steps.
For Macs With M1 Chip
Step 1: Click the Apple logo in the top-left corner and select Shut Down from the menu that opens.
Step 2: After your Mac shuts down, press and hold the Power Button till you see two startup options – Macintosh HD and Options.
Step 3: Select Macintosh HD while you hold the Shift Key and select Continue in Safe Mode.

Step 4: After your Mac finishes booting up, relaunch the Apple TV app and resume content playback.
For Mac With Intel Chip
Step 1: Click the Apple logo and select Restart.
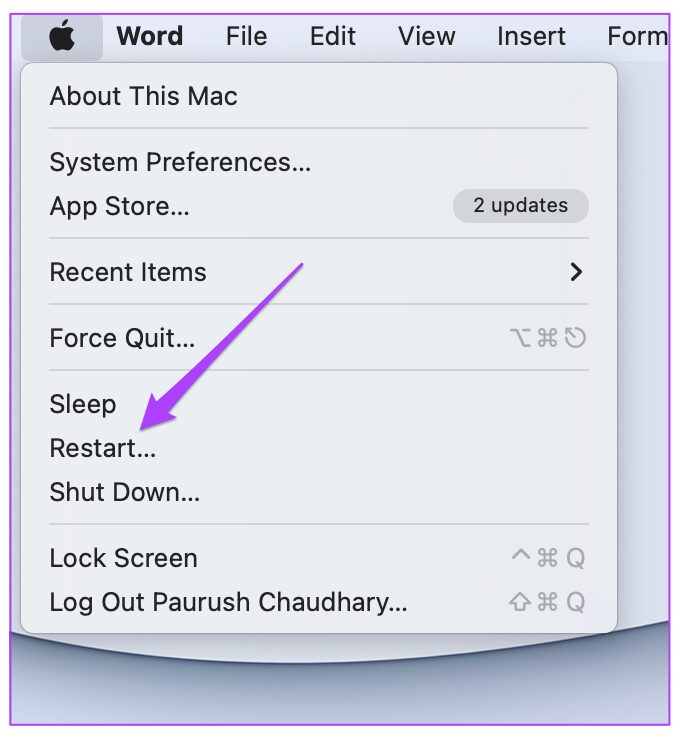
Step 2: As soon as your Mac restarts, press and hold the Shift Key.
Step 3: Release the Shift Key once you see the login window.
Step 4: Relaunch the Apple TV app and resume content playback.
7. Update macOS to Update Apple TV App
Lastly, you can try to fix this problem by updating the version of the Apple TV app on your Mac. Y you need to check for macOS updates since Apple TV is a system app. Follow these steps.
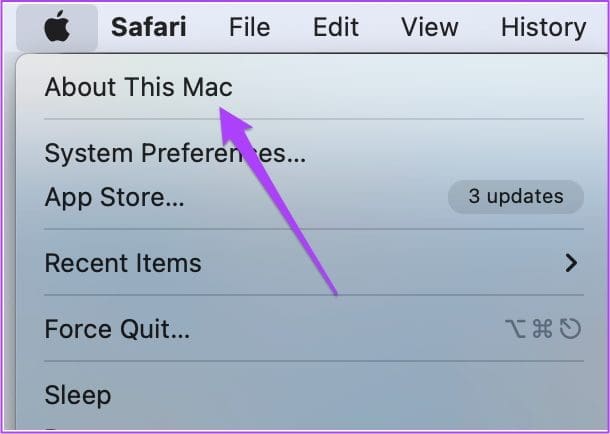
Step 1: Click the Apple logo at the top left.
![]()
Step 2: Select About This Mac.
Step 3: Click on Software Update.

Step 4: Download and Install the update if it is available.
Step 5: Relaunch Apple TV and try playing some content.
Fix Black Screen Problem in Apple TV
Apple TV continues to offer top-quality shows and films in its catalog. The steps mentioned above will help you fix the black screen problem. If you cannot watch content and hear its audio, visit your nearest Apple Store to connect with Apple experts.
Was this helpful?
Last updated on 02 June, 2022
Read Next
 8 Best Fixes for Black Screen With Sound in Amazon Prime Video on Mac
Amazon Prime Video gives you access several movies and TV shows you can enjoy with your friends.
8 Best Fixes for Black Screen With Sound in Amazon Prime Video on Mac
Amazon Prime Video gives you access several movies and TV shows you can enjoy with your friends.
 6 Best Fixes for Black Screen With Sound in Amazon Prime Video on Apple TV 4K
The Amazon Prime Video app on your Apple TV 4K lets you binge-watch your favorite movies and TV shows in Dolby Vision and Dolby Atmos formats.
6 Best Fixes for Black Screen With Sound in Amazon Prime Video on Apple TV 4K
The Amazon Prime Video app on your Apple TV 4K lets you binge-watch your favorite movies and TV shows in Dolby Vision and Dolby Atmos formats.
 Top 9 Ways to Fix Netflix Black Screen With Sound Issue on Mobile and Desktop
Imagine launching the Netflix app on your mobile or PC to catch up with the latest episode of the favorite show, but the app throws black screen.
Top 9 Ways to Fix Netflix Black Screen With Sound Issue on Mobile and Desktop
Imagine launching the Netflix app on your mobile or PC to catch up with the latest episode of the favorite show, but the app throws black screen.
 A Detailed Guide to Fixing Mac Booting With Black Screen Issues
Clicking the power button on your MacBook should light up the screen and keyboard, play a startup chime, display the Apple logo, and finally, boot into the authentication screen where
A Detailed Guide to Fixing Mac Booting With Black Screen Issues
Clicking the power button on your MacBook should light up the screen and keyboard, play a startup chime, display the Apple logo, and finally, boot into the authentication screen where
 12 Easy Fixes for iPhone Camera Black Screen
The iPhone houses one of the best cameras and most users put it to good use.
12 Easy Fixes for iPhone Camera Black Screen
The iPhone houses one of the best cameras and most users put it to good use.
 10 Fixes for Instagram Black Screen on Android and iPhone
In the age of social media apps, Instagram is a name we're all familiar with.
10 Fixes for Instagram Black Screen on Android and iPhone
In the age of social media apps, Instagram is a name we're all familiar with.
 Top 7 Fixes for Roblox Black Screen Issue
Embarking on the virtual adventures of Roblox is usually an exhilarating experience, but what if an unexpected blackout overshadows your gameplay?
Top 7 Fixes for Roblox Black Screen Issue
Embarking on the virtual adventures of Roblox is usually an exhilarating experience, but what if an unexpected blackout overshadows your gameplay?
 Top 7 Fixes for ‘Steam Friend List Black Screen’ in Windows 11
One of the unique selling points of Steam is the ability to play games with friends and communicate with them through group chats.
Top 7 Fixes for ‘Steam Friend List Black Screen’ in Windows 11
One of the unique selling points of Steam is the ability to play games with friends and communicate with them through group chats.
The article above may contain affiliate links which help support Guiding Tech. The content remains unbiased and authentic and will never affect our editorial integrity.

