Method 1: Using Filters
Gmail offers filters to manage incoming emails automatically. Using filters, you can create a bunch of rules for email organization. Here, we will create a filter to auto-delete emails from Gmail. Follow the steps below.
Step 1: Open Gmail and log in using your Google account credentials.
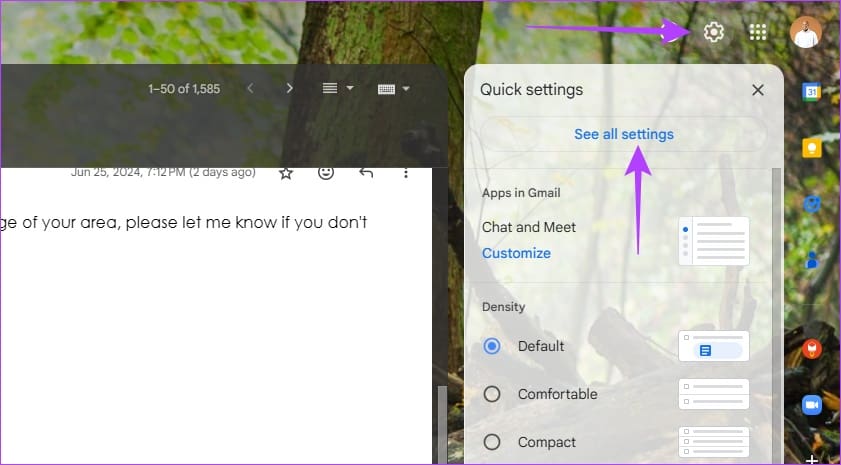
Step 2: Click Settings at the top right > See all settings.
Step 3: From the Gmail Settings screen, go to the Filters and Blocked Addresses tab.
Step 4: Here, you will see the list of filters you created. Scroll to the bottom and select Create a new filter.

Step 5: Enter the email address you want to auto-delete going forward in the From section, ignore the other options, and select Create filter at the bottom.

Step 6: You can select many options from the following menu. Since we are talking about the auto-delete function, select Delete it.
Step 7: Click Create filter at the bottom.

You can create as many filters as you like. Gmail will automatically delete those incoming emails from the added email addresses.
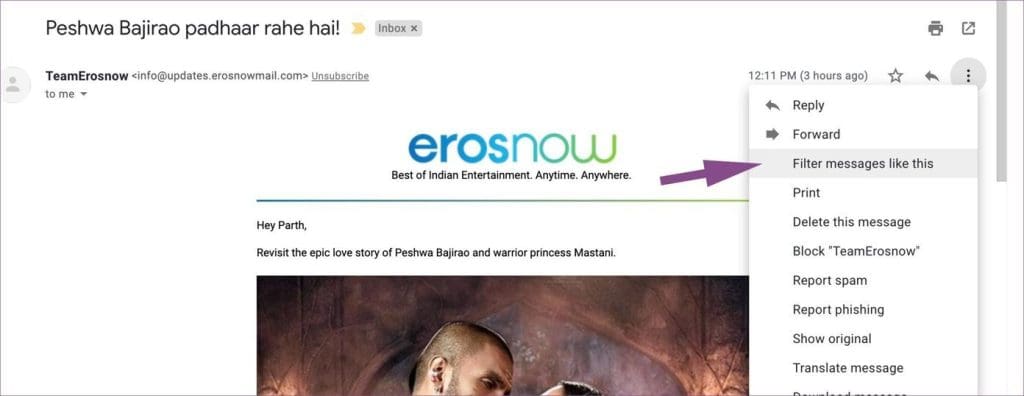
Gmail also allows you to create a filter from the email details menu. Open any email you want to auto-delete > click the three-dot menu > select Filter messages like this. The filter menu will open, and you can create a filter for the email address.
Method 2: Use Gmail Add-Ons
If you must set up a filter in Gmail that will auto-delete all old newsletters and promotional emails from your mailbox. Or a separate filter that will apply a different label to emails after a specific number of days and mark them as read; you may use the Email Studio add-on.
Email Studio is a Gmail add-on that keeps your inbox clean and clutter-free with the auto-purge function. Follow the steps below to set up the service from scratch.
Step 1: Visit the Email Studio add-on page and click Install.

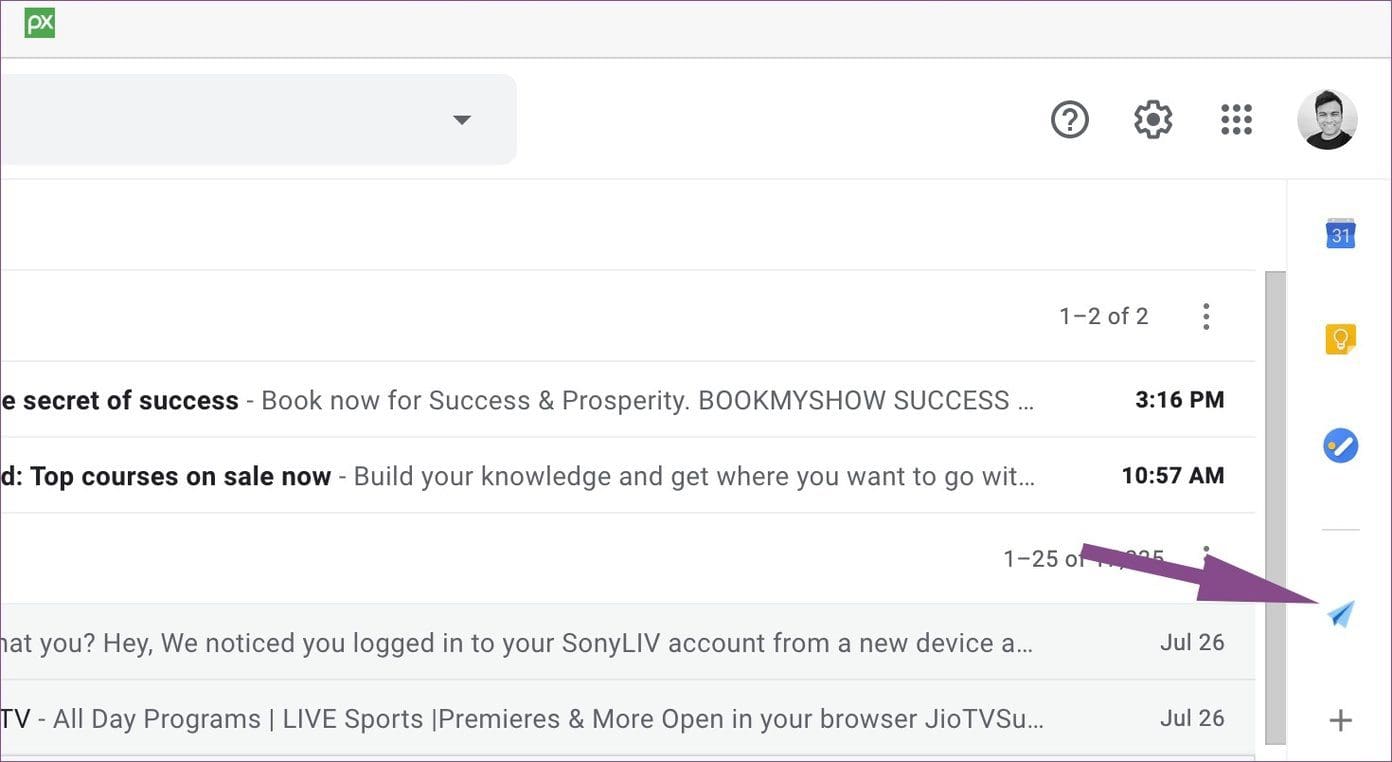
Step 2: Once installed, open Gmail. The add-on will be right beside the Gmail home screen.
Step 3: Click Email Studio > Email Clean Up.

Step 4: Email Studio will request several permissions to function correctly with your Gmail Inbox. Allow them; the add-on will open a separate window to create filters.
Step 5: Email Studio offers several options. Here, we will discuss the Email Clean-up function. Click on Clean Up at the top > New Rule.
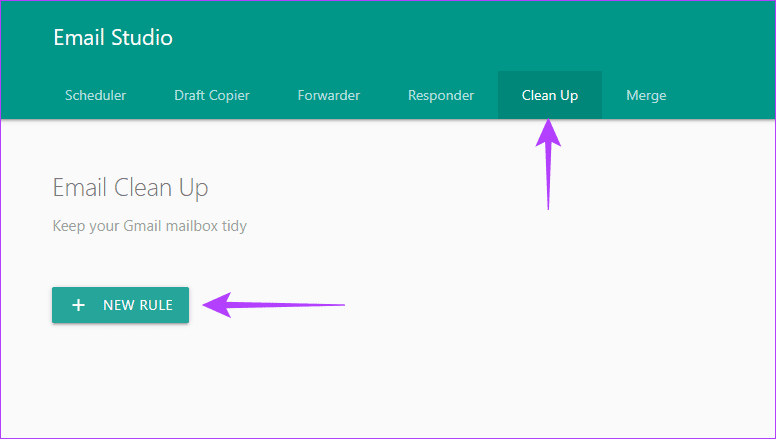
Step 6: The Interface is similar to Gmail Filters, but the functions are more advanced. Fill out the options as you please and click Save.

Was this helpful?
Last updated on 29 August, 2024
Read Next
 How to Set Up Auto Forward in Gmail for All or Specific Emails
Auto forwarding email is quite helpful when you move to a different mailbox but still want to receive all incoming emails sent to the older mail address.
How to Set Up Auto Forward in Gmail for All or Specific Emails
Auto forwarding email is quite helpful when you move to a different mailbox but still want to receive all incoming emails sent to the older mail address.
 How to Auto-Delete Emails in Microsoft Outlook
Create Auto-Delete Rule from the Email First, the Rules function is only available on Outlook Windows/Mac app and Outlook Web.
How to Auto-Delete Emails in Microsoft Outlook
Create Auto-Delete Rule from the Email First, the Rules function is only available on Outlook Windows/Mac app and Outlook Web.
 How to Mark All Emails As Read in Gmail
Method 1: Mark All Email as Read in Gmail Web Google doesn’t offer a direct option to mark all emails as read, so we must use special search prompts to
How to Mark All Emails As Read in Gmail
Method 1: Mark All Email as Read in Gmail Web Google doesn’t offer a direct option to mark all emails as read, so we must use special search prompts to
 How to Archive or Unarchive Emails in Gmail
What Does Archive in Gmail Mean?
How to Archive or Unarchive Emails in Gmail
What Does Archive in Gmail Mean?
 4 Ways to Fix Emails Stuck in Gmail Outbox
Try Basic Fixes Verify the recipient's email address: This may seem too obvious, but if you have misspelled the email address, Gmail won’t be able to send the message.
4 Ways to Fix Emails Stuck in Gmail Outbox
Try Basic Fixes Verify the recipient's email address: This may seem too obvious, but if you have misspelled the email address, Gmail won’t be able to send the message.
 How to Share Gmail Folder With Another User Along With Emails Automatically
How to Share a Gmail Label With Other Users To share your Gmail labels with another person, you will need a Chrome extension called Label Sharing for Gmail by cloudHQ.
How to Share Gmail Folder With Another User Along With Emails Automatically
How to Share a Gmail Label With Other Users To share your Gmail labels with another person, you will need a Chrome extension called Label Sharing for Gmail by cloudHQ.
 How to Use Stars to Organize Your Emails in Gmail
Add Star to an Email on Web Step 1: Open Gmail and locate the essential email or the one you want to visit again.
How to Use Stars to Organize Your Emails in Gmail
Add Star to an Email on Web Step 1: Open Gmail and locate the essential email or the one you want to visit again.
 Declutter Your Inbox: How to Filter Unread Emails in Gmail
Method 1: Using a Query in the Search Field Like Google Search, there are various tips and tricks for using Gmail Search to get the desired results.
Declutter Your Inbox: How to Filter Unread Emails in Gmail
Method 1: Using a Query in the Search Field Like Google Search, there are various tips and tricks for using Gmail Search to get the desired results.
The article above may contain affiliate links which help support Guiding Tech. The content remains unbiased and authentic and will never affect our editorial integrity.