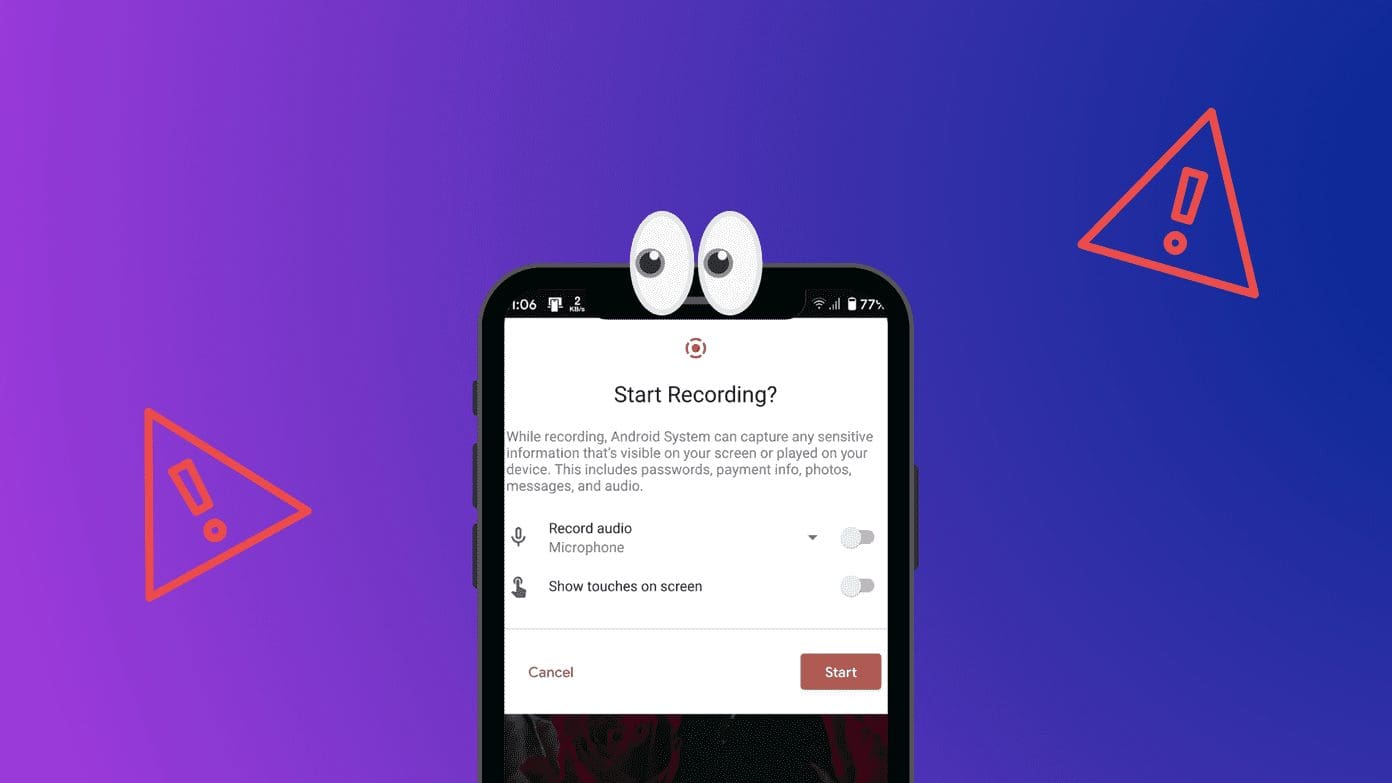
Installing an operating system can be a stressful time, particularly when you can’t see what you’re doing because of a black screen. If you’re struggling with a black screen when installing Windows 11, then this article is for you. We’ll be going through a list of potential fixes to get things visible and your operating system installed.
Fixing a Black Screen When Installing Windows 11
Quite often, problems with your display are related to graphics cards and their drivers. This may be the case with a black screen after installing Windows 11, but if it happens during the installation process, there can be a few other causes. Let’s take a look at some fixes:
Check Your Display Connections
It’s an easy check, but an important one. If you’re running a desktop PC or have a second monitor, ensure the power supply is up to task and the HDMI cable is securely connected on both ends. Try unplugging and replugging just to confirm.
Perform a Hard Reset
It could be that your machine is behaving erratically and needs to start fresh, and completely fresh at that, through a hard reset. Here’s what to do:
Step 1. Shut down your machine.
Step 2. Press and hold the power button for at least a minute to drain the static.
Step 3. After this, boot up your machine again and see if the issue persists.
Check Your Motherboard Lights
If you can open your machine and easily check your motherboard, pay attention to the LED lights and their color. You should see four: “Boot,” “VGA,” “DRAM,” and “CPU.” If any of these lights stay on after the initial boot, it means there’s a hardware issue with that component. This could be the cause of your black screen.
“VGA” is a component that can directly affect your display, so if this stays on, it’s time to fix it yourself or take it to a professional who can.
Create the Bootable Disk Again
It could be that the bootable media you’re using to install Windows 11 (or the device you’re doing it from) has been corrupted or isn’t working properly. As a quick guide to doing so:
Step 1. Download the Windows 11 ISO from Microsoft.
Step 2. In the Disk Management utility (accessible from the Search Bar), ensure that your bootable drive is formatted correctly to NTFS.
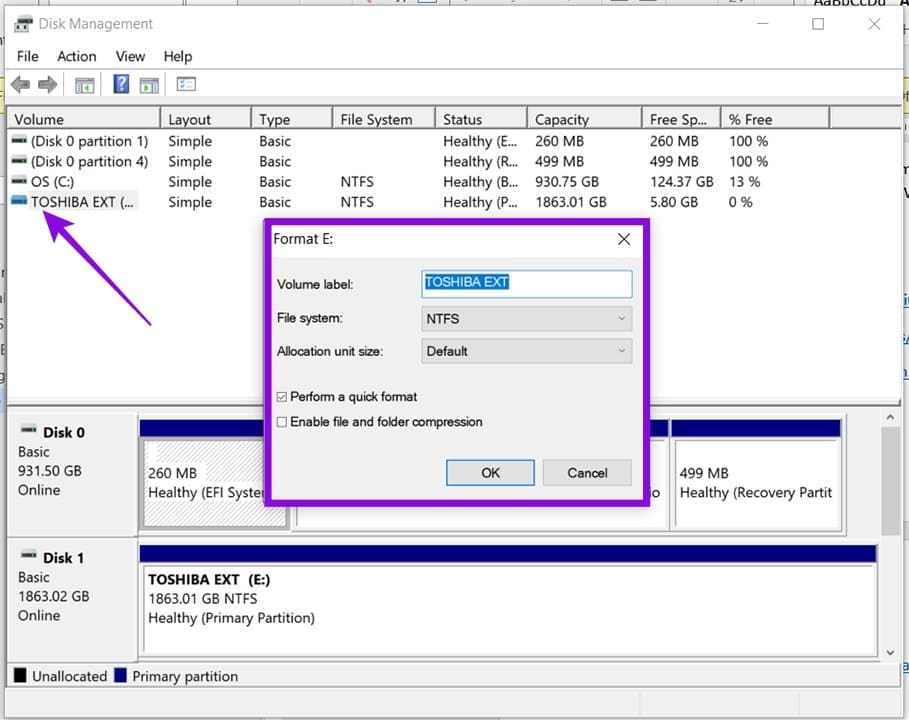
Step 3. Enter the BIOS and boot from your bootable device. Follow the steps to install. If the black screen persists, try another method.
Reset Your BIOS
In extreme cases, the BIOS might be to blame and is in need of a reset. Enter the BIOS on startup and find an option that allows you to reset the BIOS to default settings. Keep in mind that every BIOS is different.
Was this helpful?
Last updated on 22 May, 2026
Read Next
 Why Am I Getting Calls When Do Not Disturb or Focus Mode Is On
Stop Getting Calls During DND or Focus Mode on iPhone 1.
Why Am I Getting Calls When Do Not Disturb or Focus Mode Is On
Stop Getting Calls During DND or Focus Mode on iPhone 1.
 Why Am I Getting Notifications When Do Not Disturb Is On?
On iPhone Apple has incorporated DND under Focus (an extended version of Do Not Disturb).
Why Am I Getting Notifications When Do Not Disturb Is On?
On iPhone Apple has incorporated DND under Focus (an extended version of Do Not Disturb).
 Why Am I Getting Messages From a Blocked Number
Basic Fixes Check spam numbers on Truecaller: You can check and block spam numbers on Truecaller.
Why Am I Getting Messages From a Blocked Number
Basic Fixes Check spam numbers on Truecaller: You can check and block spam numbers on Truecaller.
 3 Ways to Prevent Users From Installing New Software on Windows 11
Method 1: Turn Off Windows Installer via Group Policy The Group Policy Editor on Windows lets you make various administrative-level changes.
3 Ways to Prevent Users From Installing New Software on Windows 11
Method 1: Turn Off Windows Installer via Group Policy The Group Policy Editor on Windows lets you make various administrative-level changes.
 How to Stop a Specific Windows Update From Installing
Method 1: Hide a Windows Update Using the Show or Hide Updates Troubleshooter Microsoft's "Show or hide updates" tool makes it simple to stop a specific Windows Update from installing
How to Stop a Specific Windows Update From Installing
Method 1: Hide a Windows Update Using the Show or Hide Updates Troubleshooter Microsoft's "Show or hide updates" tool makes it simple to stop a specific Windows Update from installing
 How to Fix Optional Features Missing or Not Installing on Windows 11
Fix 1: Disable Metered Connection Windows has a metered connection feature that reduces data consumption and helps save on internet bills.
How to Fix Optional Features Missing or Not Installing on Windows 11
Fix 1: Disable Metered Connection Windows has a metered connection feature that reduces data consumption and helps save on internet bills.
 Top 5 Fixes For ‘No Device Drivers Were Found’ While Installing Windows 11/10
Preliminary Fixes Check/Switch the USB Ports: One common cause of this error is the USB port being used.
Top 5 Fixes For ‘No Device Drivers Were Found’ While Installing Windows 11/10
Preliminary Fixes Check/Switch the USB Ports: One common cause of this error is the USB port being used.
 How to Run Windows 11 From a USB Without Installing
Want to modify your Windows 11 settings or try new features without risking your main system stability?
How to Run Windows 11 From a USB Without Installing
Want to modify your Windows 11 settings or try new features without risking your main system stability?
The article above may contain affiliate links which help support Guiding Tech. The content remains unbiased and authentic and will never affect our editorial integrity.