Method 1: Find Trash on Android Using the Gallery/Photos App
Even if you delete some photos stored on your device’s phone app, they might still be available in the trash folder. In this case, here’s how to find and delete these photos on your Android device.
I. Using the Phone Gallery
Note: We’re using the phone gallery of a Samsung Galaxy device for demonstration. The process for finding trash on your device’s phone gallery might differ slightly.
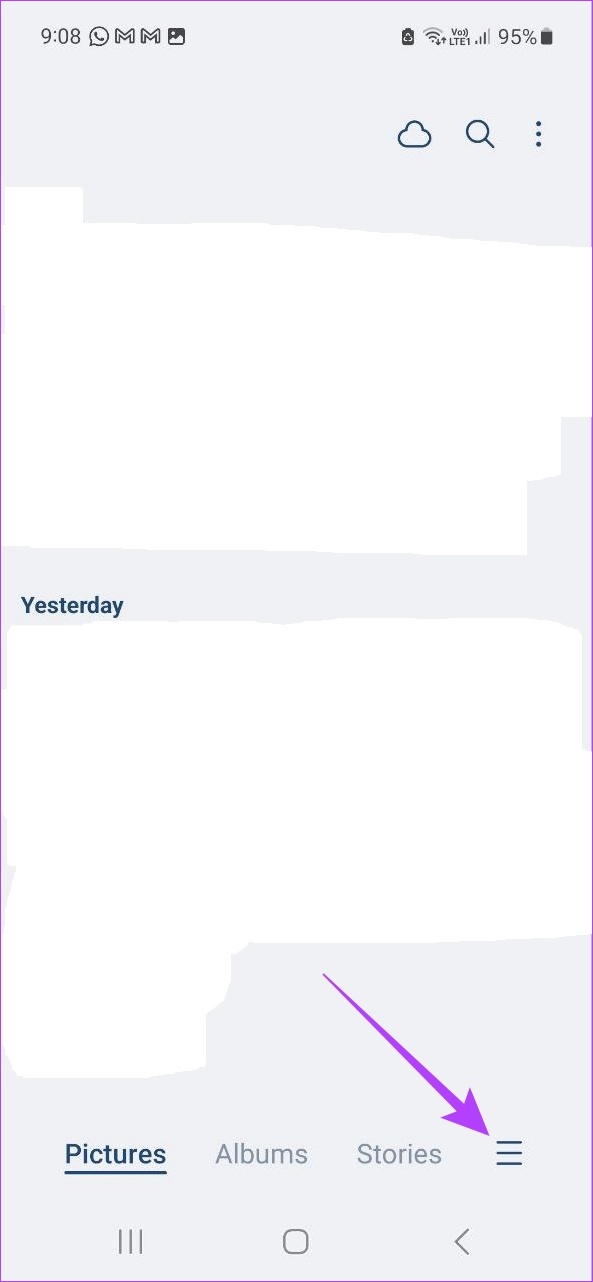
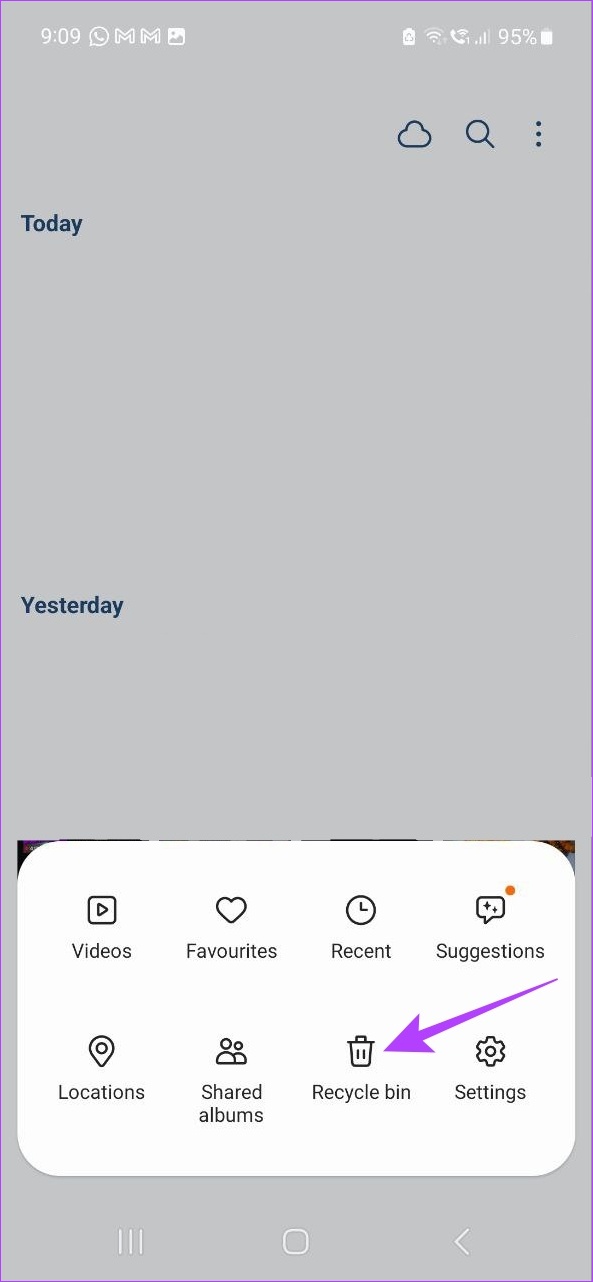
Step 1: Open your device’s phone gallery and tap on the hamburger icon. Then, tap on Recycle bin.
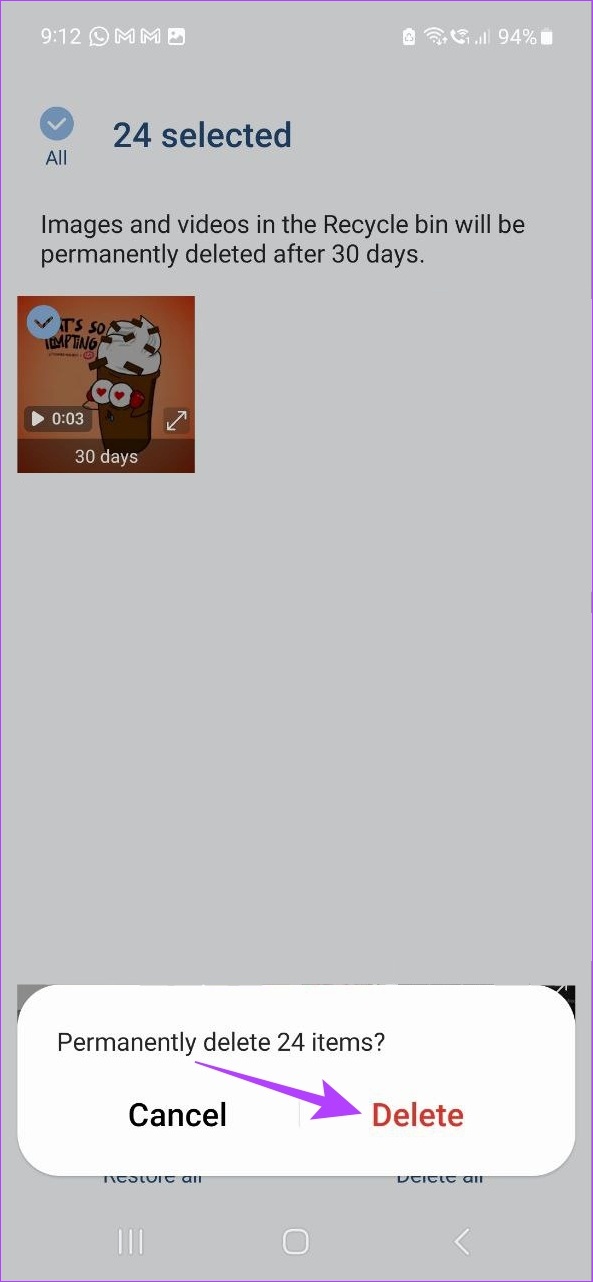
Step 2: Here, select all the items you want to delete. Once done, tap on Delete all. Tap on Delete to confirm.

II. Using the Photos App
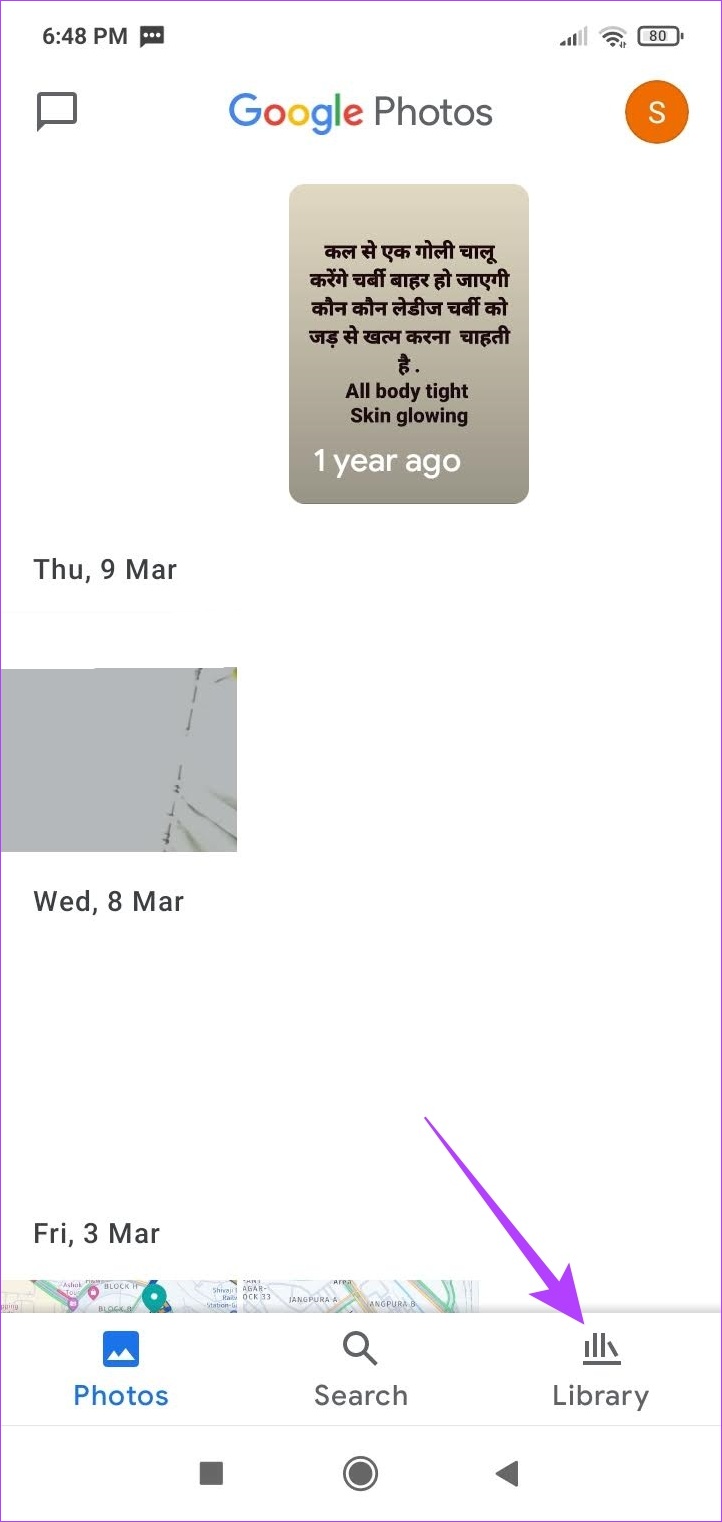
Step 1: Open the Google Photos app and tap on Library at the bottom right corner. Here, tap on Bin.
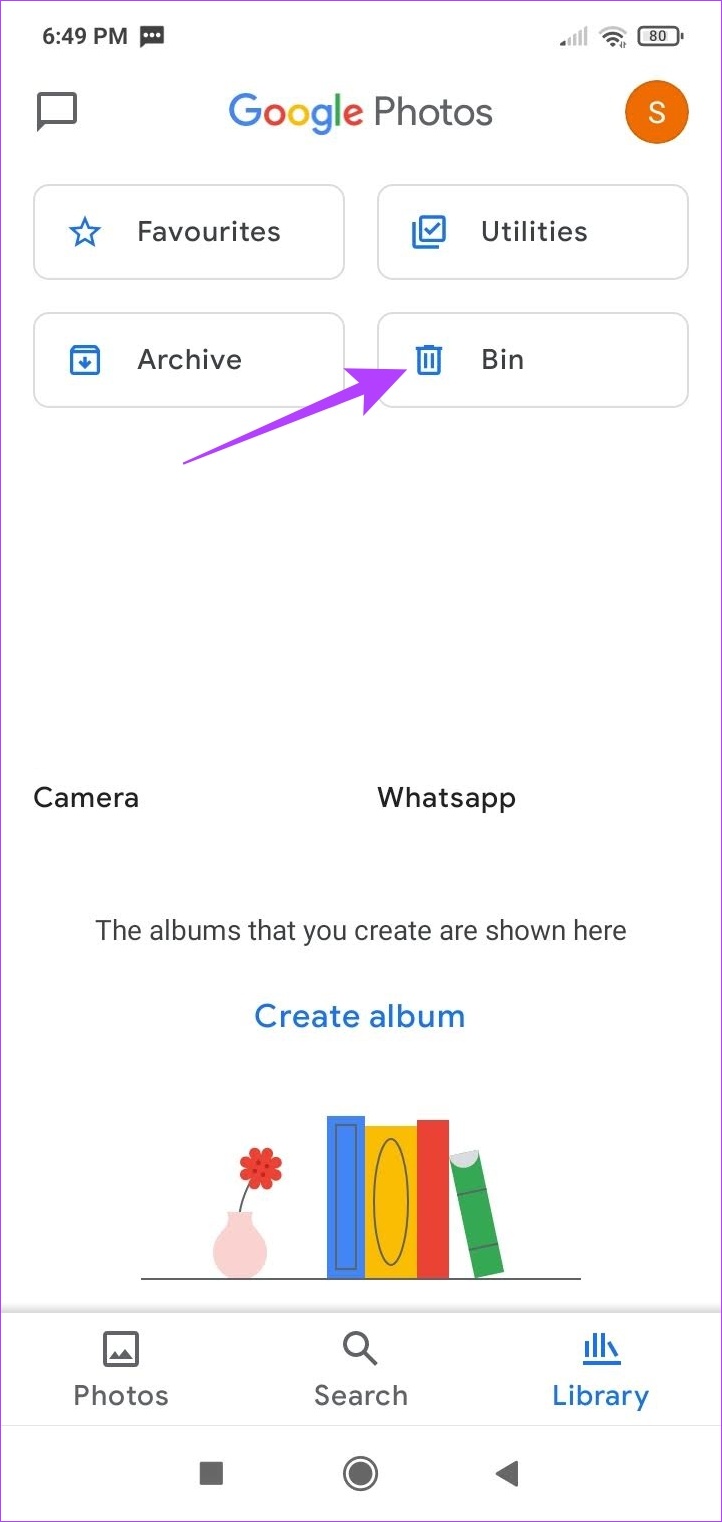
Step 2: To clear the trash, long-press and select the items to clear. Then, tap on Delete and tap on Delete permanently.


This will delete all the items from Google Photo’s trash folder.
Tip: Your deleted text messages might also be stored in the relevant recycle bin. In this case, you can recover these deleted text messages or delete them permanently from your Android device.
Method 2: Use the File App to Find Trash
There can be times when the files you have deleted will still be available on your Android device. To stop that, let’s look at how to find and empty trash on the Files by Google app and Samsung’s My Files app.
Tip: You can also use certain third-party apps to find large files on Android and delete them accordingly.
I. Via Files by Google App
Step 1: Open the Google Files app and tap on the hamburger icon at the top-left corner. Here, tap on Trash.
Step 2: Once the trash folder opens, tap on All items. Then, tap on Delete. Again, tap on Delete to confirm.


II. Using My Files App on Samsung
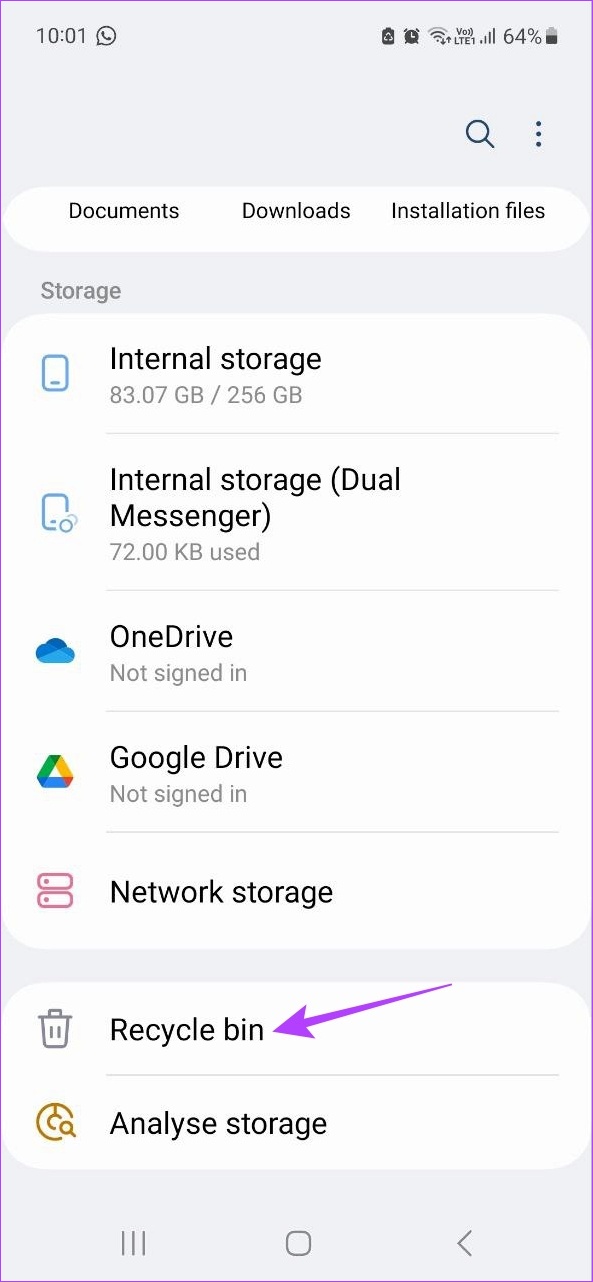
Step 1: Open the My Files app and tap on Recycle bin. Then, tap on the three-dot icon at the top-right corner.
Step 2: Here, tap on Empty. Then, tap on Delete.


This will instantly delete the selected files. Once deleted, these files cannot be recovered on your Android device.
Was this helpful?
Last updated on 30 April, 2024
Read Next
 6 Ways to Find and Empty Trash on iPhone
With the 64GB and 128GB models being a popular choice, it is no surprise iPhone users occasionally go into deleting mode to remove anything unimportant or no longer required.
6 Ways to Find and Empty Trash on iPhone
With the 64GB and 128GB models being a popular choice, it is no surprise iPhone users occasionally go into deleting mode to remove anything unimportant or no longer required.
 4 Ways to Access Secure Folder on Samsung Galaxy Phones
Method 1: From the App Drawer or Home Screen Once you create the Secure Folder the first time, you can access it easily from your phone’s App drawer or home
4 Ways to Access Secure Folder on Samsung Galaxy Phones
Method 1: From the App Drawer or Home Screen Once you create the Secure Folder the first time, you can access it easily from your phone’s App drawer or home
 5 Ways to Unlock Secure Folder in Samsung Without Password
Did you forget your Secure Folder password and are unable to use it?
5 Ways to Unlock Secure Folder in Samsung Without Password
Did you forget your Secure Folder password and are unable to use it?
 How to Add or Remove Apps From Secure Folder on Samsung Phones
https://youtu.be/OSxj0tYGEqE How to Add Apps to Secure Folder Step 1: Open Secure Folder on your phone.
How to Add or Remove Apps From Secure Folder on Samsung Phones
https://youtu.be/OSxj0tYGEqE How to Add Apps to Secure Folder Step 1: Open Secure Folder on your phone.
 How to Delete Secure Folder on Samsung Phone and What Will Happen
Secure Folder on Samsung Galaxy phones is a nice place to hide your secret data like apps, photos, videos, etc.
How to Delete Secure Folder on Samsung Phone and What Will Happen
Secure Folder on Samsung Galaxy phones is a nice place to hide your secret data like apps, photos, videos, etc.
 6 Ways to Fix “Folder Access Denied” Error on Windows
Basic Fixes Check if the folder is encrypted. The administrator could have password-locked or encrypted the folder, so contact them for assistance.
6 Ways to Fix “Folder Access Denied” Error on Windows
Basic Fixes Check if the folder is encrypted. The administrator could have password-locked or encrypted the folder, so contact them for assistance.
 6 Ways to Fix Windows 11 Can’t Access Shared Folder
Fix 1: Use the Command Prompt to Access the Shared Folder If you can't open the shared folder in File Explorer, use Command Prompt to access it.
6 Ways to Fix Windows 11 Can’t Access Shared Folder
Fix 1: Use the Command Prompt to Access the Shared Folder If you can't open the shared folder in File Explorer, use Command Prompt to access it.
The article above may contain affiliate links which help support Guiding Tech. The content remains unbiased and authentic and will never affect our editorial integrity.