Method 1: Using the Settings App
The Settings app has a dedicated Troubleshoot section that contains all types of troubleshooters. To run the Program Compatibility Troubleshooter, you must access the Settings app. Follow the steps below.
Step 1: Press the Windows + I key shortcut to open the Settings app.
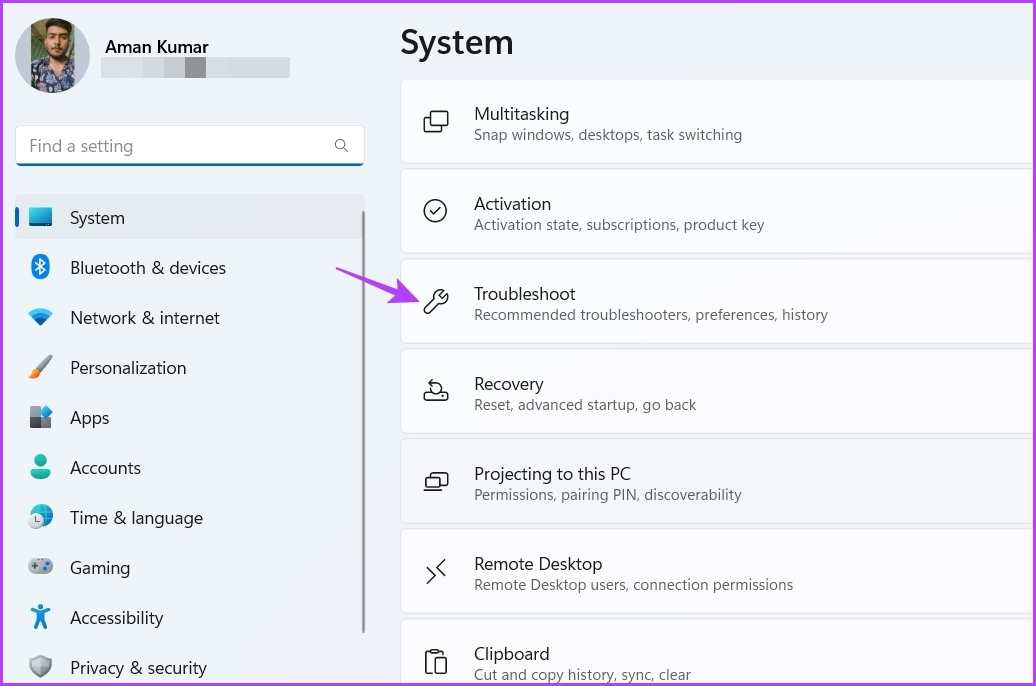
Step 2: Choose System from the left sidebar and select Troubleshoot on the right pane.
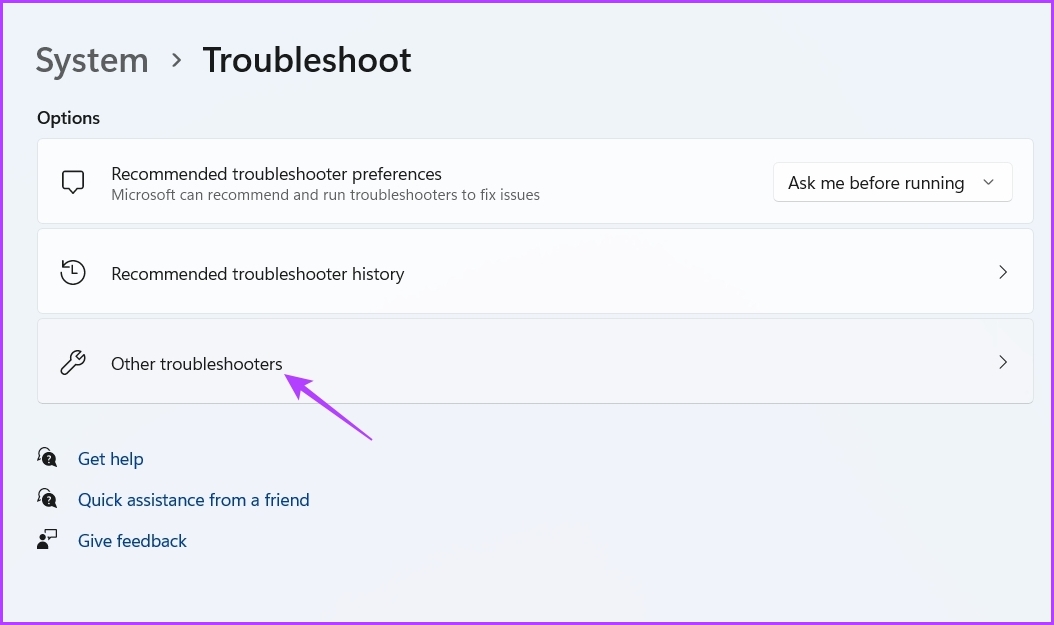
Step 3: Click Other troubleshooters.
Step 4: Click the Run button next to Program Compatibility Troubleshooter.
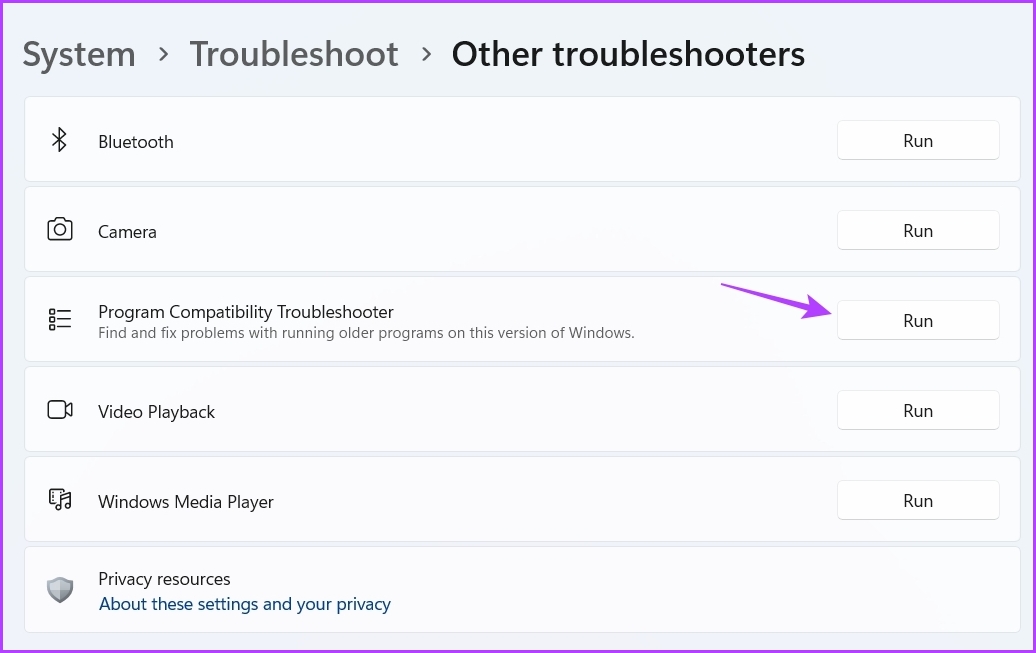
The Get Help window will pop up, and you must select the problematic application. Then, follow the on-screen instructions to fix the issue.

Here are the steps to run Program Compatibility Troubleshooter from the Settings app in Windows 10:
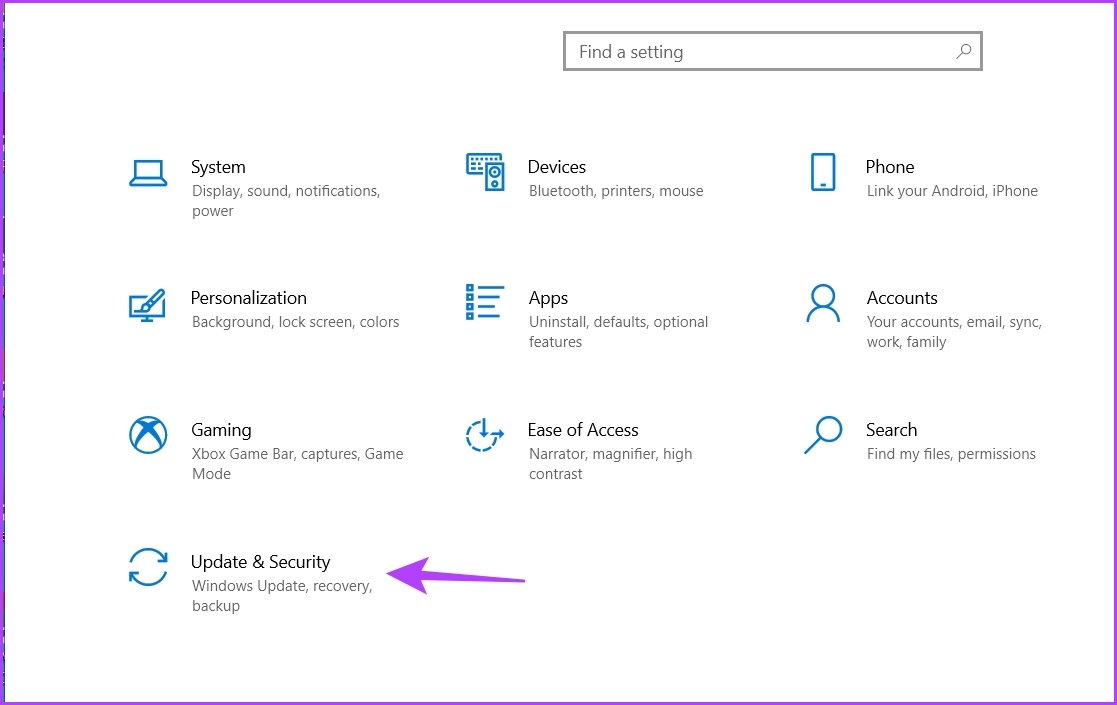
Step 1: Open Settings by pressing Windows + I keys and choose Update & Security.
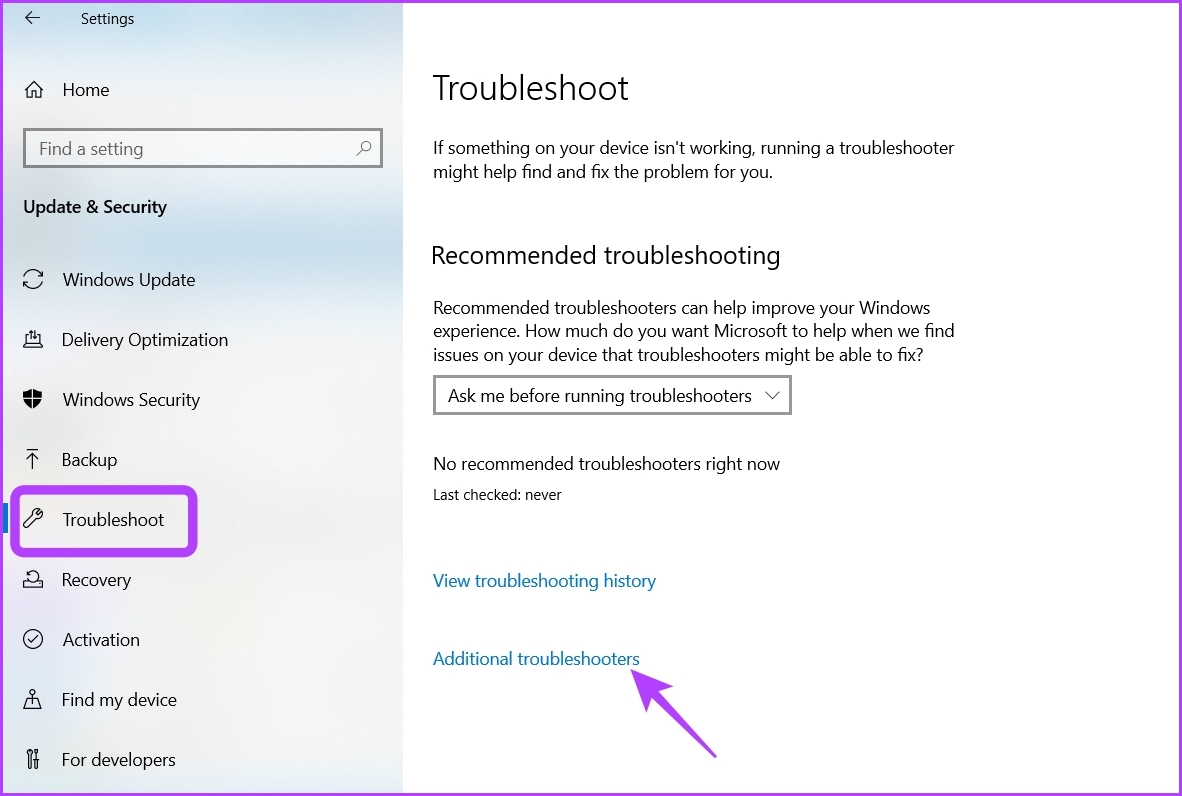
Step 2: Choose Troubleshoot from the left sidebar and click Additional troubleshooters on the right pane.
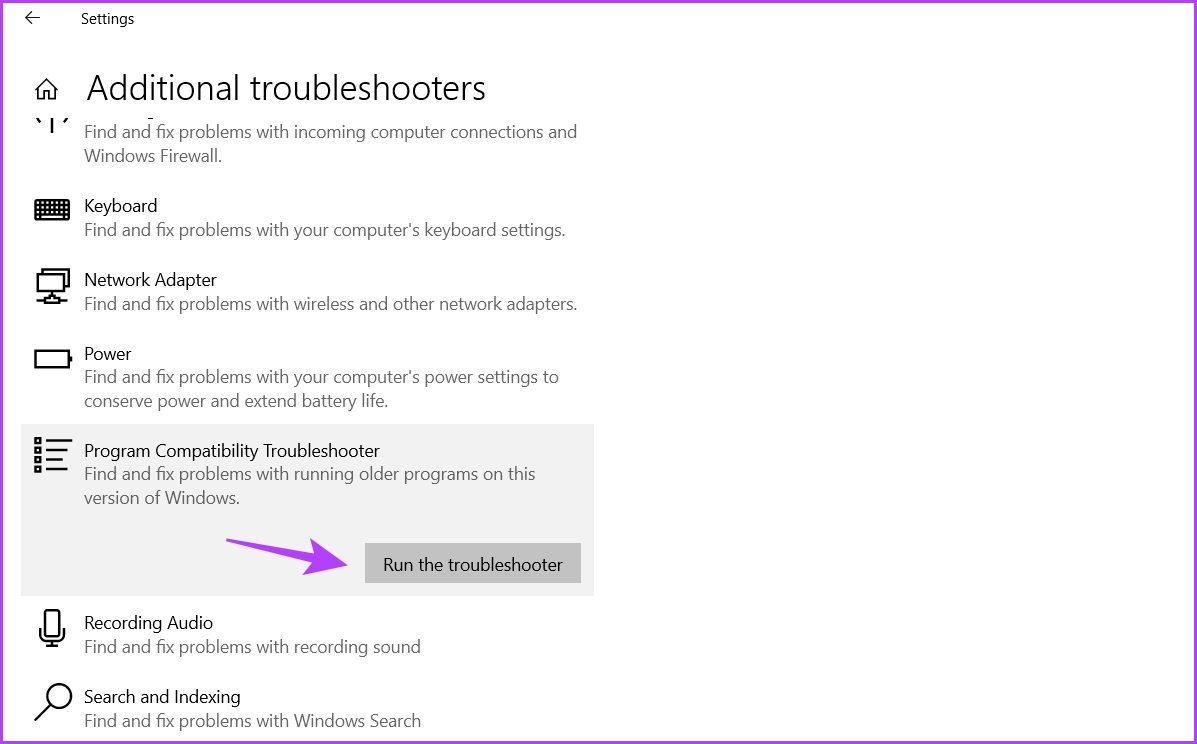
Step 3: Click on Program Compatibility Troubleshooter to expand it and choose Run the troubleshooter.
Method 2: Using the Control Panel
Control Panel is another important utility on Windows 10 and 11. You can use it to manage the network, customize your computer, run troubleshooters, and more. Here’s how to use the Control Panel to run the Program Compatibility Troubleshooter:
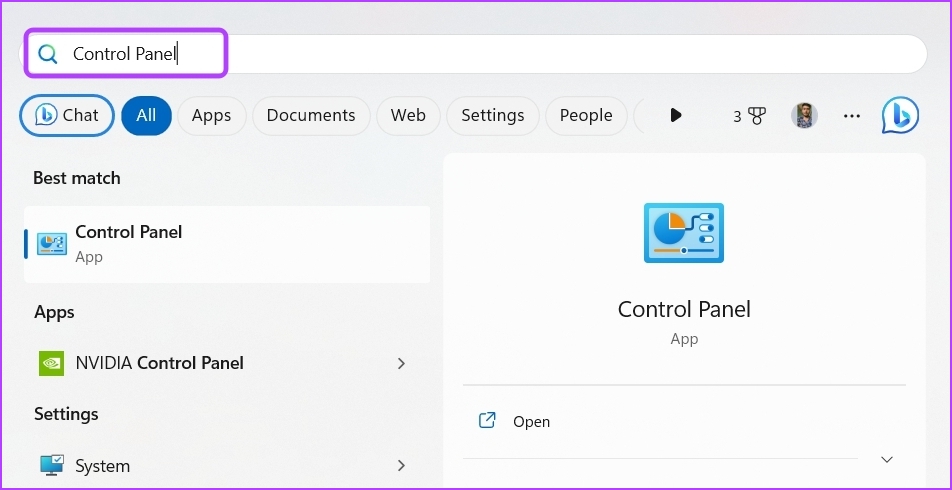
Step 1: In the Start menu search bar, type Control Panel, and press Enter.
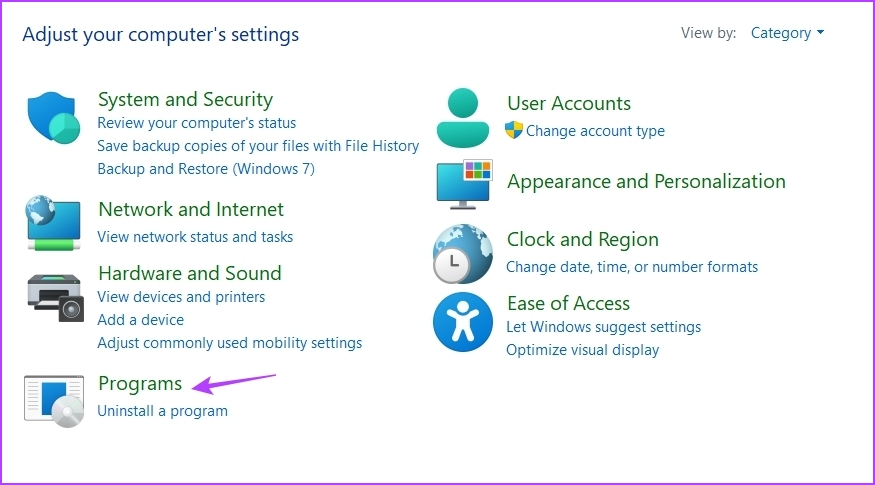
Step 2: Click the drop-down icon next to View by and choose Category.

Step 3: Click Programs.
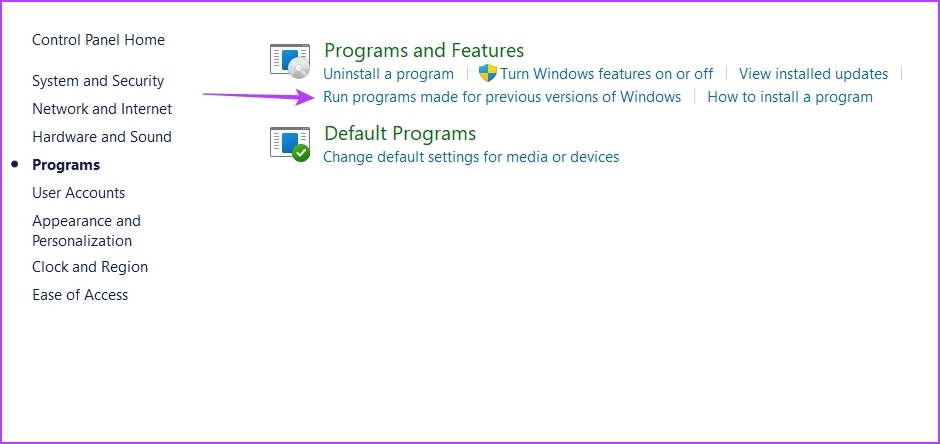
Step 4: Click on Run programs made for previous versions of Windows on the right pane.
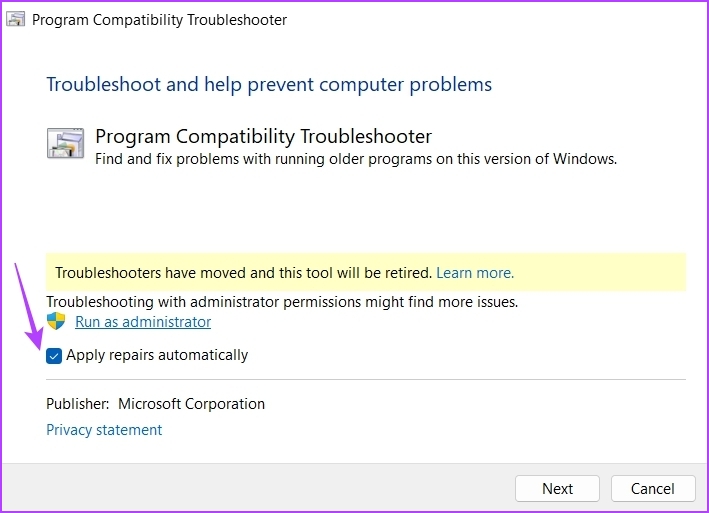
Step 5: In the Program Compatibility Troubleshooter window, click on Advanced.

Step 6: Check the Apply repairs automatically box and click Next.
Step 7: Choose the application not running on your computer and click Next.

The troubleshooter will now look for and resolve any available issues.
Method 3: Using Its Desktop Shortcut
Windows allows you to create shortcuts for your most used applications and troubleshooters. If you regularly face compatibility issues, you can create the Program Compatibility Troubleshooter shortcut on your desktop to access and fix it quickly. Here’s how to do that:
Step 1: Head towards your desktop by pressing the Windows + D key.
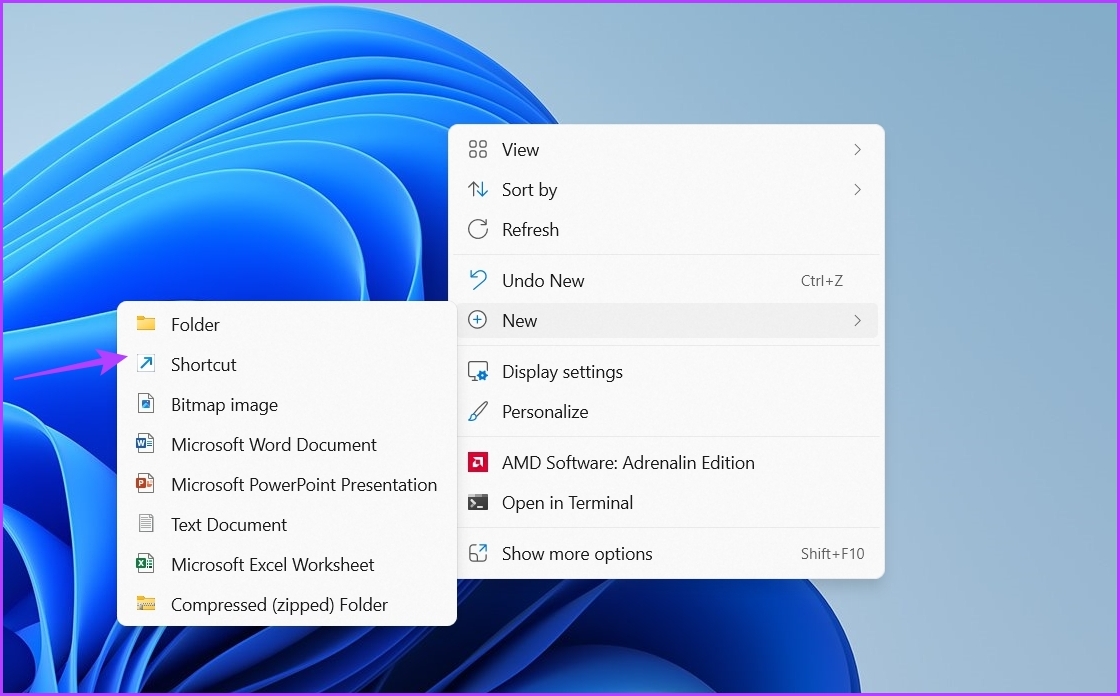
Step 2: Right-click on a space, hover the cursor to New, and choose Shortcut from the context menu.
Step 3: In the location window, paste the following location and click Next.
%systemroot%\system32\msdt.exe -id PCWDiagnostic
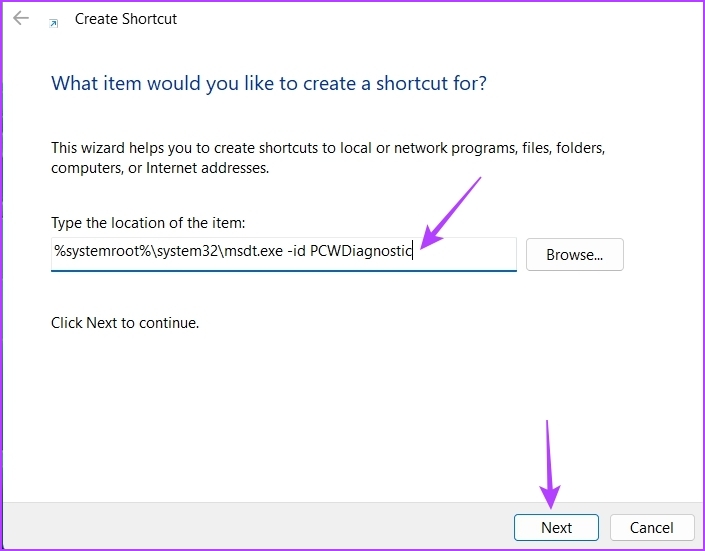
Step 4: Type Program Compatibility Troubleshooter in the naming window and click Finish.

Method 4: Using the Context Menu
One of the quickest ways to run the Program Compatibility troubleshooter is through the app or program’s context menu. However, the troubleshooter is unavailable by default in the context menu. You must run a batch file to add it.
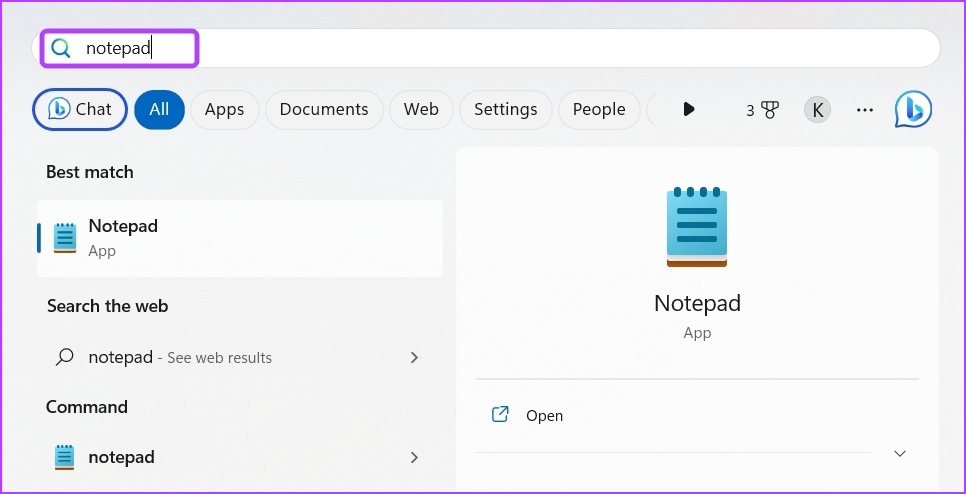
Step 1: Press the Windows key on your keyboard to open the Start Menu.
Step 2: Type Notepad in the search bar and press Enter.
Step 3: Paste the following codes in the Notepad:
Windows Registry Editor Version 5.00

; BAT files

[HKEY_CLASSES_ROOT\batfile\shellEx\ContextMenuHandlers\Compatibility]

@="{1d27f844-3a1f-4410-85ac-14651078412d}"

; CMD files

[HKEY_CLASSES_ROOT\cmdfile\shellEx\ContextMenuHandlers\Compatibility]

@="{1d27f844-3a1f-4410-85ac-14651078412d}"

; EXE files

[HKEY_CLASSES_ROOT\exefile\shellex\ContextMenuHandlers\Compatibility]

@="{1d27f844-3a1f-4410-85ac-14651078412d}"

; MSI files

[HKEY_CLASSES_ROOT\Msi.Package\shellex\ContextMenuHandlers\Compatibility]

@="{1d27f844-3a1f-4410-85ac-14651078412d}"

[HKEY_CLASSES_ROOT\MSILink\shellex\ContextMenuHandlers]

@="{1d27f844-3a1f-4410-85ac-14651078412d}"

[HKEY_CLASSES_ROOT\MSILink\shellex\ContextMenuHandlers\{1d27f844-3a1f-4410-85ac-14651078412d}]

@="Compatibility Context Menu"

; Clear block

[HKEY_LOCAL_MACHINE\SOFTWARE\Microsoft\Windows\CurrentVersion\Shell Extensions\Blocked]

"{1d27f844-3a1f-4410-85ac-14651078412d}"=-

Step 4: Click the File option at the top and choose Save as from the menu.

Step 5: Give an appropriate name with .reg extension and change Save as type to All files. Then, click the Save button.

Step 6: Double-click on the saved .reg file and click Yes to the Registry Editor prompt.

Step 7: After that, restart your computer to apply the changes.
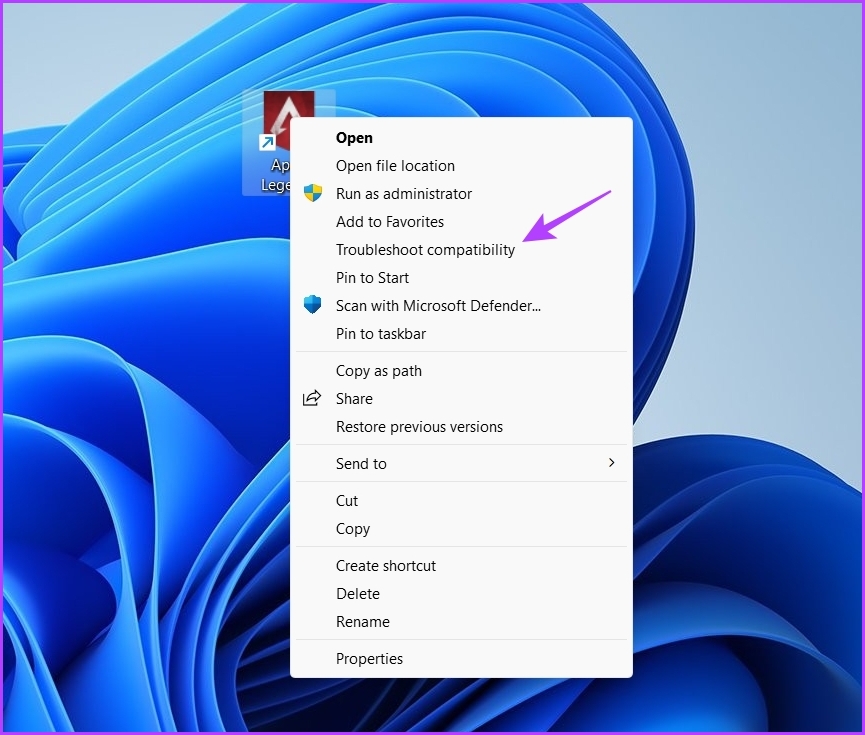
When your computer restarts, right-click on the problematic application and choose Troubleshoot compatibility from the context menu. Next, follow the on-screen instructions to fix the compatibility issue.
Was this helpful?
Last updated on 19 July, 2024
Read Next
 3 Ways to Run Old Programs in Compatibility Mode on Windows 11
Method 1: Modify Program Properties You can configure a program to run in compatibility mode by modifying its properties.
3 Ways to Run Old Programs in Compatibility Mode on Windows 11
Method 1: Modify Program Properties You can configure a program to run in compatibility mode by modifying its properties.
 6 Ways to Fix Default Apps and Program Missing on Windows 10
There are two types of people: those who use default apps on their Windows PC and those who don't.
6 Ways to Fix Default Apps and Program Missing on Windows 10
There are two types of people: those who use default apps on their Windows PC and those who don't.
 3 Ways to Force Quit a Program on Windows 11
Method 1: Force Close an App or Program From the Taskbar On computers running Windows 11 version 23H2 or later, you can terminate non-responsive apps and programs from the taskbar.
3 Ways to Force Quit a Program on Windows 11
Method 1: Force Close an App or Program From the Taskbar On computers running Windows 11 version 23H2 or later, you can terminate non-responsive apps and programs from the taskbar.
 8 Ways to Fix ‘File Is Open in Another Program’ Error in Windows
Fix 1: Use Task Manager to Close the App The primary reason for the 'another program is currently using this file' error is that another program on your PC is
8 Ways to Fix ‘File Is Open in Another Program’ Error in Windows
Fix 1: Use Task Manager to Close the App The primary reason for the 'another program is currently using this file' error is that another program on your PC is
 5 Best Ways to Fix Windows 10 Troubleshooter Not Working
Windows 10 packs a Troubleshooter to help you fix most of the system-level problems easily.
5 Best Ways to Fix Windows 10 Troubleshooter Not Working
Windows 10 packs a Troubleshooter to help you fix most of the system-level problems easily.
 Quickly Auto-Restart a Windows Process or Program that Crashes
No one’s ever been killed in a Windows crash, so the Microsoft jokes don’t die down.
Quickly Auto-Restart a Windows Process or Program that Crashes
No one’s ever been killed in a Windows crash, so the Microsoft jokes don’t die down.
 Difference Between an App and a Program in Windows 10: GT Explains
Back in the day, people used to talk about programs while discussing desktop operating systems like Windows.
Difference Between an App and a Program in Windows 10: GT Explains
Back in the day, people used to talk about programs while discussing desktop operating systems like Windows.
 How to Find App and Program Location on Windows 11
Method 1: Using the Program Icon Step 1: Firstly, open your preferred browser.
How to Find App and Program Location on Windows 11
Method 1: Using the Program Icon Step 1: Firstly, open your preferred browser.
The article above may contain affiliate links which help support Guiding Tech. The content remains unbiased and authentic and will never affect our editorial integrity.