Method 1: Move Files to Trash and Empty Trash
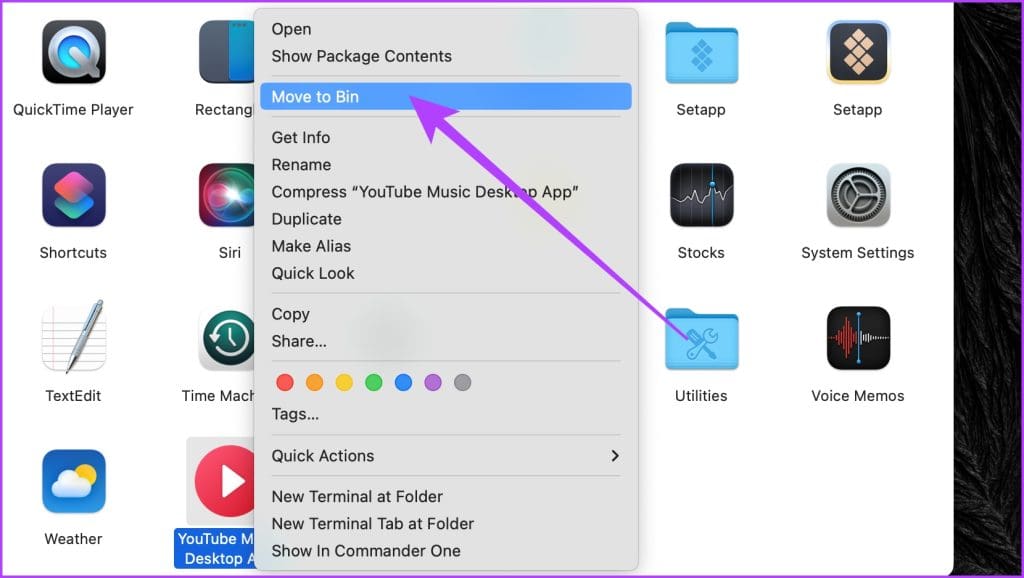
This is the simplest way to remove files permanently from your Mac. Just select your files > Right-click and select Move to Bin. You can also press Command + Delete to move the files to trash.
After that, right-click on the Bin icon and then choose Empty Bin.

When you empty the Bin on your Mac, you are shown a warning before you complete the action. In case you want to skip that notification, click on Finder > Settings and then uncheck the Show warning before emptying the Trash box under the Advanced tab.

Use Mac Terminal
Mac’s Terminal is a command line tool that allows you to complete tedious tasks such as file deletion easily in just a few seconds. The program uses Unix commands to perform several functions easily and quickly without the operating system interfering with its processes. It’s efficient and powerful as it helps you remove files with ease, permanently.
Open Terminal, type rm, space, drag the file to the Terminal app window, and then press Return.

Use a Third-Party App
If deleting your files by emptying the trash doesn’t help, you can get a third party application to force the trash to empty. There are many such apps available like Permanent Eraser or Clean My Mac, which can help you empty your trash completely and permanently.
Was this helpful?
Last updated on 25 July, 2024
Read Next
 How to Disconnect iPhone From Mac (Temporary or Permanently)
Basic Ways Unpair Bluetooth connection: Do note that turning off Bluetooth will also disconnect your Mac and iPhone from other Apple devices.
How to Disconnect iPhone From Mac (Temporary or Permanently)
Basic Ways Unpair Bluetooth connection: Do note that turning off Bluetooth will also disconnect your Mac and iPhone from other Apple devices.
 How to Delete WhatsApp Group Permanently (Desktop and Mobile)
How to Delete WhatsApp Group Permanently as Admin As an admin, you are authorized to delete the group from its existence.
How to Delete WhatsApp Group Permanently (Desktop and Mobile)
How to Delete WhatsApp Group Permanently as Admin As an admin, you are authorized to delete the group from its existence.
 How to Delete a LinkedIn Account Permanently
Things to Know Before Deleting Your LinkedIn Account Before you delete your LinkedIn account, you should know a few things.
How to Delete a LinkedIn Account Permanently
Things to Know Before Deleting Your LinkedIn Account Before you delete your LinkedIn account, you should know a few things.
 How to Add Columns Permanently to All Folders in Windows 10 File Explorer
File Explorer in Windows usually shows just a few columns such as name, date, and type.
How to Add Columns Permanently to All Folders in Windows 10 File Explorer
File Explorer in Windows usually shows just a few columns such as name, date, and type.
 How to Hide or Remove the Adobe Reader DC Tools Pane Permanently
Just launch a PDF in Adobe Reader DC, and you should find a Tools pane pop up to the right of the screen.
How to Hide or Remove the Adobe Reader DC Tools Pane Permanently
Just launch a PDF in Adobe Reader DC, and you should find a Tools pane pop up to the right of the screen.
 How to Mute WhatsApp Group Notifications Permanently
Note: WhatsApp syncs across devices.
How to Mute WhatsApp Group Notifications Permanently
Note: WhatsApp syncs across devices.
 How to Remove Chrome Extensions Permanently
Method 1: Remove Extensions Directly From the Extension Bar The easiest way to remove a Chrome extension is to click its icon in the Chrome browser's extension bar.
How to Remove Chrome Extensions Permanently
Method 1: Remove Extensions Directly From the Extension Bar The easiest way to remove a Chrome extension is to click its icon in the Chrome browser's extension bar.
 Samsung My Files vs Google Files: Which File Manager Is Better on Galaxy Phones
Samsung apps are bundled to replace the official Google Apps in the One UI.
Samsung My Files vs Google Files: Which File Manager Is Better on Galaxy Phones
Samsung apps are bundled to replace the official Google Apps in the One UI.
The article above may contain affiliate links which help support Guiding Tech. The content remains unbiased and authentic and will never affect our editorial integrity.