With Windows 10 support slowly timing out by the end of 2025 and limited extension options available, most users will eventually have to pull the trigger and upgrade to Windows 11. But when you do try to upgrade, you might find that you’re missing the vital TPM 2.0 prerequisite. If you can’t enable it, you’re stuck with Windows 10.
Or are you? Here’s how to install Windows 11 with no TPM 2.0.
What Is TPM 2.0?
TPM (Trusted Platform Module) is a specialized chip on your computer’s motherboard that provides hardware-based security functions. TPM 2.0 specifically performs several critical security roles:
- Encryption key storage: Securely stores encryption keys, passwords, and digital certificates.
- Hardware authentication: Verifies that your hardware hasn’t been tampered with.
- Secure boot process: Helps protect your system from rootkits and boot-level malware.
- BitLocker support: Enhances the security of Microsoft’s drive encryption technology.
Microsoft requires TPM 2.0 for Windows 11 to establish a stronger security baseline across all Windows devices, reducing vulnerability to increasingly sophisticated cyber threats.
However, most motherboards don’t actually come with hardwired chips for TPM 2.0. Instead, many manufacturers provide firmware that the OS sees as TPM, with similar functionalities. This is typically true for motherboards made in the previous decade, so even older PCs should have the function in one way or another.
But even older PCs that still meet the minimum hardware requirements might struggle with this, as it’s solely up to the motherboard. Thus, we come to the workaround.
Method 1. How to Install Windows 11 With no TPM 2.0 With Registry Changes
The process for installing Windows this way hinges on changing the registry files that check for the TPM version, which is done during the installation itself.
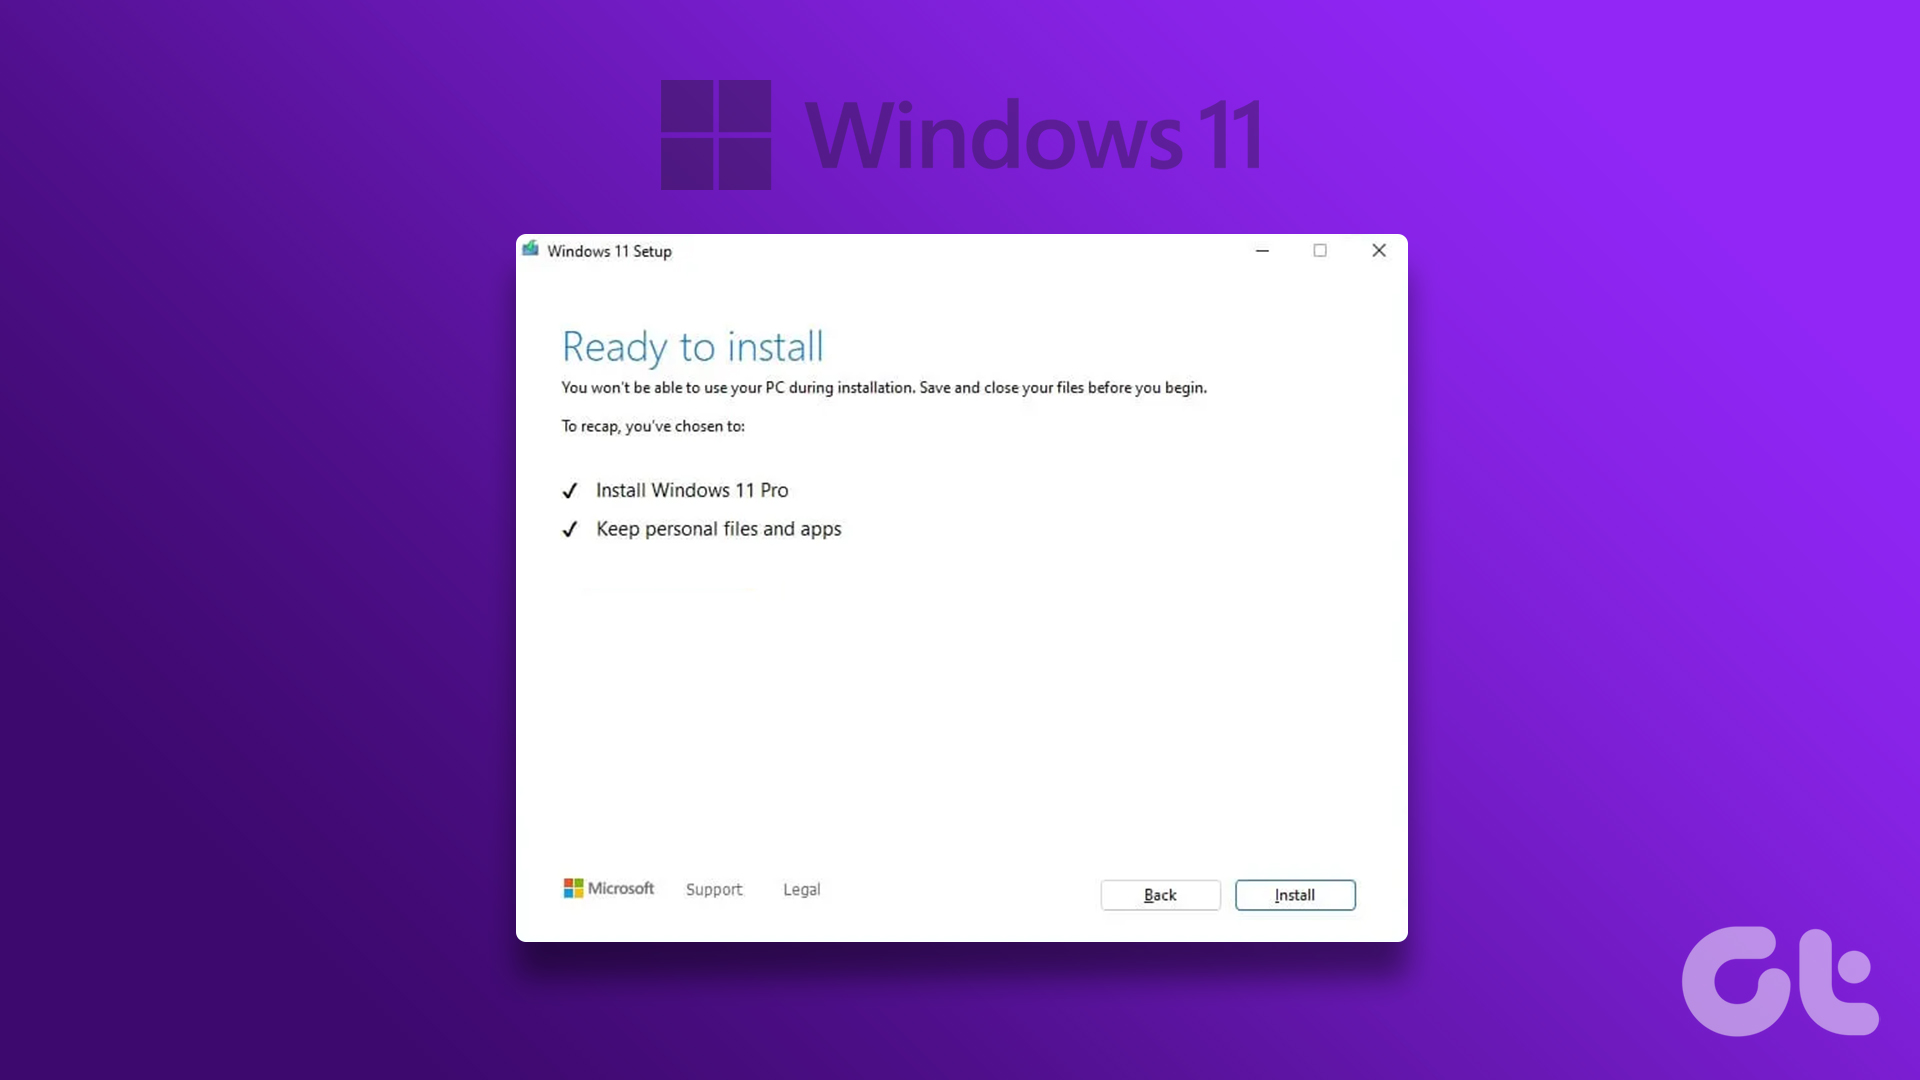
Step 1. Go to the official Windows download page and select “Download Now” (choosing the first option above the “Installation Media” section).

Step 2. When prompted, start the installation process. You should receive an error message saying that your PC can’t install Windows 11.
Step 3. Open the Registry Editor (you can search for it under “regedit”). Make sure to “Run as administrator.”

Step 4. Go to the location “HKEY_LOCAL_MACHINE\SYSTEM\Setup.” You can paste this in the address box at the top of the navigation bar.

Step 5. Right-click on “Setup” and choose “New” then “Key.” Name the key “LabConfig.”
Step 6. Right-click on “LabConfig,” choose “New” and select “DWORD 32-bit.”

Step 7. Create values for “BypassTPMCheck,” “BypassRAMCheck,” and “BypassSecureBootCheck.” Set the value for all of these to 1 by right-clicking and selecting “Modify,” then entering the value “1.”

Step 8. Close the Registry Editor and restart the installation process from Microsoft’s page.
Method 2. Rufus Workaround
This method uses the installation media to fool the PC into thinking it’s installing Windows 10, which doesn’t have the TPM 2.0 requirement.
Step 1. Go to Rufus and download the latest version. Then, you’ll need to get acquainted with its user manual.
Step 2. Go to the Windows download page and locate the ISO downloads for Windows 10 and Windows 11.

Step 3. Open the Windows 10 ISO with Rufus and extract the file “sources\appraiserres.dll/”
Step 4. Put that file in the Windows 11 ISO, replacing its own file with it.
Step 5. Create a bootable USB or DVD using the modified ISO file for Windows 11, then install Windows with it.
Important Notes
With Method 1, your PC likely won’t receive any Windows updates, as the lack of a TPM chip will disable them. That means that you might be running an unsecured version of Windows 11. So, before trying to brute-force the installation, you might want to see if you can enable TPM on your PC via BIOS.
Was this helpful?
Last updated on 01 May, 2025
Read Next
 How to Enable TPM 2.0 to Get Windows 11
When Windows 11 updates first rolled out, many users with kitted-out desktops were stumped to receive a notification that they couldn’t get the new Windows version.
How to Enable TPM 2.0 to Get Windows 11
When Windows 11 updates first rolled out, many users with kitted-out desktops were stumped to receive a notification that they couldn’t get the new Windows version.
 How to Download and Install Chrome Offline on Windows
Setting up Google Chrome on Windows 10 is a relatively smooth and uneventful affair.
How to Download and Install Chrome Offline on Windows
Setting up Google Chrome on Windows 10 is a relatively smooth and uneventful affair.
 4 Ways to Fix Unable to Install Programs or Software on Windows 11
Try Basic Fixes Check program compatibility: Programs and games that worked perfectly on Windows 10 may not necessarily be compatible with Windows 11.
4 Ways to Fix Unable to Install Programs or Software on Windows 11
Try Basic Fixes Check program compatibility: Programs and games that worked perfectly on Windows 10 may not necessarily be compatible with Windows 11.
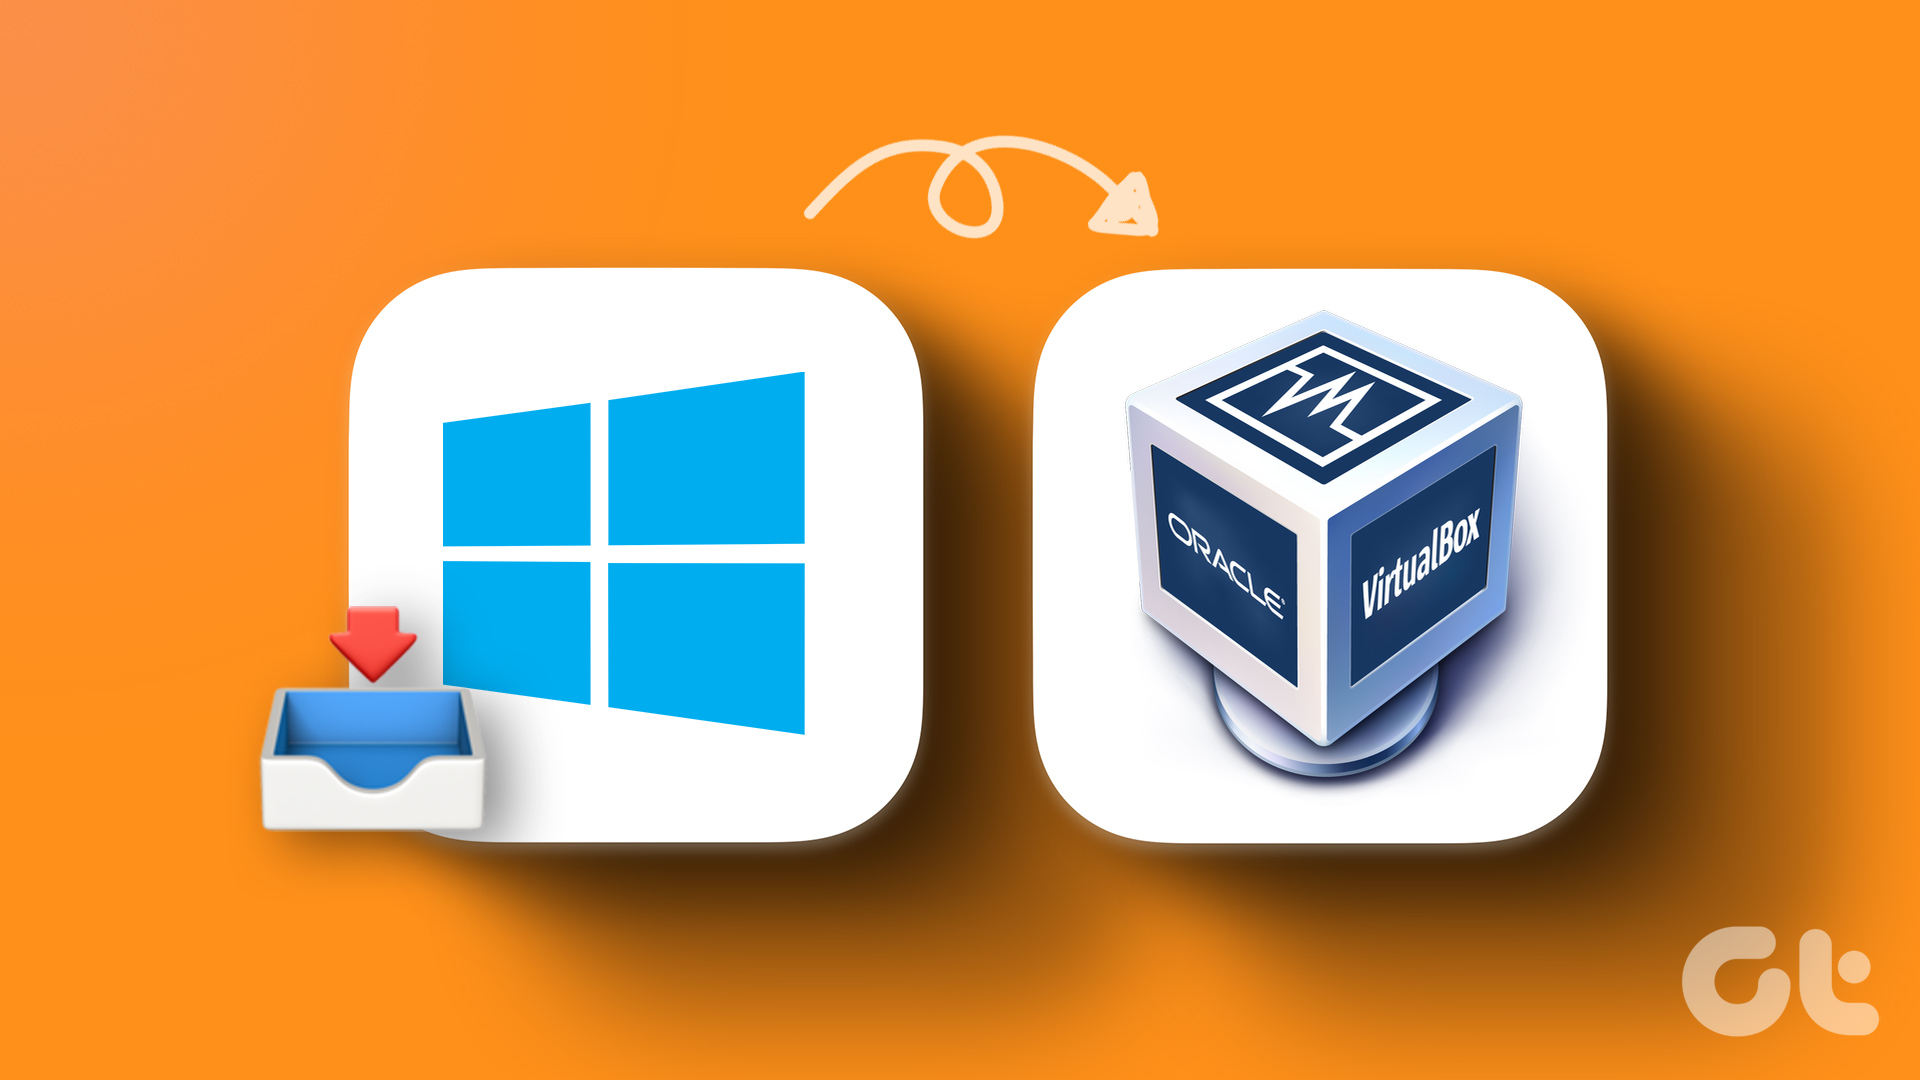 How to Install VirtualBox on Windows 11 and 10
Prerequisites for Installing VirtualBox on Windows CPU: x86-compatible hardware (most modern Intel and AMD CPUs are supported) RAM: The minimum requirement of the host operating system (Windows 11: 4GB) plus
How to Install VirtualBox on Windows 11 and 10
Prerequisites for Installing VirtualBox on Windows CPU: x86-compatible hardware (most modern Intel and AMD CPUs are supported) RAM: The minimum requirement of the host operating system (Windows 11: 4GB) plus
 How to Clean Install Windows 11: A Step-By-Step Guide
Are you looking to give your computer a fresh start by installing the latest version of Windows?
How to Clean Install Windows 11: A Step-By-Step Guide
Are you looking to give your computer a fresh start by installing the latest version of Windows?
 How to Change Epic Games Install Location on Windows
Where Are Epic Games Installed on Your System?
How to Change Epic Games Install Location on Windows
Where Are Epic Games Installed on Your System?
 How to Install Active Directory Users and Computers on Windows
What Is Active Directory Users and Computers (ADUC) on Windows Simply put, think about a big address book for a company's computer network and everything that is a part of
How to Install Active Directory Users and Computers on Windows
What Is Active Directory Users and Computers (ADUC) on Windows Simply put, think about a big address book for a company's computer network and everything that is a part of
 How to Install a Wi-Fi Printer on Windows 11
Setting up a printer should be straightforward, but it’s not always as intuitive as it seems.
How to Install a Wi-Fi Printer on Windows 11
Setting up a printer should be straightforward, but it’s not always as intuitive as it seems.
The article above may contain affiliate links which help support Guiding Tech. The content remains unbiased and authentic and will never affect our editorial integrity.