While Windows 11 has gotten a major overhaul, that has not impacted the default fonts currently available. This can mean a sigh of relief to those who dislike too many changes. However, it can also mean a carryover of monotony for some who like to add a little twist to things. If you belong to the latter, here are 2 ways you can install fonts in Windows 11.
Do the fonts automatically get installed once they’re downloaded? Or are there other steps involved to install these fonts? In this article, we will address these questions and go one step further by giving step-by-step ways to install and download fonts in Windows 11 using third-party sites as well. Let’s get right into it.
Method 1: Add Fonts to Windows 11 Using Microsoft Store
While Windows 11 comes with its set of fonts, you can get more fonts straight from the Microsoft Store. This helps in making sure you’re downloading fonts from a secure source. To do this, simply open the Microsoft Store and install the required fonts.
Follow the below steps to do it.
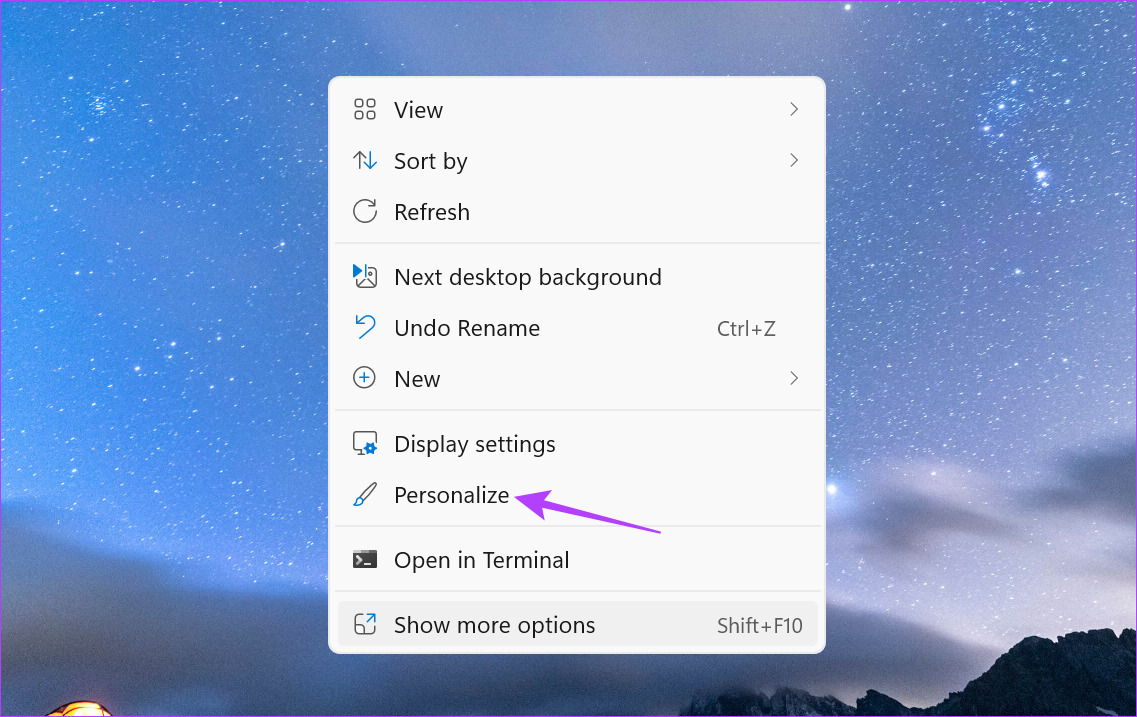
Step 1: Right-click on your desktop.
Step 2: Then, click on Personalize.
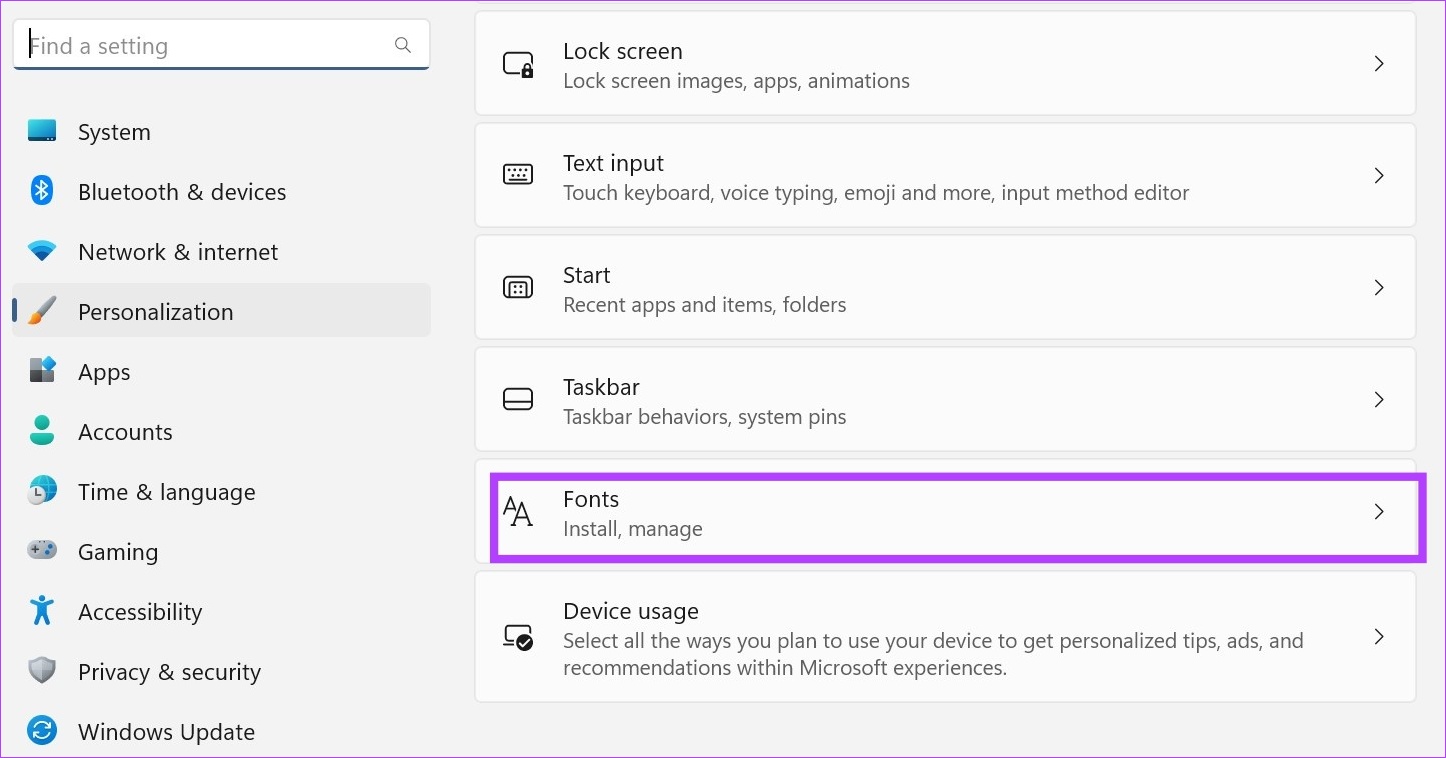
Step 3: Once the Personalization page opens, scroll down and click on Fonts.
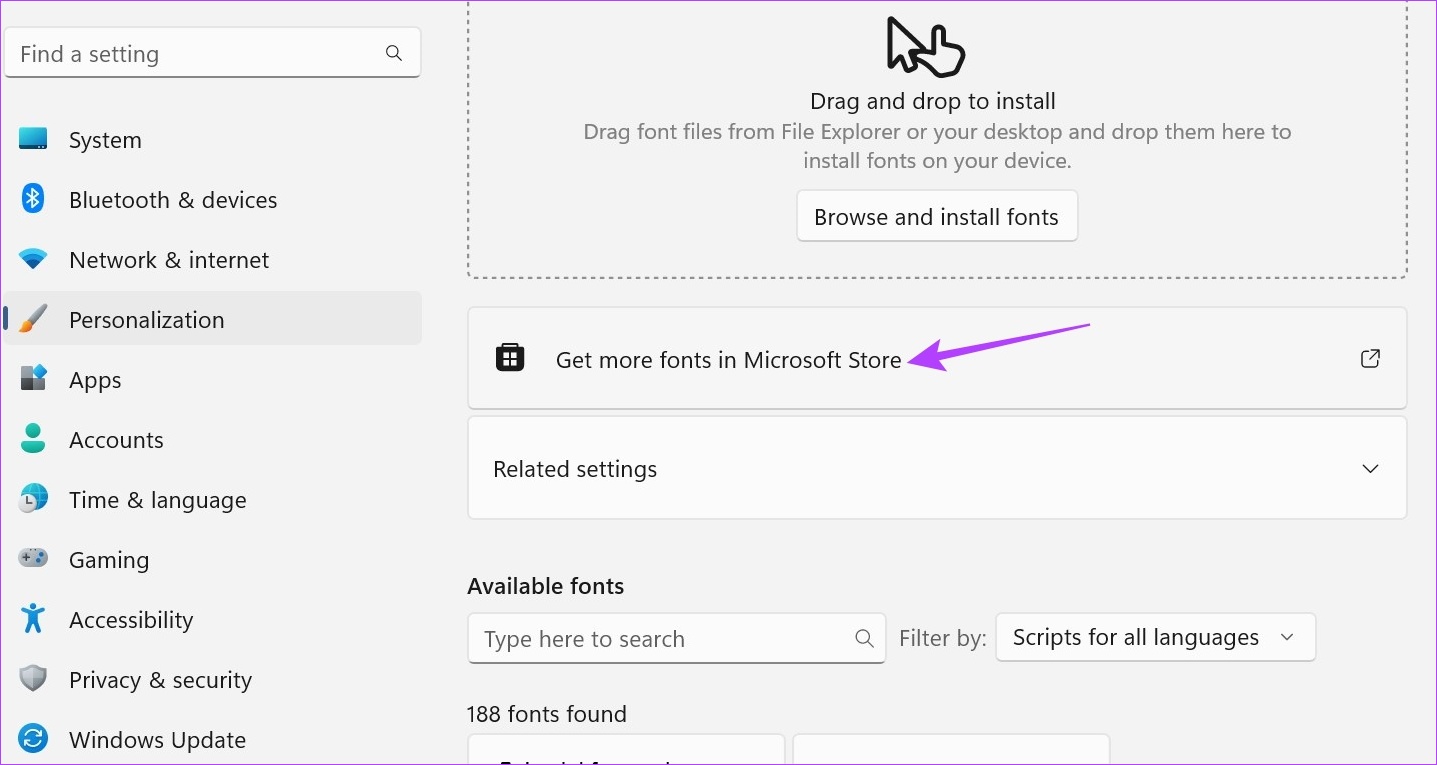
Step 4: Here, click on ‘Get more fonts in Microsoft Store’. This will launch the Microsoft Store in a separate window.
Note: You can also open the Microsoft Store using the Windows search bar. Simply type Microsoft Store in the search bar and click on the relevant search result.
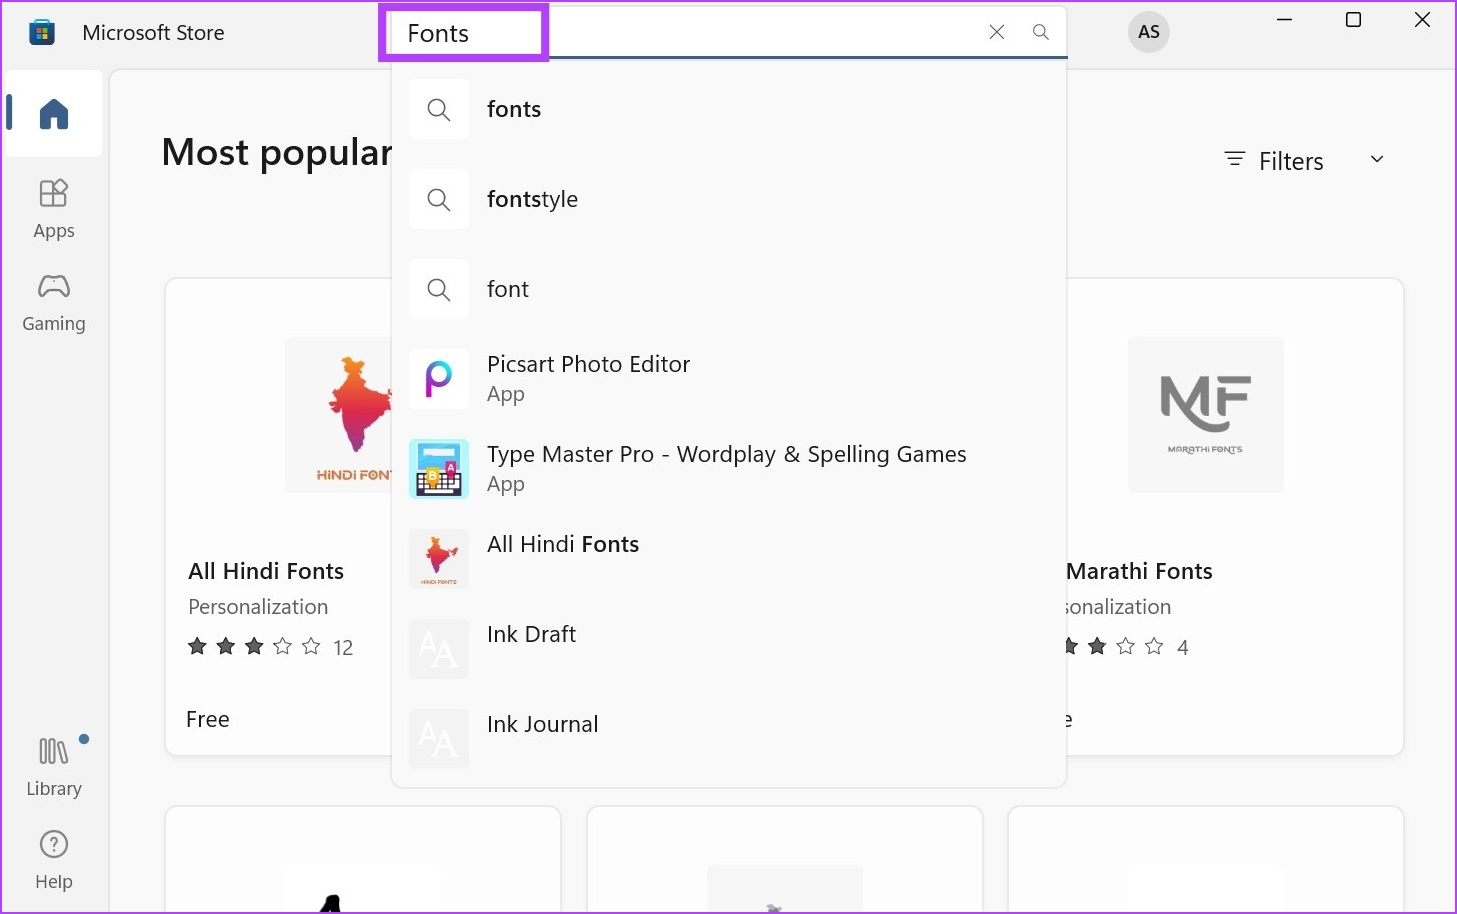
Step 5: While some fonts are available, all search results might not be visible on this page. So, go to the Microsoft Store search bar and type Fonts. Then, press enter. This will open the fonts page.
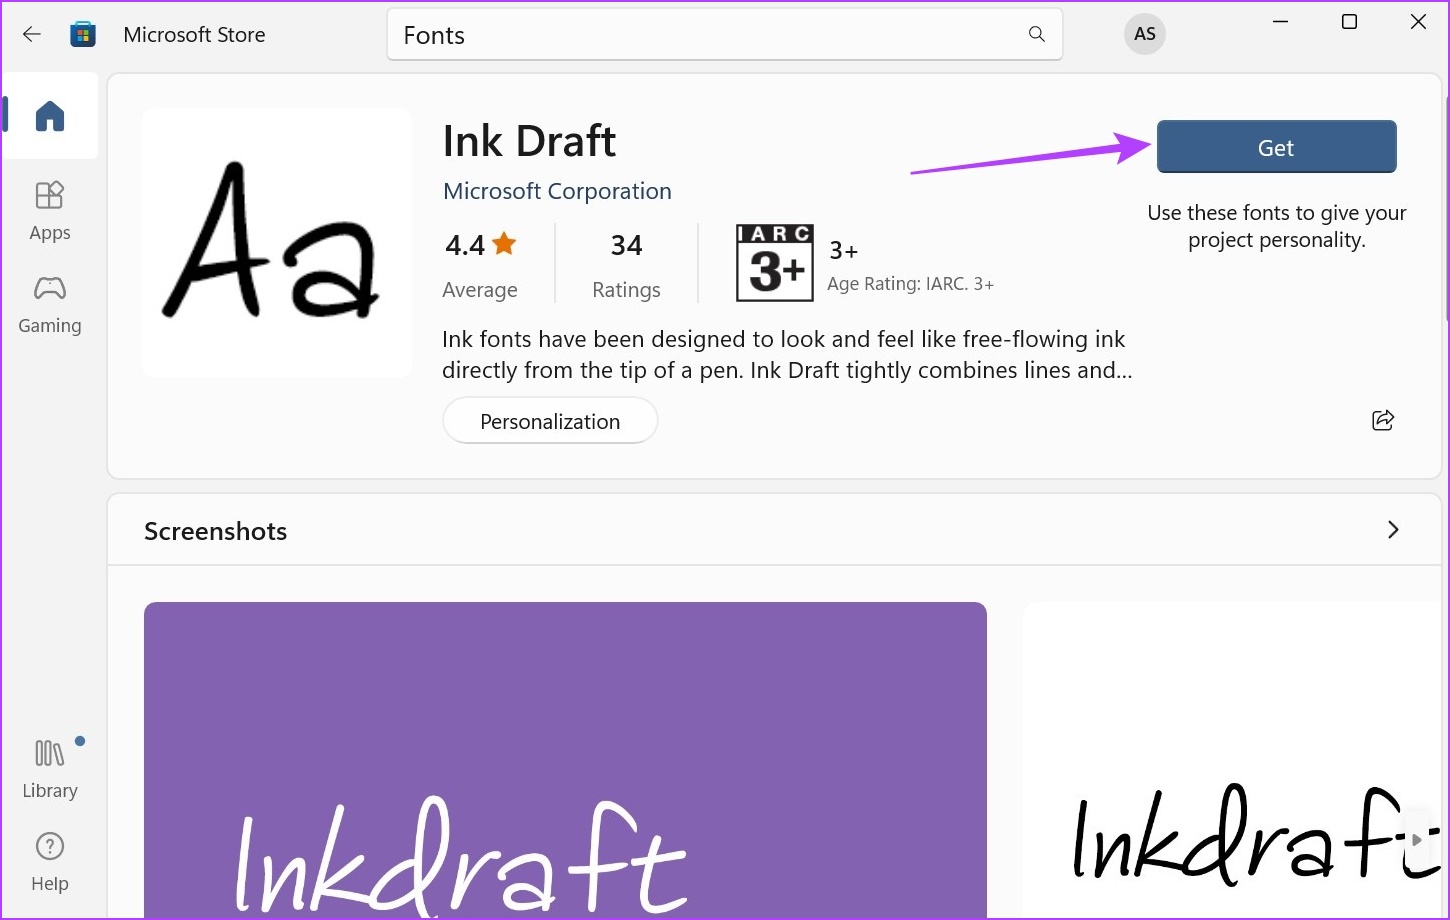
Step 6: From this page, click on the font that you want to add to Windows.

Step 7: Then, click on Get.
Step 8: Once downloaded, click on Open.

This will open the Fonts window once again. You can also check out our other article to know how to use these downloaded fonts as your system default.
Method 2: Install Windows 11 Fonts Using Third-Party Sites
While the Microsoft Store has a decent collection of fonts available, there are bound to be some fonts missing. To make up for that, you can use third-party sites to download and install fonts in Windows 11. Here’s how to do it.
Note: You can use different third-party sites like Google Fonts, DaFont, Ttf Fonts, and SkyFonts to install fonts in Windows 11. For demonstration purposes, we will be using Google Fonts.
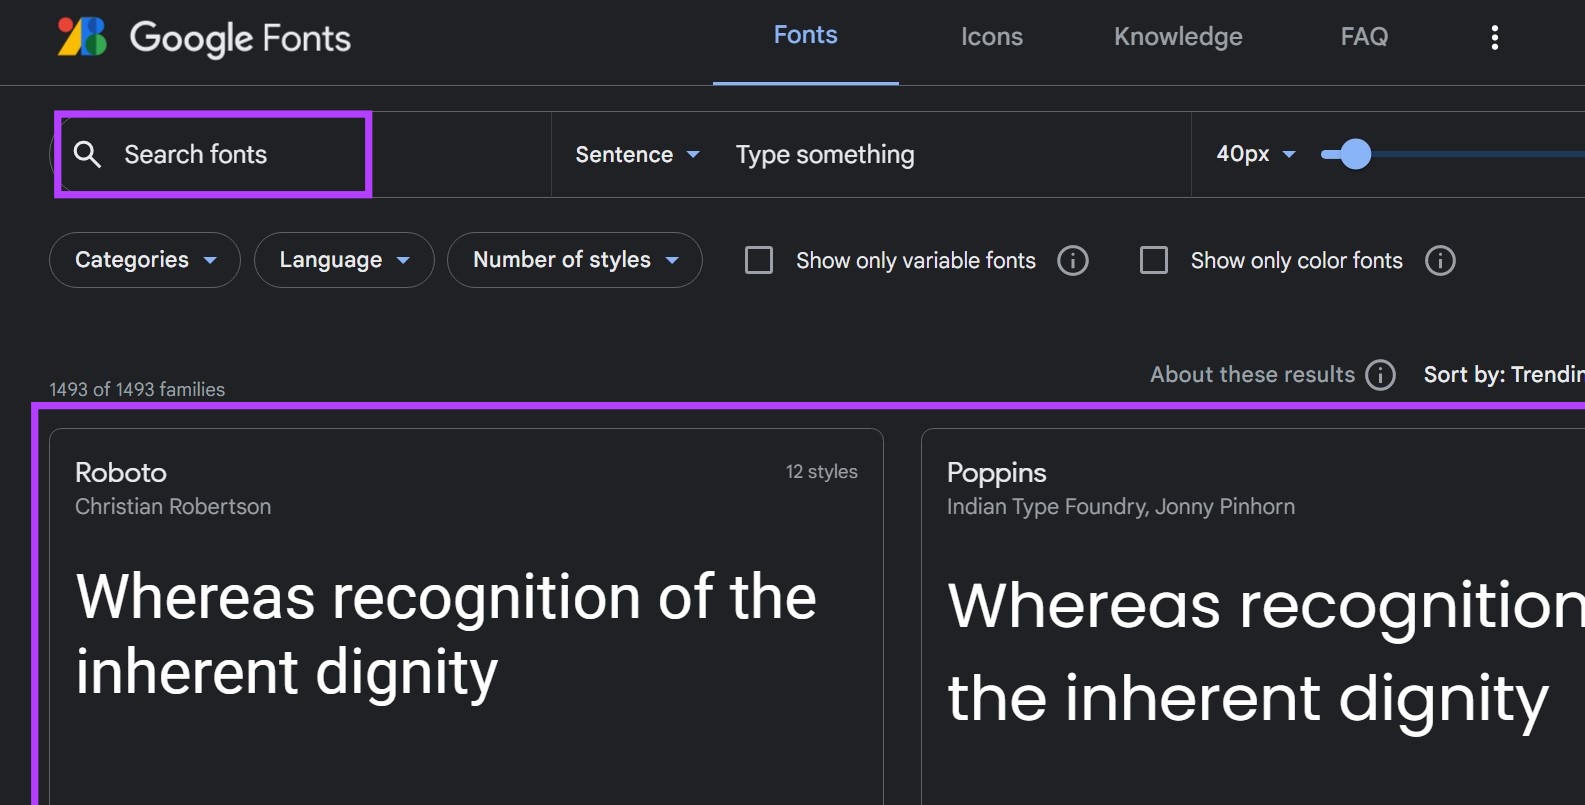
Step 1: Open Google Fonts on any browser.
Step 2: Here, either use the search bar to look for a specific font or click on it if it’s available on the main page.
Step 3: Once the relevant font opens, click on Download family.

Step 4: Go to the file download location and, if it’s a .zip file, extract its contents first. To do this, right-click on the .zip file.
Step 5: Then, click on Extract All.

Step 6: Select the destination and click on Extract. A separate window might open with the file contents.
Note: If a separate window does not open, go back to the download location page and manually click on the extracted file to open it.

Step 7: Now, minimize this window and go to your desktop. Right-click and select Personalize.
Step 8: In the Personalization page, scroll down and click on Fonts.
Step 9: Here, you can drag and drop fonts from the other window.

This will install the font in Windows 11 and make it available in the fonts setting.
How to Delete Installed Fonts in Windows 11
If your Fonts page is too overcrowded or you simply wish to do away with some fonts, you can also delete the installed fonts. Here’s how.
Step 1: Right-click on your desktop and click on Personalize.
Step 2: Then, scroll down and click on Fonts.
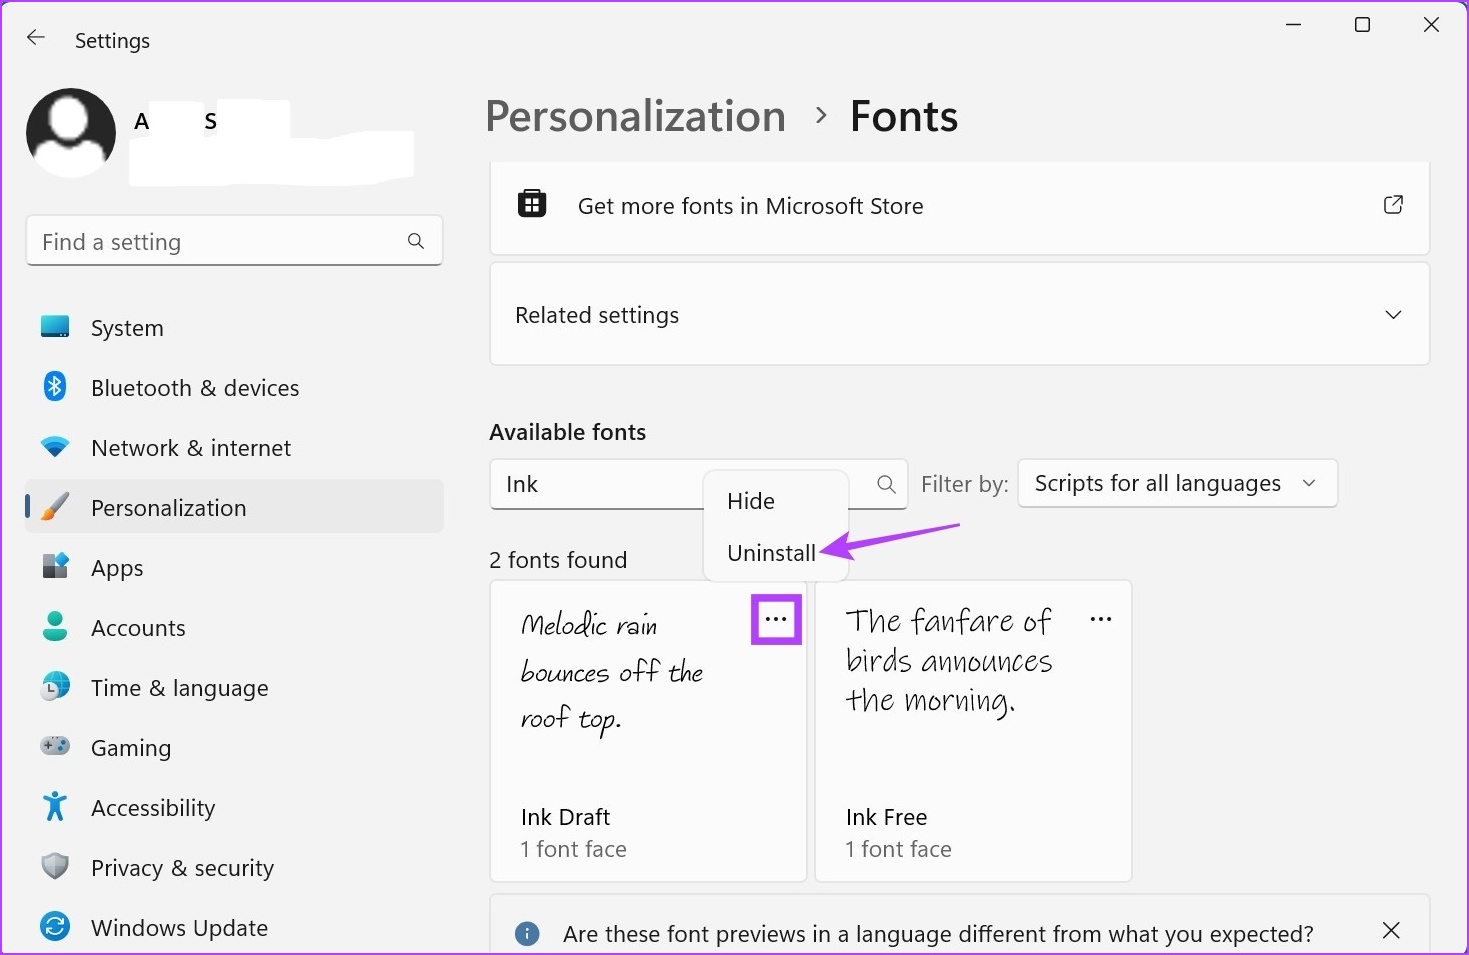
Step 3: Here, click on the search bar and type the name of the font you wish to delete. You can even scroll through this page to look for the relevant font.

Step 4: Once the font appears, click on the three-dot icon.
Step 5: Then, select Uninstall.
Step 6: Again, click on Uninstall.

This will delete the downloaded font from Windows 11.
FAQs for Installing Fonts in Windows 11
Yes, you can install multiple fonts at once in Windows 11. Simply bulk download the fonts from your preferred site and then use the Control + A keyboard shortcut to select all the fonts at once. Then, open the Fonts window using the above steps and drag and drop all the fonts into the ‘Browser and install fonts’ window. This will display all the fonts in the menu options. Then, select the fonts and change them as you deem fit.
While downloaded fonts are usually stored in the Windows 11 Downloads folder, they can be someplace else if the default download location has been previously changed. In this case, you can open the download list in your browser and manually go to the windows 11 font folder.
Install Fonts in Windows 11
These are all the ways you can install fonts in Windows 11. Use this to further personalize your Windows experience. If you want to further customize Windows, you can also check out how to change screen resolution in Windows 11.
Was this helpful?
Last updated on 21 March, 2023
1 Comment
Leave a Reply
Read Next
 7 Best Ways to Fix GIMP Not Showing New Fonts in Windows 10
When you add fonts in Windows PC, technically, they will be immediately available on all supported programs like Microsoft Word, Paint, Photoshop, and even GIMP.
7 Best Ways to Fix GIMP Not Showing New Fonts in Windows 10
When you add fonts in Windows PC, technically, they will be immediately available on all supported programs like Microsoft Word, Paint, Photoshop, and even GIMP.
 3 Best Ways to Identify Fonts in PDF Files in Windows 10
Fonts can make or break the reading experience for a reader.
3 Best Ways to Identify Fonts in PDF Files in Windows 10
Fonts can make or break the reading experience for a reader.
 2 Easy Ways to Add Fonts to Google Docs
In any document, selecting the right font is an important task.
2 Easy Ways to Add Fonts to Google Docs
In any document, selecting the right font is an important task.
 How to Add Fonts to Office Online
Note: The Microsoft account used on the PC and the web app must be the same for the downloaded fonts to work.
How to Add Fonts to Office Online
Note: The Microsoft account used on the PC and the web app must be the same for the downloaded fonts to work.
 4 Best Chrome Extensions to Identify Fonts on Web Pages
1.
4 Best Chrome Extensions to Identify Fonts on Web Pages
1.
 5 Best Tools to Extract Fonts from PDFs Online
You are reading a PDF file and like the font type.
5 Best Tools to Extract Fonts from PDFs Online
You are reading a PDF file and like the font type.
 4 Ways to Fix Unable to Install Programs or Software on Windows 11
Try Basic Fixes Check program compatibility: Programs and games that worked perfectly on Windows 10 may not necessarily be compatible with Windows 11.
4 Ways to Fix Unable to Install Programs or Software on Windows 11
Try Basic Fixes Check program compatibility: Programs and games that worked perfectly on Windows 10 may not necessarily be compatible with Windows 11.
 Windows 11: How to Fix Install Error 0x80070103
Fix 1: Pause and Resume Windows Updates Windows update install error 0x80070103 arises during the installation of updates when your system detects incompatible drivers or conflicting software.
Windows 11: How to Fix Install Error 0x80070103
Fix 1: Pause and Resume Windows Updates Windows update install error 0x80070103 arises during the installation of updates when your system detects incompatible drivers or conflicting software.
The article above may contain affiliate links which help support Guiding Tech. The content remains unbiased and authentic and will never affect our editorial integrity.


Excellent and easy ~ Perfect. Thank you!