Method 1. Using Crop to Shape
PowerPoint offers a native feature to change the shape of an image. Follow these steps to make a circular picture in PowerPoint:
Step 1: Open the PowerPoint presentation that contains the image you want to convert. Or insert the image in a PowerPoint slide.
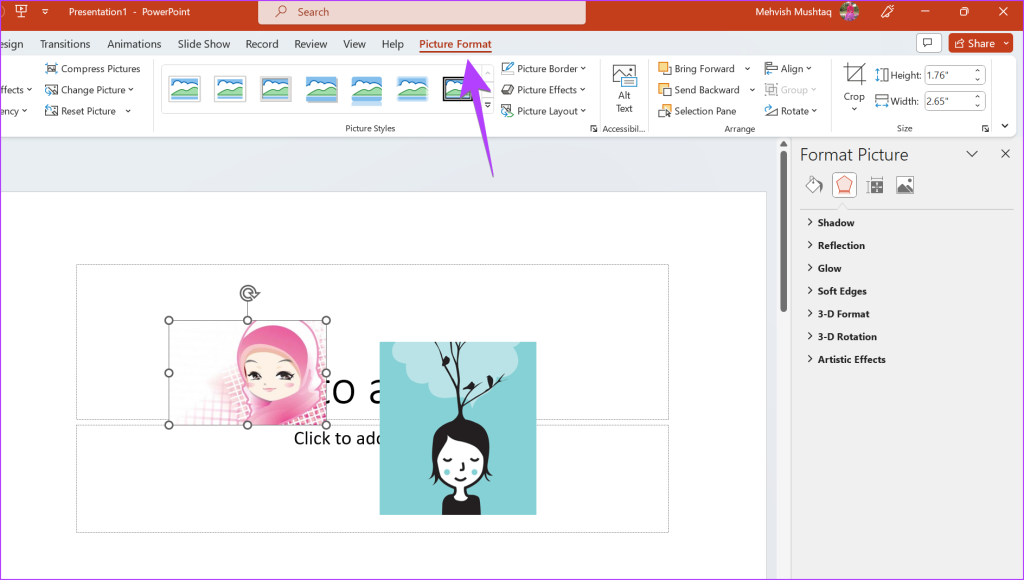
Step 2: A Picture Format tab should show up at the top. If it does not, double-click the picture once.
Step 3: In the Picture Format tab, click the Crop button at the right end of the ribbon.

Step 4: Select Crop to Shape. A menu will show up with a variety of shapes to choose from. Select a circle or oval shape from the list.

Note: If your original picture was of the appropriate aspect ratio, your picture will be cropped into a perfect circle. If not, follow the instructions to convert it into a circle.
Step 5:Click the small arrow under the Crop icon again. Choose Aspect Ratio followed by 1:1.
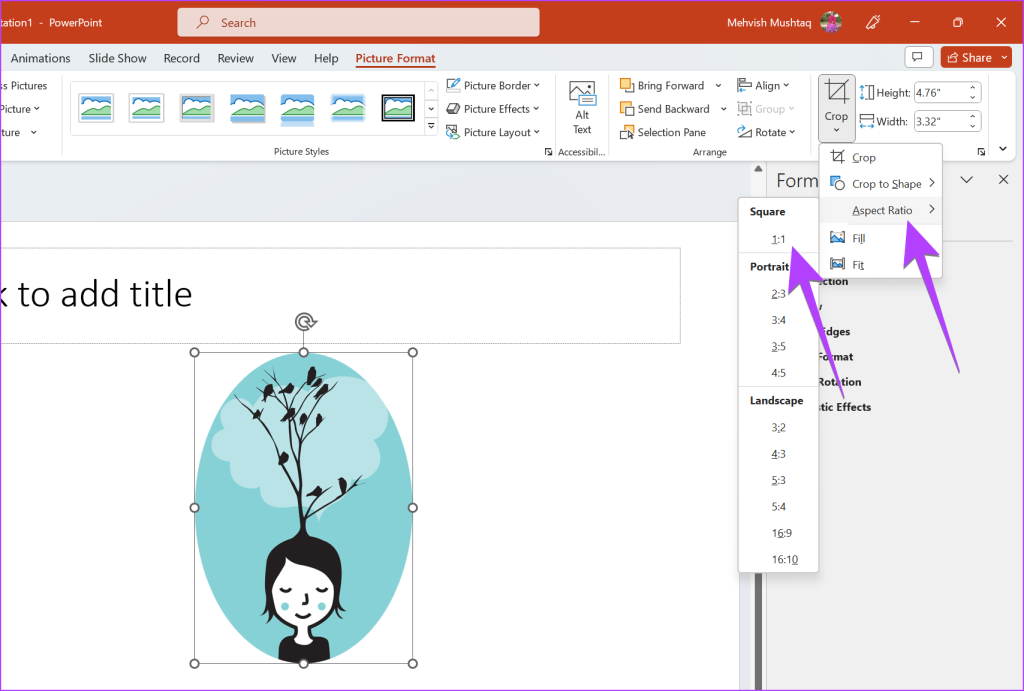
Step 6: Now, move the desired portion of the image into the circle. You can increase the size of the circle by dragging it using the black angle bars at its corner.
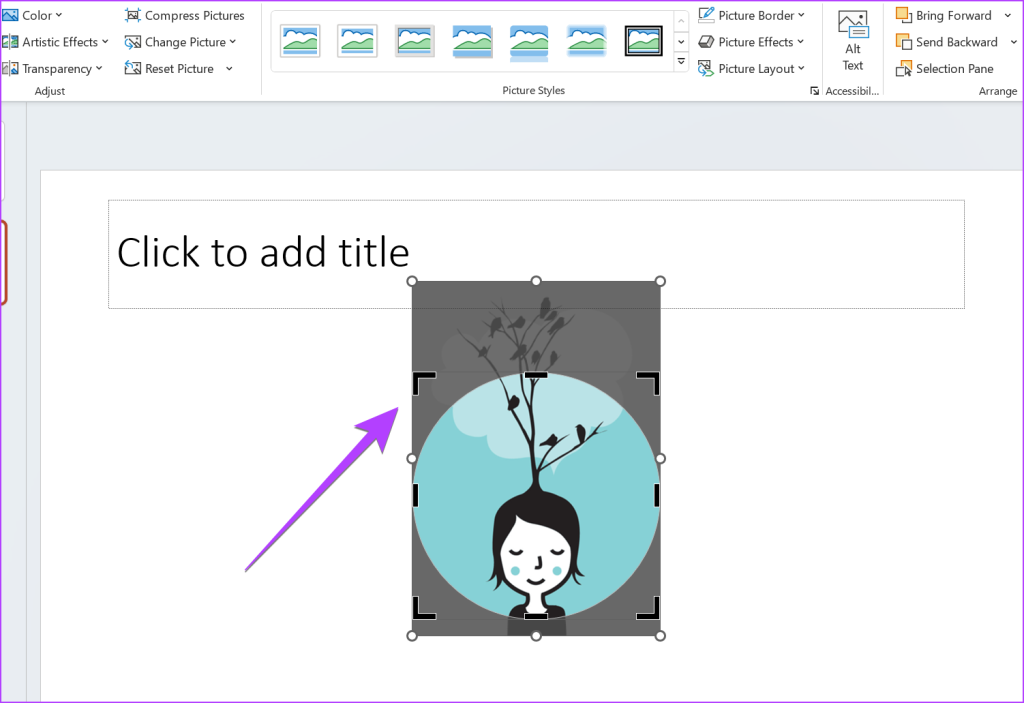
Step 7: When done, click anywhere outside the picture and your picture will be converted to a circle shape in PowerPoint.

Tip: If the above trick doesn’t work, change the picture’s aspect ratio first and then use the Crop to shape option to crop the picture to fit the circle.
Method 2. Using the Circle Shape
Another way to crop an image into a circle is by starting with a circle shape and then inserting an image into the shape instead of doing the other way round.
Step 1: Open the PowerPoint presentation. Click the Insert option in the top bar.
Step 2: Click Shapes and choose a circle shape from the list.

Step 3: Draw a circle on your slide using the mouse. Once done, right-click the newly created shape and select Fill.
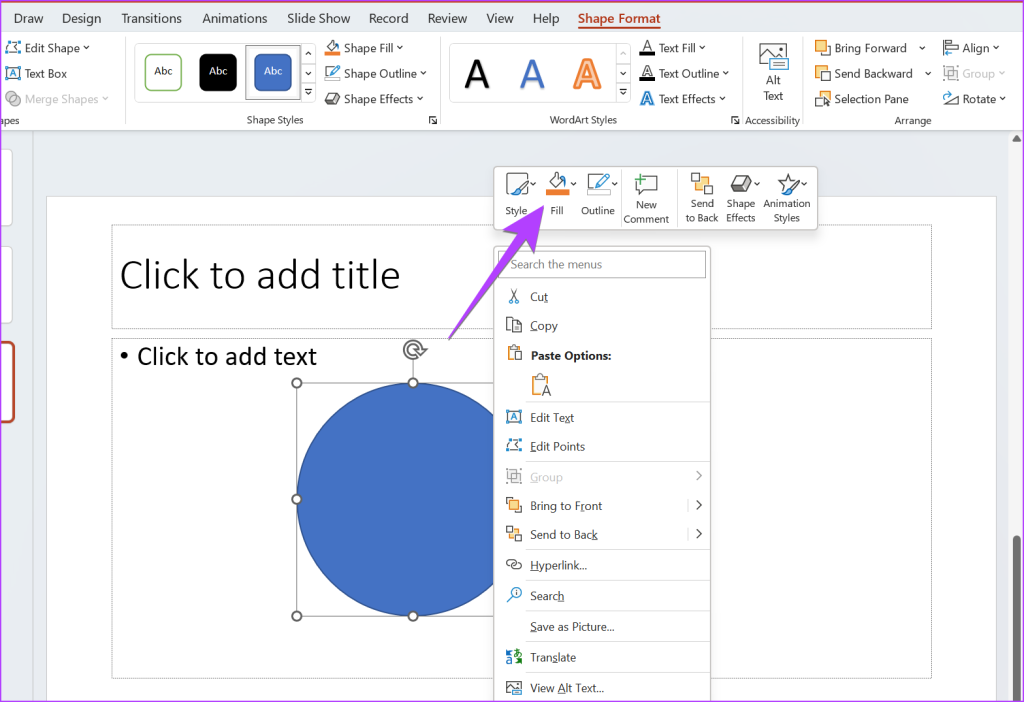
Step 4: Choose Picture from the menu.
Step 5: Select the image that you want to convert into a round shape.

That’s it. The picture will automatically be converted into the circular shape that you created. Notably, if your cropped picture has an outline around it and you don’t want that, right-click on the picture and select Outline. Choose No Outline.

Tip: You can also use the fit to shape tool in Google Slides, check out the link for further details.
Crop Multiple Images to Circle at Once
Method 1: Use Crop to Shape
If you want to crop multiple pictures into a circular shape in PowerPoint, you can do it using the first method itself. You just need to select all the pictures first. Here are the steps:
Step 1: Insert the desired pictures into your slide.
Step 2: Now, double-click any one of the images to select it. Make sure you see the Picture Format menu at the top.
Step 3: Then, press and hold the Ctrl button and click other pictures to select them.
Step 4: Once you have selected multiple images, click the arrow icon under the Crop option. Select Crop to Shape followed by circle shape.

All of the selected pictures will be cropped into an oval or circular shape. Now, you can edit them individually to the desired results.
Pro Tip: Know how to add watermark to PowerPoint slides.
Method 2. Use Picture Layout
In this method, you need to select your images and use the Picture Layout feature to convert selected images into a round shape.
Step 1: In your PowerPoint presentation, click one of the images to select it. Next, press and hold the Ctrl button and select other pictures by clicking on them.
Step 2: Now, click the Picture Layout option in the Picture Format menu at the top. Select the circular shape layout from the list

Step 3: Your selected pictures will be turned into a circle shape.
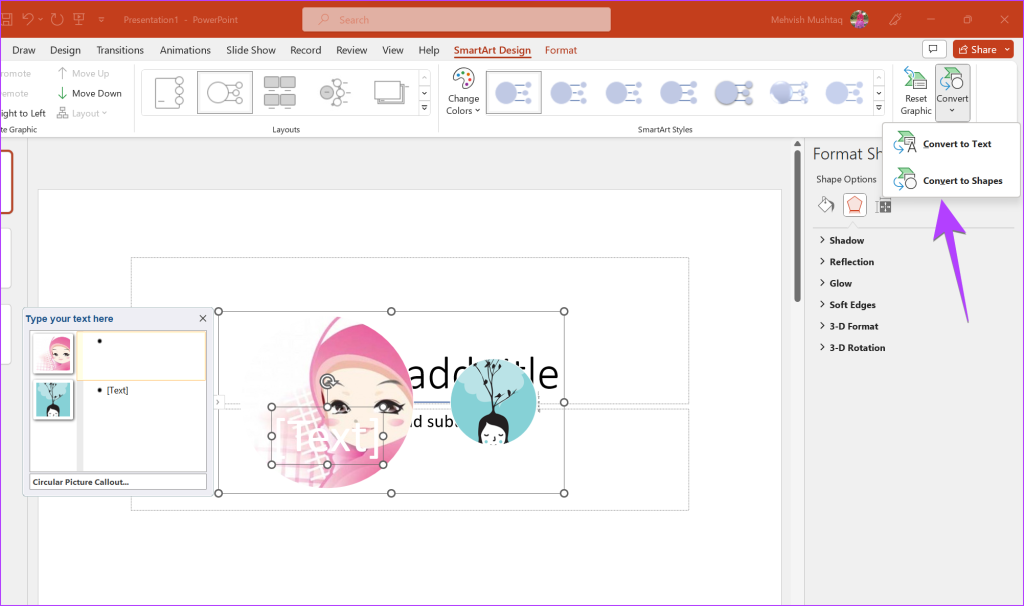
However, if you try to move these circular images, you might notice that you cannot move them out of a certain range. To fix that, double-click the circular picture and click Convert in the SmartArt Design toolbar and select Convert to shape.
However, if your requirements aren’t met, you can crop pictures into shapes online or use Canva to crop a picture into a circle shape.
FAQs on Cropping Pictures to Circle in PowerPoint
Double-click the picture to open the Picture Format toolbar at the top. Click Picture Border. Select the desired color and border style from the available options.
Right-click the picture and select Format Picture from the menu. Go to the Image tab in the right panel and select Crop. Enter the size according to which you want to crop the image.
Was this helpful?
Last updated on 21 August, 2024
Read Next
 How to Crop an Image in Circle Shape in Paint 3D
Cropping an image is one of the basic needs while editing a picture.
How to Crop an Image in Circle Shape in Paint 3D
Cropping an image is one of the basic needs while editing a picture.
 How to Crop an Image into Circle in GIMP
In any photo editing app, the crop tool is the most useful one to remove unnecessary portions from an image.
How to Crop an Image into Circle in GIMP
In any photo editing app, the crop tool is the most useful one to remove unnecessary portions from an image.
 How to Crop an Image Into a Circle in Google Docs
https://youtu.be/GXKSMp_yIY0 How to Crop an Image Into a Circle in Google Docs Step 1: Launch Google Docs and open a document.
How to Crop an Image Into a Circle in Google Docs
https://youtu.be/GXKSMp_yIY0 How to Crop an Image Into a Circle in Google Docs Step 1: Launch Google Docs and open a document.
 How to Enable or Disable Picture-in-Picture Mode on iPhone and iPad
Enable Automatic Picture-in-Picture Mode on iPhone and iPad If your iPhone or iPad doesn't automatically open videos in Picture-in-Picture mode when quitting to the Home screen, it's likely that your
How to Enable or Disable Picture-in-Picture Mode on iPhone and iPad
Enable Automatic Picture-in-Picture Mode on iPhone and iPad If your iPhone or iPad doesn't automatically open videos in Picture-in-Picture mode when quitting to the Home screen, it's likely that your
 Top 6 Fixes for Facetime Picture-in-Picture Not Working on iPhone & iPad
With the Picture-in-Picture (PiP) mode, multitasking is easy on iPhone and iPad.
Top 6 Fixes for Facetime Picture-in-Picture Not Working on iPhone & iPad
With the Picture-in-Picture (PiP) mode, multitasking is easy on iPhone and iPad.
 4 Ways to Fix the iPhone Picture-in-Picture Not Working
Before you begin, try restarting your iPhone, and update the app you are trying to use picture-in-picture with, to the latest version.
3 Ways to Fix Prime Video Picture-in-Picture Not Working on Android and iPhone
Basic Fixes Restart Prime Video: Restart the Prime Video app and your smartphone to eliminate bugs and glitches.
4 Ways to Fix the iPhone Picture-in-Picture Not Working
Before you begin, try restarting your iPhone, and update the app you are trying to use picture-in-picture with, to the latest version.
3 Ways to Fix Prime Video Picture-in-Picture Not Working on Android and iPhone
Basic Fixes Restart Prime Video: Restart the Prime Video app and your smartphone to eliminate bugs and glitches.
 3 Fixes for Picture-in-Picture Not Working in Telegram
Basic Fixes Force quit and relaunch Telegram: This will give the app a fresh start on your iPhone or Android phone.
3 Fixes for Picture-in-Picture Not Working in Telegram
Basic Fixes Force quit and relaunch Telegram: This will give the app a fresh start on your iPhone or Android phone.
The article above may contain affiliate links which help support Guiding Tech. The content remains unbiased and authentic and will never affect our editorial integrity.