If your PC is a bit too loud even when you don’t have any demanding programs running, here are some methods on how to control fan speed in Windows 11 PCs that can normalize that. This can bring down the noise to a more manageable level by placing a limit on how much the fan works.
Option 1: How to Control Fan Speed in Windows 11 With BIOS/UEFI Changes
Your BIOS may have power management settings that directly impacts the fan speed. Note that the exact settings will depend on your motherboard make and model.
Step 1. You can enter BIOS by restarting your PC, then pressing the button on the screen that leads to “BIOS/UEFI Setup.” Alternatively, you can go to “Advanced startup settings” on your PC, then hit “Restart now.” When your Windows starts in the blue Windows Recovery Environment, pick “Troubleshoot,” then “Advanced options,” then “UEFI firmware settings.”
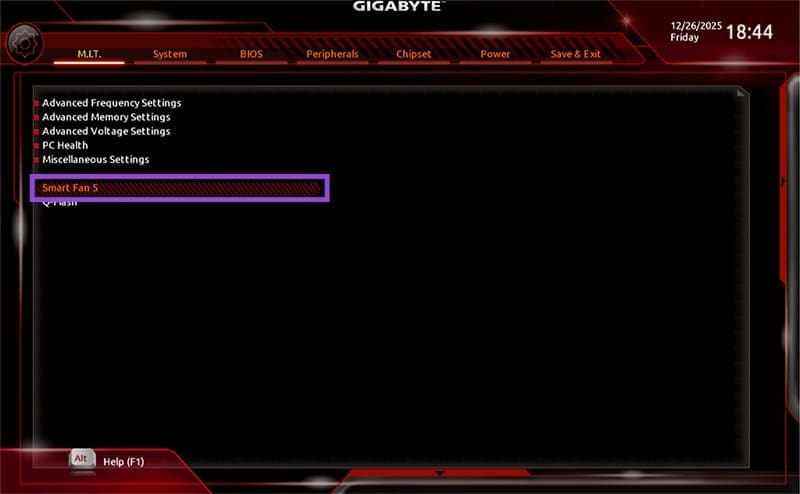
Step 2. In the BIOS, locate fan-related configurations under menus like “Smart Fan,” “Monitor,” “Overclocking,” “Advanced,” or even “PC Health.”
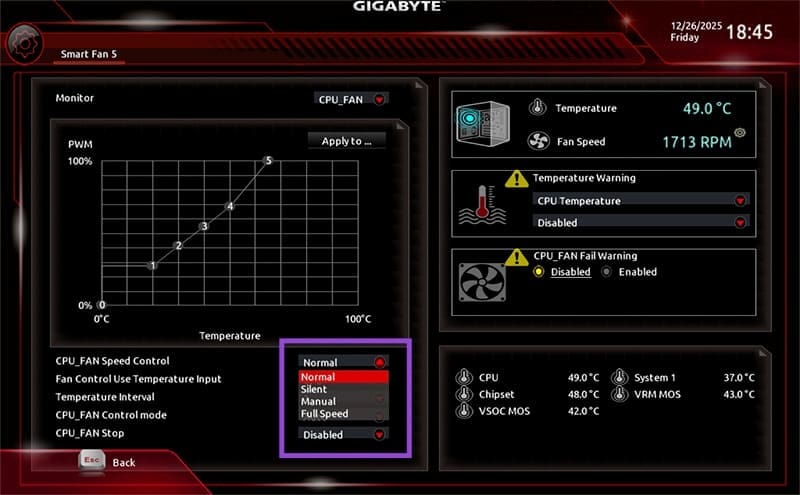
Step 3. Notably, you might not get an exact speed measure, but options such as “Silent,” “Standard,” or “Turbo.” Select the one you want. You may have other options available which you can check out.
Step 4. Click on “Save & Exit” and confirm the choice.
Option 2: Windows How to Control Fan Speed via Third-Party Tools
A third party tool like FanControl or SpeedFan can offer similar features as BIOS settings while having a more intuitive interface. SpeedFan is generally more useful for older motherboards as it hasn’t been updated in a while, but FanControl receives regular updates.
Step 1. Go to FanControl’s GitHub page and download the latest installer version (the .exe file).
Step 2. Follow the installation instructions. You may need to download .NET (which you’ll be automatically prompted for).
Step 3. Run the app and go through the first-time setup.
Step 4. The UI will depend on your hardware and it may be minimalist if the tool doesn’t detect a lot of compatible controls. You can use it to set the fan speed.

Option 3: Use Your Motherboard’s Dedicated Tool
In some cases, a motherboard manufacturer will release a dedicated OEM tool to provide you a greater level of control over your device. This can include advanced power options which you can use to learn how to control fan speed in Windows.
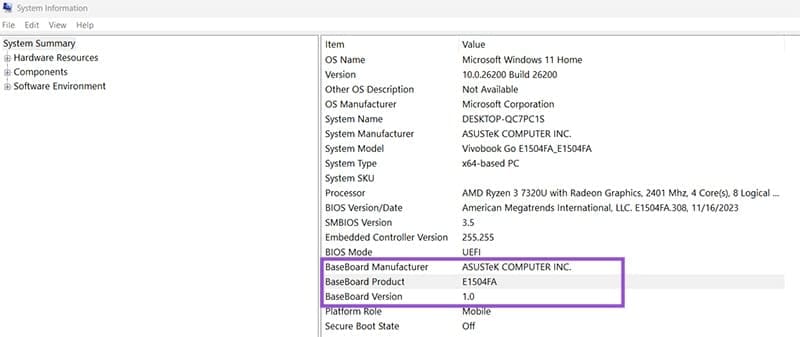
Step 1. Find your motherboard’s make and model under “System Information” (by searching for that in the search bar). It will be listed under BaseBoard.
Step 2. Search for your motherboard’s manufacturer online. If you find a dedicated support and control tool, download it.
Step 3. Follow the manufacturer instructions to set up advanced fan controls if able.
Was this helpful?
Last updated on 30 December, 2025
Read Next
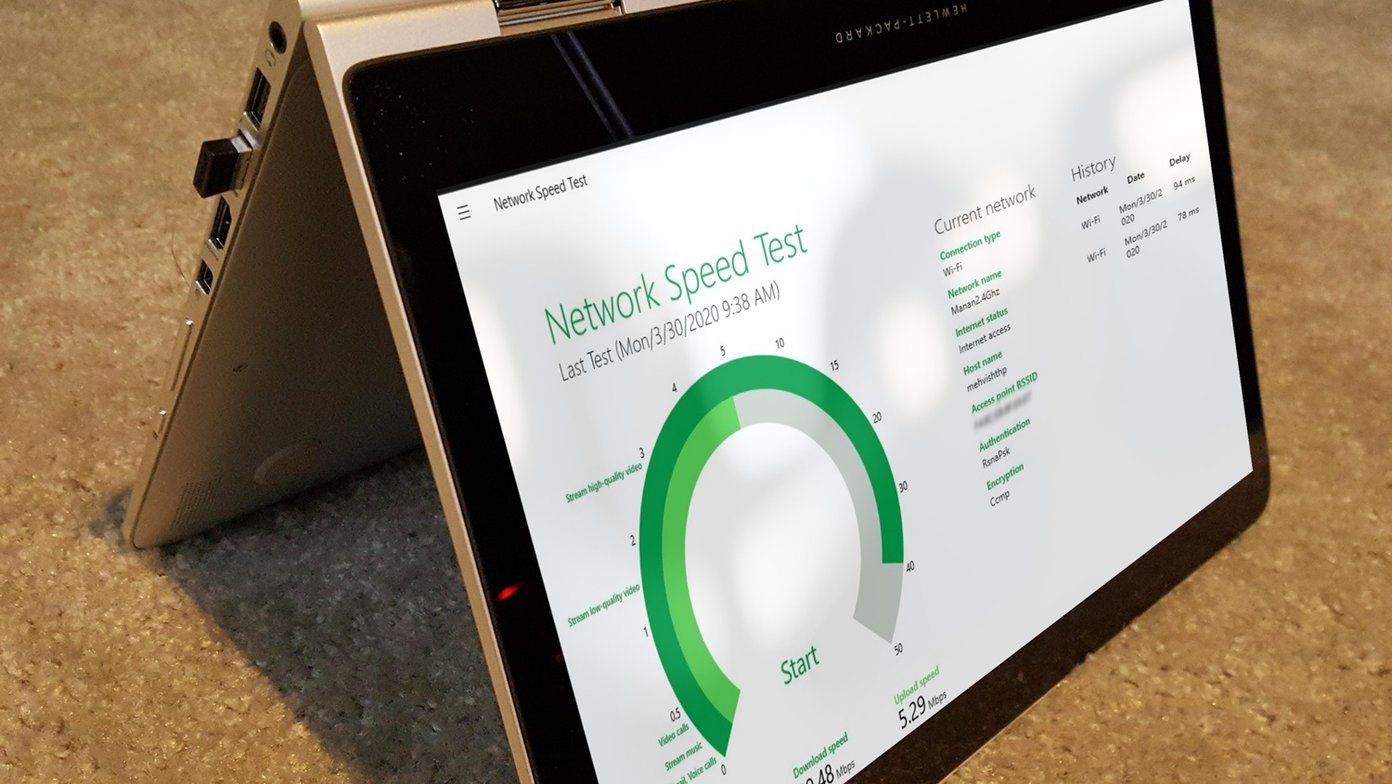 5 Best Internet Speed Meter Apps for Windows 10 PC
Typically, when we want to check our internet speed, we do it using a speed test website.
5 Best Internet Speed Meter Apps for Windows 10 PC
Typically, when we want to check our internet speed, we do it using a speed test website.
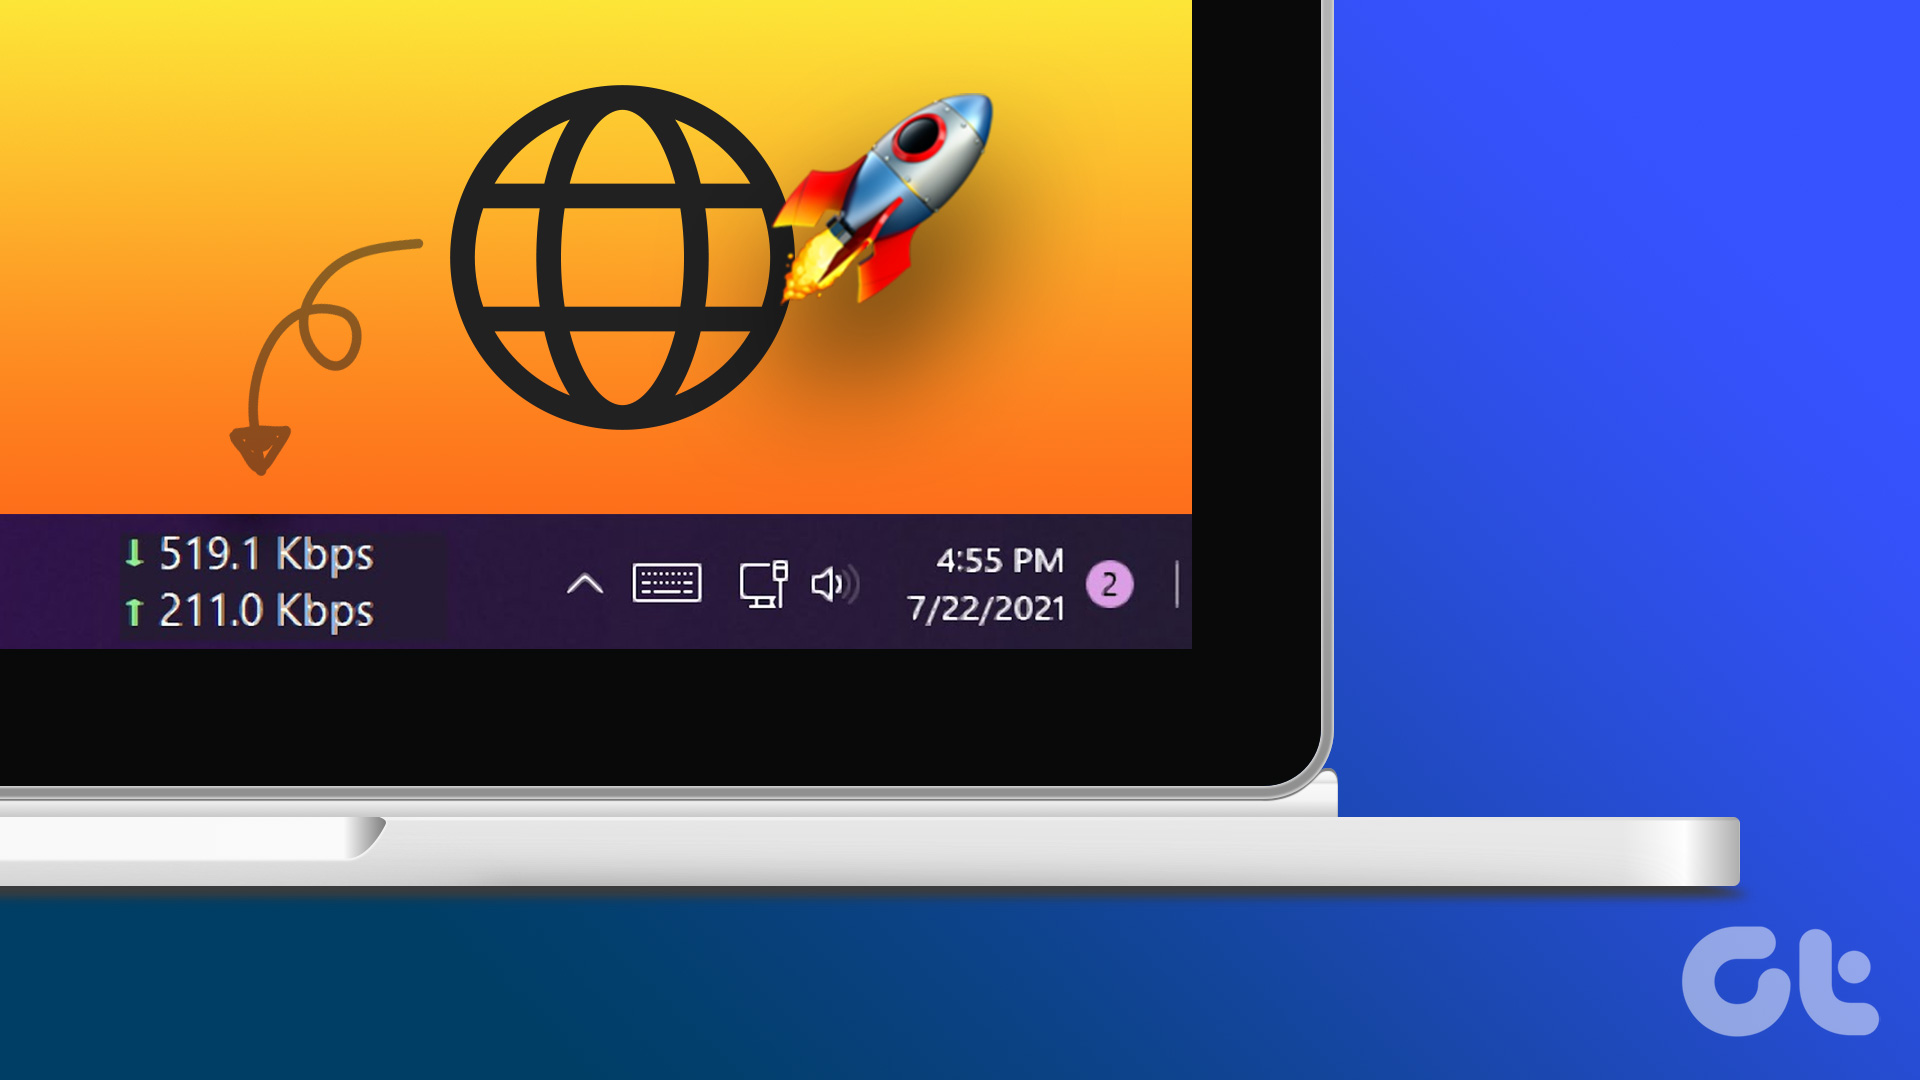 How to Display Internet Speed on Taskbar in Windows
https://youtu.be/m62gwMYvYVk Download Internet Speed Meter for Windows for Real-Time Monitoring To show internet speed in the taskbar on Windows, you will have to download a dedicated app known as NetSpeedMonitor.
How to Display Internet Speed on Taskbar in Windows
https://youtu.be/m62gwMYvYVk Download Internet Speed Meter for Windows for Real-Time Monitoring To show internet speed in the taskbar on Windows, you will have to download a dedicated app known as NetSpeedMonitor.
 How to Speed up Thumbnail Loading in Windows 10
Haven’t we all gone through the experience where you sat down to show your recent vacation pictures to your friends, and just as you click on the folder the thumbnails
How to Speed up Thumbnail Loading in Windows 10
Haven’t we all gone through the experience where you sat down to show your recent vacation pictures to your friends, and just as you click on the folder the thumbnails
 8 Ways to Fix Slow Internet Speed on Windows 11
https://youtu.be/JSqfxm-5XZI Fix 1: Turn Off the Metered Connection Setting your internet connection as metered on Windows can prevent apps from using the internet proficiently, leading to slow internet speeds.
8 Ways to Fix Slow Internet Speed on Windows 11
https://youtu.be/JSqfxm-5XZI Fix 1: Turn Off the Metered Connection Setting your internet connection as metered on Windows can prevent apps from using the internet proficiently, leading to slow internet speeds.
 4 Ways to Fix Slow Download Speed in Epic Games Launcher on Windows 11
https://youtu.be/w8E4d-rCMUQ Basic Fixes: Check the Epic Server Status: Epic Games Launcher also relies on multiple servers to operate, and It’s possible that a server might be out of order or
4 Ways to Fix Slow Download Speed in Epic Games Launcher on Windows 11
https://youtu.be/w8E4d-rCMUQ Basic Fixes: Check the Epic Server Status: Epic Games Launcher also relies on multiple servers to operate, and It’s possible that a server might be out of order or
 3 Ways to Check Network Adapter Speed on Windows 11
Method 1: Using the Settings App Besides displaying the network adapter speed, the Settings app also provides information about other connection aspects, such as the network band, MAC address, and
3 Ways to Check Network Adapter Speed on Windows 11
Method 1: Using the Settings App Besides displaying the network adapter speed, the Settings app also provides information about other connection aspects, such as the network band, MAC address, and
 How to Speed Up Your PC (Windows 11)
If your PC feels like it’s taking forever to open apps or load websites, you’re not alone.
How to Speed Up Your PC (Windows 11)
If your PC feels like it’s taking forever to open apps or load websites, you’re not alone.
 File Transfer Speed Drops to Zero in Windows – What to Do
File transfer speeds dropping to zero is a common issue in Windows, and there are several reasons why this happens.
File Transfer Speed Drops to Zero in Windows – What to Do
File transfer speeds dropping to zero is a common issue in Windows, and there are several reasons why this happens.
The article above may contain affiliate links which help support Guiding Tech. The content remains unbiased and authentic and will never affect our editorial integrity.