How to Change the Default Font on Windows 11
Windows 11 comes pre-installed with a wide range of fonts. To use one of these fonts, you must know its name. Here’s how you can view the available fonts on Windows 11.
Step 1: Press the Windows key + I to open the Settings app and head to Personalization > Fonts.
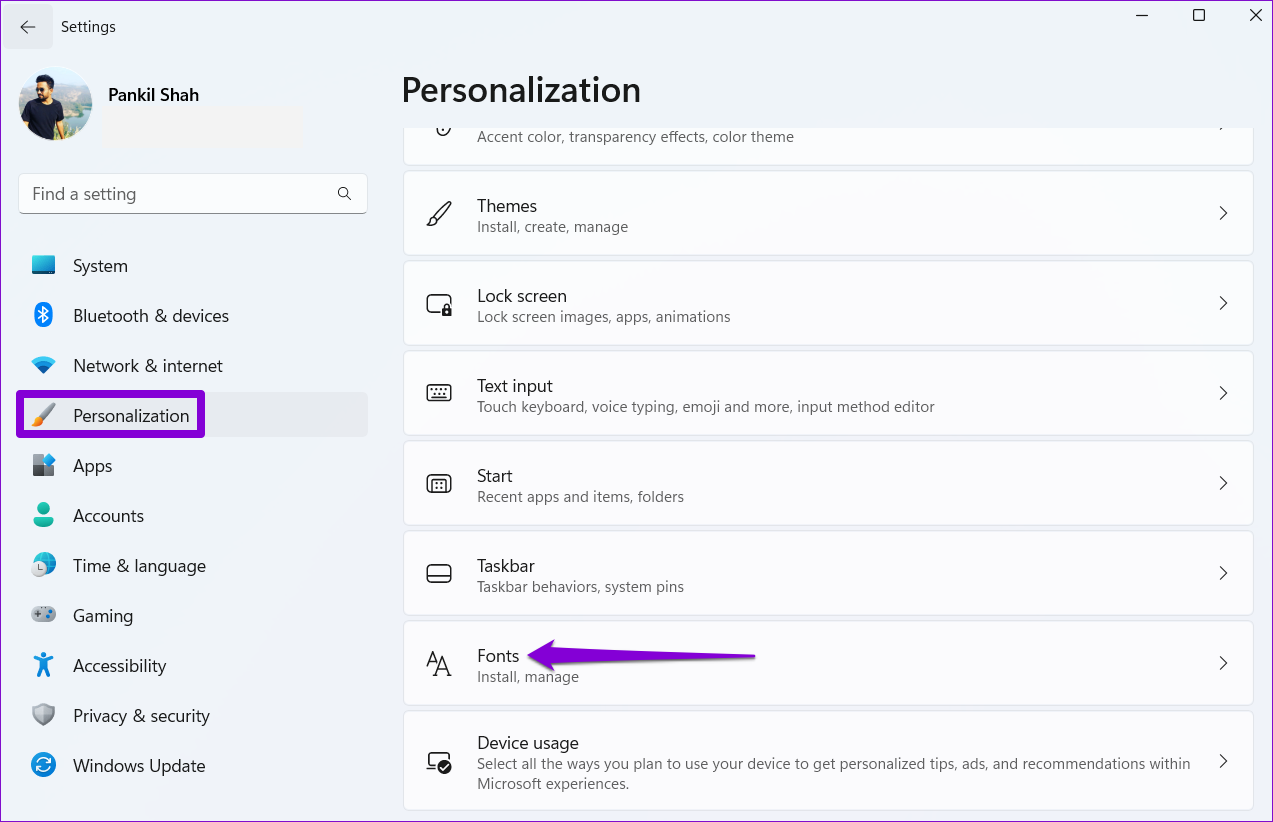
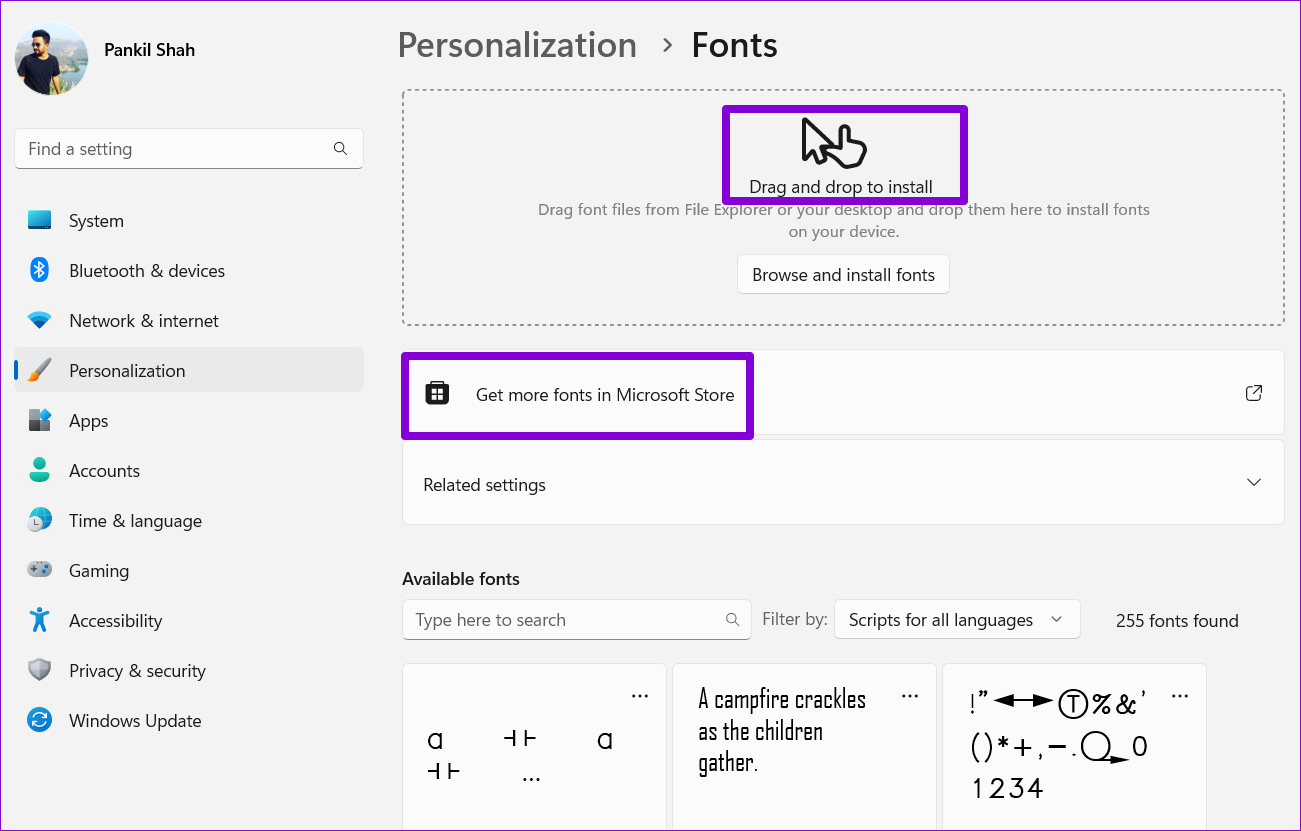
Step 2: Under Available fonts, you’ll see a list of fonts installed on your PC. Note down the name of the font you’d like to use. You can also install new fonts by dragging and dropping the TTF files or downloading them from the Microsoft Store.
Once you have the name of the font you want to use, here’s how you can create a registry file to set it as the default system font on Windows 11.
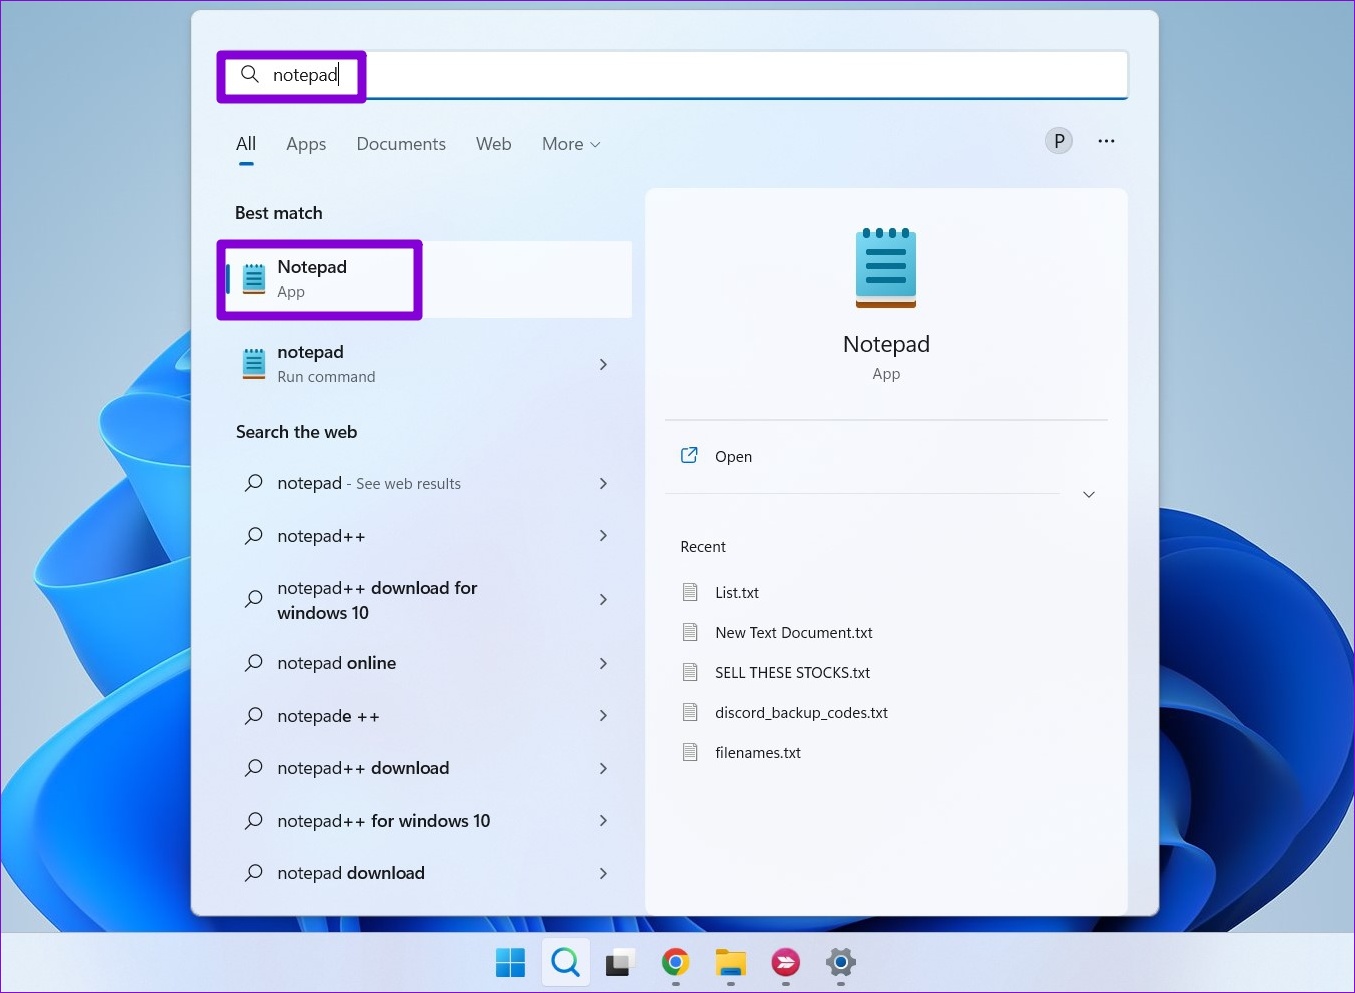
Step 1: Press the Windows key + S to open the search menu. Type notepad and press Enter.
Step 2: Paste the following code in the text editor window.
Windows Registry Editor Version 5.00

[HKEY_LOCAL_MACHINE\SOFTWARE\Microsoft\Windows NT\CurrentVersion\Fonts]
"Segoe UI (TrueType)"=""
"Segoe UI Bold (TrueType)"=""
"Segoe UI Bold Italic (TrueType)"=""
"Segoe UI Italic (TrueType)"=""
"Segoe UI Light (TrueType)"=""
"Segoe UI Semibold (TrueType)"=""
"Segoe UI Symbol (TrueType)"=""

[HKEY_LOCAL_MACHINE\SOFTWARE\Microsoft\Windows NT\CurrentVersion\FontSubstitutes]

"Segoe UI"="FONT-NAME"
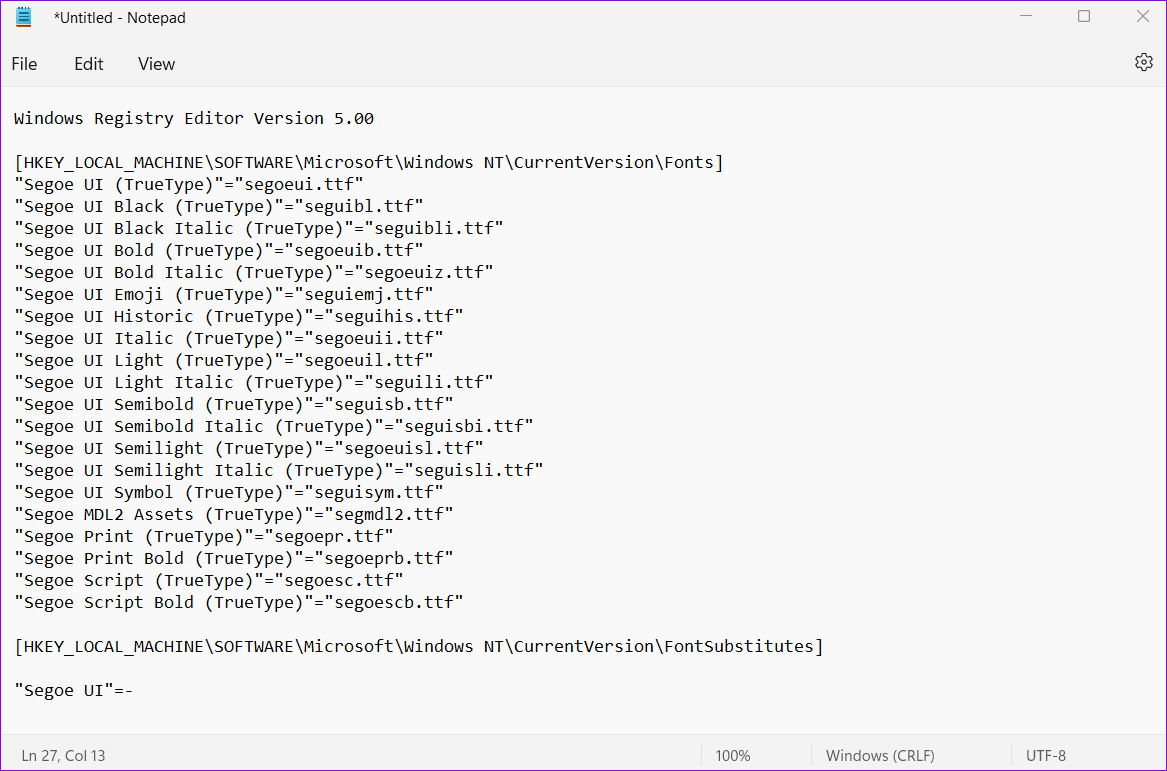
Replace FONT-NAME in the above code with the actual name of the font noted earlier. Here’s an example of how it would look:

Step 3: Click the File menu at the top and select Save as.

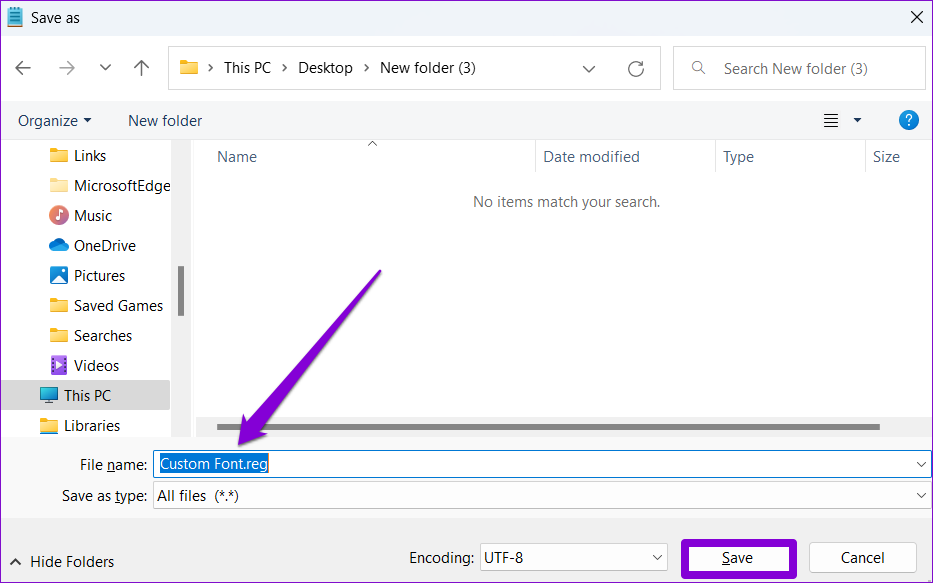
Step 4: In the Save as window, use the drop-down menu next to Save as type and select All files.
Step 5: In the File name field, type a suitable name for the file, followed by the .reg extension. If you want to name your file Custom Font, for instance, type Custom Font.reg in the File name box. Then, hit Save.
Step 6: Navigate to the newly created registry file on your PC, right-click on it, and select Open.

Step 7: Click on Yes when the Registry Editor prompt appears.
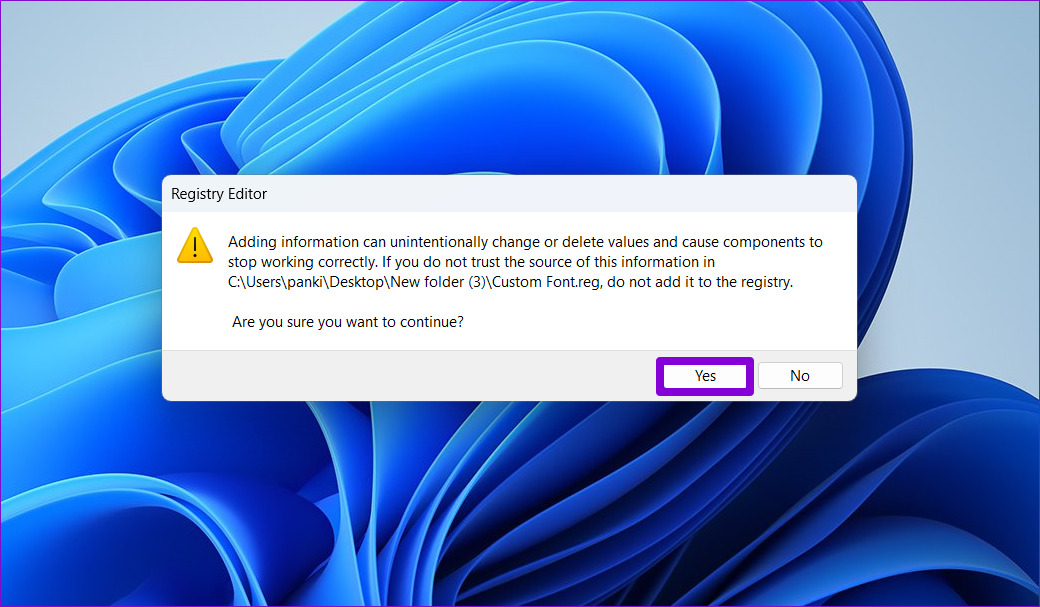
Restart your PC after this, and Windows will change the default system fonts.
How to Restore Default System Font on Windows 11
If you ever want to revert to the default system font—Segoe UI Variable—you can do so by creating a new registry file. Here’s how.
Step 1: Open a notepad window using the search menu.
Step 2: In the text editor window, paste the following command.
Windows Registry Editor Version 5.00

[HKEY_LOCAL_MACHINE\SOFTWARE\Microsoft\Windows NT\CurrentVersion\Fonts]
"Segoe UI (TrueType)"="segoeui.ttf"
"Segoe UI Black (TrueType)"="seguibl.ttf"
"Segoe UI Black Italic (TrueType)"="seguibli.ttf"
"Segoe UI Bold (TrueType)"="segoeuib.ttf"
"Segoe UI Bold Italic (TrueType)"="segoeuiz.ttf"
"Segoe UI Emoji (TrueType)"="seguiemj.ttf"
"Segoe UI Historic (TrueType)"="seguihis.ttf"
"Segoe UI Italic (TrueType)"="segoeuii.ttf"
"Segoe UI Light (TrueType)"="segoeuil.ttf"
"Segoe UI Light Italic (TrueType)"="seguili.ttf"
"Segoe UI Semibold (TrueType)"="seguisb.ttf"
"Segoe UI Semibold Italic (TrueType)"="seguisbi.ttf"
"Segoe UI Semilight (TrueType)"="segoeuisl.ttf"
"Segoe UI Semilight Italic (TrueType)"="seguisli.ttf"
"Segoe UI Symbol (TrueType)"="seguisym.ttf"
"Segoe MDL2 Assets (TrueType)"="segmdl2.ttf"
"Segoe Print (TrueType)"="segoepr.ttf"
"Segoe Print Bold (TrueType)"="segoeprb.ttf"
"Segoe Script (TrueType)"="segoesc.ttf"
"Segoe Script Bold (TrueType)"="segoescb.ttf"

[HKEY_LOCAL_MACHINE\SOFTWARE\Microsoft\Windows NT\CurrentVersion\FontSubstitutes]

"Segoe UI"=-
Step 3: Press Ctrl + Shift + S to open the Save as window.
Step 4: Use the drop-down menu next to Save as type to select All files. Type a suitable name for the file, followed by the.REG extension. Then, hit Save.

Step 5: Locate and double-click on the newly created registry file on your PC. Click on Yes when the Registry Editor prompt appears.

Reboot your PC and Windows will switch back to the system default font.
Was this helpful?
Last updated on 26 July, 2024
Read Next
 How to Change Default Font, Size, and Spacing in Google Docs
Change Default Text Font Type, Size, and Spacing in Google Docs You may believe the default text is too small, and the 1.15 spacing is a bit wider than you
How to Change Default Font, Size, and Spacing in Google Docs
Change Default Text Font Type, Size, and Spacing in Google Docs You may believe the default text is too small, and the 1.15 spacing is a bit wider than you
 How to Change Default Font in Google Sheets: 3 Easy Ways
Google Sheets is a powerful spreadsheet application that allows you to create and edit spreadsheets on the go.
How to Change Default Font in Google Sheets: 3 Easy Ways
Google Sheets is a powerful spreadsheet application that allows you to create and edit spreadsheets on the go.
 How to Change Font Style in Microsoft Outlook
Change Font Style in Microsoft Outlook App for Windows Outlook Windows app doesn’t use plain text and opts for HTML to draft a message.
How to Change Font Style in Microsoft Outlook
Change Font Style in Microsoft Outlook App for Windows Outlook Windows app doesn’t use plain text and opts for HTML to draft a message.
 How to Change Font Style in Gmail on Web and Mobile
Change Default Text Style in Gmail on Web The compose menu in Gmail on the Web offers several formatting tools to change an email's text look and style.
How to Change Font Style in Gmail on Web and Mobile
Change Default Text Style in Gmail on Web The compose menu in Gmail on the Web offers several formatting tools to change an email's text look and style.
 2 Ways to Change SMS and iMessage Color and Font on iPhone or iPad
What Does the Standard Message Color Represent The message bubbles are available in three different colors.
2 Ways to Change SMS and iMessage Color and Font on iPhone or iPad
What Does the Standard Message Color Represent The message bubbles are available in three different colors.
 How to Change Font Style in Notes App on iPhone, iPad and Mac
Change Font Style in Notes App on iPhone and iPad Let's first show you how to change the font style of your notes in the Notes app on your iPhone
How to Change Font Style in Notes App on iPhone, iPad and Mac
Change Font Style in Notes App on iPhone and iPad Let's first show you how to change the font style of your notes in the Notes app on your iPhone
 How to Change Font Style and Size in Apple Mail App
Change Font Style in Apple Mail on Mac Step 1: Open the Mail app > compose a new message.
How to Change Font Style and Size in Apple Mail App
Change Font Style in Apple Mail on Mac Step 1: Open the Mail app > compose a new message.
 Top 9 Ways to Fix Unable to Change Default Programs in Windows 10
The apps offered by Microsoft are great.
Top 9 Ways to Fix Unable to Change Default Programs in Windows 10
The apps offered by Microsoft are great.
The article above may contain affiliate links which help support Guiding Tech. The content remains unbiased and authentic and will never affect our editorial integrity.

