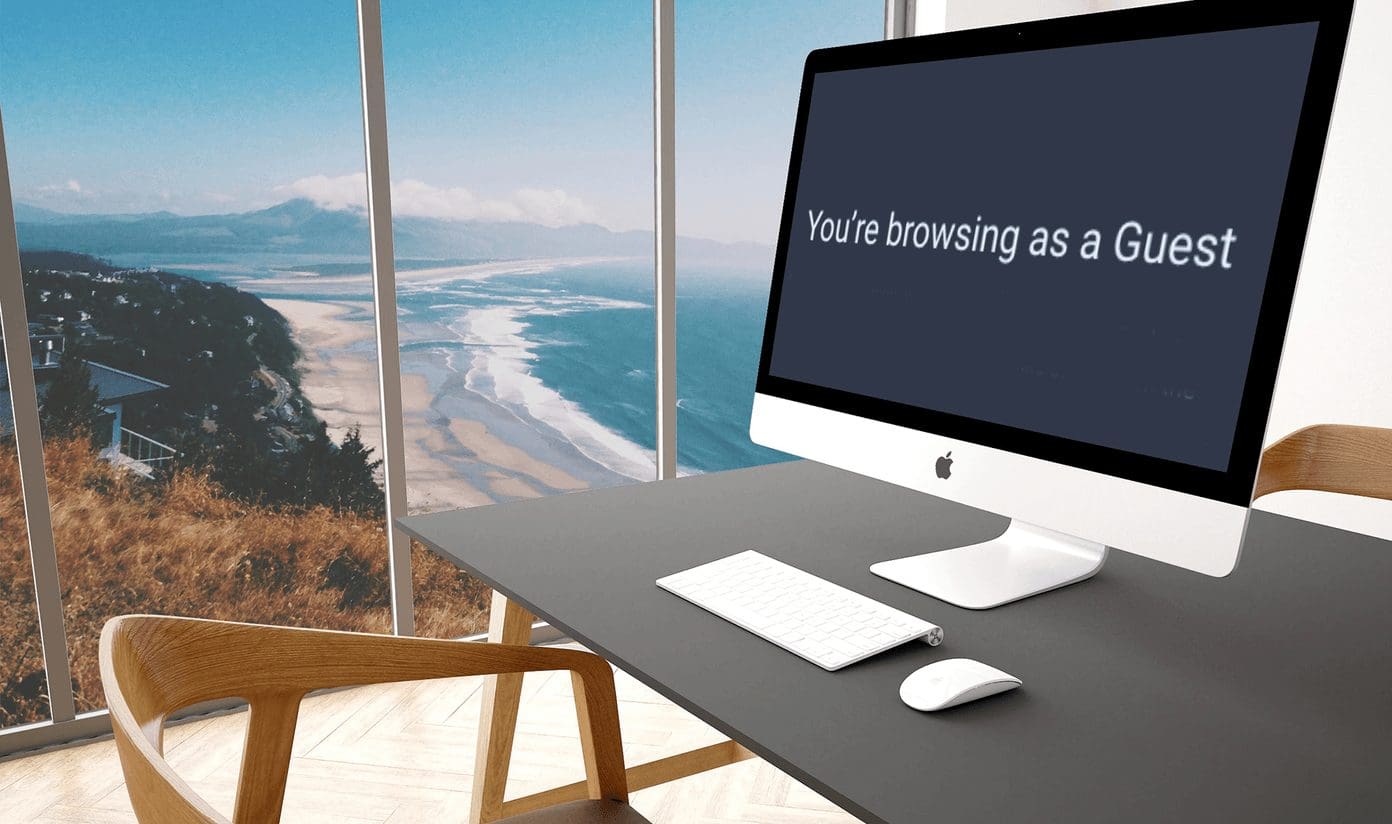
Microsoft Has Disabled the Guest Account Feature
With the Windows 10 build 10159, Microsoft disabled creating a Guest account. So you’re stuck with using the Microsoft account, sync it to the cloud, or a local account for accessing the Windows computer.
Microsoft didn’t offer any explanations as to why the guest user account was removed. You can use the below methods to try and restore the guest account on your PC.
How to Enable the Guest Account on Windows
Method 1: Enable a Guest Account in Windows Computer Management
As the name suggests, the Computer Management tool allows users to manage various aspects of their computer including user accounts. You can also use this tool to bring back the guest account on your Windows PC.
Step 1: Right-click on the Start menu icon and select Computer Management.

Step 2: In the left sidebar, head to System Tools > Local Users and Groups > Users and you should view a list of all existing user accounts. One of them is Guest.
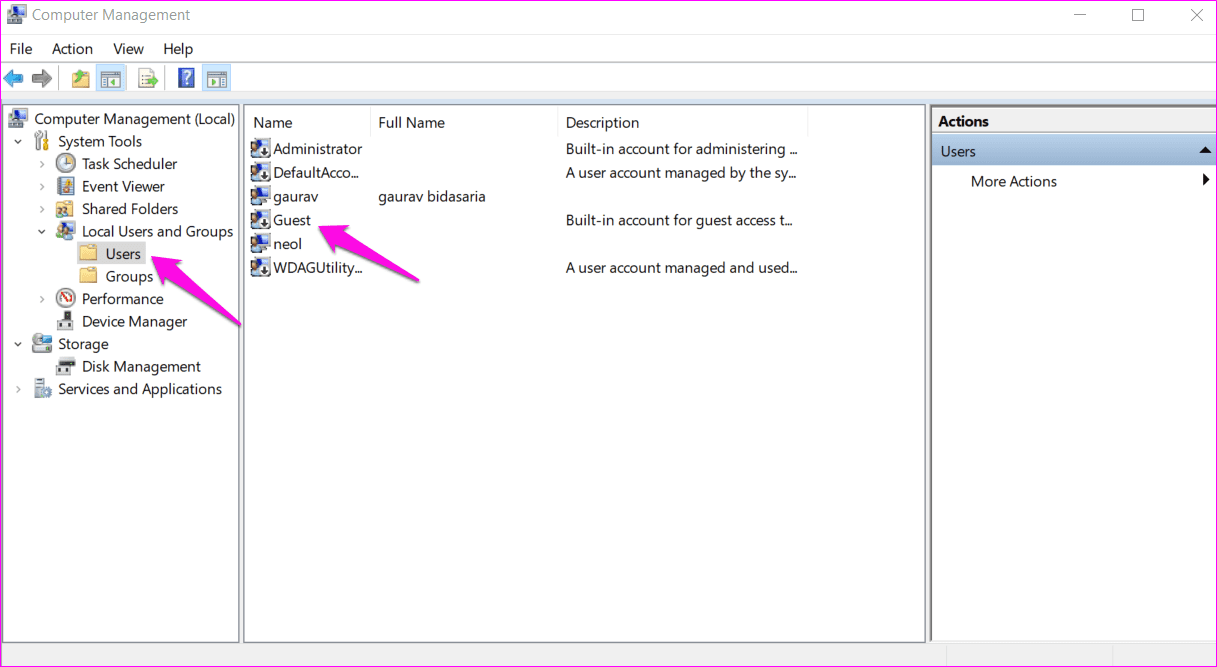
Step 3: Double-click on the Guest user account name and unselect Account is disabled to enable it. Click on Apply and OK to save settings.

There is no need to reboot the computer. You should be able to view the newly-enabled guest user account under the Start menu accounts section.

Method 2: Create From Command Prompt
Try the Command Prompt (CMD) in case the above method is not working for you. We will create a new guest user account using admin privileges.
Step 1: Search for CMD in the Start menu and select Run as administrator to open it with admin rights.

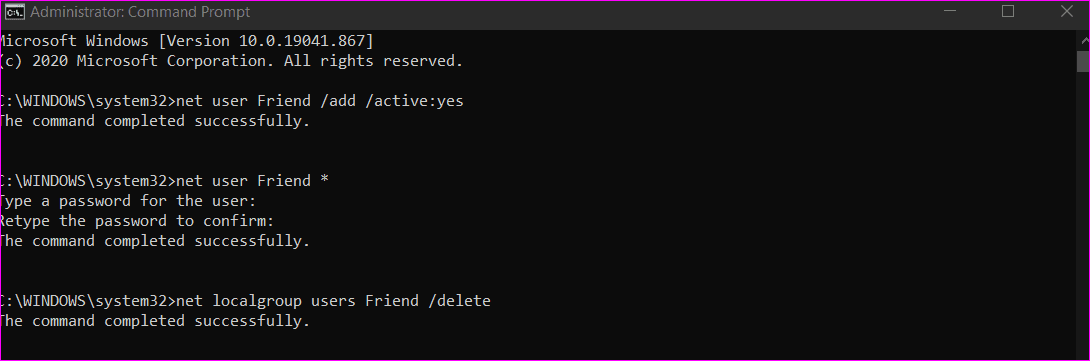
Step 2: Enter the command below to create a guest user account named Friend.
As we saw in the Computer Management tool above, you can’t name the guest user account as guest because it already exists. That’s the default guest user account.
net user Friend /add /active:yes
Step 3: If needed, enter the command below to set a password. We are choosing not to set one as guest user accounts don’t need them anyway. Type the password and press Enter or leave it blank if you don’t want to set one. Repeat to confirm.
net user Friend *
Step 4: Windows will place all new user accounts in the users group, meaning the account has all the permissions of a Standard user account.
Changing the group to guests will reduce the permissions and access the guest user account has to a lower level. The two commands below will delete the guest user account from users and add it to guests.
net localgroup users Friend /delete
net localgroup guests Friend /add
You should now view the new guest user account in the Start menu or at the time of boot-up, just like we saw earlier.
Method 3: Create a Standard User Account
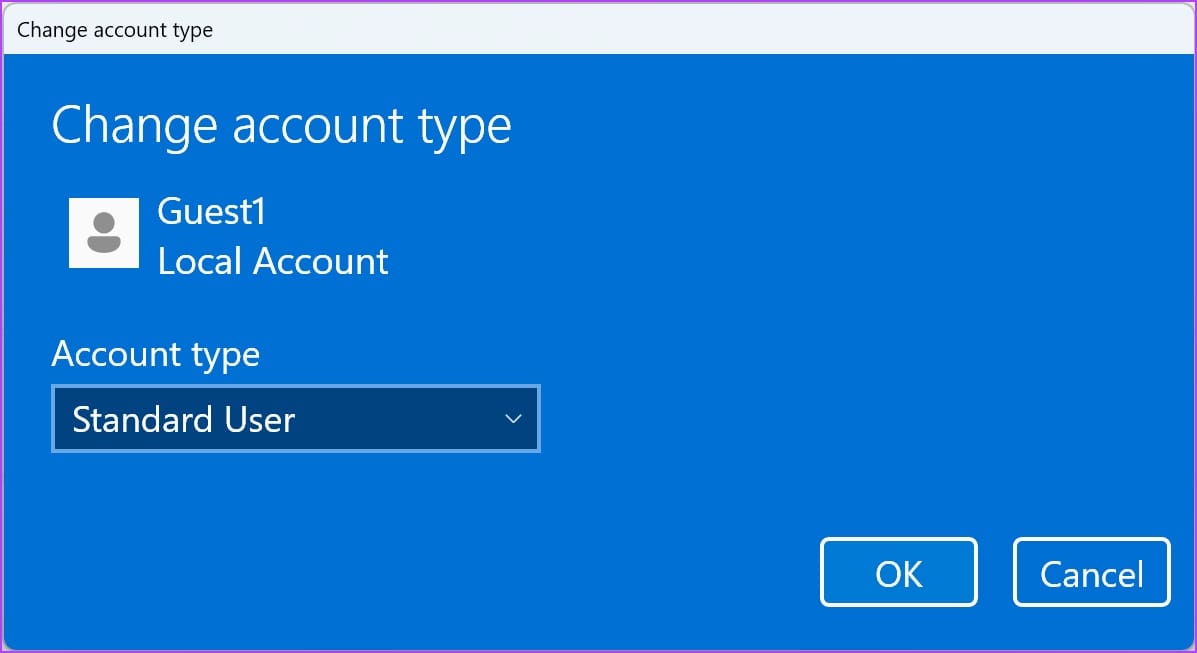
One can create two different types of user accounts – Administrator and Standard account. The latter can also be used as a guest account.
The standard user account is restrictive, unlike the admin account which offers full access to both system apps and files.
You can go to Settings -> Accounts -> Other Users and add a new account. While creating an account, make sure you do not opt for a Microsoft Account. Once you create the account, you can select the account type as a Standard User.
Also Read: How to see all user accounts on Windows
Was this helpful?
Last updated on 28 May, 2024
Read Next
 How to Disable Guest Mode Browsing in Google Chrome
Method 1: Disable Chrome Guest Mode Browsing in Windows via Command Prompt If you use Chrome on Windows, you must create a registry entry from scratch to disable Guest mode.
How to Disable Guest Mode Browsing in Google Chrome
Method 1: Disable Chrome Guest Mode Browsing in Windows via Command Prompt If you use Chrome on Windows, you must create a registry entry from scratch to disable Guest mode.
 How to Change Microsoft Account on Windows 10
All Microsoft products and services are connected to your Microsoft account.
How to Change Microsoft Account on Windows 10
All Microsoft products and services are connected to your Microsoft account.
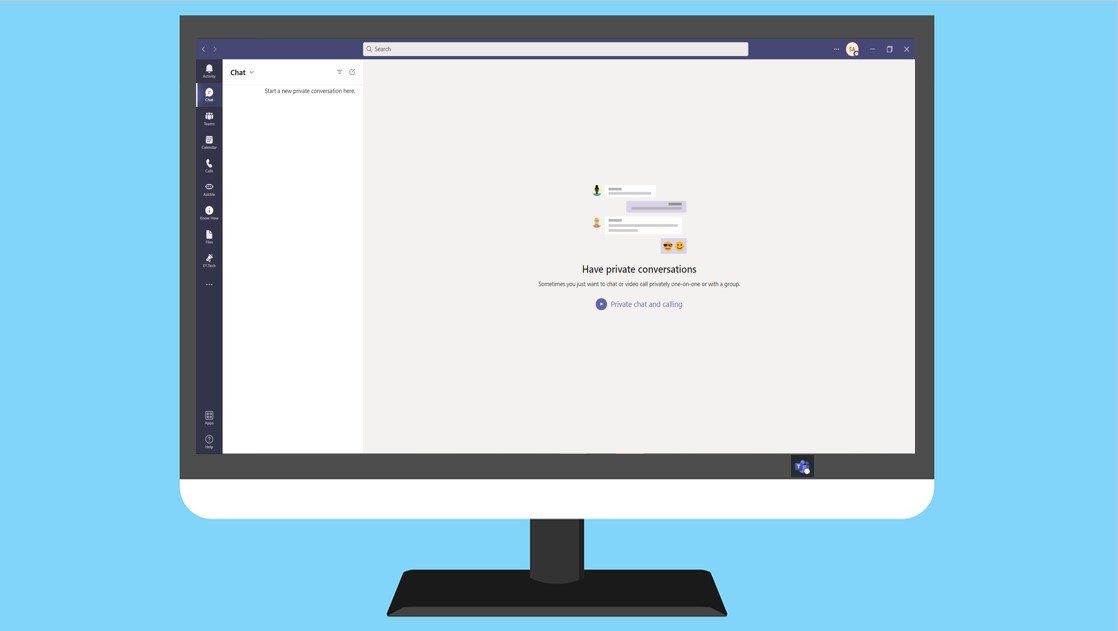 How to Use Different Microsoft Teams Account on Windows 10
From 13 million daily active users in July 2019 to 145 million daily users in April 2021, Microsoft Teams continues to increase its user base.
How to Use Different Microsoft Teams Account on Windows 10
From 13 million daily active users in July 2019 to 145 million daily users in April 2021, Microsoft Teams continues to increase its user base.
 How to Change or Remove User Account Image in Windows 11
How to Change User Account Image You can quickly change your user account image on Windows 11 using the Settings app.
How to Change or Remove User Account Image in Windows 11
How to Change User Account Image You can quickly change your user account image on Windows 11 using the Settings app.
 How to Remove a Microsoft Account From Windows 11
With Windows 8 makeover in 2012, the software giant made it quite difficult to use the desktop system without a Microsoft account.
How to Remove a Microsoft Account From Windows 11
With Windows 8 makeover in 2012, the software giant made it quite difficult to use the desktop system without a Microsoft account.
 3 Fixes When You Can’t Sign into Windows 11 With a Microsoft Account
Basic Fixes Check Microsoft server outage: If there is an outage on the Microsoft server, you must wait it out before retrying.
3 Fixes When You Can’t Sign into Windows 11 With a Microsoft Account
Basic Fixes Check Microsoft server outage: If there is an outage on the Microsoft server, you must wait it out before retrying.
 How to Delete Your Microsoft Account on Desktop and Mobile
A Microsoft account is a single sign-in service that allows you to access various Microsoft products and services, such as Windows, Office, Xbox, Skype, OneDrive, Outlook, and more.
How to Delete Your Microsoft Account on Desktop and Mobile
A Microsoft account is a single sign-in service that allows you to access various Microsoft products and services, such as Windows, Office, Xbox, Skype, OneDrive, Outlook, and more.
 How to Recover and Access Your Old Hotmail Account
How to Recover a Hotmail Account Microsoft already migrated Hotmail accounts to Outlook.com.
How to Recover and Access Your Old Hotmail Account
How to Recover a Hotmail Account Microsoft already migrated Hotmail accounts to Outlook.com.
The article above may contain affiliate links which help support Guiding Tech. The content remains unbiased and authentic and will never affect our editorial integrity.