Common Fixes
- Update and reboot your router: Open the router admin page (e.g., 192.168.1.1 or 192.168.0.1) in your browser to update its firmware. Restart the router to apply changes.
- Disable Windows Security temporarily: Press the Windows key, search Windows Security, and click to open it. Select Virus & threat protection from the left sidebar and click Manage Settings. Toggle off Real-time protection.
- Update Windows 11: Press the Windows + I shortcut to open Settings, select Windows Update from the sidebar, and install available system updates.
Fix 1: Forget Network and Reconnect
If you recently changed your Wi-Fi password and your Windows 11 system isn’t automatically asking for the new passkey, forget the saved network manually and reconnect to it.
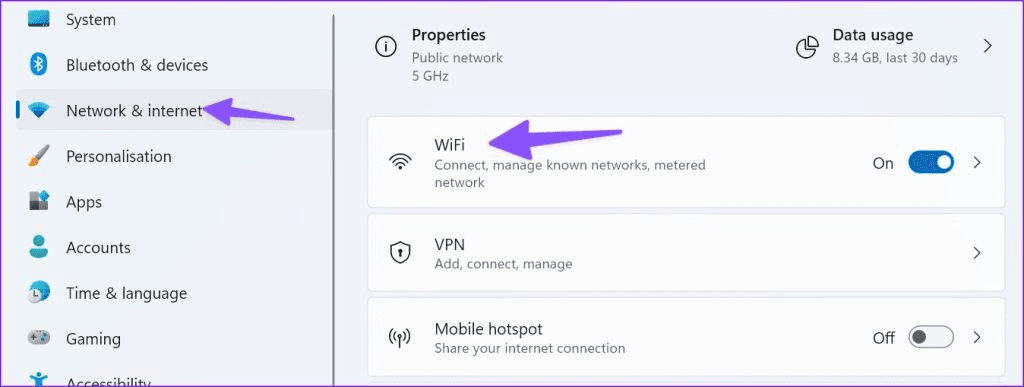
Step 1: Press the Windows + I shortcut to open the Settings app, select Network & internet from the left sidebar, and click on Wi-Fi.
Step 2: Select Manage known networks.

Step 3: Click on Forget next to the saved Wi-Fi network, rescan it, and type its new passcode to connect.

Fix 2: Delete the WLAN Profile
If forgetting the network doesn’t work, use Command Prompt to delete the wireless network profile and set it up afresh.
Step 1: Press the Windows key, search CMD, and click Run as administrator.

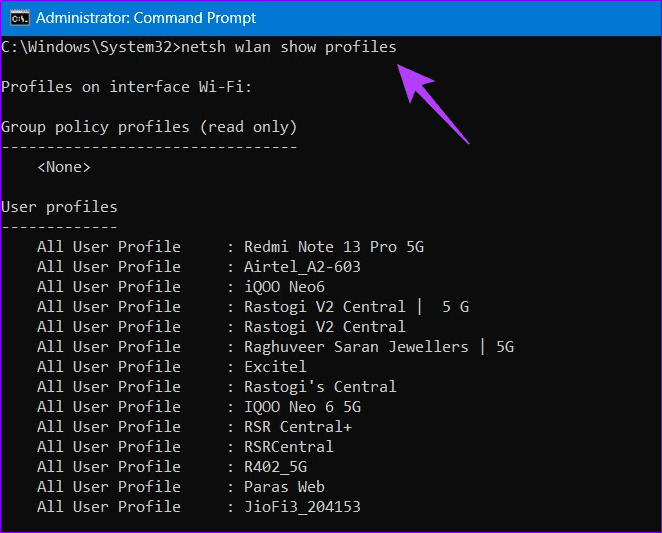
Step 2: Copy-paste the following command in the console to view all saved Wi-Fi networks.
netsh wlan show profiles
Step 3: Note the saved network name you wish to delete, replace <profilename> in the below command with it, and press Enter.
netsh wlan delete profile=<profilename>
For instance, netsh wlan delete profile=R402_5G

Step 4: Once removed, re-scan the Wi-Fi network, and type its passcode to reconnect.
Fix 3: Manually Change the Network Security Key
Besides using the console to delete the Wi-Fi network, you can modify its security key (passcode) using the Control Panel app on Windows 11.
Step 1: Press the Windows key, search Control Panel, and click to open it.

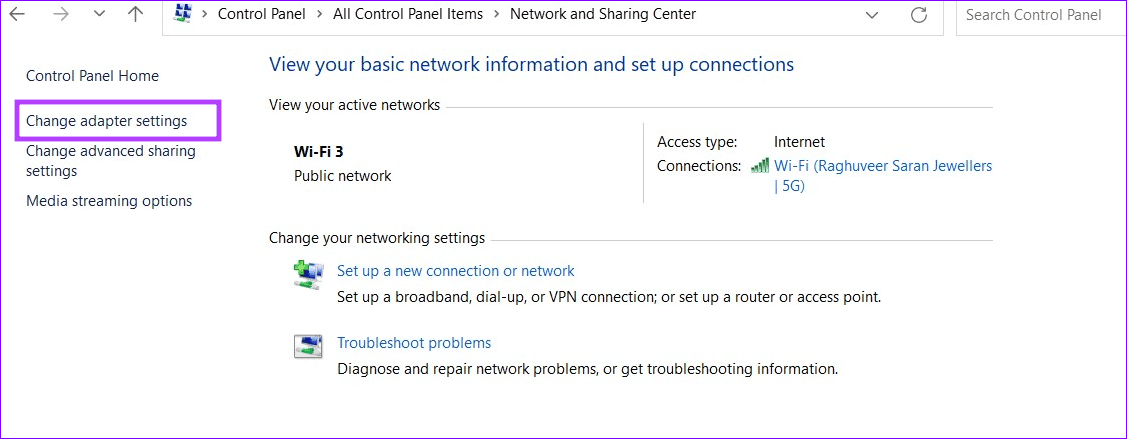
Step 2: Select Network and Sharing Center.

Step 3: Click Change adapter settings in the left sidebar.
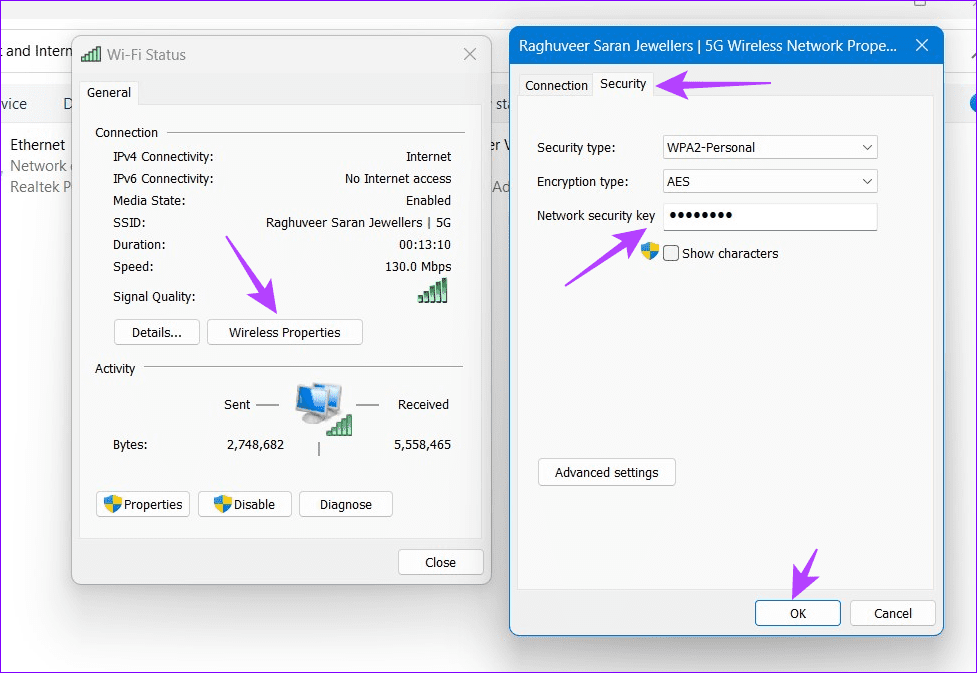
Step 4: Right-click the Wi-Fi network and select Status.

Step 5: Click Wireless Properties, open the Security tab, and type the new passcode in the Network security key column. Click OK to save and apply changes.
Fix 4: Run the Network Troubleshooter
Lastly, run the built-in network troubleshooter to fix Wi-Fi not asking for passwords on Windows 11.
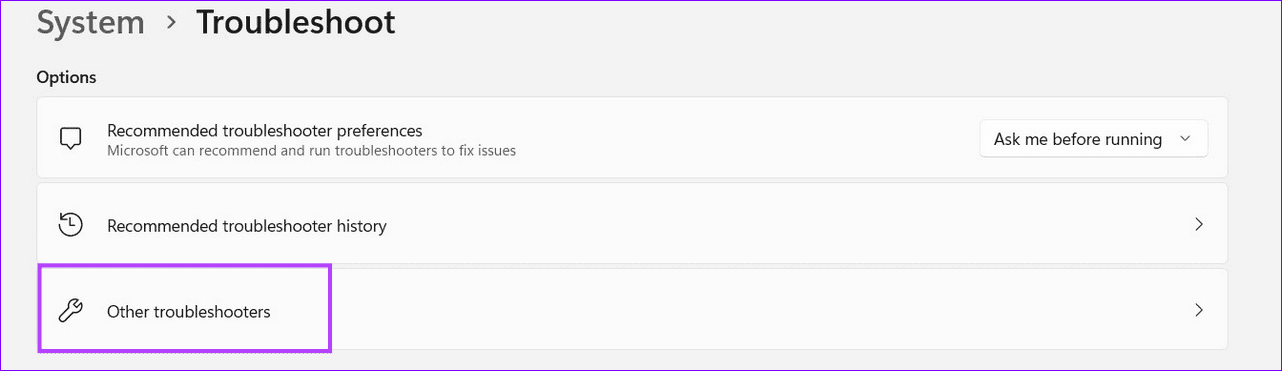
Step 1: Open Windows Settings, select System from the left sidebar, and click Troubleshoot.

Step 2: Select Other troubleshooters.
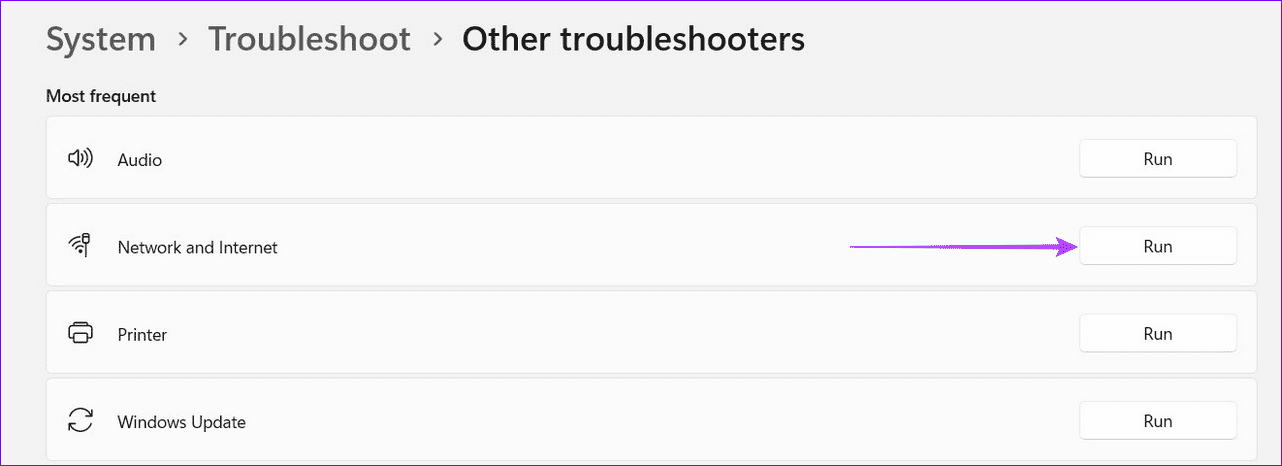
Step 3: Click Run next to Network and Internet to troubleshoot existing Wi-Fi issues.
Was this helpful?
Last updated on 12 July, 2024
Read Next
 How to Stop Microsoft Edge From Asking to Save Passwords on Windows
Microsoft Edge comes with a lot of features, including a password manager.
How to Stop Microsoft Edge From Asking to Save Passwords on Windows
Microsoft Edge comes with a lot of features, including a password manager.
 5 Ways to Fix iCloud on Windows 10 Keeps Asking for Password Issue
Basic Fixes: Check iCloud Server Status: As a starting point, you should check whether iCloud's servers are running normally.
5 Ways to Fix iCloud on Windows 10 Keeps Asking for Password Issue
Basic Fixes: Check iCloud Server Status: As a starting point, you should check whether iCloud's servers are running normally.
 4 Ways to Fix Microsoft Teams Keeps Asking to Sign in on Windows 10/11
Fix 1: Clear Teams Cache Microsoft Teams collects cache in the background to improve loading times and the overall app experience.
4 Ways to Fix Microsoft Teams Keeps Asking to Sign in on Windows 10/11
Fix 1: Clear Teams Cache Microsoft Teams collects cache in the background to improve loading times and the overall app experience.
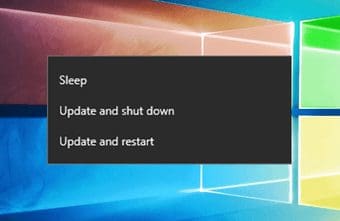 How to Fix Windows 10 Asking to Update and Shutdown Every Time Issue
If bandwidth isn't a factor, then Windows 10 offers a super-convenient way to stay updated with minimal involvement on your part.
How to Fix Windows 10 Asking to Update and Shutdown Every Time Issue
If bandwidth isn't a factor, then Windows 10 offers a super-convenient way to stay updated with minimal involvement on your part.
 5 Fixes if Outlook Keeps Asking For Password on Windows
Fix 1: Open Outlook in Safe Mode Opening Outlook in Safe Mode allows you to run the application without add-ins.
5 Fixes if Outlook Keeps Asking For Password on Windows
Fix 1: Open Outlook in Safe Mode Opening Outlook in Safe Mode allows you to run the application without add-ins.
 4 Ways to Fix Google Keeps Asking to Fill Image Captcha
Fix 1: Disable Active VPN The Google search algorithm knows common VPN servers used by bots.
4 Ways to Fix Google Keeps Asking to Fill Image Captcha
Fix 1: Disable Active VPN The Google search algorithm knows common VPN servers used by bots.
 Why Chrome is Asking for Sync Passphrase and How to Fix That
Chrome Sync arguably is the best feature in Google Chrome.
Why Chrome is Asking for Sync Passphrase and How to Fix That
Chrome Sync arguably is the best feature in Google Chrome.
 How to Fix iPhone Mail Keeps Asking for Email Password
Fix 1.
How to Fix iPhone Mail Keeps Asking for Email Password
Fix 1.
The article above may contain affiliate links which help support Guiding Tech. The content remains unbiased and authentic and will never affect our editorial integrity.