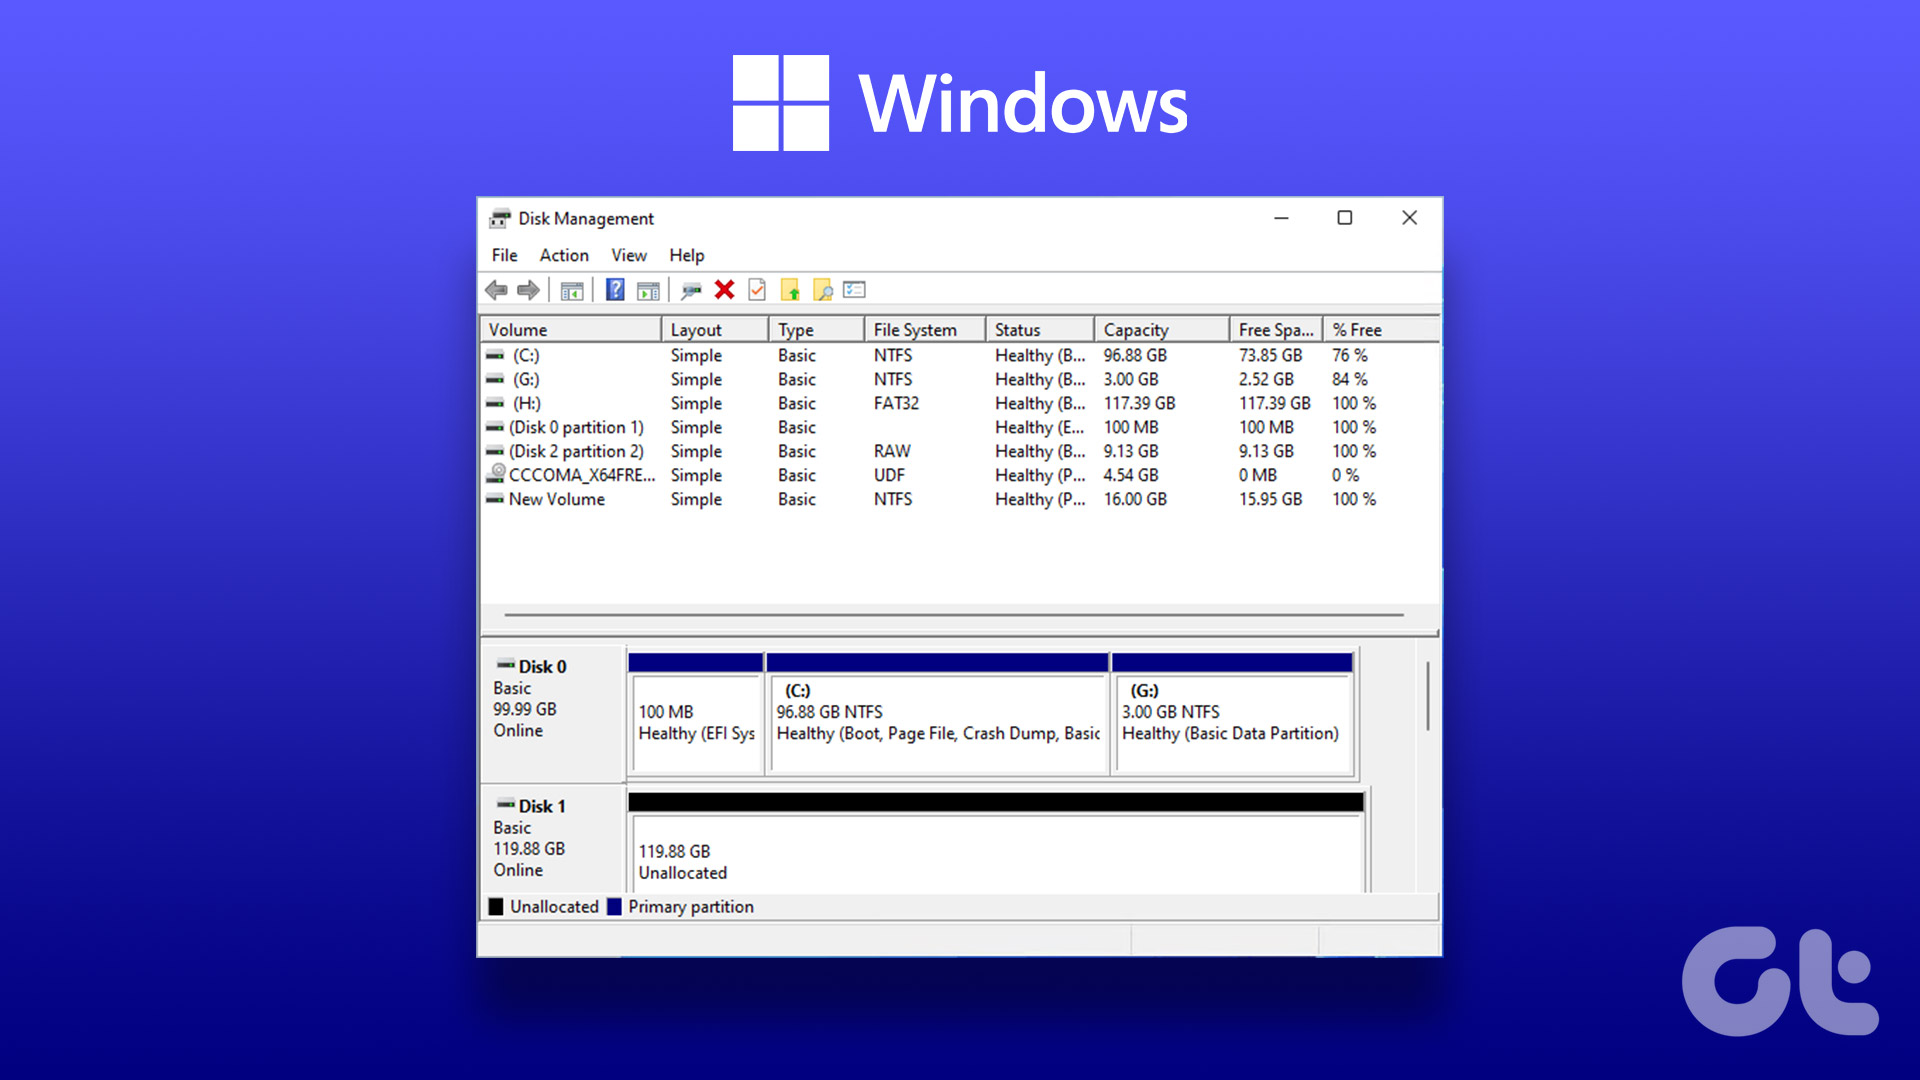
Disk Management is a built-in utility on Windows to manage your hard drivers, SSDs, and other external drives. Usually, people connect their external drives to the PC and access the same from the File Explorer menu. But if an external drive isn’t showing up in the File Explorer, users switch to Disk Management. However, the same not appearing the Disk Management can confuse you. Here are the best ways to fix the issue.

You can’t meddle with external drive properties or change the drive letter when it fails to show up in Disk Management. Before you blast out at the OEM (Original Equipment Manufacturer) for a faulty SSD or drive, use the steps below to access it in Disk Management.
1. Restart Disk Management
You can close the Disk Management software and try launching it again. If the external drive still doesn’t appear in the app, continue with the tricks below.
2. Try Another USB Port
If a specific USB port isn’t working as expected, use another port to connect your external drive. Most Windows computers offer several USB ports to utilize. It’s common for a port to malfunction due to dust, moisture, or other reason.
3. Check the Cable Connection
You need to double-check the cable connection for your external drive. If you notice any damage to the cable, opt for another one. You can also try connecting the external drive to another PC or Mac to check if it works normally. That also confirms if you have a corrupt drive or not.
4. Update Drivers
If your external drive still doesn’t show up in Disk Management, update the relevant drivers through the Device Manager menu. Here’s how.
Step 1: Connect your external drive to the PC.
Step 2: Right-click on the Windows key and open the Device Manager menu.

Step 3: Expand Disk drives and right-click on a drive. Select Update driver.

Step 4: Search for the drivers automatically and let the system complete the process.

Restart the PC and launch Disk Management to check the external drive.
5. Reinstall External Drive Drivers
Your external drive may not show up in Disk Management due to corrupt drivers. It’s quite easy to fix such issues with the Device Manager menu.
Step 1: Expand Disk drives in the Device Manager menu (check the steps above).
Step 2: Right-click on an external drive and select Uninstall Device.

Reboot the PC while keeping your drive connected to the computer.
6. Troubleshoot the External Drive
Windows comes with a built-in option to troubleshoot external drives. It’s one of the effective ways to fix external drives’ disappearance from the Disk Management app. Here’s how you can use it.
Step 1: Press the Windows + I keyboard shortcut to launch Settings app.
Step 2: Select Bluetooth & devices from the left sidebar and choose Devices from the right frame.

Step 3: Scroll down and select ‘More devices and printer settings.’

Step 4: It opens the ‘Devices and Printers’ menu in Control Panel. Right-click on an external drive and select Troubleshoot.

Step 5: Follow the on-screen instructions to complete the process.
Restart your PC and check if the external drive appears in the Disk Management app.
7. Remove the Hard Drive From Storage Pool
Storage Pool is a handy add-on to save files to two or more devices to protect you from data loss during drive failure. You can also add more drives if you run low on capacity. You can remove your external drive from it and try again.
Step 1: Press the Windows key to open the Start menu, type Control Panel in the search bar and hit Enter.
Step 2: When Control Panel window opens, select System and Security.

Step 3: Open Storage Spaces.

Step 4: Find your drive and select Delete. Confirm your decision.

Restart the computer to save changes.
8. Check the Hard Drive in BIOS
You can confirm if the hard drive is showing up in BIOS and make the necessary changes to enable the same in the Disk Management app.
Step 1: Restart the PC and press F2/F10/Del key to enter BIOS (it differs from one manufacturer to another).
Step 2: Go to the Boot menu and see if the hard drive appears.

Step 3: If it’s listed, reconnect the hard drive or use another port.
Step 4: If you can’t see the connected drive, move back to BIOS settings and select Storage.
Step 5: Find your hard drive and enable detection status.
Save changes, exit BIOS, and check the Disk Management.
Access Your Hard Drive in Disk Management
You can’t tweak your hard drive settings when it doesn’t appear in the Disk Management software. Instead of replacing it, use the tricks above to fix the issue quickly. Which trick worked for you? Share your findings in the comments below.
Was this helpful?
Last updated on 19 July, 2023
Read Next
 4 Ways to Open Disk Management on Windows 11
Method 1: Use the Run Dialog to Open Disk Management Disk Management comes in handy to perform advanced storage tasks like managing existing drives or initializing a new one.
4 Ways to Open Disk Management on Windows 11
Method 1: Use the Run Dialog to Open Disk Management Disk Management comes in handy to perform advanced storage tasks like managing existing drives or initializing a new one.
 Top 8 Ways to Fix External Drive Not Showing Up on Mac
Apple MacBooks house SSD storage, which is fast but limited in terms of size.
Top 8 Ways to Fix External Drive Not Showing Up on Mac
Apple MacBooks house SSD storage, which is fast but limited in terms of size.
 Top 9 Ways to Fix External Drive Not Showing Up on iPhone and iPad
With the introduction of the iPhone 15 series, both the iPhone and iPad lineup now sport a USB-C port.
Top 9 Ways to Fix External Drive Not Showing Up on iPhone and iPad
With the introduction of the iPhone 15 series, both the iPhone and iPad lineup now sport a USB-C port.
 3 Fixes When an External Hard Drive Is Not Showing up in Windows 11
https://youtu.be/zu_eLoLltq4 Basic Fixes: Try another USB port: Your current port may be faulty, and using a different one may be effective.
3 Fixes When an External Hard Drive Is Not Showing up in Windows 11
https://youtu.be/zu_eLoLltq4 Basic Fixes: Try another USB port: Your current port may be faulty, and using a different one may be effective.
 Top 5 Ways to Fix Disk Structure Is Corrupted and Unreadable Error on Windows 10
Windows 10 gives you alerts whenever the external storage disk goes corrupt.
Top 5 Ways to Fix Disk Structure Is Corrupted and Unreadable Error on Windows 10
Windows 10 gives you alerts whenever the external storage disk goes corrupt.
 3 Ways to Fix ‘Not Recognized as an Internal or External Command’ Error in Windows
Basic Fixes Run CMD in admin mode: Some commands require an elevated Command Prompt window to run properly.
3 Ways to Fix ‘Not Recognized as an Internal or External Command’ Error in Windows
Basic Fixes Run CMD in admin mode: Some commands require an elevated Command Prompt window to run properly.
 3 Best Ways to Adjust Brightness on External Monitor in Windows 10
One can easily adjust the screen brightness of their Windows 10 laptop or computer using the slider in the Action Center or with buttons on the keyboard.
3 Best Ways to Adjust Brightness on External Monitor in Windows 10
One can easily adjust the screen brightness of their Windows 10 laptop or computer using the slider in the Action Center or with buttons on the keyboard.
 6 Ways to Fix Not Enough Disk Space Error in Steam on Windows 11
Why Don’t I Have Enough Disk Space While Running Steam?
6 Ways to Fix Not Enough Disk Space Error in Steam on Windows 11
Why Don’t I Have Enough Disk Space While Running Steam?
The article above may contain affiliate links which help support Guiding Tech. The content remains unbiased and authentic and will never affect our editorial integrity.

