Basic Fixes
- Restart App Store: Bugs and glitches within the App Store may prevent you from downloading apps on your iPhone. Restarting the App Store app can help in this case.
- Pause and resume downloads: If an app gets stuck at a particular percentage during installation, pausing and resuming could help reinitiate the download.
- Check if the App Store is down: You can check if the App Store is facing a downtime on Apple’s System Status page.
- Check storage space: Ensure you have enough space on your iPhone before downloading apps from the App Store.
- Reset network settings: Consider resetting the network settings on your iPhone if you continue to experience persistent app download issues with the App Store app.
Fix 1: Check Payment Methods
Your iPhone can’t download any paid apps from the App Store if there are issues with the payment methods.
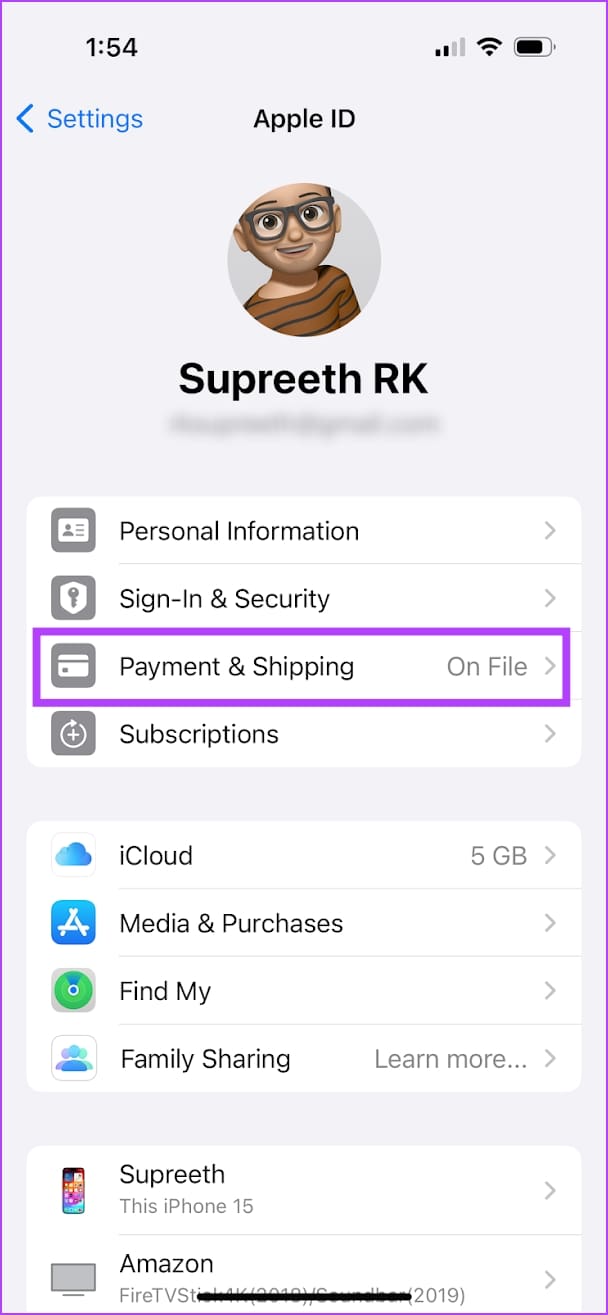
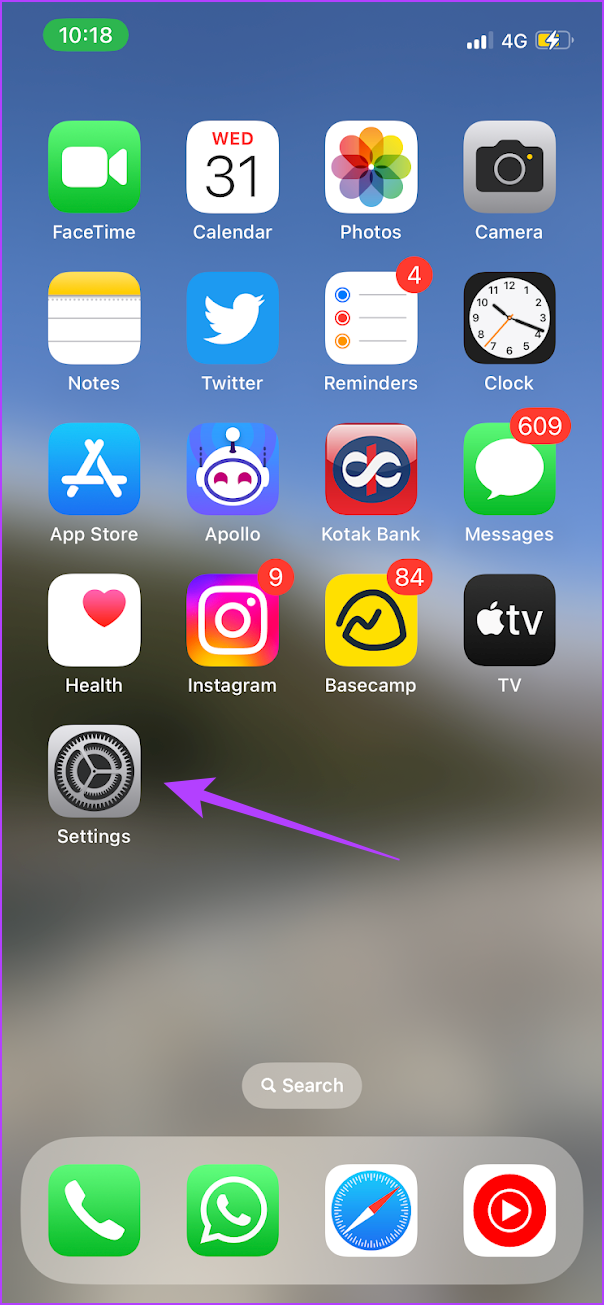
Step 1: Open the Settings app on your iPhone or iPad and tap on your name.
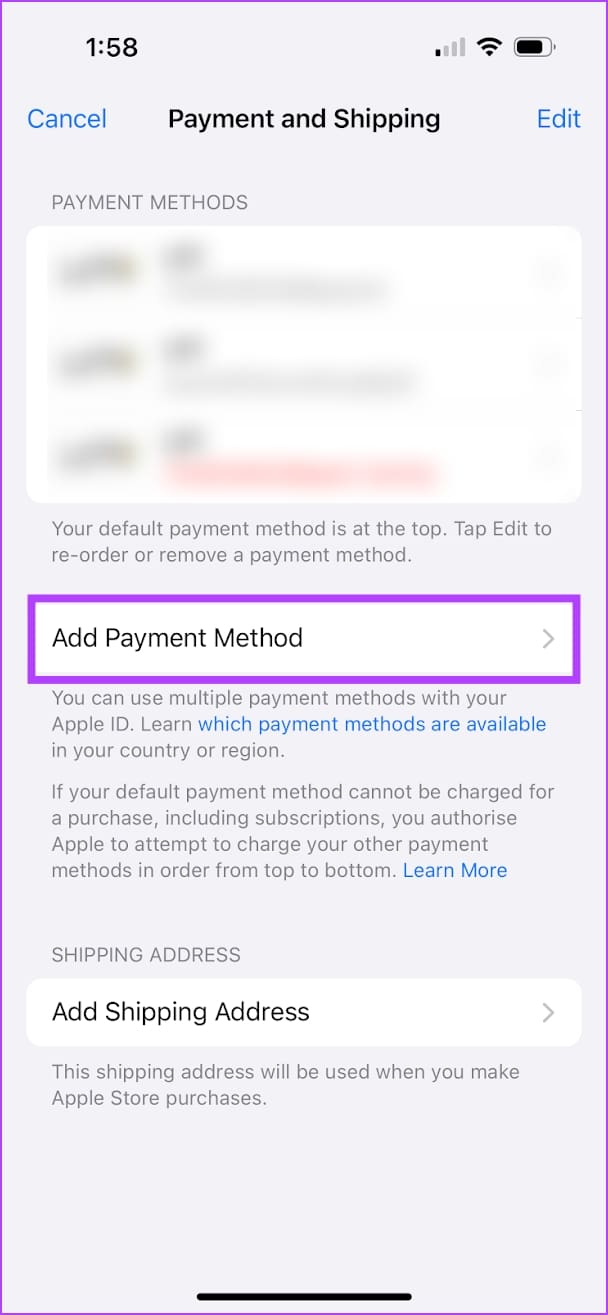
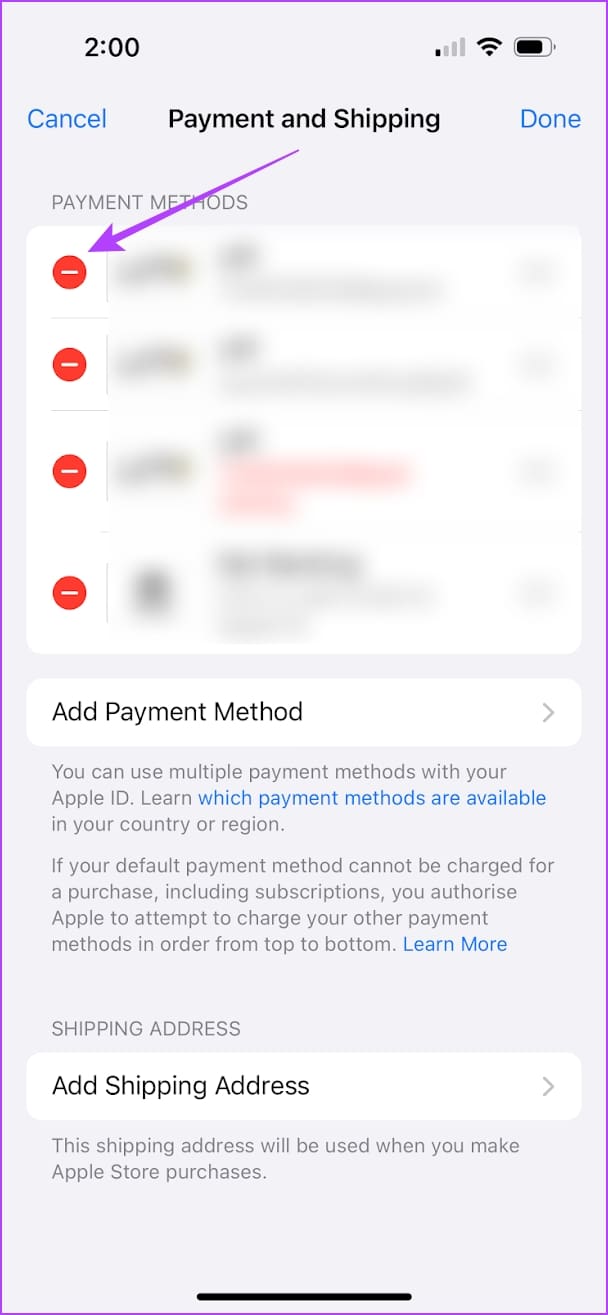
Step 2: Tap on Payment & Shipping. You can add a new payment method or tap on Edit to remove an invalid one.
Also Read: How to fix “Verification Required” on App Store
Fix 2: Check Cellular Data Permissions for App Store
If you can’t download apps from the App Store while using 4G/5G, you must confirm that the App Store app has permission to use cellular data. Here’s how to check.
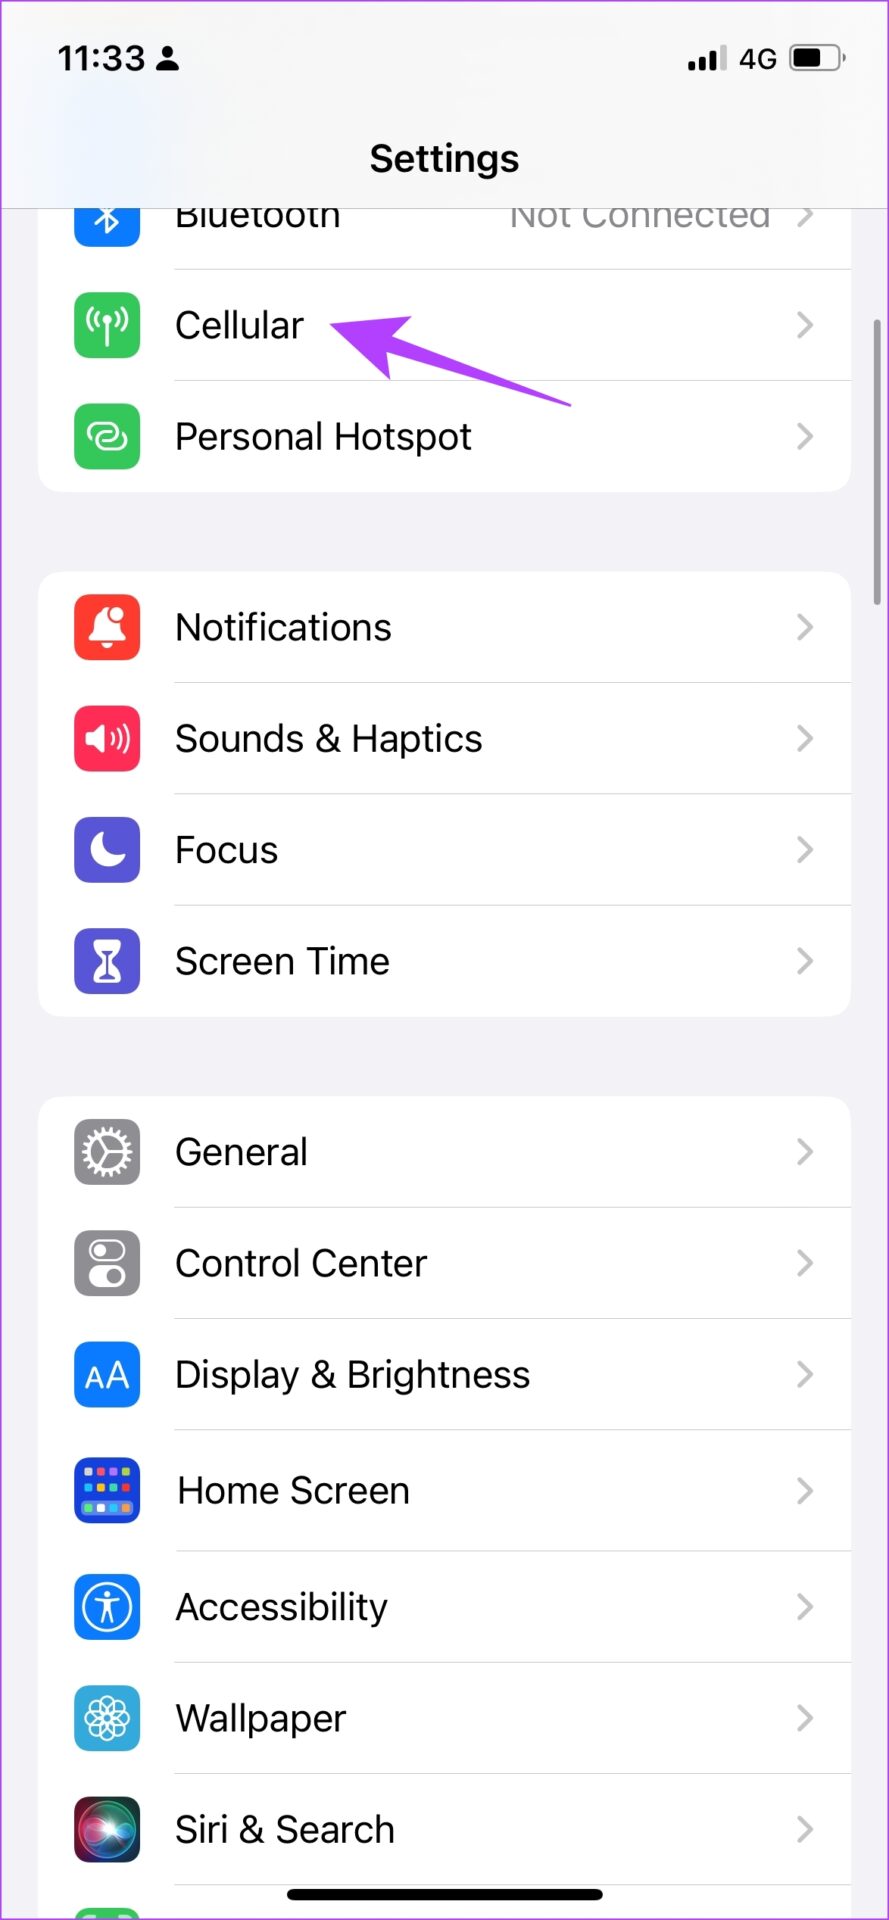
Step 1: Open the Settings app.
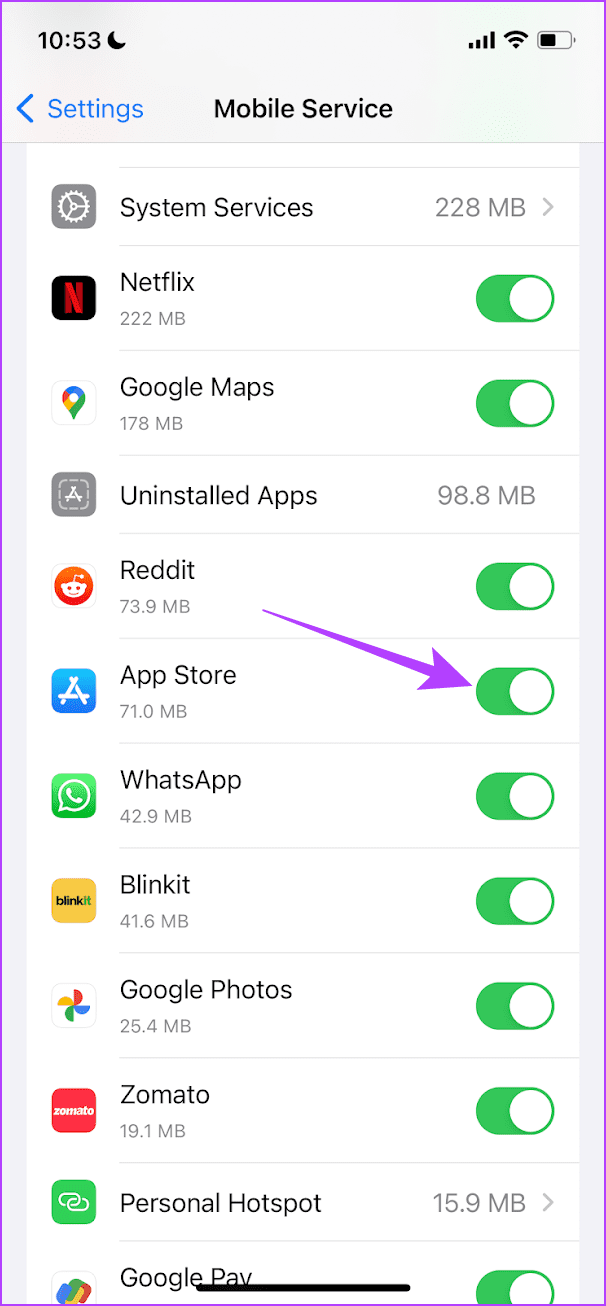
Step 2: Tap on Cellular. Scroll down and ensure that the toggle is enabled for the App Store.
Fix 3: Sign Out and Sign in to Apple ID in the App Store
If there is any bug associated with your current login session on the App Store, signing out of your Apple ID will help.
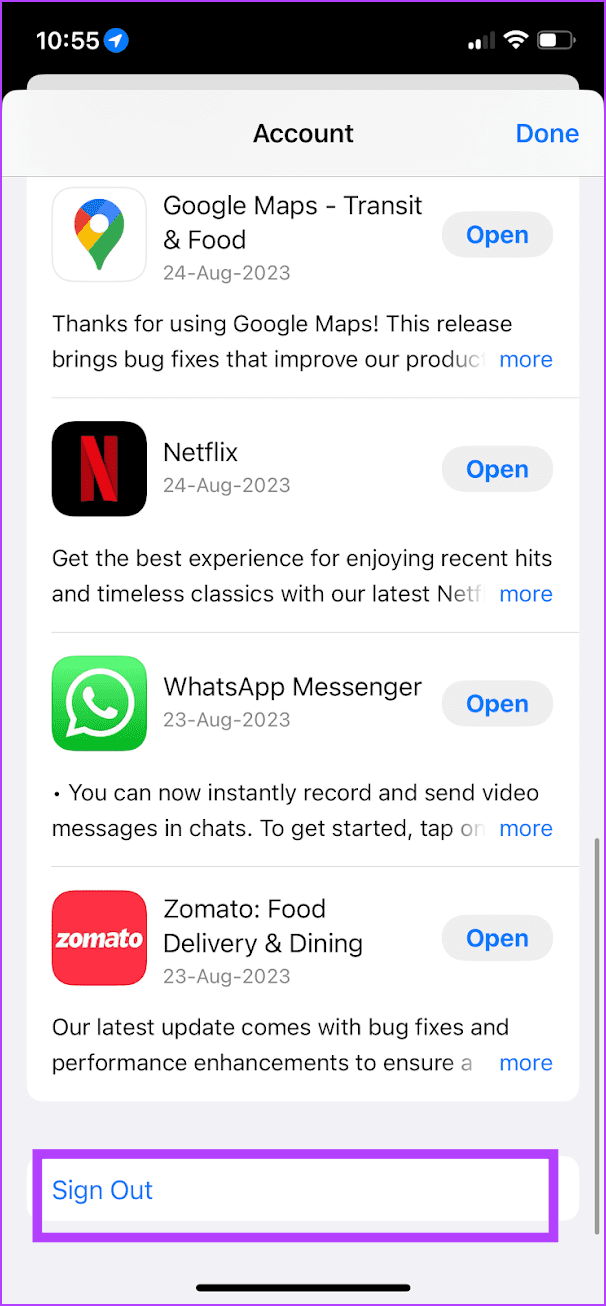
Step 1: Open the App Store app > tap on Profile Picture.
Step 2: Scroll down and tap on Sign Out. This will sign you out from the App Store. Once you sign out, enter your Apple ID and Password to log in again.

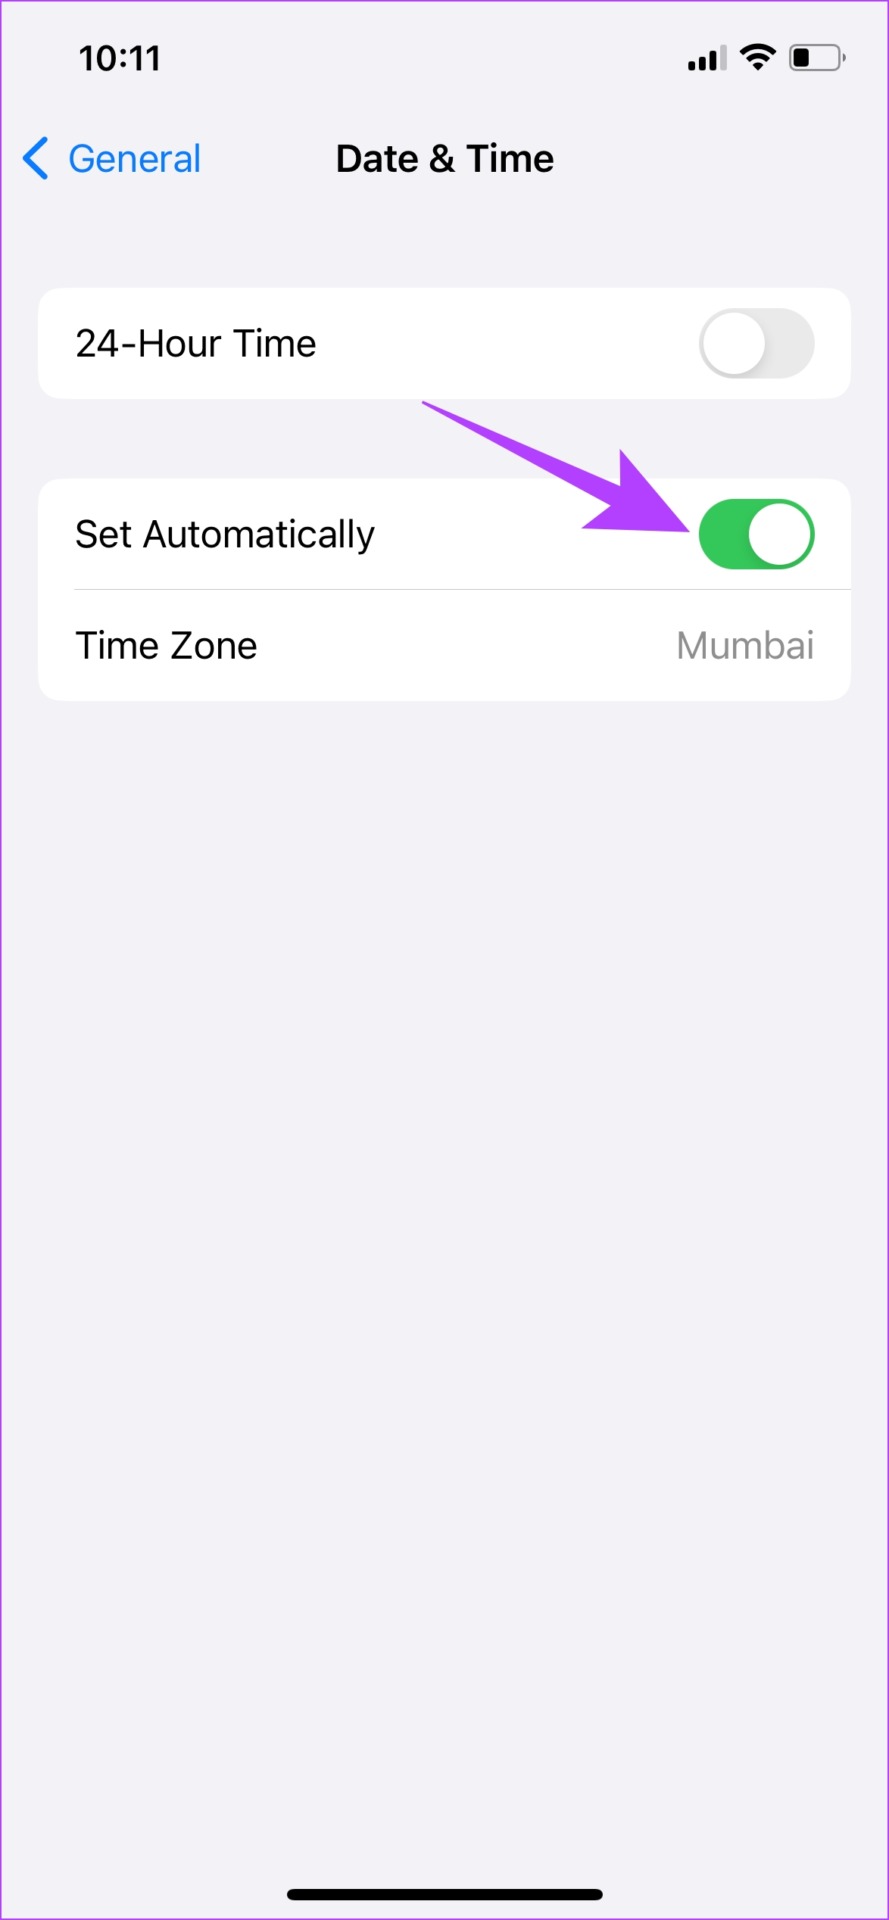
Fix 4: Check Date and Time
A mismatch in the date and time on your iPhone might cause network connectivity issues, which can prevent new apps from being downloaded to your device.
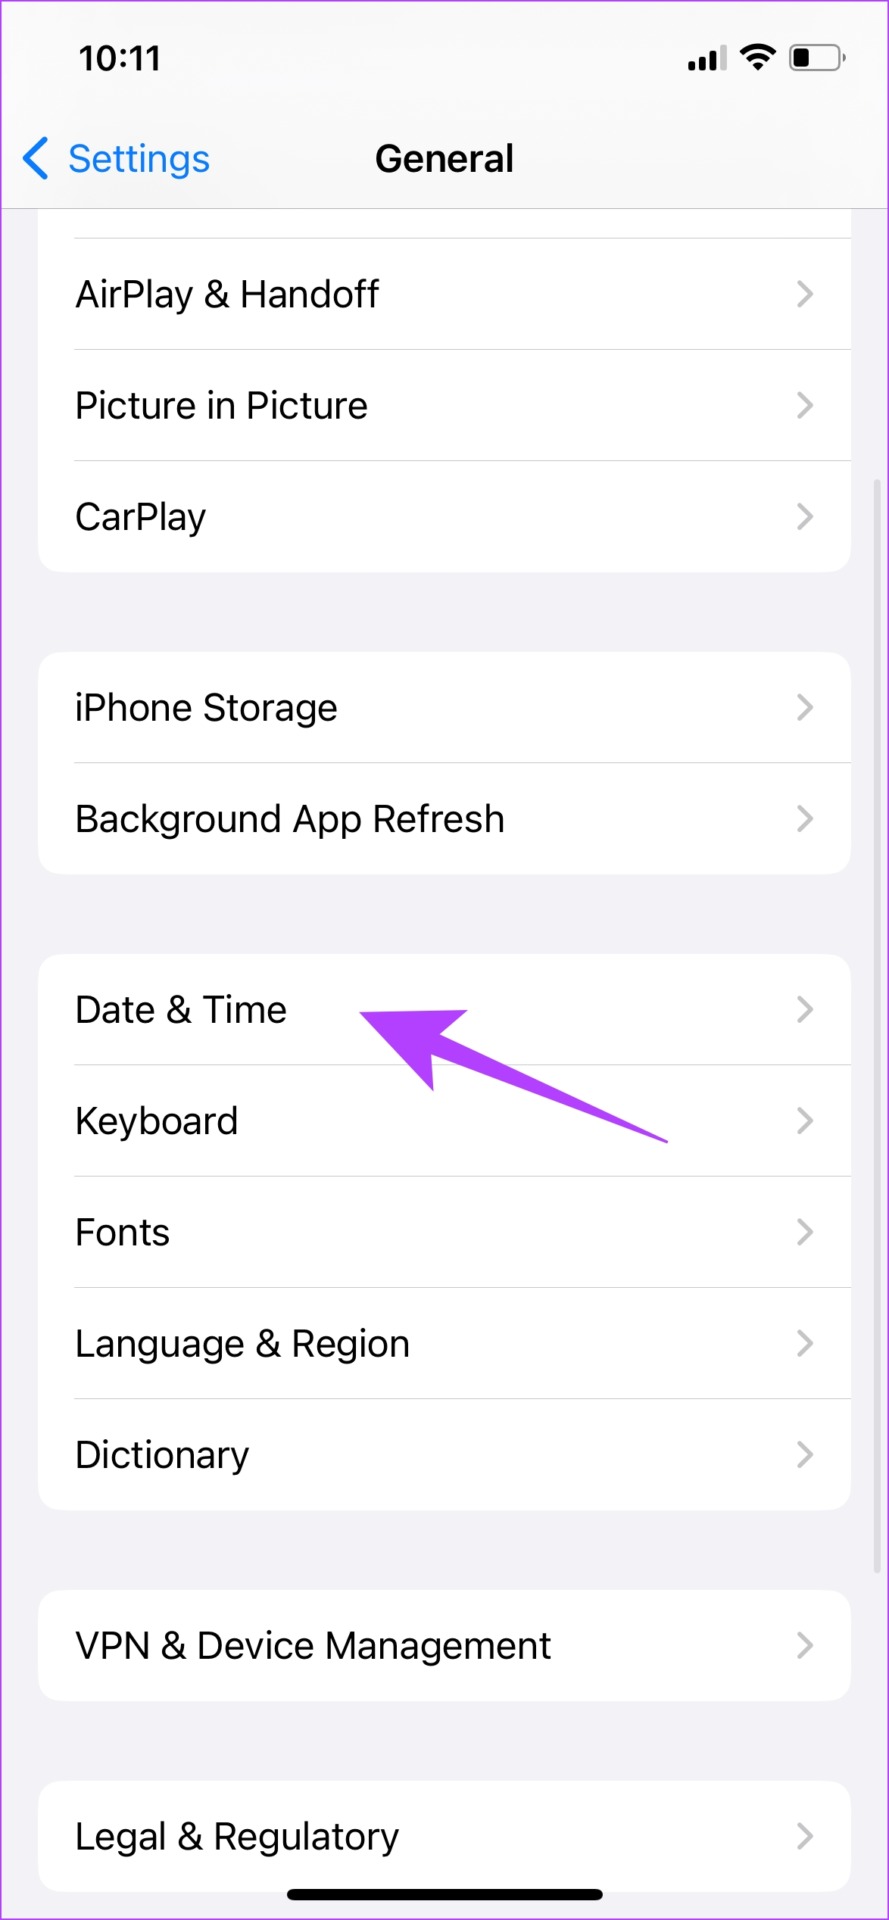
Open Settings > select General. Now, select Date & Time. Turn on the toggle for Set Automatically.
Was this helpful?
Last updated on 16 April, 2024
1 Comment
Leave a Reply
Read Next
 How to Download Apps Not Available in Your Country on iPhone
Prerequisites to Change App Store Region Before delving into the process of downloading off-region applications, there are some requirements to be met.
How to Download Apps Not Available in Your Country on iPhone
Prerequisites to Change App Store Region Before delving into the process of downloading off-region applications, there are some requirements to be met.
 6 Ways to Fix Download Issues on Netflix
1.
6 Ways to Fix Download Issues on Netflix
1.
 Download iPhone 14 and iPhone 14 Pro Series Wallpapers
Apple launched the iPhone 14 series, a successor to the iPhone 13 series, in its September 2022 event.
Download iPhone 14 and iPhone 14 Pro Series Wallpapers
Apple launched the iPhone 14 series, a successor to the iPhone 13 series, in its September 2022 event.
 Download iPhone 15 and iPhone 15 Pro Series Wallpapers (4K)
Apple unveiled the next iteration of its iconic iPhone 15 lineup at its highly anticipated Wonderlust event in September 2023.
Download iPhone 15 and iPhone 15 Pro Series Wallpapers (4K)
Apple unveiled the next iteration of its iconic iPhone 15 lineup at its highly anticipated Wonderlust event in September 2023.
 How to Download Android Apps Not Available in Your Country
https://youtu.be/edtTWfhjLXQ Note: None of the methods affect your existing subscriptions or payment methods.
How to Download Android Apps Not Available in Your Country
https://youtu.be/edtTWfhjLXQ Note: None of the methods affect your existing subscriptions or payment methods.
 How to Download Photos and Files from Google Drive to iPhone
Download Photos, Videos, PDF Files, and Documents From Google Drive to iPhone Step 1: Open the Google Drive app on your iPhone.
How to Download Photos and Files from Google Drive to iPhone
Download Photos, Videos, PDF Files, and Documents From Google Drive to iPhone Step 1: Open the Google Drive app on your iPhone.
 Download iOS 17 Wallpapers (4K) for Your iPhone
Apple unveiled its next-gen operating system for its iPhone and iPad at its annual developer conference, WWDC 2023.
Download iOS 17 Wallpapers (4K) for Your iPhone
Apple unveiled its next-gen operating system for its iPhone and iPad at its annual developer conference, WWDC 2023.
 Download the iOS 18 Wallpapers for Your iPhone
The power-packed WWDC 24' main event featured the launch of iOS 18 - which primarily focused on bringing some of the much-awaited customization features.
Download the iOS 18 Wallpapers for Your iPhone
The power-packed WWDC 24' main event featured the launch of iOS 18 - which primarily focused on bringing some of the much-awaited customization features.
The article above may contain affiliate links which help support Guiding Tech. The content remains unbiased and authentic and will never affect our editorial integrity.

No, I still can’t download apps