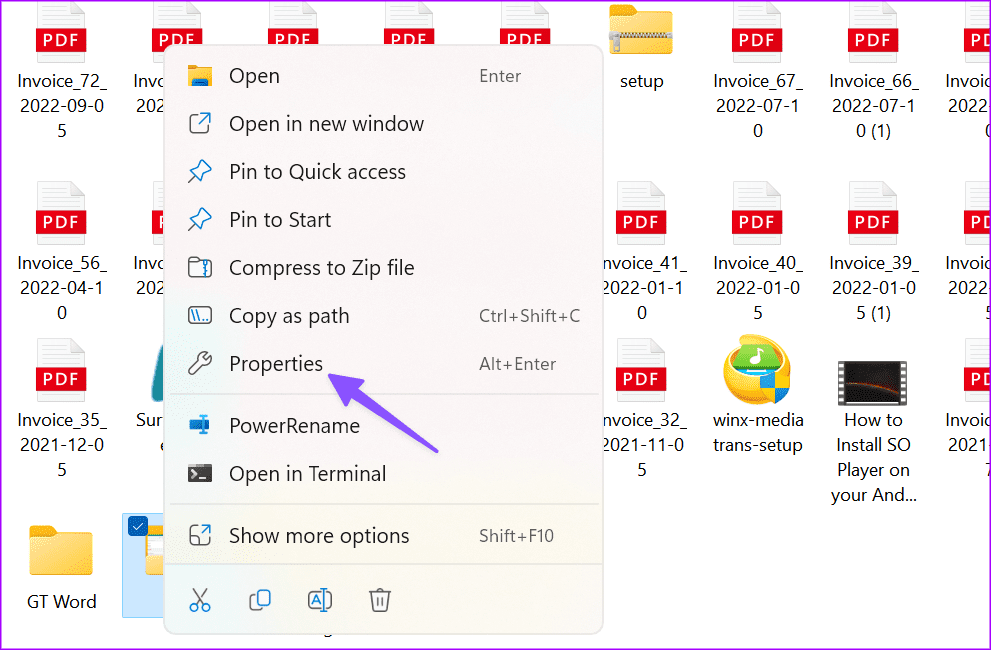
Method 1: Use the Properties Menu
You can launch the File Explorer and right-click on a folder to open Properties.
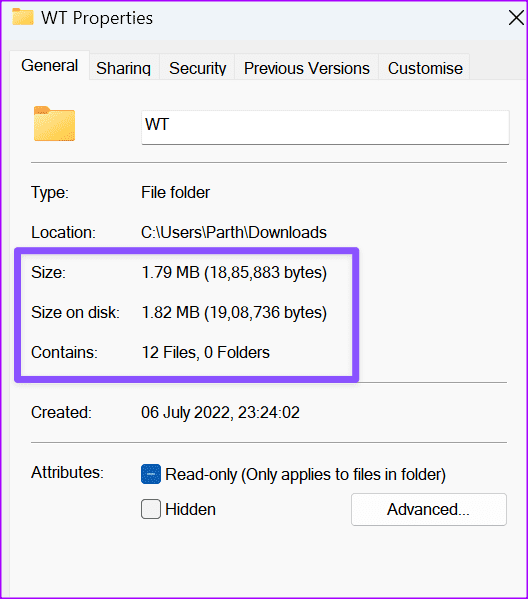
Note down the size, number of files, and sub-folders in it. Now, open the properties of another folder and check the same.
If File Explorer isn’t opening on Windows, check our dedicated guide to fix the problem.
Method 2: Via Command Line Using the Command Prompt
You can use the Command Prompt or Windows PowerShell to compare two folders. It only shows the differences between two folders, not sub-folders.
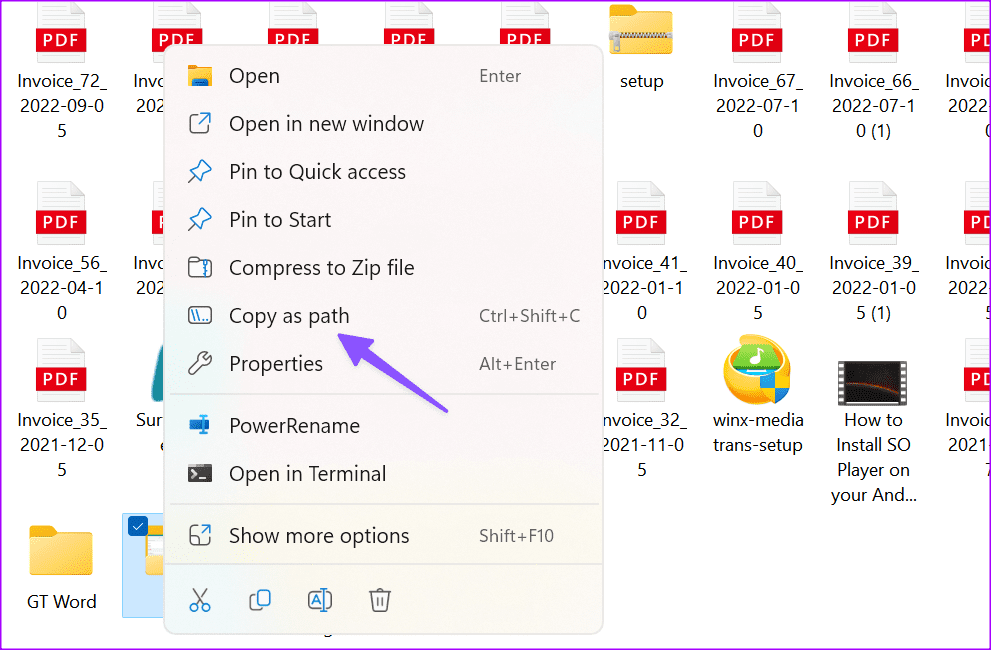
Step 1: Launch File Explorer and right-click on a folder. Select Copy as path and note it down.
Step 2: Do the same for another folder.
Press Windows and search for Command Prompt.
Step 3: Open the Command Prompt with admin rights and type the below command.
robocopy "D:\Test" "D:\Test 2" /L /NJH /NJS /NP /NS
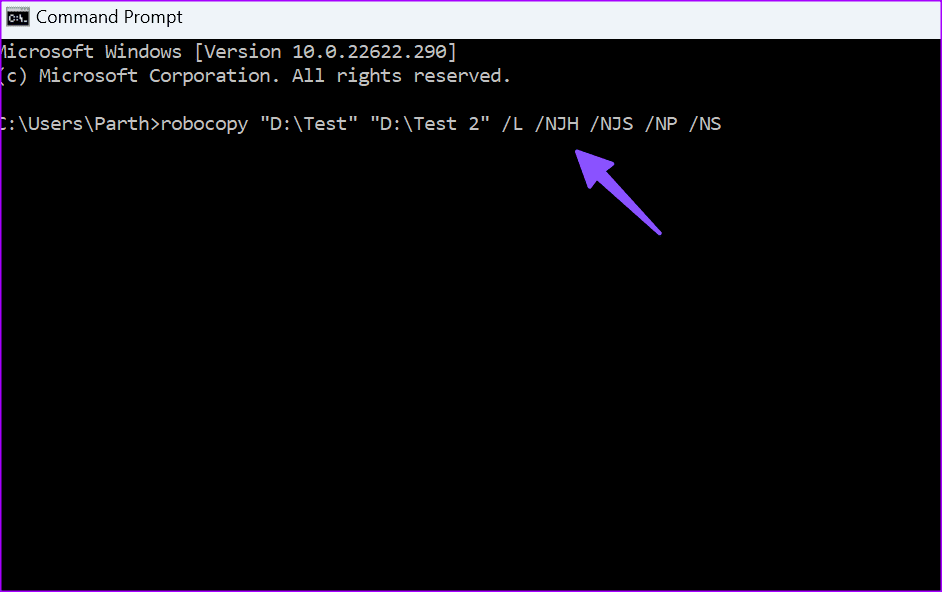
Command Prompt shows the differences between the two folders.
- EXTRA File: Shows the present file in the second folder, not the first folder.
- New File: Shows the present file in the first folder, not the second folder.
- Older: Files are available in both folders, but the creation date is older in the first folder.
- Newer: Files are available in both folders. The creation date is older in the second folder.
Method 3: Use WinMerge to Compare the Content of Two Folders
WinMerge is a free comparison tool for Windows users. You can easily compare up to three folders with the software. Let’s check it in action.
Step 1: Download WinMerge on Windows.
Step 2: Double-click on your downloaded file and follow the usual installation process. It asks you to install extensions and language packs.
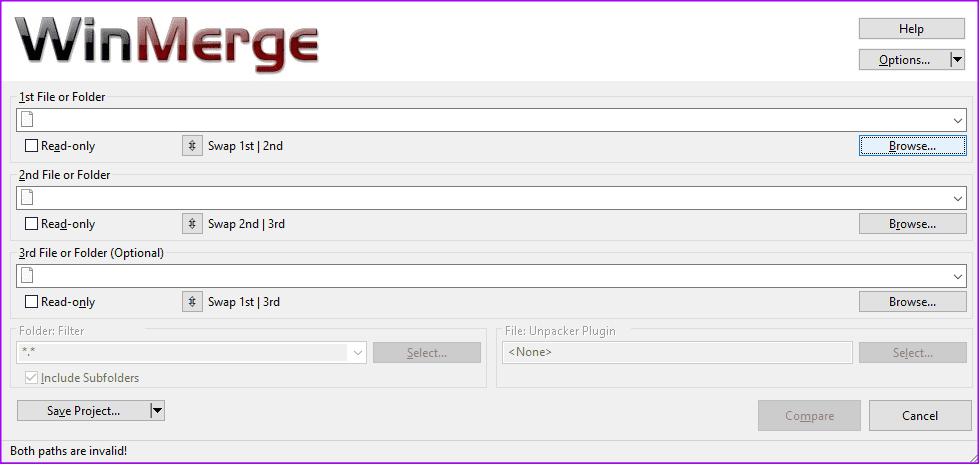
Step 3: Open WinMerge and press the Control+O hotkey combo to open a new comparison.
Step 4: To select a folder, click Browse… on the far right under the 1st File or Folder bar. Use the browse feature to select a folder that you want to compare.
Step 5: Within the browse window, you need to enter the folder you want to compare, then click Open.
If you only select but don’t enter the folder you want to compare, the browse window will enter the folder for you. When you’ve selected the first folder, repeat the process for the second folder below it.
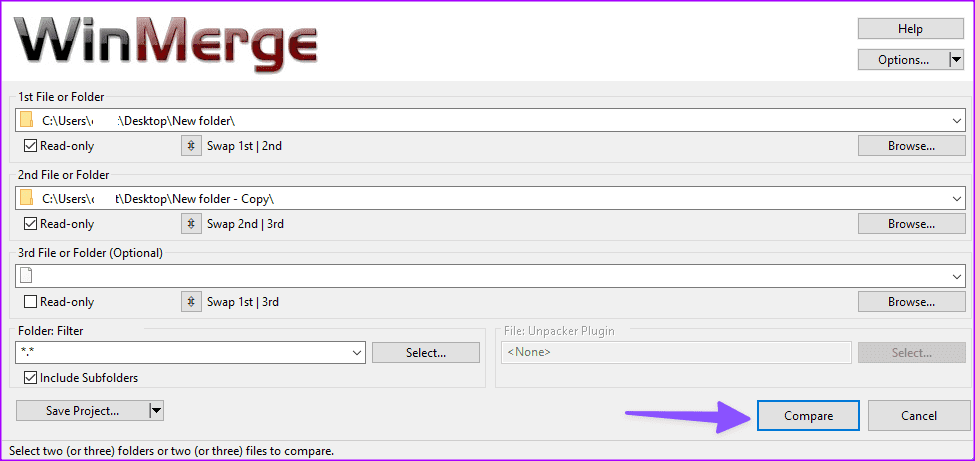
Step 6: Once you’ve selected both folders you want to compare, ensure that both Read-only checkboxes are ticked. Ensure that the Folder Filter is set to the default *.* to compare all files.
Step 7: Once you’ve completed setting up the comparison, click Compare.
Step 8: With large folders containing many files and subdirectories, the comparison process may take a while to complete.
Step 9: Once it completes, you’ll see a list of all the files in the folders. By default, the results table lists: the filename, the path of a subdirectory, the result of the comparison, the edit dates of the file in both folders, and the file extension for each file in the compared folders.

Method 4: FreeFileSync to Compare Two Directories
FreeFileSync is another capable software to compare files in two folders. It compares folders, syncs missing files between the two, and gets the job done without breaking the sweat.

You can check the synchronization speeds, pick from several options to complete the sync, add required filters to skip important files and do a lot more with customization options.

Although the developers have updated the software with new features and bug fixes periodically, the UI looks crowded and slightly outdated. If you don’t prefer WinMerge, FreeFileSync is worth giving a try.
Manually comparing content in two folders can be time-consuming and inconvenient (especially on a small screen). If you only want to compare two files, use AI tools like ChatGPT and Google Bard to get the job done.
Was this helpful?
Last updated on 20 July, 2024
Read Next
 How to Compare Two PDF Files Side by Side
Method 1: Using Adobe Acrobat On Your Desktop The best way to compare two PDF files side by side on your desktop is with the help of Adobe Acrobat.
How to Compare Two PDF Files Side by Side
Method 1: Using Adobe Acrobat On Your Desktop The best way to compare two PDF files side by side on your desktop is with the help of Adobe Acrobat.
 3 Ways to Fix USB Drive Not Showing Files and Folders on Windows 11
Try These Basic Fixes Configure File Explorer to show hidden items: If some of your files and folders are missing from the USB drive but the storage space is still
3 Ways to Fix USB Drive Not Showing Files and Folders on Windows 11
Try These Basic Fixes Configure File Explorer to show hidden items: If some of your files and folders are missing from the USB drive but the storage space is still
 How to Control Integrity Level of Windows 10 Files, Folders
Ever had the problem of ‘Access is Denied’ while browsing through your own computer?
How to Control Integrity Level of Windows 10 Files, Folders
Ever had the problem of ‘Access is Denied’ while browsing through your own computer?
 How to Manage Files and Folders Efficiently on Windows 10
Files and folders tend to accumulate over time on our Windows computers.
How to Manage Files and Folders Efficiently on Windows 10
Files and folders tend to accumulate over time on our Windows computers.
 5 Fixes for “Unspecified Error” When Copying Files or Folders in Windows
Fix 1: Check the Destination Drive Format Are you attempting to copy a file to an external drive that uses a non-NTFS format?
5 Fixes for “Unspecified Error” When Copying Files or Folders in Windows
Fix 1: Check the Destination Drive Format Are you attempting to copy a file to an external drive that uses a non-NTFS format?
 How to Open Files and Folders in CMD on Windows
How to Open a File Using Command Prompt on Windows Here's how you can easily open Command Prompt on your PC and use it to access a file.
How to Open Files and Folders in CMD on Windows
How to Open a File Using Command Prompt on Windows Here's how you can easily open Command Prompt on your PC and use it to access a file.
 5 Fixes for OneDrive Creating Duplicate Files and Folders on Windows
Fix 1: Remove OneDrive Cached Credentials A common reason why OneDrive may keep creating duplicate files with the computer name added to the filename is due to its cached credentials.
5 Fixes for OneDrive Creating Duplicate Files and Folders on Windows
Fix 1: Remove OneDrive Cached Credentials A common reason why OneDrive may keep creating duplicate files with the computer name added to the filename is due to its cached credentials.
 How to Show Hidden Files and Folders in Windows 11
Have you ever been in a situation where you hid some files on your Windows device while sharing them with friends or family and couldn't find them later?
How to Show Hidden Files and Folders in Windows 11
Have you ever been in a situation where you hid some files on your Windows device while sharing them with friends or family and couldn't find them later?
The article above may contain affiliate links which help support Guiding Tech. The content remains unbiased and authentic and will never affect our editorial integrity.