When something goes wrong in Windows, Safe Mode is an excellent way to troubleshoot by isolation. It cuts everything down to its bare minimum, allowing the user to see whether the problem lies with a third-party app, malware, or something else.
If you need some more rigorous troubleshooting and need to add Safe Mode to Windows 11 boot menu, then this article will show you how.
How to Add Safe Mode to Your Windows 11 Boot Menu
There are many ways to enter Safe Mode, both while in Windows and when booting up. However, we’re looking to have you boot straight into safe mode from startup. To do this consistently, there are two similar methods to enable consistent Safe Mode booting through Command Prompt and System Configuration. Let’s take a look.
Using Command Prompt
Command Prompt is a handy way to, in Windows 11, add Safe Mode to the Boot Menu. You can enter “Advanced Boot” every time you start up or restart your machine. It’s quite easy to enable, too. Here’s what to do:
Step 1. Open Command Prompt via the search bar, or by typing “cmd” into the Run Dialog box (Win + R).
Step 2. In the window, type the following: “bcdedit /set {bootmgr} displaybootmenu yes”, and press “Enter.”
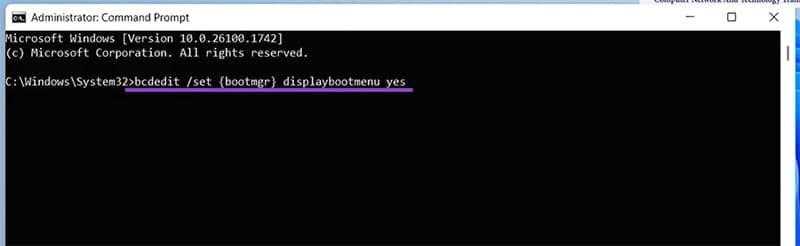
Step 3. If you get the message “The operation completed successfully,” you are good to go.

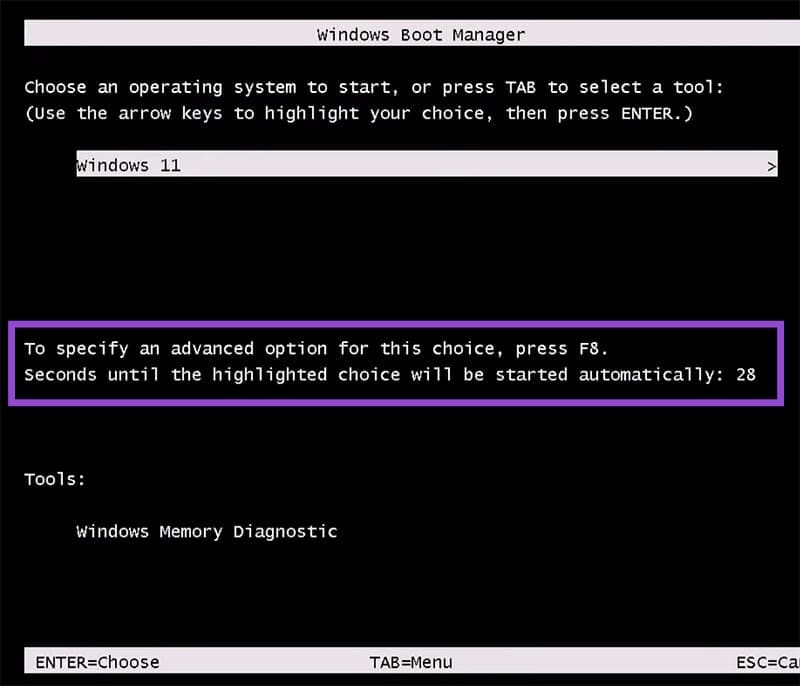
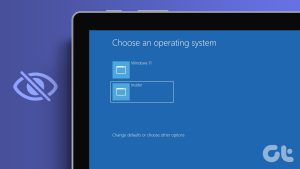
Step 4. Restart your machine. Upon booting, you’ll be greeted with this screen. Before the timer runs out, press F8 to open the “Startup Settings” and choose Safe Mode.
Your PC will now start like this every time. If you ever want to disable it, enter Command Prompt and type “bcdedit /set {bootmgr} displaybootmenu no” and press “Enter.”
Using System Configuration
Here’s how to make your PC always start in Safe Mode via System Configuration:
Step 1. Open the Run Dialog (Win + R) and type “msconfig” into the box, and press “OK.”
Step 2. The System Configuration Window will pop up. Navigate to the “Boot” tab at the top of the window.
Step 3. In the “Boot Options” subgroup, check the box that says “Safe Boot.” You can then choose your specific subtype of Safe Mode if you’d like. “Minimal” is the most stripped-down version, while “Network” offers connectivity.
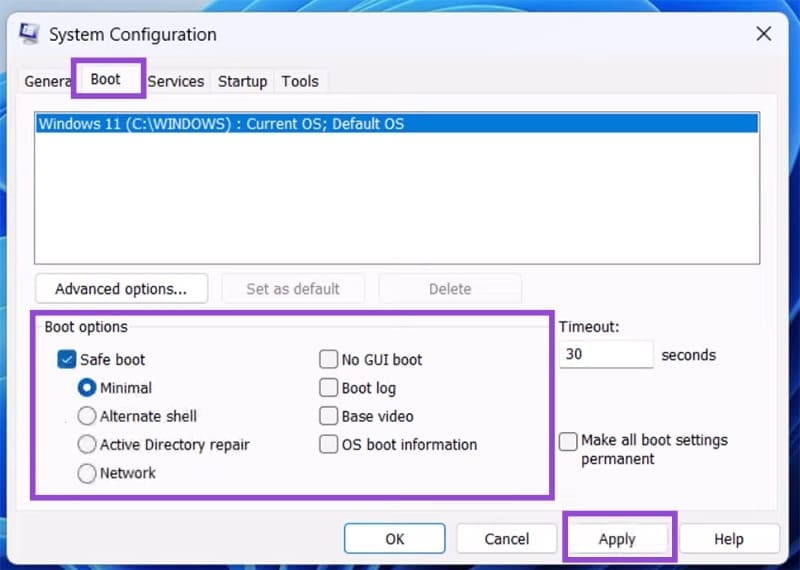
Step 4. Once done, click “Apply,” then “OK” to finalize.
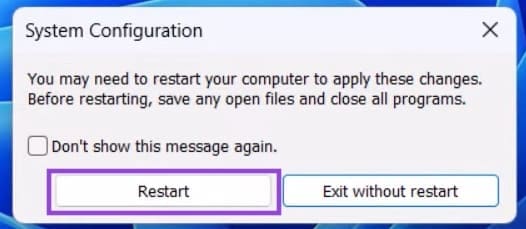
Step 5. Another pop-up will ask you to restart your PC to finalize changes. Click the “Restart” button if you’re happy to proceed immediately. Your PC should then boot into Safe Mode automatically.
Just a quick note: your PC will start up in the version of Safe Mode you chose every time you restart or boot up. If you want to stop this at any time, simply repeat the steps above and uncheck the “Safe Boot” option.
Was this helpful?
Last updated on 13 November, 2025
Read Next
 How to Make Excel Tables With Multiple Header Rows Easier to Use
Sometimes we complicate our lives, and that includes Excel spreadsheets.
How to Make Excel Tables With Multiple Header Rows Easier to Use
Sometimes we complicate our lives, and that includes Excel spreadsheets.
 3 Fixes for Windows 11 Stuck in Safe Mode
Fix 1: Use System Configuration System Configuration is a utility used to define how your PC starts up and which programs and services run with it.
3 Fixes for Windows 11 Stuck in Safe Mode
Fix 1: Use System Configuration System Configuration is a utility used to define how your PC starts up and which programs and services run with it.
 Fix Windows 11 Black Screen in Safe Mode
Typically, Safe Mode is designed to run without the bloat of installed programs and altered Windows utilities, which can help you troubleshoot persistent issues.
Fix Windows 11 Black Screen in Safe Mode
Typically, Safe Mode is designed to run without the bloat of installed programs and altered Windows utilities, which can help you troubleshoot persistent issues.
 5 Ways to Fix Dual Boot Option Not Showing on Windows 11
Fix 1: Enable Dual Boot Option Using Command Prompt Sometimes, the dual boot option goes missing when upgrading the operating system.
5 Ways to Fix Dual Boot Option Not Showing on Windows 11
Fix 1: Enable Dual Boot Option Using Command Prompt Sometimes, the dual boot option goes missing when upgrading the operating system.
 How to Perform a Clean Boot in Windows and Why It Matters
What Is Clean Boot on a Windows PC A clean boot in Windows is a troubleshooting technique that helps you identify software conflicts causing issues with your computer.
How to Perform a Clean Boot in Windows and Why It Matters
What Is Clean Boot on a Windows PC A clean boot in Windows is a troubleshooting technique that helps you identify software conflicts causing issues with your computer.
 What to Do if Windows Won’t Boot With a New GPU
If you’ve just upgraded your PC with a new graphics card (GPU) and it won’t boot, there are several possible reasons for that, each with a varying difficulty of fixing
What to Do if Windows Won’t Boot With a New GPU
If you’ve just upgraded your PC with a new graphics card (GPU) and it won’t boot, there are several possible reasons for that, each with a varying difficulty of fixing
 How to Boot Windows From an External SSD
If you’re looking to install Windows from scratch, the good news is that it’s easy to do with any external drive, including an SSD.
How to Boot Windows From an External SSD
If you’re looking to install Windows from scratch, the good news is that it’s easy to do with any external drive, including an SSD.
The article above may contain affiliate links which help support Guiding Tech. The content remains unbiased and authentic and will never affect our editorial integrity.