The Easiest Way to Delete a Page on Microsoft Word
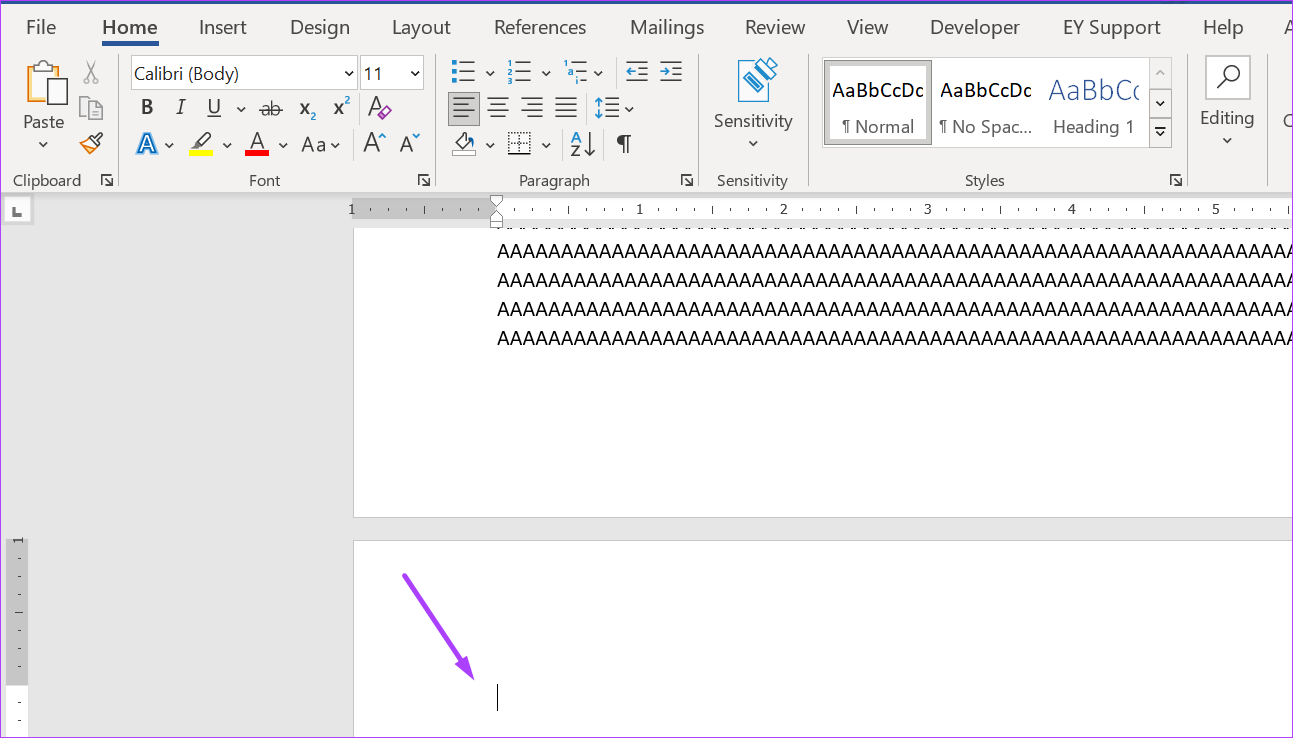
All you need to do is select the text or content on the page and hit the Backspace or Delete key. This will erase the content from the page.

This will result in an empty page. Now all you need to do is place the cursor on this empty page, and use the Backspace or Delete key multiple times – until the page is removed from the document.
Also Read: Top 7 fixes for can’t select or highlight text in Microsoft Word
However, in some cases, hitting the Backspace or Delete key might not work. An example is where your document has a header or footer. The header or footer prevents the cursor of your mouse from moving upwards to remove the page. In such a situation, here are other ways to delete the page on Microsoft Word.
Method 1: Remove Page Breaks and Delete Blank Pages From the End of the Word Document
At times, your document will have a blank page even after you adjust the font size and formatting. Here are the steps to delete it:
Step 1: Place your cursor on the page for deletion.
Step 2: On your Ribbon, and within the Paragraph group, click on the reversed P sign to show all paragraph marks/page breaks at the beginning of the blank page.
You can also opt to click on Ctrl + Shift + 8 keys simultaneously as a shortcut.

Step 3: Place your cursor in front of the first paragraph sign, left-click on your mouse, and drag down till all the paragraph marks are highlighted.
Step 4: Tap the Backspace or Delete key on your keyboard.
After that, the blank page on your Word document won’t exist.

Also Read: How to Find and Delete Extra Spaces in Microsoft Word
Method 2: How to Delete a Blank Page in the Middle of a Microsoft Word Document
Formatting in a Word document can become tricky if you add a table. While fixing the table width, you might end up adding a blank page in the middle of a document.
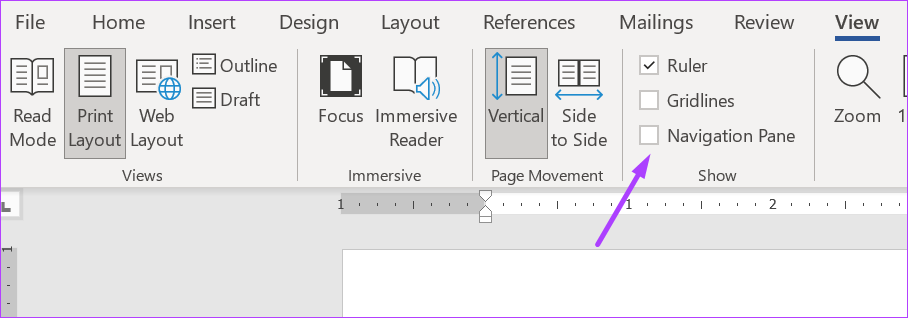
Step 1: On the Ribbon, click on the View tab.

Step 2: In the Show group, tick the box beside the Navigation Pane. You can use the shortcut Ctrl + F to launch the Navigation Pane.
Step 3: On the Navigation Pane, click on Pages to view all pages on the document.

Step 4: The Navigation Pane typically highlights the active page on Word. Click the blank middle page if not already highlighted.
Step 5: Tap the Delete key on your keyboard, and the page should no longer exist.
Method 3: How to Delete a Filled Page in Any Part of a Microsoft Word Document
Hitting the backspace key to delete the entire content of a Word page can get tiring. At the same time, it does not guarantee that after all content is deleted, the newly blank page will also be deleted. Instead, here’s what you can do to delete a filled page on your Word file.
Step 1: Place your cursor on the page for deletion.
Step 2: On your Home Ribbon, click on the Editing icon.

Step 3: Click on Find from the drop-down.

Step 4: Click on Advanced Find from the drop-down. You can also click Ctrl + G on your keyboard to launch the Find and Replace dialog box.

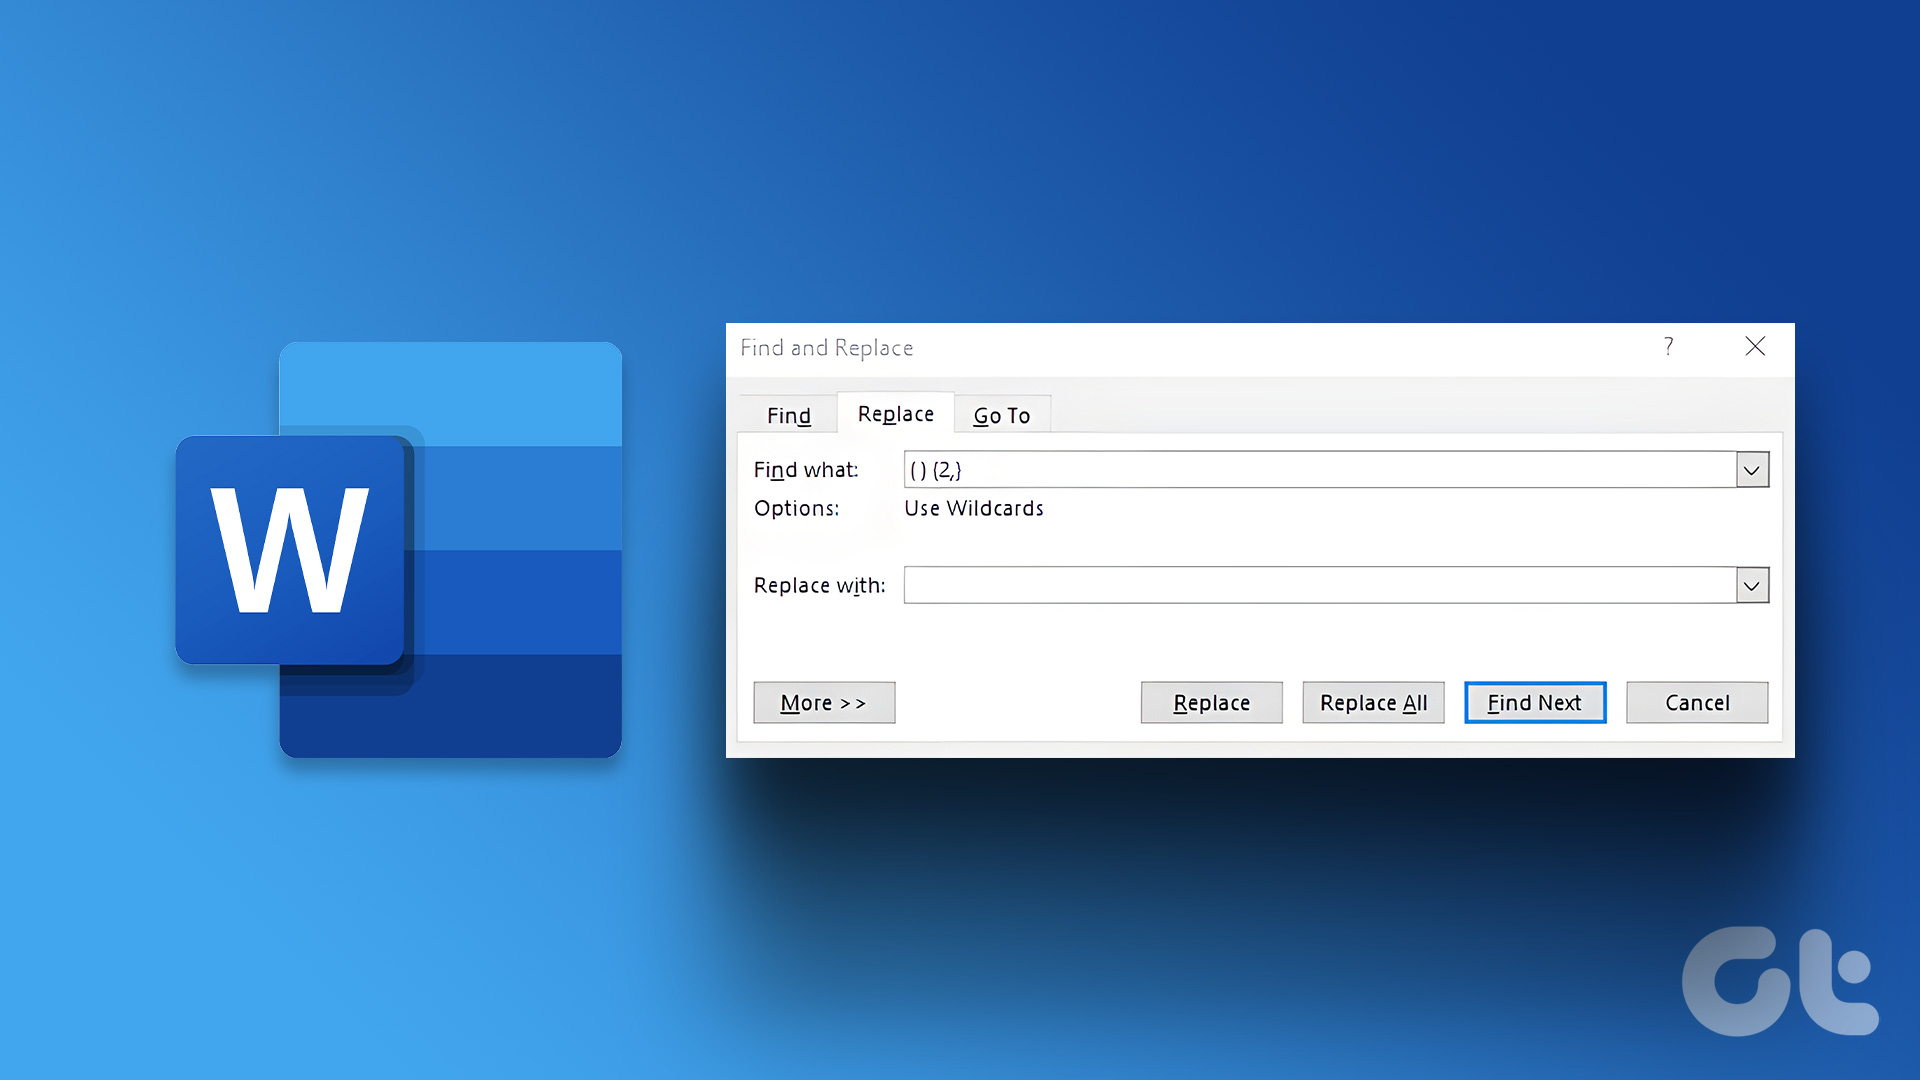
Step 5: On the Find and Replace dialog box, on the Go To tab.

Step 6: On the Go to what menu, click on Page.

Step 7: In the field under Enter page number, type \page.

Step 8: At the bottom of the Find and Replace dialog box, click on the Go To button. Clicking the Go To button will highlight all the content on the page for deletion.

Step 9: Click the Close button at the bottom of the dialog box.
Step 10: Tap the Backspace or Delete key on your keyboard.

Also Read: How to Add, Customize, and Delete a Text Box in Microsoft Word
Was this helpful?
Last updated on 29 August, 2024
Read Next
 How to Remove Extra Space Between Words in Microsoft Word
Method 1: Find and Delete Extra Spaces in Microsoft Word Using Find and Replace The first obvious way is to do it manually since you wouldn't want automation to cause
How to Remove Extra Space Between Words in Microsoft Word
Method 1: Find and Delete Extra Spaces in Microsoft Word Using Find and Replace The first obvious way is to do it manually since you wouldn't want automation to cause
 Apple Pages vs Microsoft Word: Which Word Processing Software Is Better
Every major tech company out there is offering their version of the productivity suite.
Apple Pages vs Microsoft Word: Which Word Processing Software Is Better
Every major tech company out there is offering their version of the productivity suite.
 How to Delete a Blank Page in Google Docs on Any Device
How to Remove Empty Pages Using the Google Docs Mobile App Although the Google Docs mobile app does not have as many options as the desktop version, it still gets
How to Delete a Blank Page in Google Docs on Any Device
How to Remove Empty Pages Using the Google Docs Mobile App Although the Google Docs mobile app does not have as many options as the desktop version, it still gets
 5 Ways to Fix Google Chrome Showing Untitled Blank Page
Basic Fixes: Close and restart Chrome: Temporary browser glitches can cause Chrome to show an untitled blank page.
5 Ways to Fix Google Chrome Showing Untitled Blank Page
Basic Fixes: Close and restart Chrome: Temporary browser glitches can cause Chrome to show an untitled blank page.
 How to Convert Word Documents to Pages (and Vice Versa) on Mac
How to Convert Word Files to Pages on Mac If you are fully invested in an Apple ecosystem and don’t have Microsoft apps such as OneDrive or Microsoft Word, you
How to Convert Word Documents to Pages (and Vice Versa) on Mac
How to Convert Word Files to Pages on Mac If you are fully invested in an Apple ecosystem and don’t have Microsoft apps such as OneDrive or Microsoft Word, you
 How to Put Different Headers and Footers on Different Pages in Word
Method 1: Add a Basic Header or Footer Before creating different headers or footers for sections of your document, it's better to know how to add them in the first
How to Put Different Headers and Footers on Different Pages in Word
Method 1: Add a Basic Header or Footer Before creating different headers or footers for sections of your document, it's better to know how to add them in the first
 Top 3 Ways to Add or Delete PDF Pages on iPhone
Method 1: Delete PDF Pages Using the Default PDF Editor on iPhone Step 1: Open the Files app on your iPhone.
Top 3 Ways to Add or Delete PDF Pages on iPhone
Method 1: Delete PDF Pages Using the Default PDF Editor on iPhone Step 1: Open the Files app on your iPhone.
 Why Is My YouTube Home Screen Blank and How to Fix It
Why Is Your YouTube Homepage Blank Here are a few of the reasons your YouTube homepage is currently blank: Watch History is off for the selected YouTube account.
Why Is My YouTube Home Screen Blank and How to Fix It
Why Is Your YouTube Homepage Blank Here are a few of the reasons your YouTube homepage is currently blank: Watch History is off for the selected YouTube account.
The article above may contain affiliate links which help support Guiding Tech. The content remains unbiased and authentic and will never affect our editorial integrity.