If your Windows 11 installation keeps restarting with each mandatory reboot, cycling back to the setup screen instead of progressing to the desktop, you’re not alone. Constantly seeing the setup options means you never get to complete the installation, with seemingly no way to get out as there’s nothing in the system to boot to for troubleshooting apps. Here are some common fixes for when you see the Windows 11 installation in a loop.
Fix 1 – Remove the Bootable Media After Setup Begins
In most cases, the motherboard BIOS is set up to boot from USB drives or CD readers before hard disks, as that’s one of the few ways to install an operating system. With the installation media inserted, the BIOS might be trying to revert back to the installation whenever the PC boots, even during the installation process.
Step 1. Start the Windows 11 installation process normally using your bootable USB drive or DVD.
Step 2. Go through the initial setup screens and file copying phase until the first automatic restart that’s the part of the installation.
Step 3. As soon as the system begins to restart, remove the USB drive or DVD from your computer.
Step 4. Wait and see if the installation resumes from where it left off.
Fix 2 – Change Boot Order in BIOS Settings
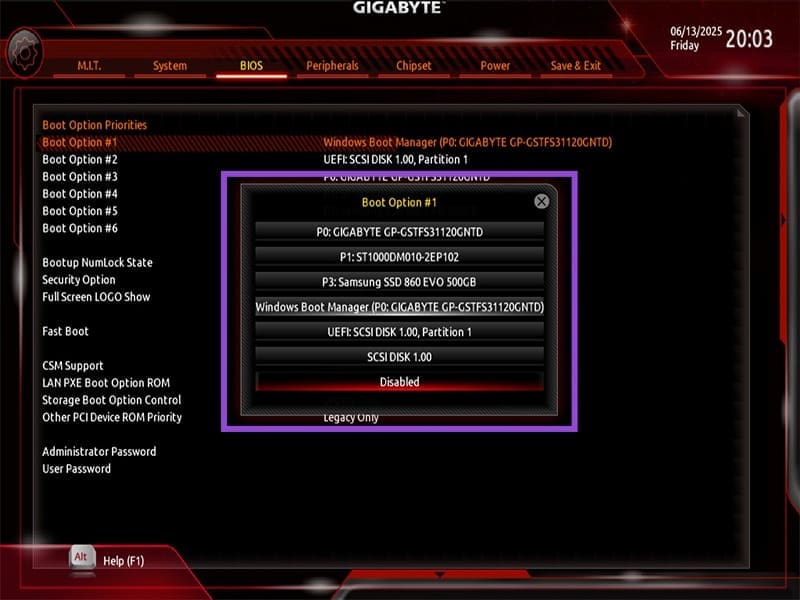
If removing the installation media doesn’t work, you can manually adjust your BIOS boot order to prioritize your internal storage device over external drives. This can theoretically be performed in the middle of the installation’s restart.
Step 1. Once your PC is restarting, press the BIOS key. This is typically “F2,” “F11,” “F12,” “Delete,” or “Esc,” depending on your motherboard manufacturer. The button should show up in the boot screen that displays as the first thing during startup.
Step 2. Navigate to the “Boot” or “Startup” section in your BIOS menu, and look for “Boot Priority,” “Boot Sequence,” or “Boot Order” settings.

Step 3. Move your internal hard drive or SSD to the top of the boot priority list, above any USB or optical drives.
Step 4. Press “Save and Exit.”

This should restart your PC and continue booting from the internal drive and continue the Windows 11 installation.
Fix 3 – Use DiskPart to Clean and Format the Drive
Disk formatting issues can prevent proper Windows 11 installation. This can be solved with the built-in DiskPart utility that comes in the installation.
Step 1. Boot from your Windows 11 installation media and reach the installation screen.
Step 2. Press “Shift + F10” to open Command Prompt from the setup.
Step 3. Type “diskpart” and hit “Enter” to launch the disk partitioning tool.
Step 4. Type “list disk” and press Enter to see all available drives.
Step 5. Enter “select disk X,” where X is the drive number for the installation partition (typically 0).

Step 6. Type “clean” and hit Enter to remove all partitions and data from the selected disk.
Step 7. Type “convert gpt” and press Enter to convert the drive to GPT format, which is required for UEFI systems.
Step 8. Type “exit” twice to close DiskPart and Command Prompt.
Step 9. Continue with the Windows 11 installation.
This process will erase all data on the selected drive. Ensure you’ve backed up any important files beforehand.
Fix 4 – Disable Secure Boot and Enable UEFI Mode
Conflicting BIOS settings between Secure Boot and Legacy/UEFI modes can cause installation loops, as Windows 11 technically doesn’t allow Legacy Boots.
Step 1. Enter the BIOS when your PC restarts.
Step 2. Navigate to the “Security” or “Boot” section to find Secure Boot settings.
Step 3. Disable “Secure Boot” by changing the setting to “Disabled.”
Step 4. Look for “Boot Mode” or “UEFI/Legacy” settings in the same or nearby menu. Ensure “UEFI” mode is enabled rather than “Legacy” mode.
Step 5. Save the changes and quit BIOS.
Fix 5 – Delete Existing Partitions and Start Fresh
Corrupted or improperly configured partitions from previous installations can interfere with Windows 11 setup.
Step 1. Boot from your Windows 11 installation media and proceed through the initial setup screens.
Step 2. When prompted to choose an installation type, select “Custom: Install Windows only (advanced).”
Step 3. You’ll see a list of existing drives and partitions on your system.
Step 4. Select each existing partition on your target drive and click “Delete.”
Step 5. Continue deleting partitions until you have only “Unallocated Space” remaining.
Step 6. Select the unallocated space and click “New” to create a fresh partition.
Step 7. Click “Next” to proceed with installing Windows 11 on the new, clean partition.
This method ensures that any conflicting partition structures from previous installations are completely removed.
Fix 6 – Run Startup Repair
If your Windows 11 installation keeps restarting, it’s possible that there are enough files to detect that the system is there and can get repaired via the same bootable drive.
Step 1. On the initial setup screen, click “Next,” then select “Repair your computer” instead of “Install now.”
Step 2. Choose “Troubleshoot” from the recovery options.
Step 3. Select “Advanced options.”
Step 4. Click on “Startup Repair” and allow the tool to scan for and fix boot problems.
Step 5. Restart your computer to see if the issue is resolved.
Fix 7 – Create Fresh Installation Media
If none of the options work, it’s possible that the bootable drive can’t finish the installation, and the system keeps booting to it in lieu of having no other options.
You’ll need to go through the process of making the installation media again. Try to use a different USB or DVD if possible.
Was this helpful?
Last updated on 16 June, 2025
Read Next
 3 Ways to Fix Amazon Fire TV Stick Keeps Restarting
Basic Fixes Use official accessories: If you aren't using the original accessories with your Firestick, you might use an incompatible USB cable or adapter.
3 Ways to Fix Amazon Fire TV Stick Keeps Restarting
Basic Fixes Use official accessories: If you aren't using the original accessories with your Firestick, you might use an incompatible USB cable or adapter.
 7 Best Ways to Fix Windows Settings Resets to Default Upon Reboot
Windows 10 lets you personalize it to suit your liking with wallpapers, color themes, Taskbar position and app icon shortcuts, Action Center, and more.
7 Best Ways to Fix Windows Settings Resets to Default Upon Reboot
Windows 10 lets you personalize it to suit your liking with wallpapers, color themes, Taskbar position and app icon shortcuts, Action Center, and more.
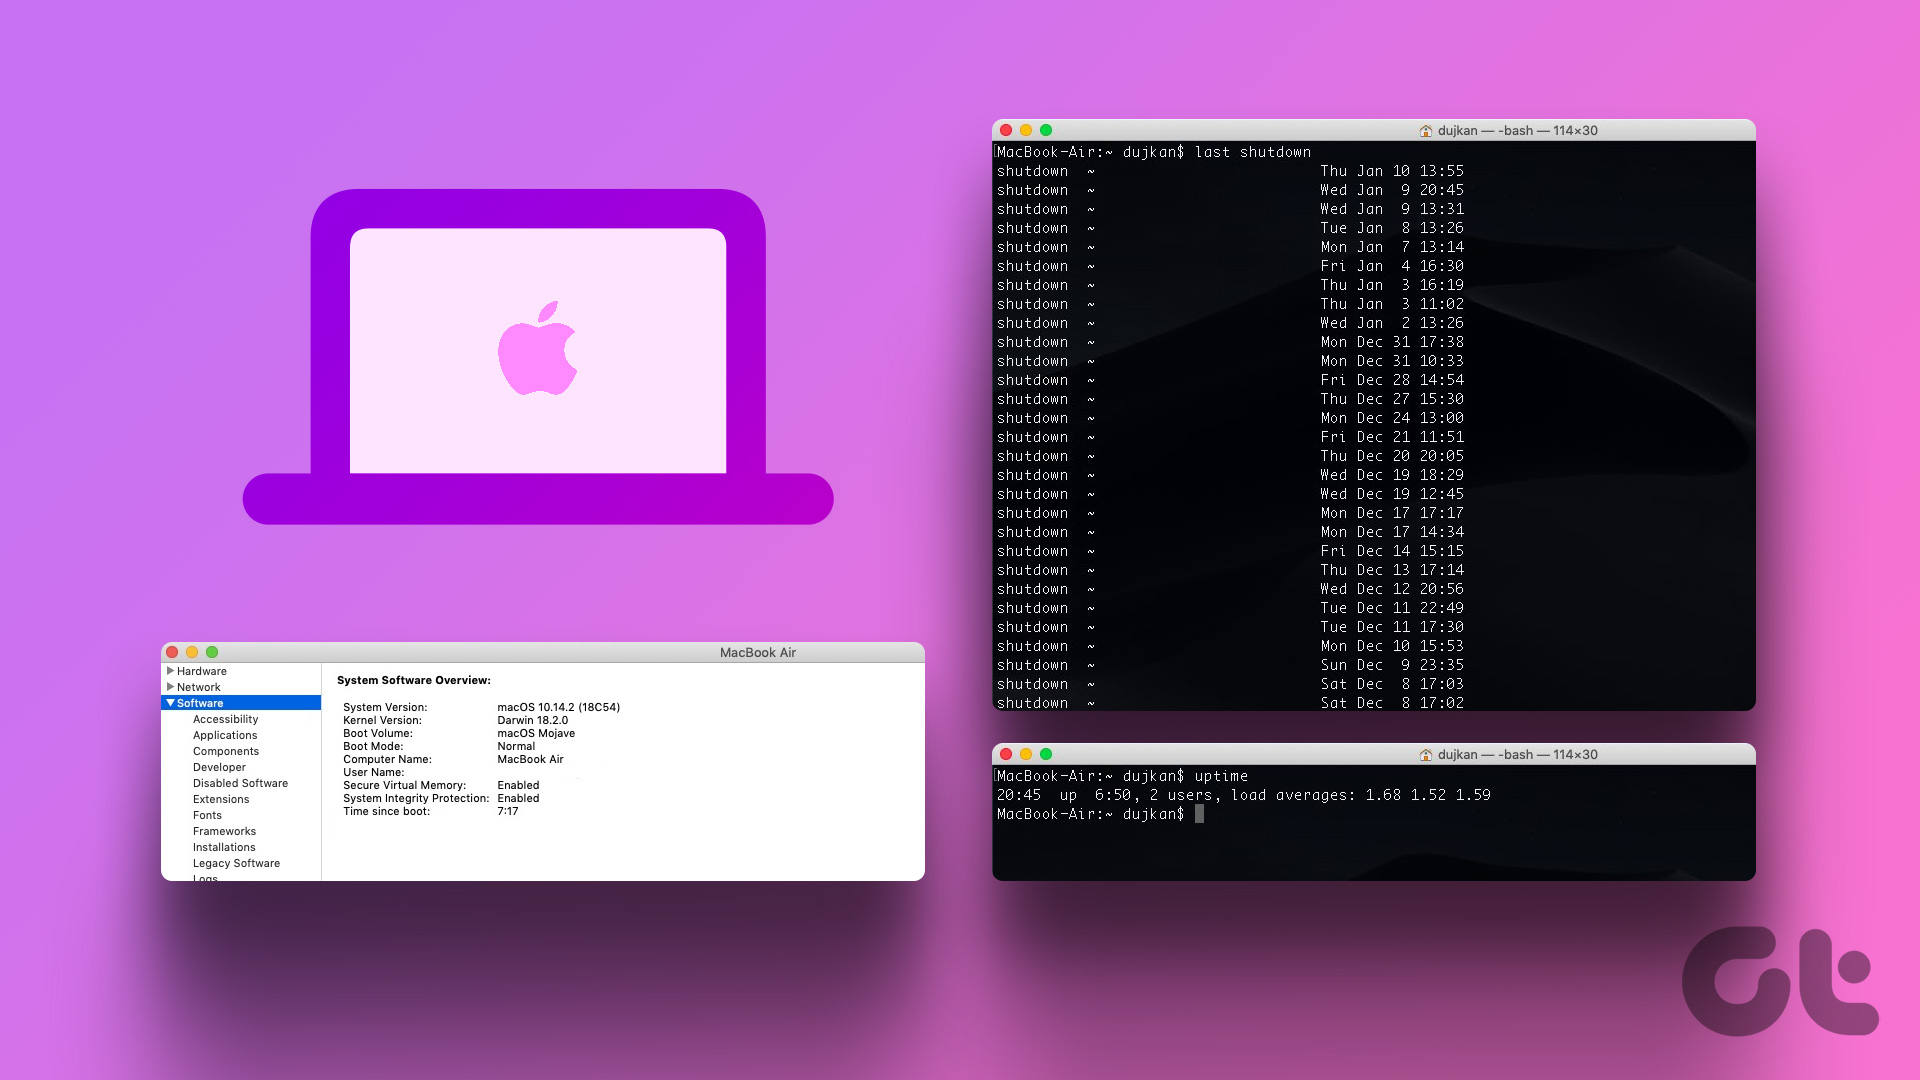 How to Check Your Mac’s Uptime, Reboot and Shutdown History
Are you curious to find out how often your Mac has been rebooted or shut down?
How to Check Your Mac’s Uptime, Reboot and Shutdown History
Are you curious to find out how often your Mac has been rebooted or shut down?
 Top 4 Fixes for Windows 10 PC Automatically Restarting After Shutdown
Power-related failures on Windows PC come in different forms.
Top 4 Fixes for Windows 10 PC Automatically Restarting After Shutdown
Power-related failures on Windows PC come in different forms.
 5 Ways to Fix Windows 11 Stuck on Restarting Screen
Try Basic Fixes Perform a force shutdown: While your Windows PC is stuck on restarting, press and hold the Windows key + X + power button until it turns off
5 Ways to Fix Windows 11 Stuck on Restarting Screen
Try Basic Fixes Perform a force shutdown: While your Windows PC is stuck on restarting, press and hold the Windows key + X + power button until it turns off
 How to Enter BIOS on Windows 10 and 11 PC Without Restarting
What Is BIOS and How Does It Work?
How to Enter BIOS on Windows 10 and 11 PC Without Restarting
What Is BIOS and How Does It Work?
 3 Ways to Fix Google Chrome Installation Failed on Windows
Basic Fixes: Ensure adequate storage for the installation: If your drive is full, there may not be room for the new installation, which may trigger the problem.
3 Ways to Fix Google Chrome Installation Failed on Windows
Basic Fixes: Ensure adequate storage for the installation: If your drive is full, there may not be room for the new installation, which may trigger the problem.
 How to Repair Microsoft Office Installation Errors in Windows
Are you having trouble installing Microsoft Office on your Windows computer?
How to Repair Microsoft Office Installation Errors in Windows
Are you having trouble installing Microsoft Office on your Windows computer?
The article above may contain affiliate links which help support Guiding Tech. The content remains unbiased and authentic and will never affect our editorial integrity.