
Gone are the days when you had to physically save a file to an external drive to hand off to somebody so they could view it on their own PC. Today, there are numerous ways to share files over Wi-Fi that Windows 11 supports.
Learn three tried and tested methods for Windows 11 PC to PC transfer of files below.
Share Files over Wi-Fi Windows 11: Method 1 – Email
Step 1. Some files can be sent by email, which is a standard option for many workplace PCs, especially when the files are small or compressed. To do this, open your email client (e.g., Outlook) and compose a new message.
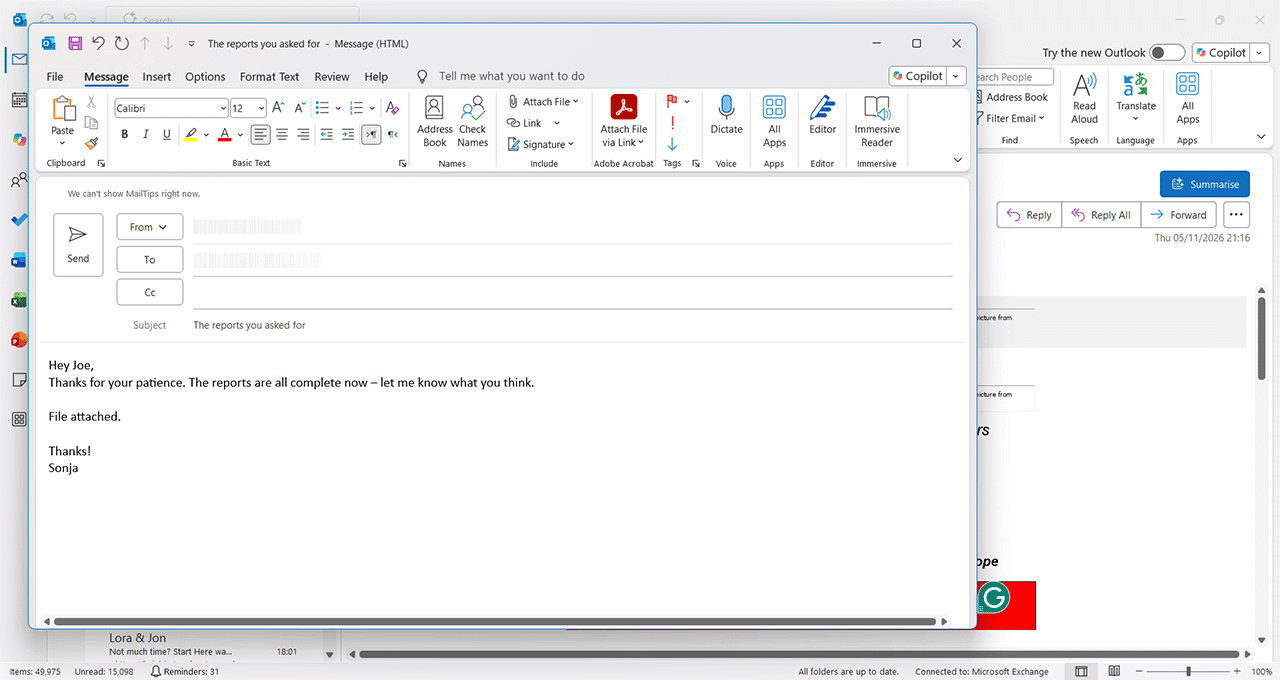
Step 2. Click “Attach File” on the Message tab to add your file.

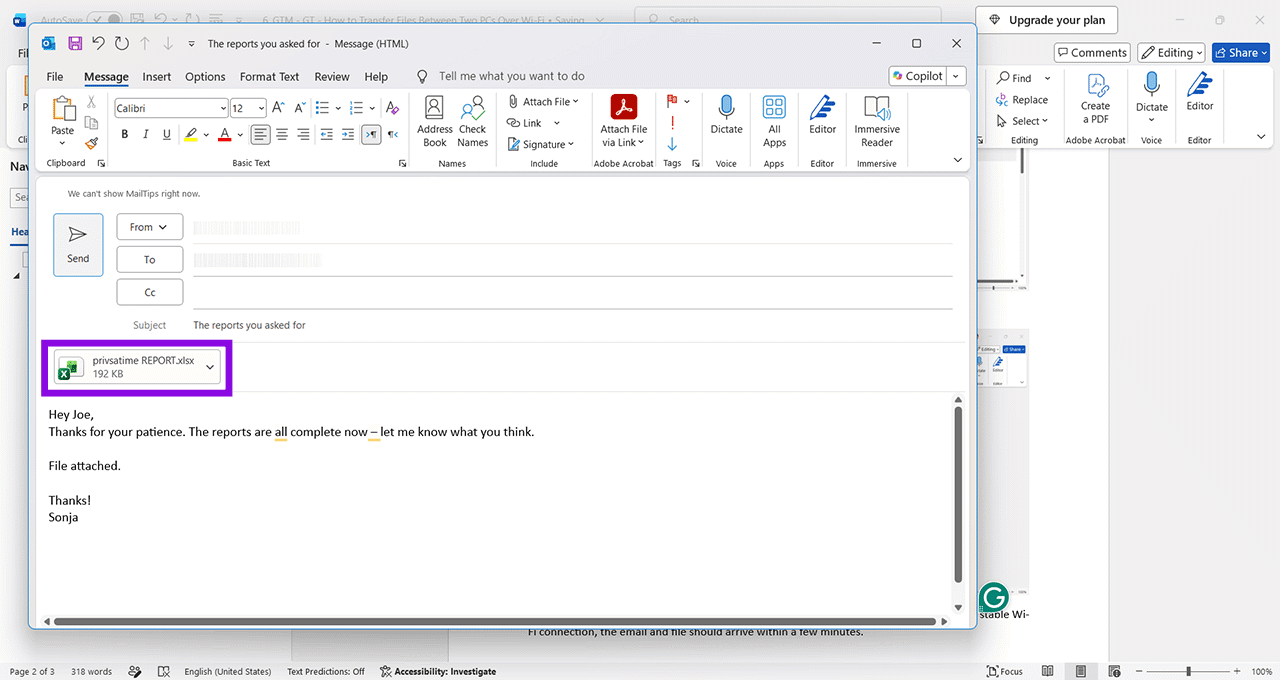
Step 3. Navigate to the file location and double-click the file you want to send.

Step 4. You should now see the file attached and can press “Send.” The recipient should receive the email once it has been sent and processed by the email service.
Windows 11 PC to PC Transfer: Method 2 – Shared Drive
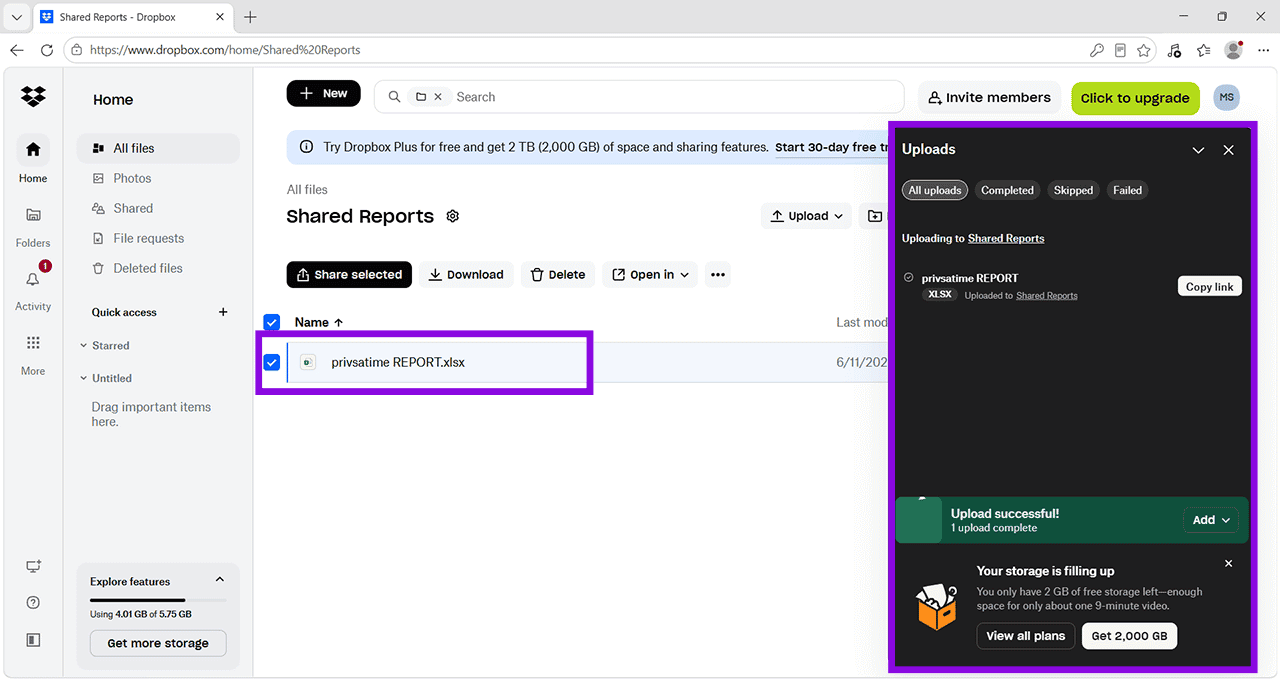
Step 1. Some files are simply too large to share by email, or you may want to share multiple files. One way to do this is to create a shared folder that all relevant parties can access. If you have business services from Microsoft or Google, you may already have shared storage set up as part of your plan. Alternatively, you can use Google Drive, Dropbox, or another cloud-based service. Create a folder in the online drive and make sure you grant access to the people who need it.
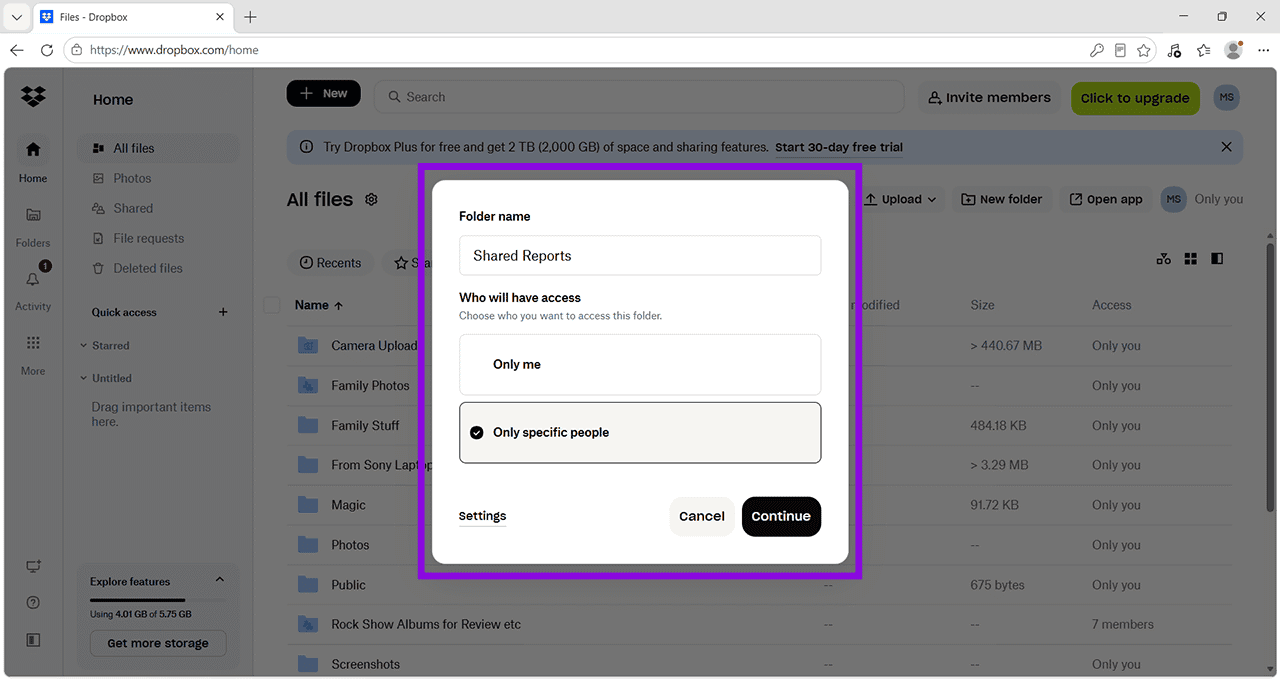
Step 2. You may need to add people who can access the folder in the next stage. Some cloud-based drives will allow you to do this after you’ve added the content.

Step 3. You can now upload files from your PC to the shared drive. The other person will be able to access them on their PC by going to the same shared drive, via the access you granted.

Windows 11 PC to PC Transfer: Method 3 – Third-Party App
Step 1. Some third-party apps (apps not licensed by Microsoft) work well for transferring files of all sizes. LocalSend, for example, sends files from PC to PC and to other devices as well, as long as they’re on the same Wi-Fi network. Download LocalSend on both PCs from this link: https://localsend.org/download.
Note: You don’t have to use LocalSend. Do your own research to find a user-recommended tool for file transfer, and remember to check reviews and forums before committing to any third-party software.

Step 2. Follow the on-screen prompts to download and install LocalSend. When the app opens, click “Send.”
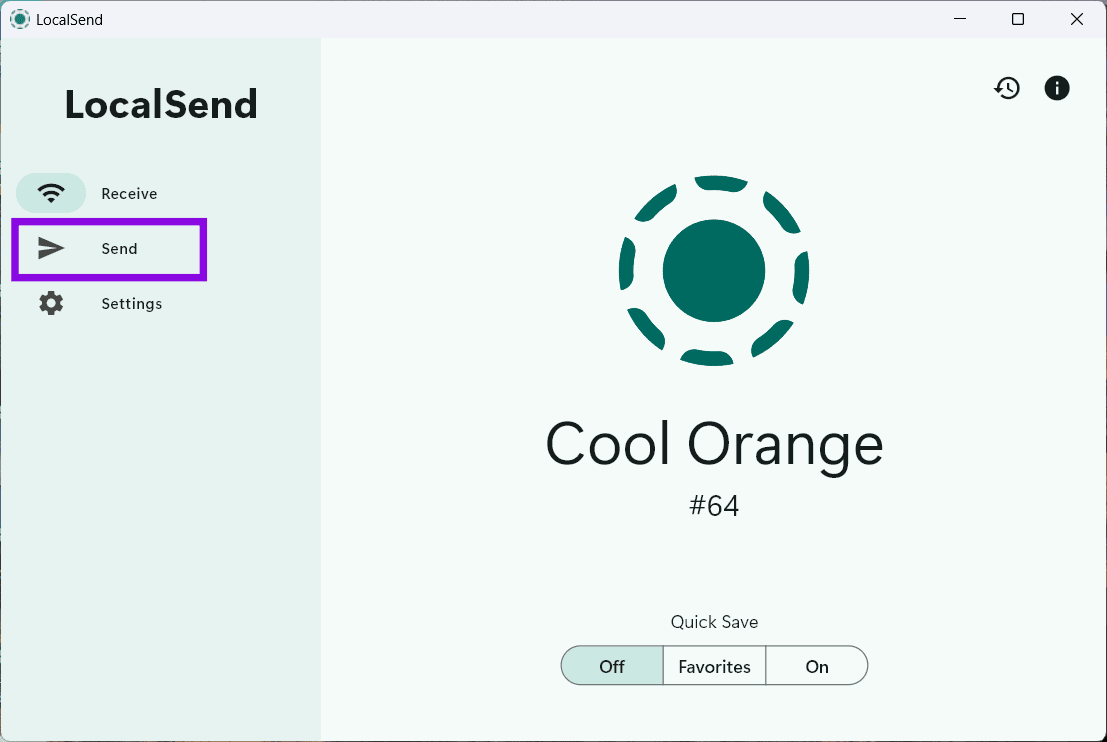
Step 3. It may take a few minutes to find the PC. Once it appears, click it, choose the file you want to send, and click “Send.” The recipient will get a notification and needs to click “Accept. “

Once that’s done, wait until the app notifies you that the transfer is complete, and that’s it.
Was this helpful?
Last updated on 07 November, 2026
Read Next
 5 Best Ways to Transfer Files Between iPhone and Windows PC
We always speak about how convenient the Apple ecosystem is.
 4 Ways to Transfer Files Between Mac and Android Wirelessly
1.
 6 Best UPS for Gaming PCs for Uninterrupted Gaming
A reliable UPS acts as your gaming PC's guardian angel, shielding it from power fluctuations, surges, and unexpected outages.
 6 Best Silent Mice for Macs and PCs in 2024
If you use a laptop, chances are you use the built-in trackpad for navigation.
 6 Best Mini PCs for Gaming in 2024
Gone are the days when Mini PCs were limited to standard office tasks like word processing.
 Microsoft CoPilot+ PCs: Why You Should and Shouldn’t Be Excited
Microsoft has officially taken its next big step in the AI race with its latest generation of devices: the Copilot+ PCs.
 How to Share Files Between Android and PC Without Internet
In today's connected world, sharing files between devices has become a necessity, whether for work, study, or personal reasons.
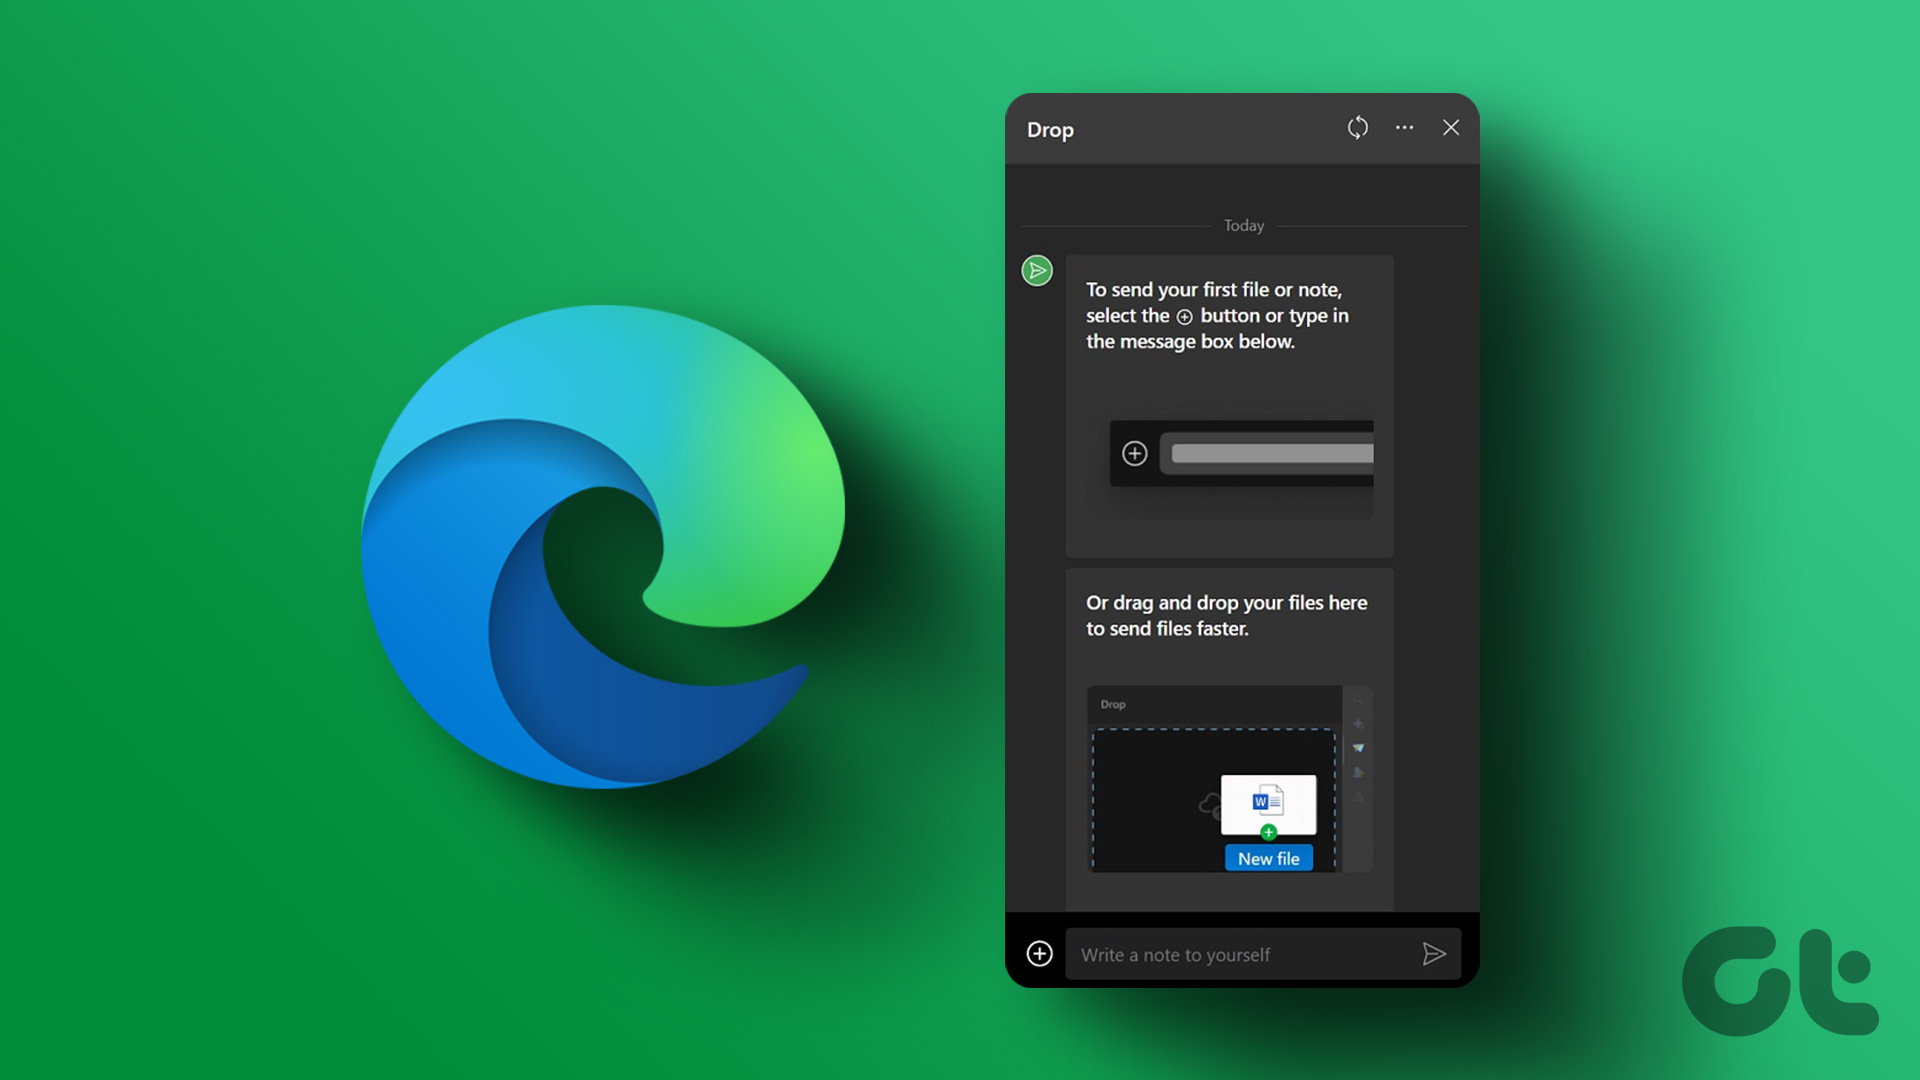 How to Use Microsoft Edge Drop Feature to Share Files Between Devices
How to Send Files From Your Desktop Using Microsoft Edge Drop Microsoft Edge’s Drop feature is only available in version 110.0.1587.41 or later.
The article above may contain affiliate links which help support Guiding Tech. The content remains unbiased and authentic and will never affect our editorial integrity.