Method 1: Using the Program Icon
Step 1: Firstly, open your preferred browser. Then, search for the program icon to know what it looks like.

Step 2: On your PC’s desktop, browse through the list of programs.
Step 3: Right-click on the program icon or shortcut on your desktop and click on Open File Location.
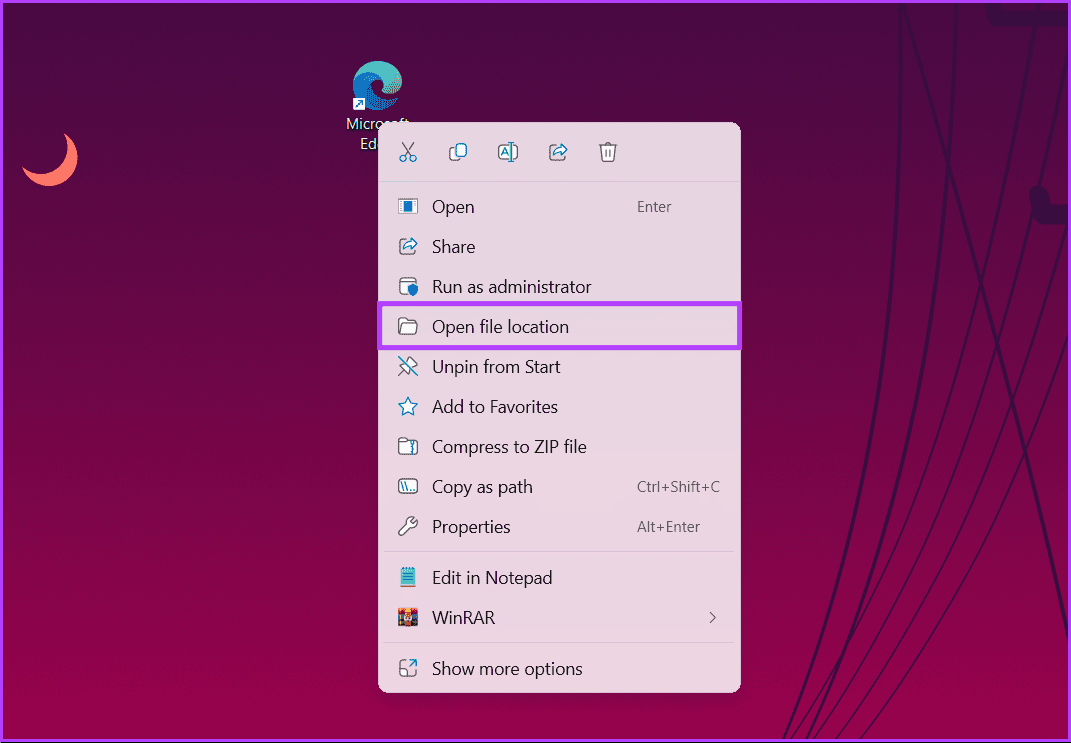
Once you do this, your computer takes you to the location where the program’s installation file is saved. Try the next method below if this method doesn’t work for you.
Also Read: How to change default download location on Windows 11
Method 2: Using the Start Menu
Step 1: Press the Windows key. Then, type the name of the program you are looking for, and you should see a list of search results.
Step 2: From the result, right-click on the app or program name.
Step 3: Finally, choose Open file location from the drop-down menu.

After you do this, your computer takes you to the location where it stored the program after installation. If you want to find the app’s location using the traditional method, check out the next method
Method 3: Using the File Explorer
Step 1: Firstly, launch the File Explorer.
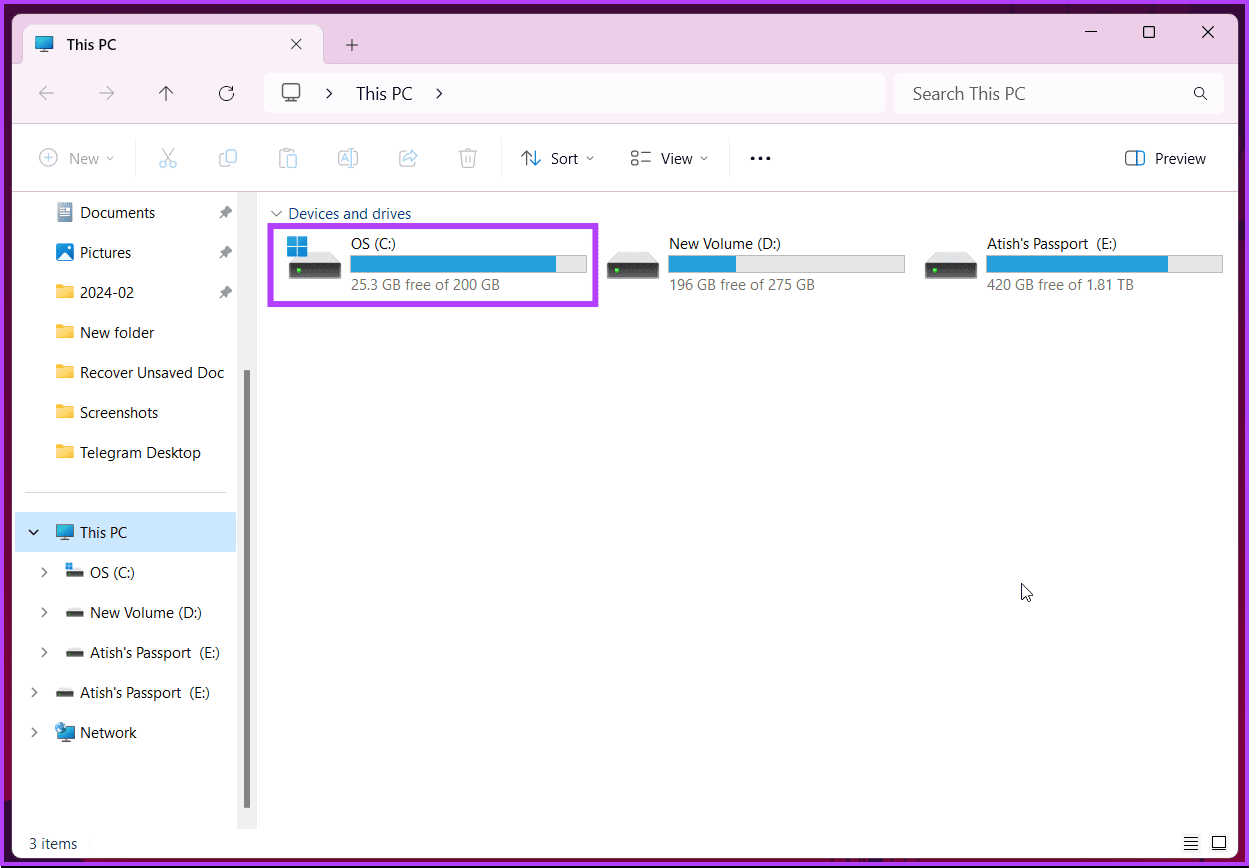
Step 2: Click This PC in the left pane of the File Explorer window.
Step 3: Select Local Disk (C:) or OSDisk (C:) from the list of options.
Step 4: You should see two folders: C:Program Files (x86) and C:Program Files.
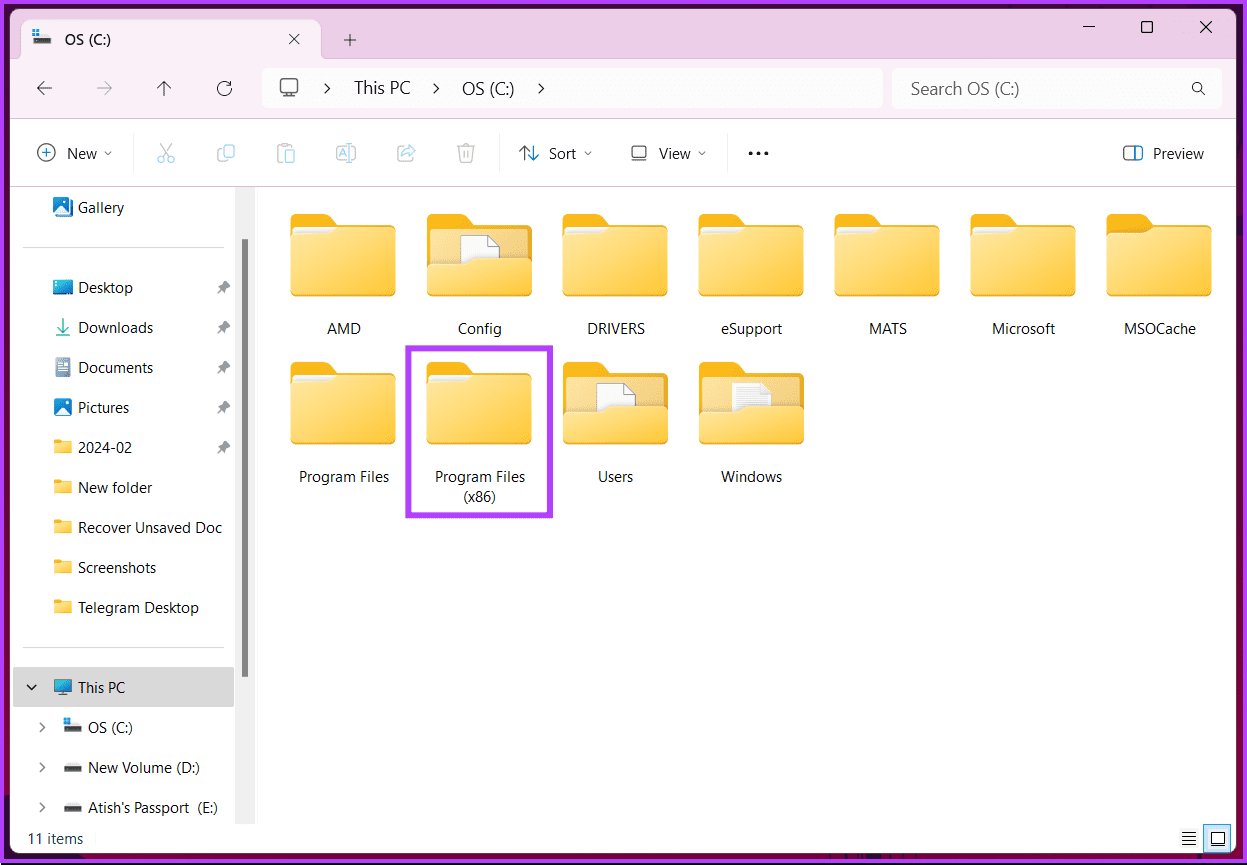
Step 5: Double-click any of these directories to open them. Here, you should find the installation folders for different programs.
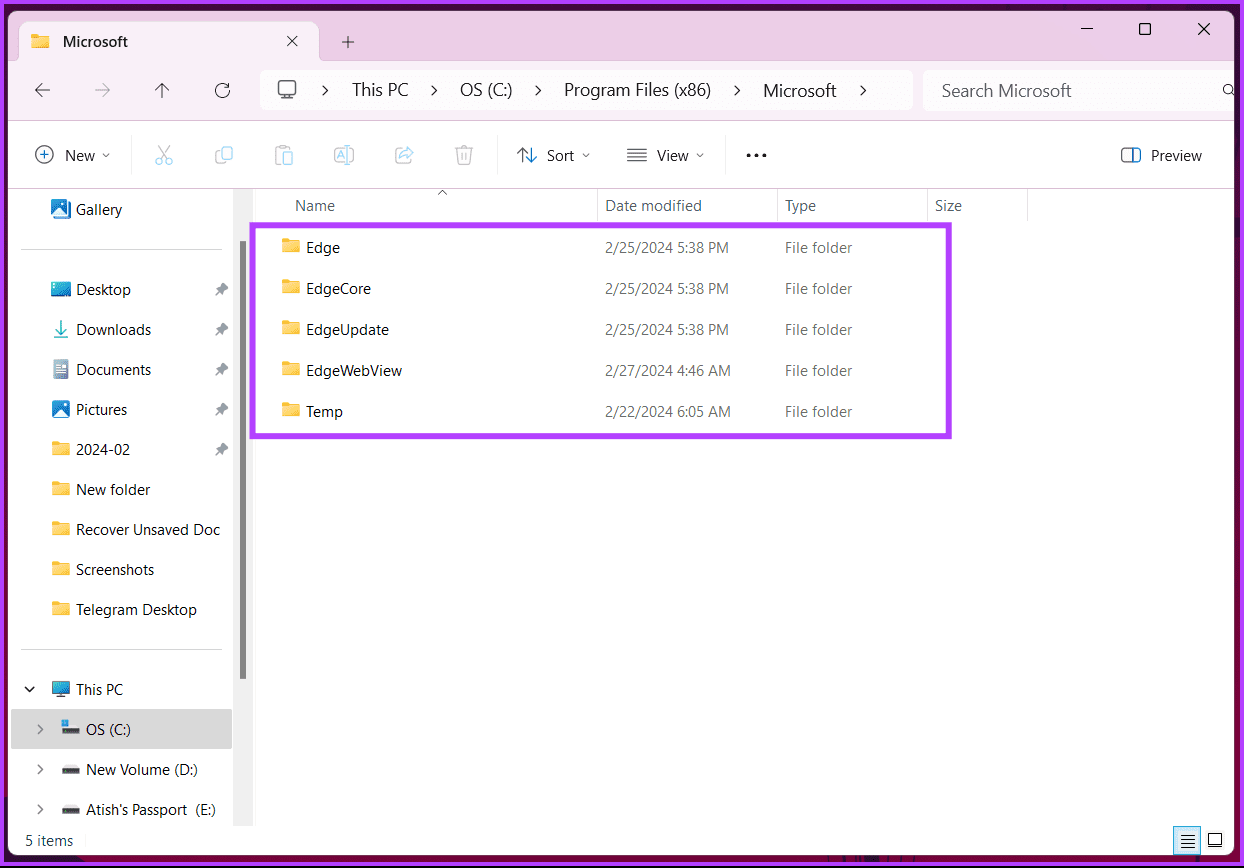
Step 6: Scroll through the different folders to find the one that you need, and double-click on it to open the folder.
That’s about it. You have successfully determined the installation location of an app or program. If you want to know one more way to find the app’s stored location? continue reading.
Also Read: Top ways to run apps as a different user on Windows 11
Method 4: Using the Task Manager
Step 1: Press the Windows key on your keyboard. Then, type Task Manager and click Run as administrator.
Step 2: Then click on the Details tab from the side pane.
Here, you will see a list of all the background processes and applications currently running on the computer.
Step 3: Right-click on any of the applications that you need to find their installation folder.
Step 4: Finally, select the Open file location.
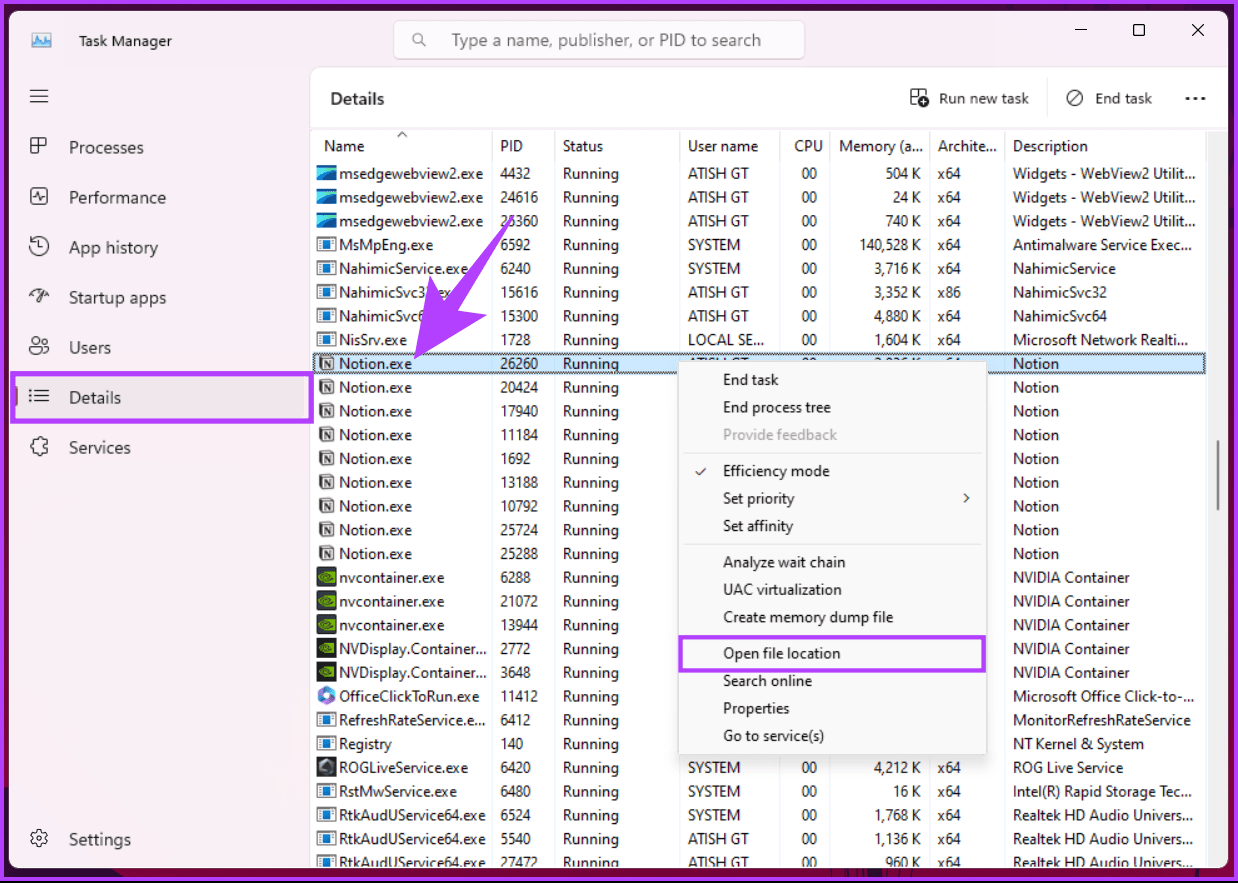
Your computer will automatically launch the location folder of the selected program’s installation directory. If you have any queries we missed addressing, check out the FAQ section below.
FAQs on Finding App and Program Locations on Windows 11
Microsoft Store apps usually install in C:\Program Files\WindowsApps but remain sandboxed and inaccessible directly.
No, deleting system files from Program Files can break programs. Only delete files you know are safe or from uninstalled programs.
Yes, but it’s limited. For Store apps, you can choose the drive in Settings > Storage > Where new content is saved. For desktop programs, some offer installation path options during setup.
Yes, go to Settings > Apps & features. You can sort by name, install date, or size.
With this, you can easily troubleshoot issues, manage storage efficiently, and even customize certain aspects of the software.
Was this helpful?
Last updated on 25 July, 2024
Read Next
 Difference Between an App and a Program in Windows 10: GT Explains
Back in the day, people used to talk about programs while discussing desktop operating systems like Windows.
Difference Between an App and a Program in Windows 10: GT Explains
Back in the day, people used to talk about programs while discussing desktop operating systems like Windows.
 Quickly Auto-Restart a Windows Process or Program that Crashes
No one’s ever been killed in a Windows crash, so the Microsoft jokes don’t die down.
Quickly Auto-Restart a Windows Process or Program that Crashes
No one’s ever been killed in a Windows crash, so the Microsoft jokes don’t die down.
 6 Ways to Fix Default Apps and Program Missing on Windows 10
There are two types of people: those who use default apps on their Windows PC and those who don't.
6 Ways to Fix Default Apps and Program Missing on Windows 10
There are two types of people: those who use default apps on their Windows PC and those who don't.
 3 Ways to Force Quit a Program on Windows 11
Method 1: Force Close an App or Program From the Taskbar On computers running Windows 11 version 23H2 or later, you can terminate non-responsive apps and programs from the taskbar.
3 Ways to Force Quit a Program on Windows 11
Method 1: Force Close an App or Program From the Taskbar On computers running Windows 11 version 23H2 or later, you can terminate non-responsive apps and programs from the taskbar.
 4 Ways to Run the Program Compatibility Troubleshooter on Windows 10 and 11
Method 1: Using the Settings App The Settings app has a dedicated Troubleshoot section that contains all types of troubleshooters. To run the Program Compatibility Troubleshooter, you must access the Settings
4 Ways to Run the Program Compatibility Troubleshooter on Windows 10 and 11
Method 1: Using the Settings App The Settings app has a dedicated Troubleshoot section that contains all types of troubleshooters. To run the Program Compatibility Troubleshooter, you must access the Settings
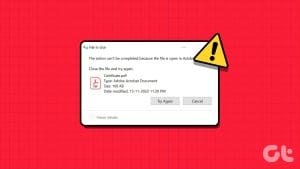 8 Ways to Fix ‘File Is Open in Another Program’ Error in Windows
Fix 1: Use Task Manager to Close the App The primary reason for the 'another program is currently using this file' error is that another program on your PC is
8 Ways to Fix ‘File Is Open in Another Program’ Error in Windows
Fix 1: Use Task Manager to Close the App The primary reason for the 'another program is currently using this file' error is that another program on your PC is
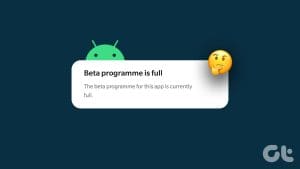 How to Join an Android App’s Beta Program Even if It’s Full
Method 1: Via the Beta Maniac App It's simple to join the beta program of an Android app via the Play Store.
How to Join an Android App’s Beta Program Even if It’s Full
Method 1: Via the Beta Maniac App It's simple to join the beta program of an Android app via the Play Store.
 How to Leave Beta Program on Google Play Store
What Happens When You Leave an Early Access or Beta Program The following changes occur when you opt out of the beta testing program on the Google Play Store: You
How to Leave Beta Program on Google Play Store
What Happens When You Leave an Early Access or Beta Program The following changes occur when you opt out of the beta testing program on the Google Play Store: You
The article above may contain affiliate links which help support Guiding Tech. The content remains unbiased and authentic and will never affect our editorial integrity.