Method 1: Using the Settings App
Whether it’s something as simple as changing your desktop background or more advanced tasks like turning off sleep mode, you can accomplish it all with the Windows Settings app.
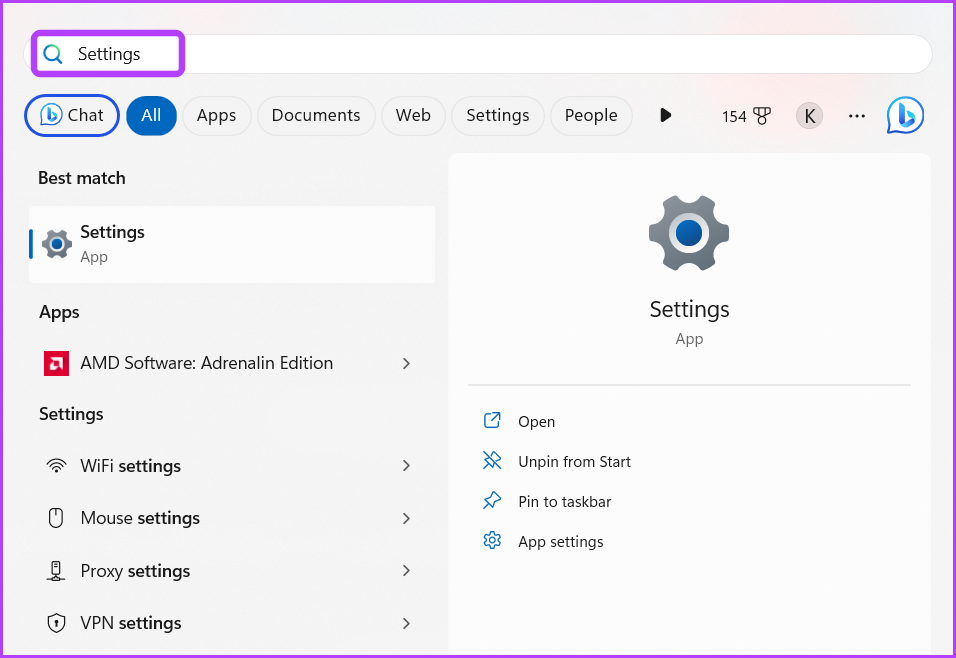
Step 1: Press the Windows key to open the Start Menu.
Step 2: Type Settings in the search bar and press Enter. Alternatively, you can press the Windows + I key to launch the Settings app.
Step 3: Choose System from the left sidebar and Power & battery from the right pane.

Step 4: Click the drop-down icon next to Screen and sleep.

Step 5: Click the drop-down icon next to On battery power, put my device to sleep after, and choose Never from the context menu.

Step 6: Under Screen and sleep section, choose Never from the drop-down next to the When plugged in, put my device to sleep after option.

Also Read: How to fix Windows PC going to sleep randomly.
Method 2: Using the Control Panel
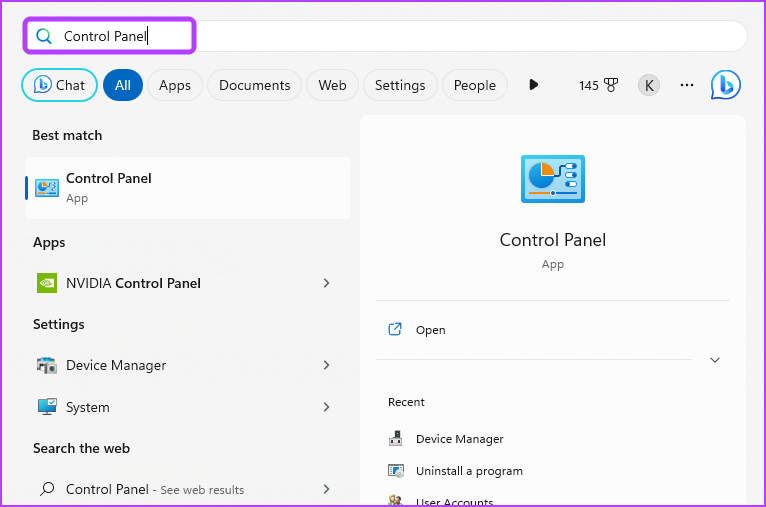
Step 1: Press the Windows key to launch the Start Menu, type Control Panel in the search bar, and press Enter.
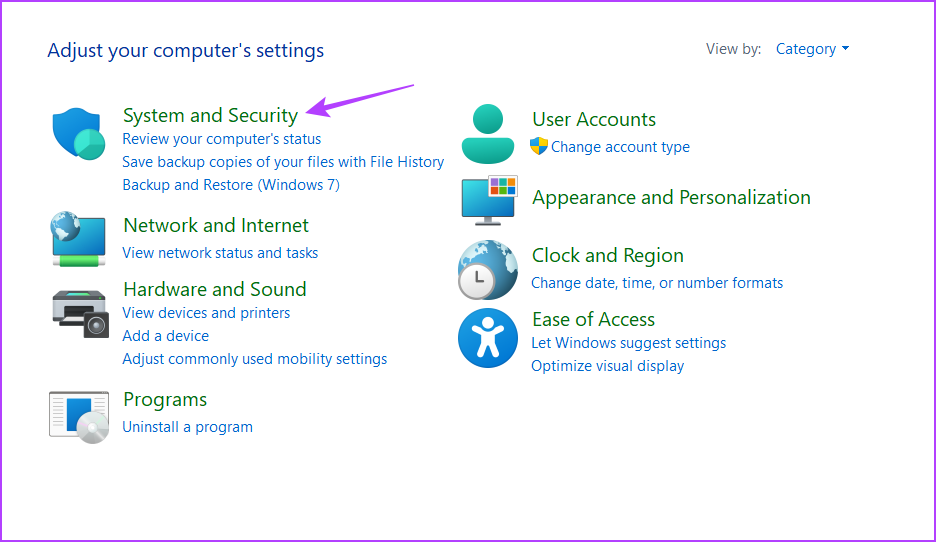
Step 2: Choose System and Security.
Step 3: Choose the Power Options.

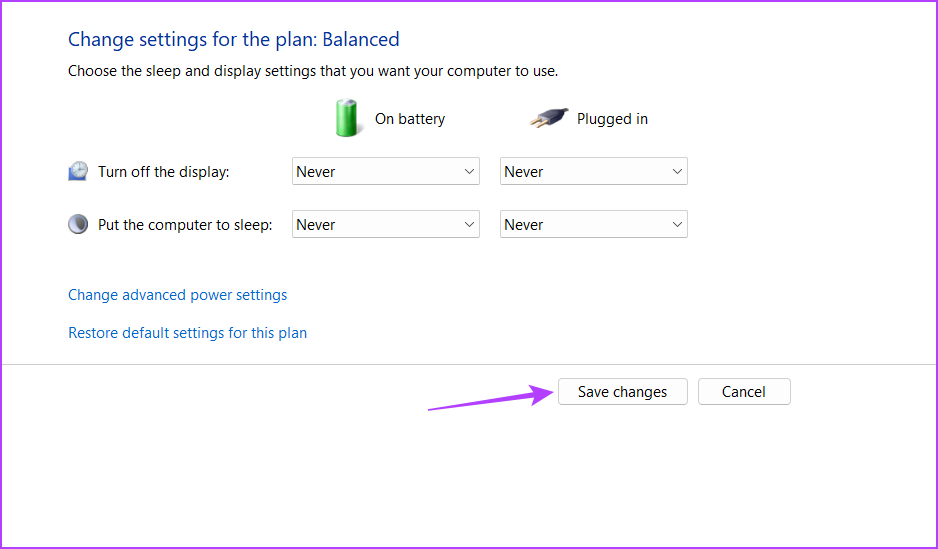
Step 4: Click the Change plan settings option.

Step 5: Set the ‘Put the computer to sleep’ option to Never for On battery.

Step 6: Similarly, choose Never for Plugged In.
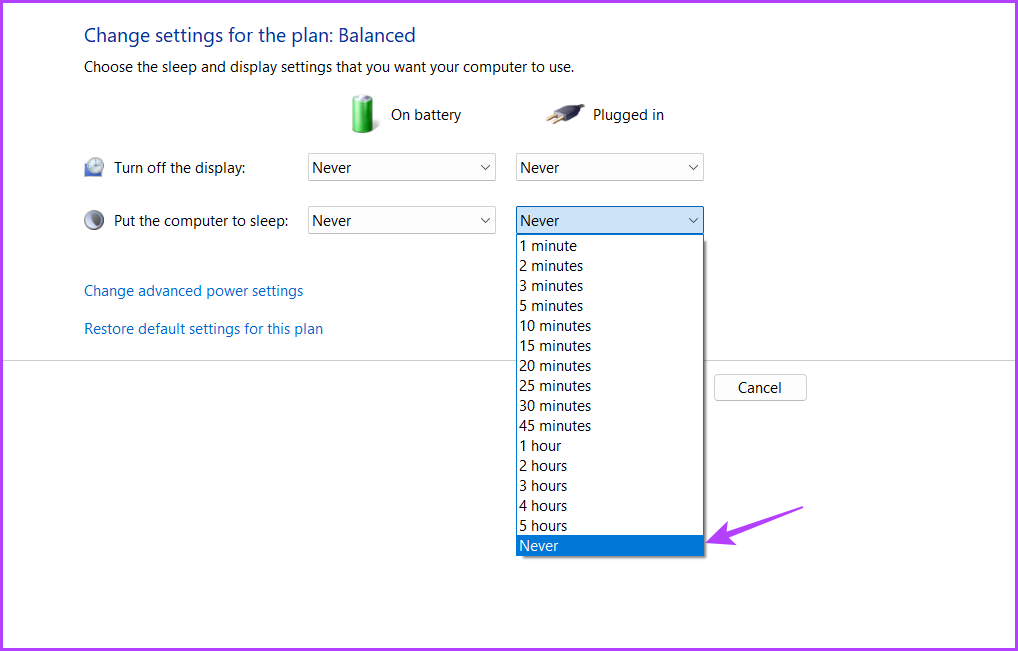
Step 7: Click the Save changes button.
Also Read: How to fix Windows Power Plan keeps changing.
Method 3: Using the Microsoft PowerToys
Microsoft PowerToys is a collection of utilities, and one of its many features is to disable the sleep mode. Download and install the app using the link below.
Step 1: After the installation is complete, launch Microsoft PowerToys.
Step 2: From the PowerToys Settings, click Awake from the left sidebar and turn on the Enable Awake toggle.

Step 3: Click the drop-down icon next to Mode and choose Keep awake indefinitely.

Step 4: Enable the toggle next to the Keep screen on option.

Next, restart your computer to save the changes. After restart, your computer will not go to sleep automatically.
Method 4: Using the Local Group Policy Editor
The Local Group Policy Editor is another Windows utility you can use to stop Windows 11 PC from going to sleep automatically.
Note: Group Policy Editor is only available for Professional, Enterprise, and Education edition of Windows. If you’re using Windows Home, you can’t access the Local Group Policy Editor. When you try, you’ll encounter gpedit.msc missing error when trying to access the Local Group Policy Editor. Check our guide on fixing the gpedit.msc missing error in Windows.
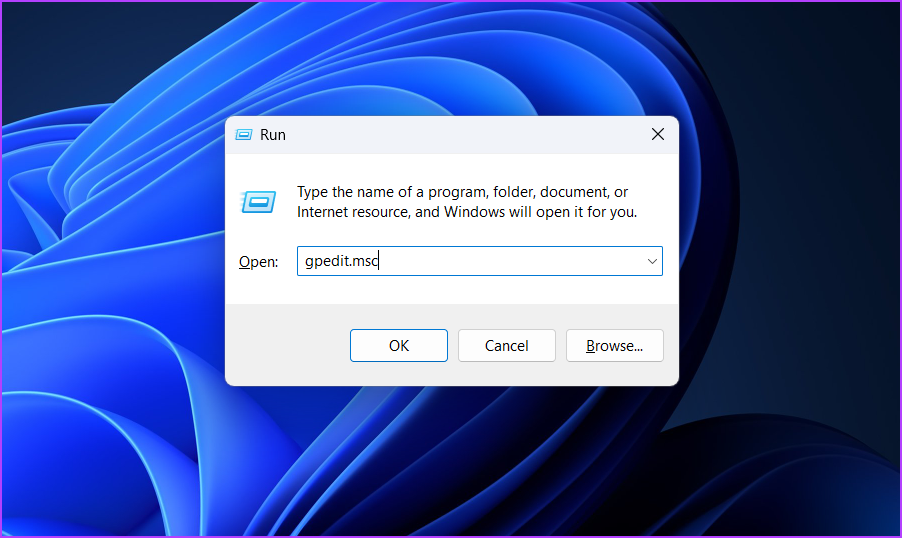
Step 1: Press the Windows + R keyboard shortcut to open the Run tool.
Step 2: Type gpedit.msc in the search bar and press Enter.
Step 3: In the Local Group Policy Editor, navigate to the following location:
Computer Configuration \Administrative Templates\System\Power Management\Sleep Settings
Step 4: Double-click on the Allow standby states (S1-S3) when sleeping (plugged in) policy.

Step 5: Choose Enabled.

Step 6: Click Apply and then OK to save the changes.

Step 7: Double-click on the Allow standby states (S1-S3) when sleeping (on battery) policy.

Step 8: Choose Enabled.
Step 9: Click Apply and OK buttons to save the changes.

Was this helpful?
Last updated on 31 July, 2024
Read Next
 10 Best Ways to Fix Windows 10 Won’t Wake up From Sleep Mode Error
The sleep mode in Windows 10 is useful for saving battery juice when taking those much-needed short breaks.
10 Best Ways to Fix Windows 10 Won’t Wake up From Sleep Mode Error
The sleep mode in Windows 10 is useful for saving battery juice when taking those much-needed short breaks.
 7 Ways to Fix Sleep Mode Not Working on Windows 11
Fix 1: Verify Screen and Sleep Settings Your first step is to check the screen and sleep settings in Windows 11 and ensure that you haven’t disabled sleep mode accidentally.
7 Ways to Fix Sleep Mode Not Working on Windows 11
Fix 1: Verify Screen and Sleep Settings Your first step is to check the screen and sleep settings in Windows 11 and ensure that you haven’t disabled sleep mode accidentally.
 4 Ways to Disable Login Screen After Sleep on Windows 11
Method 1: Disable Login After Sleep From Settings The easiest way to skip the login screen after sleep mode is by modifying the sign-in options in the Settings app.
4 Ways to Disable Login Screen After Sleep on Windows 11
Method 1: Disable Login After Sleep From Settings The easiest way to skip the login screen after sleep mode is by modifying the sign-in options in the Settings app.
 8 Ways to Fix Wi-Fi Doesn’t Connect After Sleep in Windows 10
Typically, when you restart your computer or wake it up from sleep or hibernate, the Wi-Fi connects automatically.
8 Ways to Fix Wi-Fi Doesn’t Connect After Sleep in Windows 10
Typically, when you restart your computer or wake it up from sleep or hibernate, the Wi-Fi connects automatically.
 5 Ways to Fix Windows PC Randomly Waking Up From Sleep
Basic Fixes Disable Awake From Powertoys: Open Powertoys and disable the Awake option.
5 Ways to Fix Windows PC Randomly Waking Up From Sleep
Basic Fixes Disable Awake From Powertoys: Open Powertoys and disable the Awake option.
 How to Fix Windows 10 Shuts Down Instead of Going to Sleep or Hibernating
Windows operating system comes with a lot of simple features that are a real time saver.
How to Fix Windows 10 Shuts Down Instead of Going to Sleep or Hibernating
Windows operating system comes with a lot of simple features that are a real time saver.
 5 Fixes for Windows 11 PC Going to Sleep Randomly
Fix 1: Reset and Change the Power Plan If your computer is randomly going to sleep, there may be something wrong with the power plan settings.
5 Fixes for Windows 11 PC Going to Sleep Randomly
Fix 1: Reset and Change the Power Plan If your computer is randomly going to sleep, there may be something wrong with the power plan settings.
 How to Disable Efficiency Mode for Google Chrome on Windows 11
Disable Efficiency Mode for Google Chrome Using Task Manager One of the easiest ways to turn off Efficiency Mode for Google Chrome is by using Windows Task Manager.
How to Disable Efficiency Mode for Google Chrome on Windows 11
Disable Efficiency Mode for Google Chrome Using Task Manager One of the easiest ways to turn off Efficiency Mode for Google Chrome is by using Windows Task Manager.
The article above may contain affiliate links which help support Guiding Tech. The content remains unbiased and authentic and will never affect our editorial integrity.