If one of your keyboard keys stopped working, it can be a big deal when it’s used for shortcuts. If you’re multilingual and need to switch between different languages, you have a few good shortcut options. But if they’re a bit of a hassle to use, here’s a guide when you need to get Windows 11 change default language shortcut.
Option 1 – Change Shortcut for Language Selector in Settings (“Left Alt + Shift”)
The stock keyboard shortcut of “Win + Space” doesn’t show up in shortcut settings, so we’ll focus on the common (and more well-known) alternative “Left Alt + Shift.”
Step 1. Go to Settings, then to “Time & Language.” Alternatively, you can click on the language selector in the toolbar and select “More keyboard settings.” Choose “Typing.”

Step 2. Select “Advanced keyboard settings, then choose “Input language hot keys.”

Step 3. Select the option you want to change from the list (in this case, “Between input languages”) and click on “Change key sequence.”

Step 4. You can unassign the shortcut or put it on “Ctrl + Shift” or the “Grave accent” key ` (physically located to the left of the “1” above the QWERTY keyboard). Click “OK” to save.
The “Switch Keyboard Layout” option is only useful if you have set up a language to be used with multiple keyboard layouts (such as UK and US English).

If you want, you can go back and change language input shortcut in Windows to immediately switch to a particular language. Your options here are a combination of “Ctrl” or “Ctrl + Shift” or “Left Alt + Shift” and a number, tilde, or grave (on some keyboard, tilde and grave are on the same key with Shift, so one of the options is impossible). You’ll need to click “Enable key combination” to make the change.
Option 2 – Windows 11 Change Default Language Shortcut “Win + Space”
Typically, you’d need to use a third-party script tool to remap hotkeys that Settings can’t reach. However, you can also use an official Microsoft app called PowerToys to make “Win + Space” do something else, thus preventing if from changing the input language.
Step 1. Go to the Microsoft Store and search for “PowerToys.” You should get a result called “Microsoft PowerToys.” Download the app from the store and follow the setup if needed.

Step 2. PowerToys should get installed and run in the background at all times. You can access it via search or through the toolbar by double-clicking on the icon.

Step 3. Expand “Input and Output” on the left-hand side and select “Keyboard Manager.”
Step 4. Toggle “Keyboard Manager” on and select “Remap a shortcut.”

Step 5. Click on “Add shortcut remapping” then click on the pen icon on the left.

Step 6. Press “Win + Space” and click on “OK.”

Step 7. On the right, click on the pen and enter a shortcut you already know to replace it with. If you just want to disable the shortcut, keep that field empty and the mapper will list it as “Undefined.” Click “OK” on the top-left to save the shortcut remapping or the bin icon to remove it.
You can also remap the shortcut to work only in specific apps (the field on the right, before the bin icon), but this might get confusing.
Was this helpful?
Last updated on 24 August, 2025
Read Next
 How to Change the Default Language in Windows 11
How to Change the Display Language in Windows 11 Windows 11 supports various languages.
How to Change the Default Language in Windows 11
How to Change the Display Language in Windows 11 Windows 11 supports various languages.
 How to Change the Default Language in Steam for Desktop and Mobile
How to Change the Language in Steam for Desktop Changing the default language in the Steam app is similar on both Windows and Mac, thanks to their comparable interfaces.
How to Change the Default Language in Steam for Desktop and Mobile
How to Change the Language in Steam for Desktop Changing the default language in the Steam app is similar on both Windows and Mac, thanks to their comparable interfaces.
 Top 9 Ways to Fix Unable to Change Default Programs in Windows 10
The apps offered by Microsoft are great.
Top 9 Ways to Fix Unable to Change Default Programs in Windows 10
The apps offered by Microsoft are great.
 How to Change Default Download Location on Windows 11
Change Default Download Location for Apps, Documents, and Media By default, Windows 11 stores all downloads—apps, documents, media, and other important files—on the primary drive.
How to Change Default Download Location on Windows 11
Change Default Download Location for Apps, Documents, and Media By default, Windows 11 stores all downloads—apps, documents, media, and other important files—on the primary drive.
 How to Change Default System Font on Windows 11
How to Change the Default Font on Windows 11 Windows 11 comes pre-installed with a wide range of fonts.
How to Change Default System Font on Windows 11
How to Change the Default Font on Windows 11 Windows 11 comes pre-installed with a wide range of fonts.
 3 Ways to Change the Default PDF Viewer on Windows 11
Method 1: Use Windows Settings to Change the Default PDF Viewer Windows 11 offers a dedicated menu in its Settings app to check your default programs.
3 Ways to Change the Default PDF Viewer on Windows 11
Method 1: Use Windows Settings to Change the Default PDF Viewer Windows 11 offers a dedicated menu in its Settings app to check your default programs.
 How to Change Default View in File Explorer (Windows 11)
Tired of seeing the same folder layout every time you open File Explorer in Windows 11?
How to Change Default View in File Explorer (Windows 11)
Tired of seeing the same folder layout every time you open File Explorer in Windows 11?
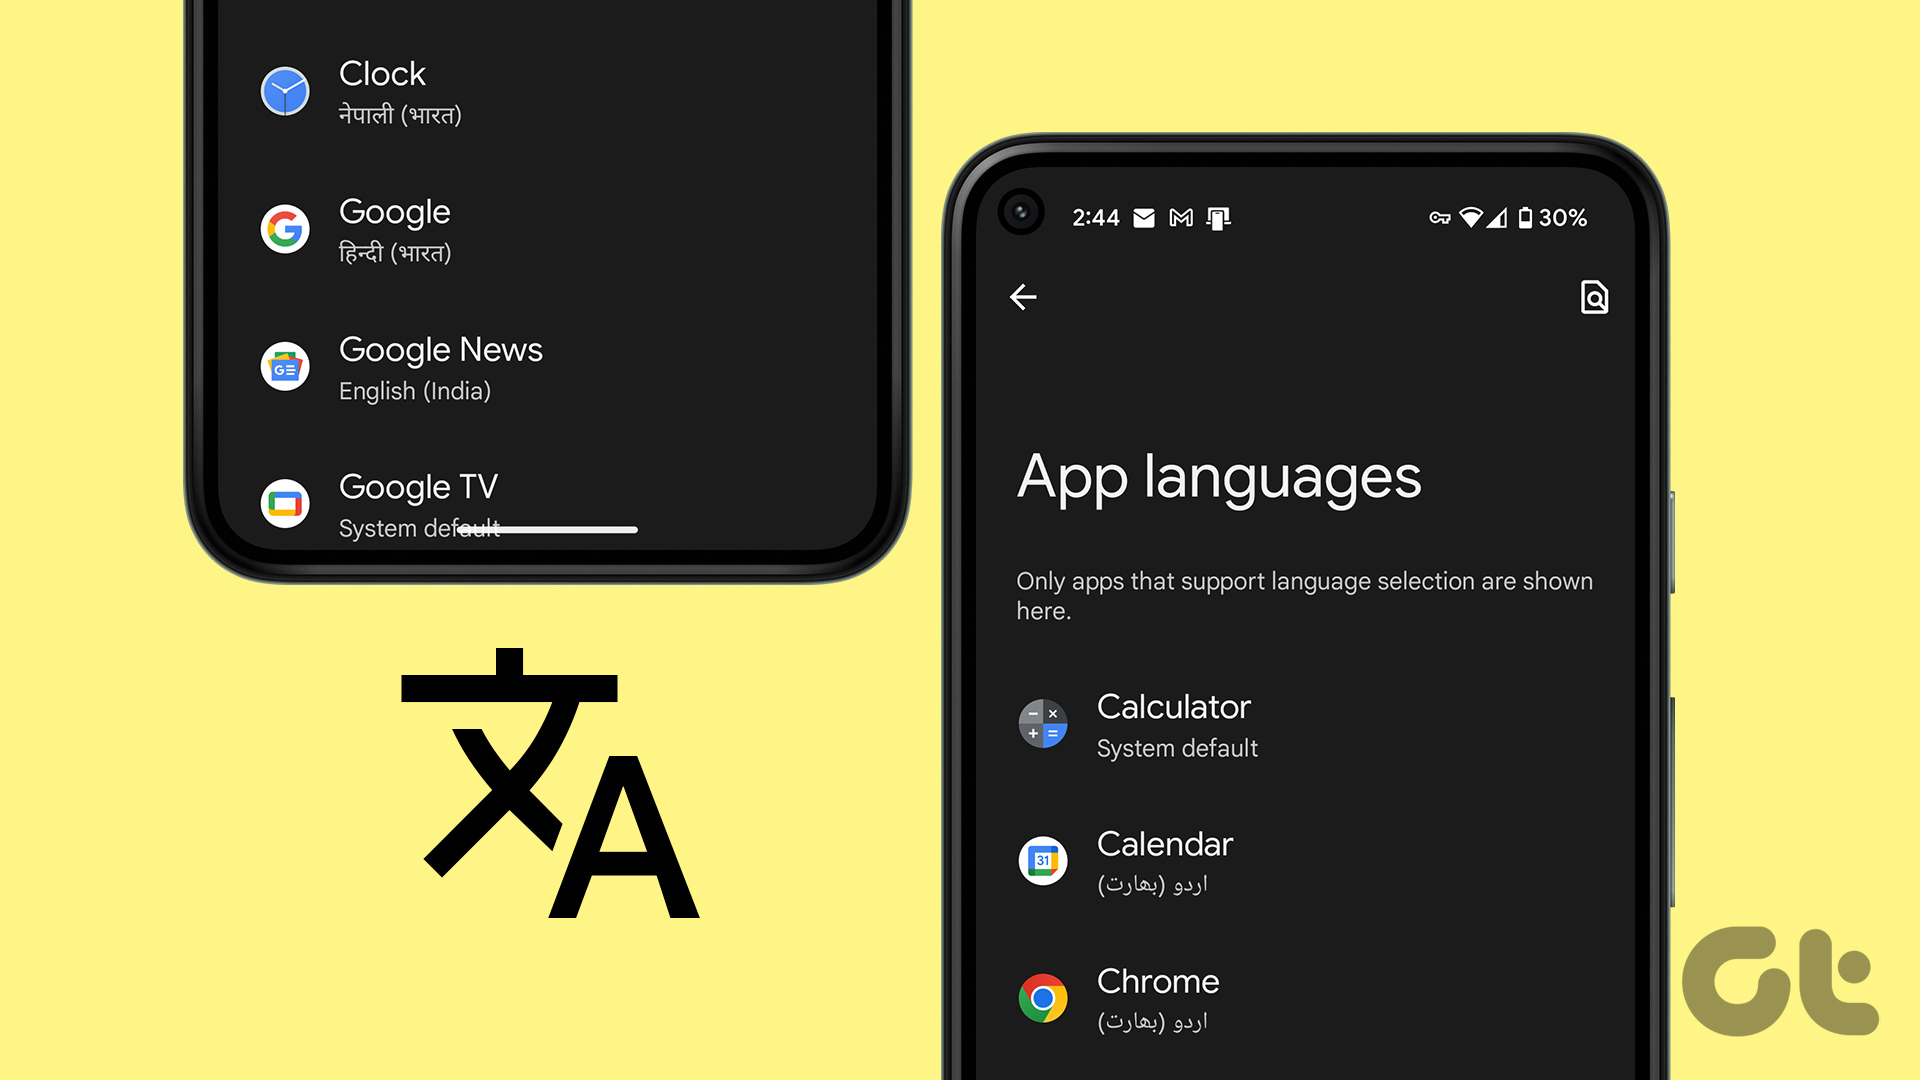 How to Change the Language of Individual Apps on Android 13
How many times have you looked at an application and wished you could use it in a different language?
How to Change the Language of Individual Apps on Android 13
How many times have you looked at an application and wished you could use it in a different language?
The article above may contain affiliate links which help support Guiding Tech. The content remains unbiased and authentic and will never affect our editorial integrity.

