Whenever you copy something on a Windows PC or laptop, be it a piece of text, a hyperlink, or an image, it goes to a temporary storage area called the Windows Clipboard. You might like to access the Windows 11 Clipboard history to see and access items you copied earlier, and Windows makes this quite simple, with an easy keyboard shortcut for instant access to Clipboard history.
This guide looks at how to enable Clipboard history in Windows 11 and how to access it whenever you need.
How to Enable Clipboard History in Windows 11
Before you’re able to access your Windows 11 Clipboard history, you first need to make sure the feature is switched on. This can be done quite quickly and easily via the Windows Settings menu. Here’s all you need to know, one step at a time:
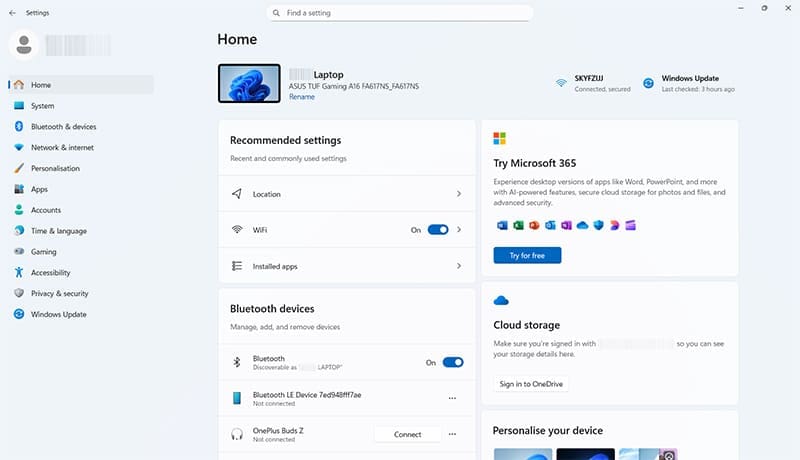
Step 1. Use the “Windows” + “I” keyboard shortcut to access the Settings menu. Alternatively, just click on the “Start” button and find the Settings icon from there.
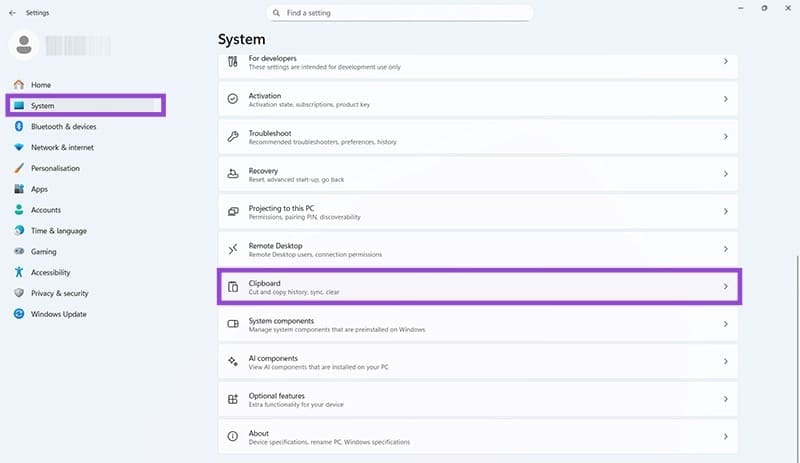
Step 2. Click on “System” and then scroll down to select “Clipboard.”
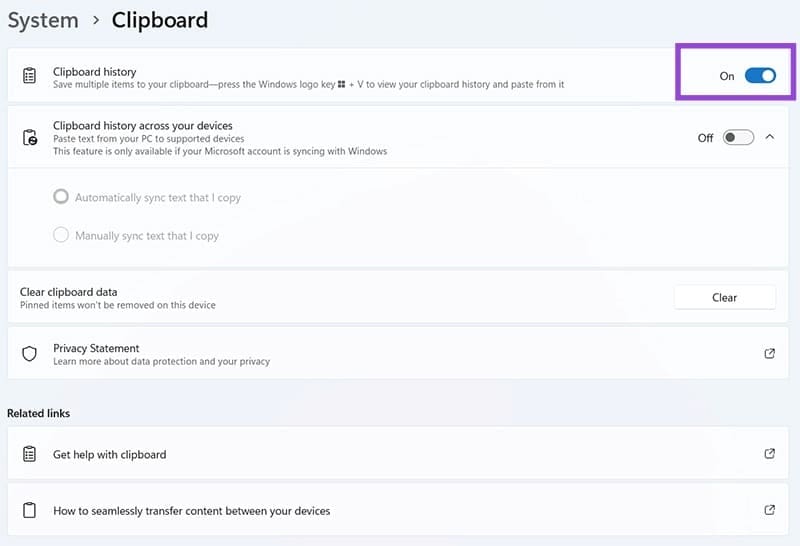
Step 3. Make sure that the switch next to “Clipboard history” is toggled to the “On” position. This will enable the Clipboard history feature, so you can save multiple items to your Clipboard and access older items even after copying new ones.
How to Access Your Windows 11 Clipboard History
As long as the Clipboard history feature is active, you’ll be able to bring up your Clipboard history at any time to see a full list of up to 25 items that you’ve copied during that session. There are two main ways to access the Clipboard history.
The first method is to use a keyboard shortcut.
Step 1. Press the “Windows” and “V” keys together to bring up the Clipboard history box.
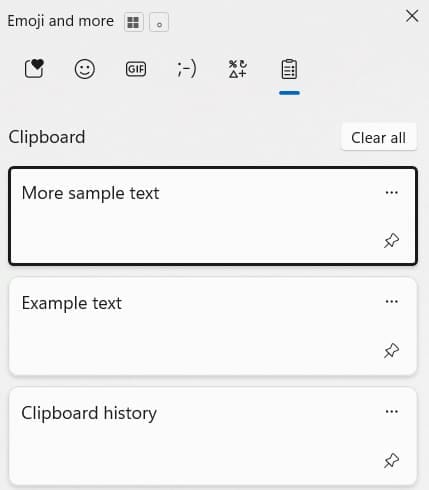
You can then scroll through the list to see all of the items you’ve copied recently or earlier in your user session. Press the “Clear all” button if you want to clear the Clipboard history at any time, or click on any individual item in the list to paste it in your active window. You can also “Pin” the most important items to the list so they won’t be removed.
The second way to access the Windows 11 clipboard history is as follows:
Step 1. Open a Microsoft program like Word or Excel and find the “Clipboard” button, which is usually situated in the ribbon at the top of the screen.
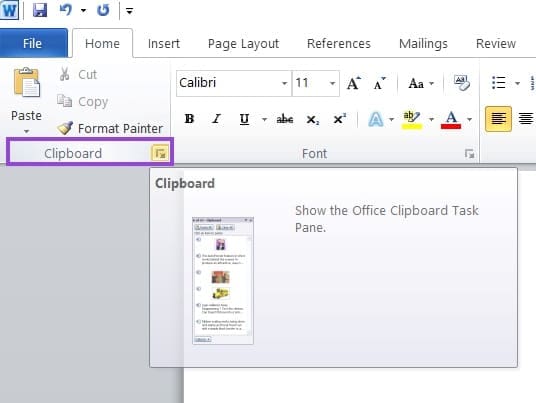
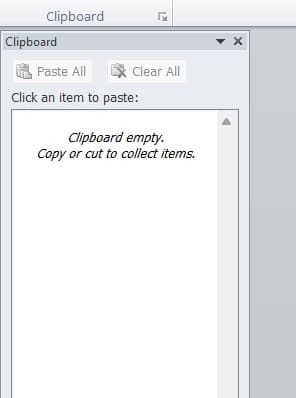
Step 2. Click the button to make a Clipboard window appear at the side.
Was this helpful?
Last updated on 05 September, 2025
Read Next
 Copilot Missing on Windows 11? Here’s How to Bring It Back
Get Copilot From the Microsoft Store If you can't find Microsoft Copilot on your Windows 11 system, install it from the Microsoft Store to get started.
Copilot Missing on Windows 11? Here’s How to Bring It Back
Get Copilot From the Microsoft Store If you can't find Microsoft Copilot on your Windows 11 system, install it from the Microsoft Store to get started.
 How to Fix Broken Clipboard History in Windows 11
Clipboard history is a helpful feature in Windows, as it lets you view and access bits of content you’ve copied in the past, like text and images.
How to Fix Broken Clipboard History in Windows 11
Clipboard history is a helpful feature in Windows, as it lets you view and access bits of content you’ve copied in the past, like text and images.
 How to Bring Back the Missing “Customize Chrome” Button
Fix 1: Check the Requirements First things first.
How to Bring Back the Missing “Customize Chrome” Button
Fix 1: Check the Requirements First things first.
 How to Check and Recover Clipboard History on Android
Method 1: Check and Recover Clipboard History Using Gboard One of the easiest ways to view and recover your clipboard history on an Android device is by using Gboard, the
How to Check and Recover Clipboard History on Android
Method 1: Check and Recover Clipboard History Using Gboard One of the easiest ways to view and recover your clipboard history on an Android device is by using Gboard, the
 2 Ways to Check Clipboard History on Mac
Method 1: Default Clipboard Step 1: Open Finder on Mac, go to Edit in the menu bar, and choose Show Clipboard.
2 Ways to Check Clipboard History on Mac
Method 1: Default Clipboard Step 1: Open Finder on Mac, go to Edit in the menu bar, and choose Show Clipboard.
 How to Fix Windows Clipboard Not Working on Windows 10
Basic Fixes Update Windows: Before starting, make sure that you're running the latest version of Windows.
How to Fix Windows Clipboard Not Working on Windows 10
Basic Fixes Update Windows: Before starting, make sure that you're running the latest version of Windows.
 What Is Clipboard in Windows 10 and How to Use It: A Complete Guide
You must have used copy-paste functionality at least once whether you own a smartphone, tablet, or computer.
What Is Clipboard in Windows 10 and How to Use It: A Complete Guide
You must have used copy-paste functionality at least once whether you own a smartphone, tablet, or computer.
The article above may contain affiliate links which help support Guiding Tech. The content remains unbiased and authentic and will never affect our editorial integrity.

