Basic Fixes
- Restart PC: Restart your PC to fix temporary bugs and glitches.
- Close unused apps: Close unused apps on your PC to free-up RAM and other resources for File Explorer.
- Run SFC scan: Perform an SFC scan on your PC to detect and fix corrupted system files.
Fix 1: Restart Windows Explorer
One of the first things that you can do is restart the Explorer. If it’s a simple issue of corrupted cache files, the odds are that it will solve your issue.
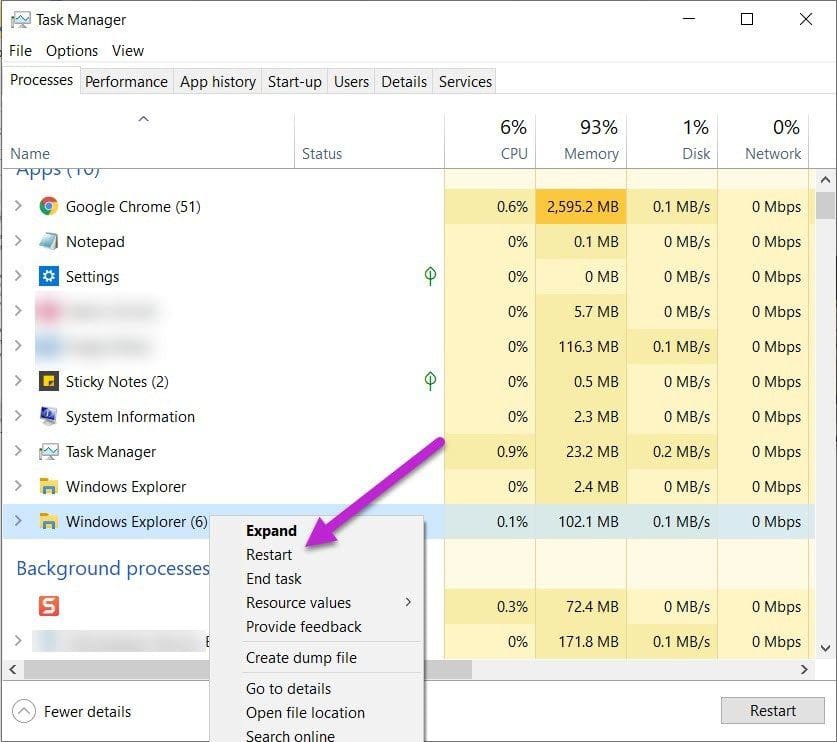
Step 1: To restart File Explorer, bring up the Task Manager, and you will see Windows Explorer under Processes.
Step 2: Right-click on it and select Restart from the menu.
Restarting File Explorer through Command Prompt (CMD) can sometimes be more effective than simply restarting it using Task Manager because it ensures a cleaner restart of the process.
Step 1: Open Command Prompt from the start menu.
Step 2: Enter the following command :
taskkill /f /im explorer.exe
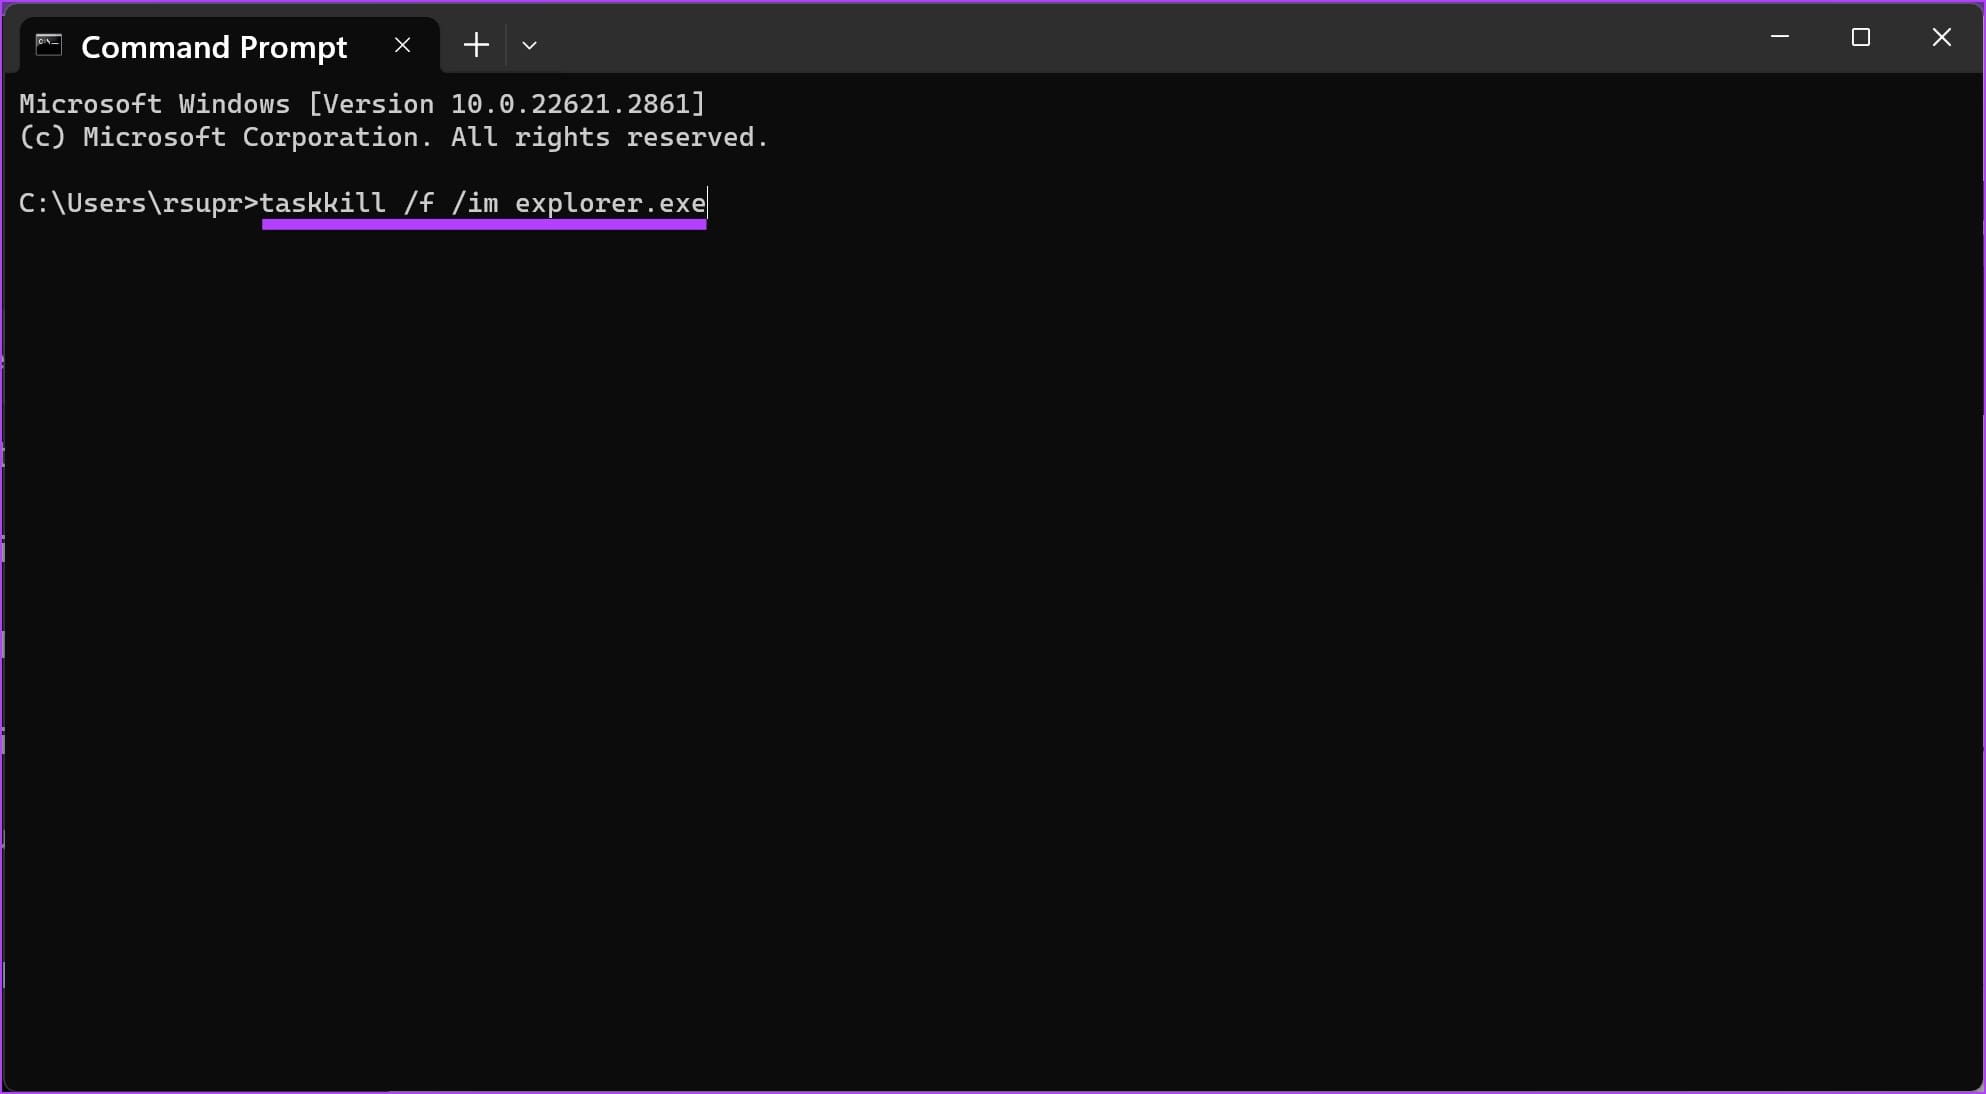
This will close the file explorer. Do not minimize or close the command prompt window.
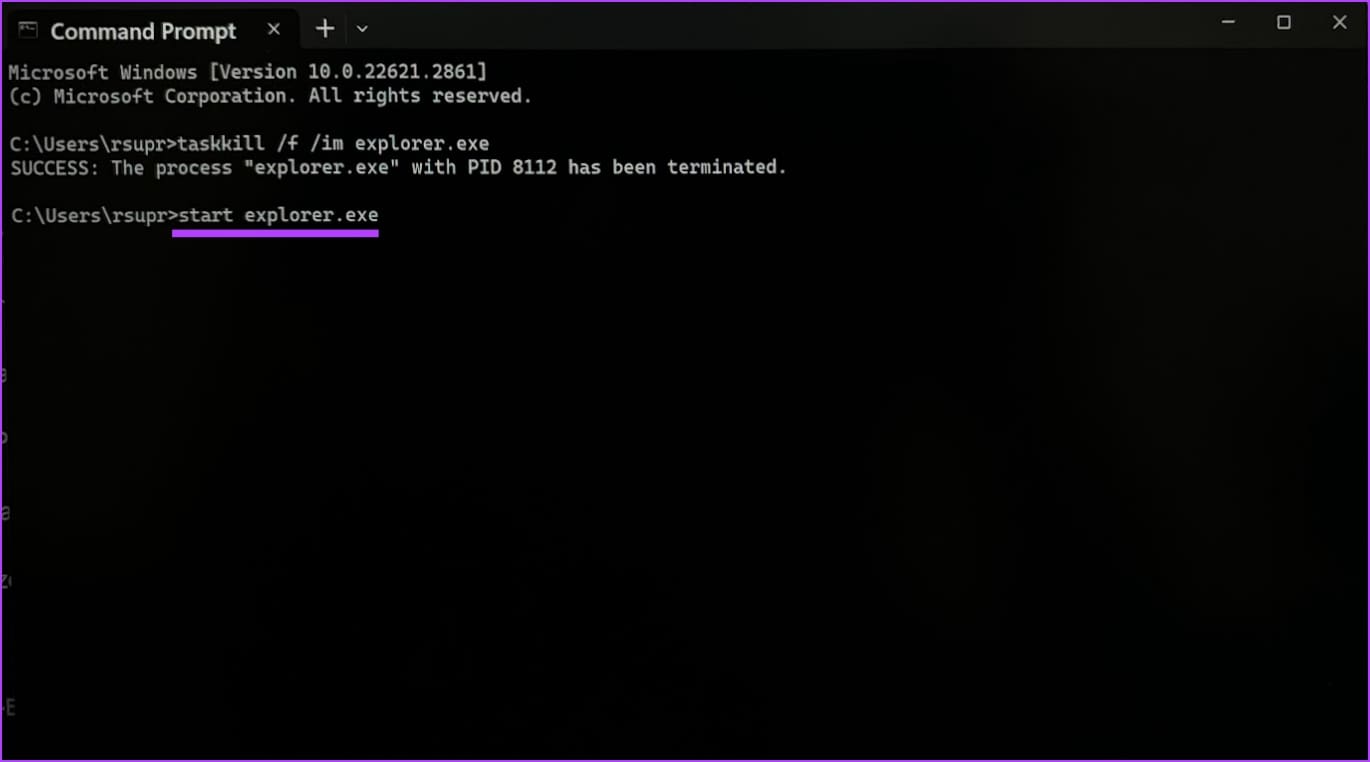
Step 3: Enter the following command to restart the File Explorer.
start explorer.exe
Fix 2: Clear File Explorer History
Explorer’s search comes in handy at many times. It saves every detail such as the names of files you have searched, and paths you have searched, among others. These search files can accumulate in time and cause the Windows File Explorer to respond slowly. Luckily, clearing the history is as easy.
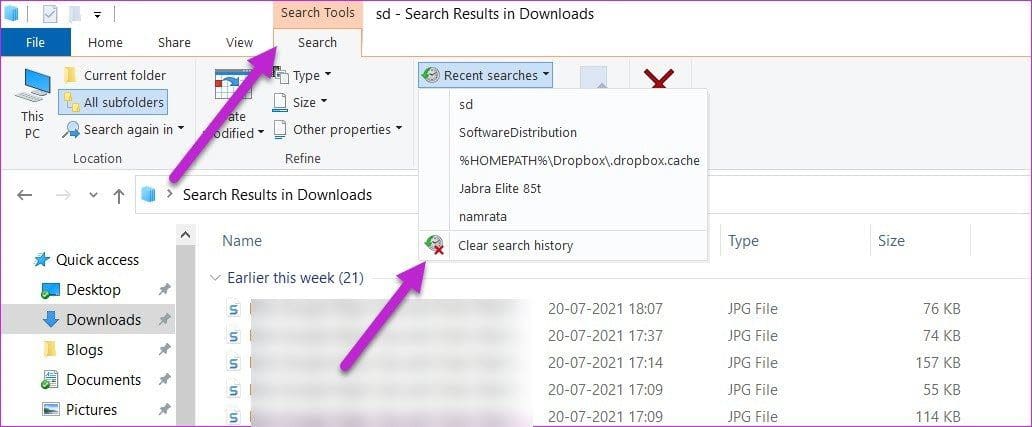
Step 1: To get started, search for anything in the search box of Explorer. When the search is complete, click on the little arrow icon as shown below to expand the ribbon.

Step 2: Next, click on the Search tab, and select Recent Searches > Clear Search History.
Step 3: The above will work only when your system’s Explorer is working to some extent. However, if it’s frozen, you’ll have to go through Settings.
Step 4: Open Settings (Win key + I) and search for File Explorer Options. This will open a small window.
Now, click on the Clear button under Privacy to clear the Windows Explorer history.

Fix 3: Run Disk Clean-up
If the above fixes have failed to run Windows Explorer, you might want to run Disk Clean-up. As suggestive of its name, it gets rid of temporary files and folders that litter your PC.
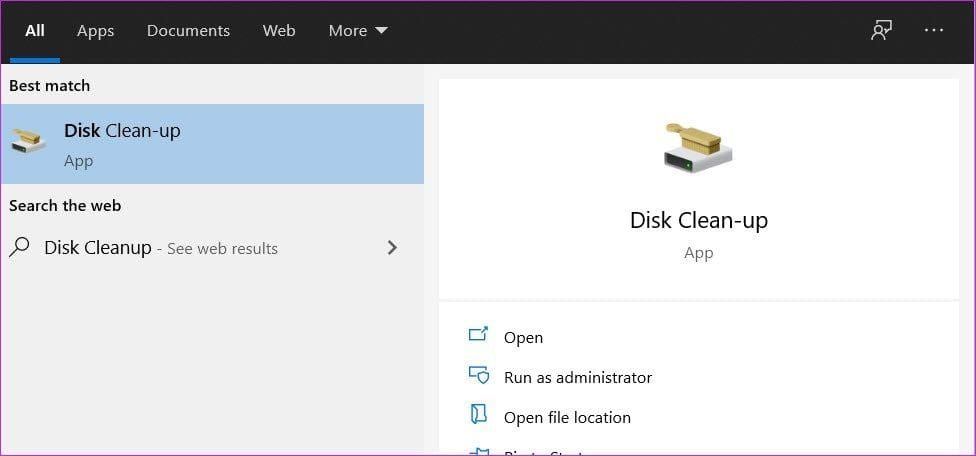
Step 1: Search for Disk Clean-up. Select C: drive from the menu.
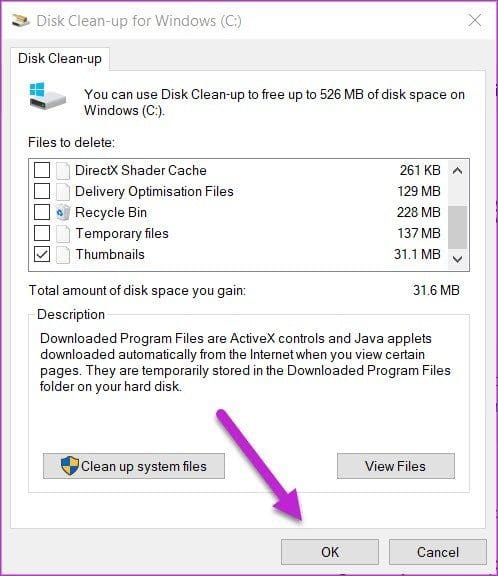
Step 2: Once the Disk Clean-up window is open, check the options for Downloaded Program Files, Temporary Internet Files, and Thumbnails from the list, and click on OK.
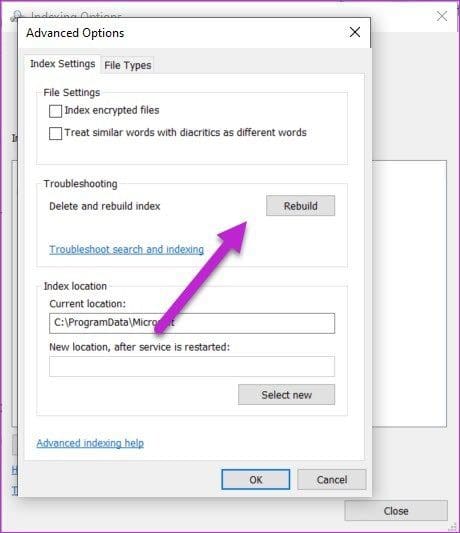
Fix 4: Rebuild the Index
Another possible reason for the Explorer not responding or acting slowly may be a slow indexing service. If the File Explorer is slow to load results (or crashes unexpectedly), it’s time you rebuilt the index.
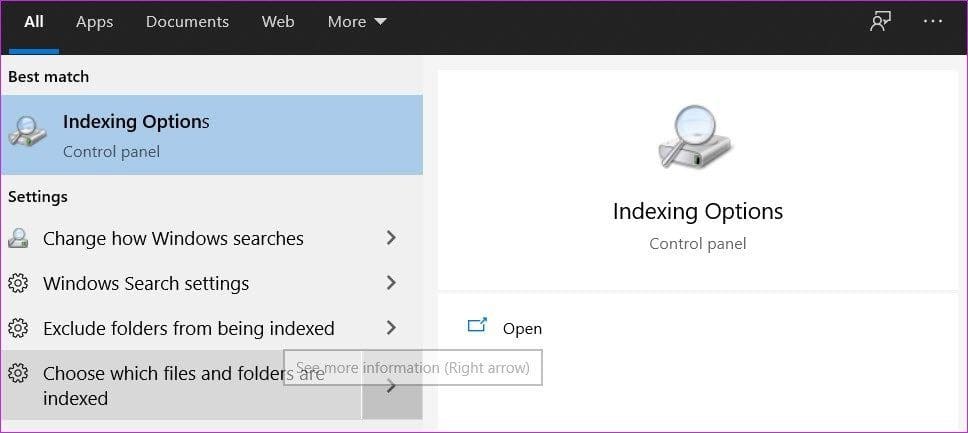
Step 1: Search for the Indexing Option on the Search menu.
Step 2: Once you locate it, click on the Advanced button at the bottom. Now, under Troubleshooting, click on the Rebuild button.
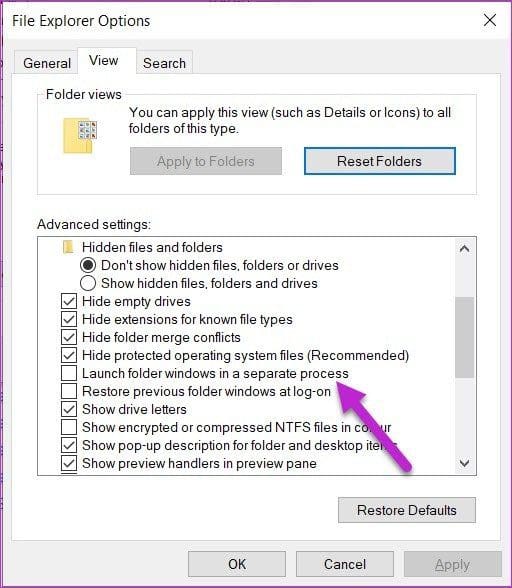
Fix 5: Launch in a Separate Process
Even if you have managed to repair the issue with Windows Explorer, the odds are that it might occur again. Hence, it’s best to force the File Explorer window to run in a separate process.
Step 1: Search for File Explorer Options in the start menu. After you locate it, select View. Next, check the option for Launch folder windows in a separate process.
If it’s unchecked, check it and tap on OK to save your changes.
Was this helpful?
Last updated on 14 August, 2024
Read Next
 3 Ways to Fix Microsoft Word Not Responding on Windows 11/10
Preliminary Fixes Relaunch Microsoft Word app: Relaunching the Microsoft Word app can clear temporary glitches or corrupted processes, effectively reset the session, potentially resolve minor software conflicts, and refresh the
3 Ways to Fix Microsoft Word Not Responding on Windows 11/10
Preliminary Fixes Relaunch Microsoft Word app: Relaunching the Microsoft Word app can clear temporary glitches or corrupted processes, effectively reset the session, potentially resolve minor software conflicts, and refresh the
 4 Ways to Fix Microsoft Excel Not Responding on Windows 11
Fix 1: Open Microsoft Excel in Safe Mode and Disable Add-Ins You can open Excel in Safe Mode to run the app without add-ins.
4 Ways to Fix Microsoft Excel Not Responding on Windows 11
Fix 1: Open Microsoft Excel in Safe Mode and Disable Add-Ins You can open Excel in Safe Mode to run the app without add-ins.
 3 Ways to Fix Microsoft Access Not Responding on Windows 11
Basic Fixes: Update Windows 11 and Microsoft Office: You should run a Windows update to ensure that an outdated computer is not the problem.
3 Ways to Fix Microsoft Access Not Responding on Windows 11
Basic Fixes: Update Windows 11 and Microsoft Office: You should run a Windows update to ensure that an outdated computer is not the problem.
 Top 6 Ways to Fix Microsoft PowerPoint Not Responding on Windows 11
Microsoft PowerPoint is a popular application for creating visually appealing slideshows business meetings, educational presentations, or conferences.
Top 6 Ways to Fix Microsoft PowerPoint Not Responding on Windows 11
Microsoft PowerPoint is a popular application for creating visually appealing slideshows business meetings, educational presentations, or conferences.
 5 Ways to Fix Firefox Not Responding on Windows 10 and Windows 11
Fix 1: Force Close Firefox Processes Sometimes, Firefox processes may become unresponsive on your PC due to temporary issues.
5 Ways to Fix Firefox Not Responding on Windows 10 and Windows 11
Fix 1: Force Close Firefox Processes Sometimes, Firefox processes may become unresponsive on your PC due to temporary issues.
 5 Ways to Fix Word Not Responding When Printing
Basic Fixes Restart MS Word: If Word is not printing a document or takes forever to do so, try restarting the app.
5 Ways to Fix Word Not Responding When Printing
Basic Fixes Restart MS Word: If Word is not printing a document or takes forever to do so, try restarting the app.
 7 Ways to Fix Outlook Not Responding When Trying to Print
Try Basic Fixes: Restart Outlook: When Outlook relaunches, it loads all the modules, including extensions.
7 Ways to Fix Outlook Not Responding When Trying to Print
Try Basic Fixes: Restart Outlook: When Outlook relaunches, it loads all the modules, including extensions.
 How to Fix Critical Steam Component (steamwebhelper) Not Responding on Windows 11
Preliminary Fixes Restart Steam with administrator privileges: Steamwebhelper.exe manages all the web features inside the Steam client.
How to Fix Critical Steam Component (steamwebhelper) Not Responding on Windows 11
Preliminary Fixes Restart Steam with administrator privileges: Steamwebhelper.exe manages all the web features inside the Steam client.
The article above may contain affiliate links which help support Guiding Tech. The content remains unbiased and authentic and will never affect our editorial integrity.