Method 1: Gain Access to the WindowsApps Folder via File Explorer
The easiest way to open the WindowsApps folder is through File Explorer. Getting to WindowsApps via this method involves enabling hidden folders. You’ll then have to take ownership of the WindowsApps folder. Here’s how to do it.
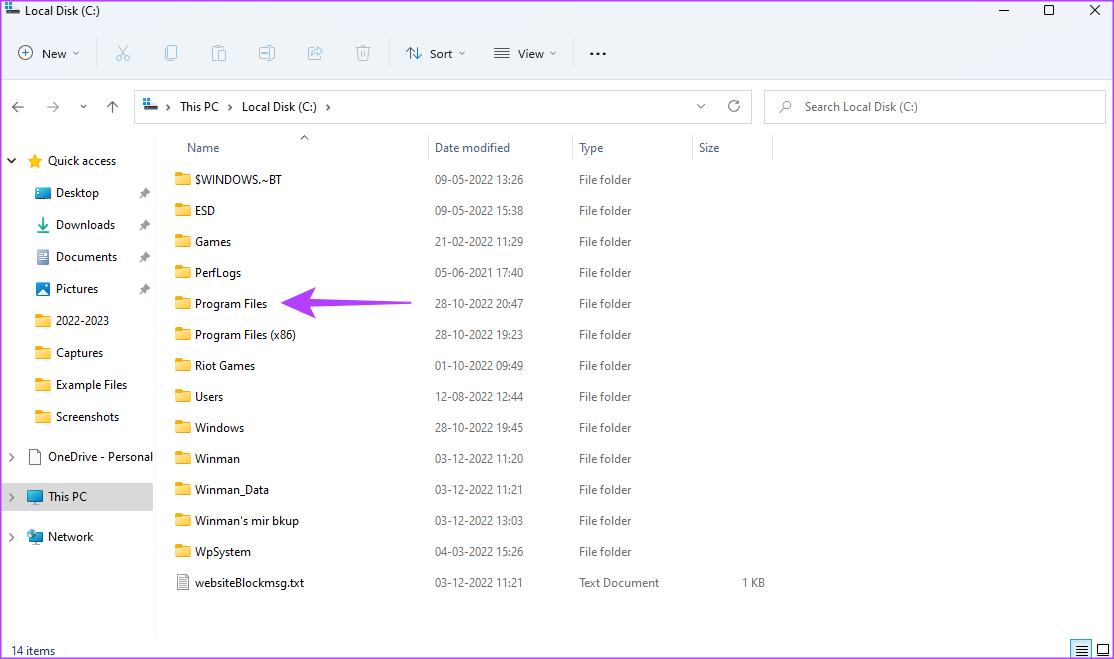
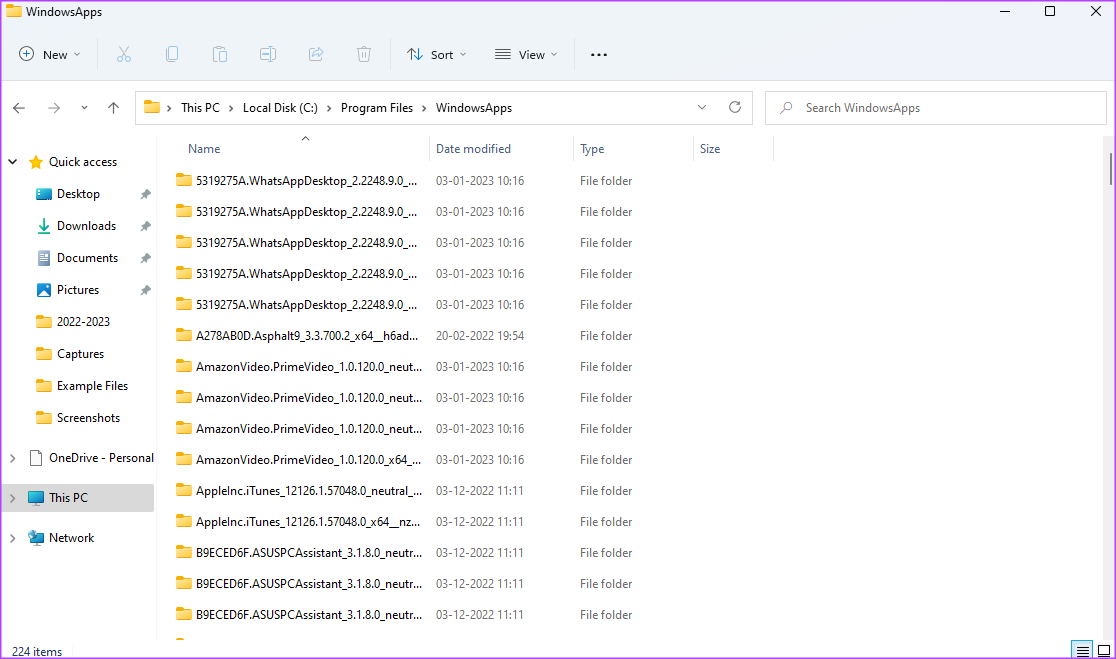
Step 1: Open File Explorer on your Windows PC. Then, head to the C:\Program Files directory.
Step 2: Click the View option at the top and select Show > Hidden items.

You should now see the WindowsApps folder in the C:\Program Files directory. However, should you try opening the folder, you’ll either get a pop-up saying, “You’ve been denied permission to access this folder,” or the folder will close as soon as it opens.
So, in order to access it, you’ll have to take ownership of the WindowsApps folder using these steps:
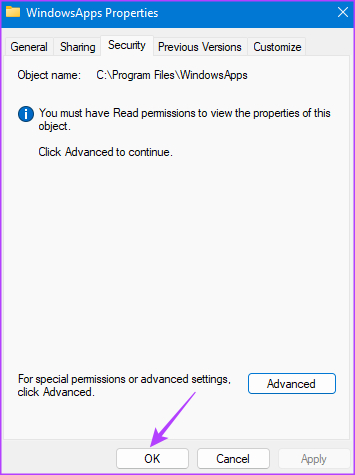
Step 1: Right-click on the WindowsApps folder. Select Properties from the list.

Step 2: Go to the Security tab. Then, click on Advanced.

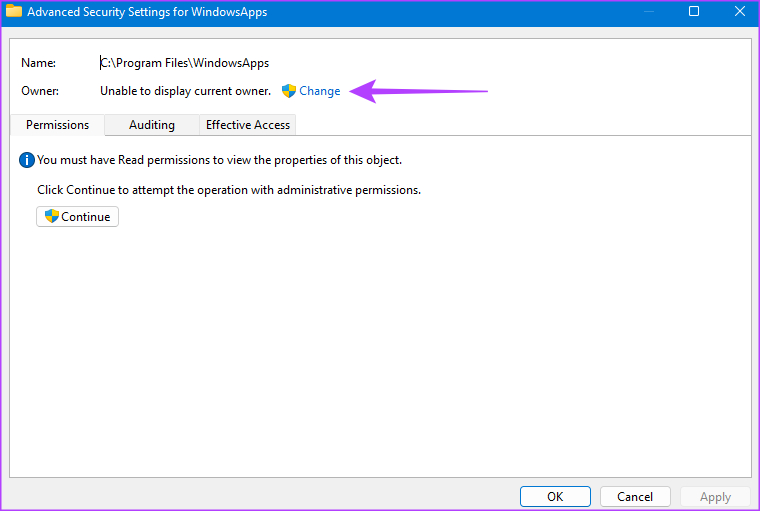
Step 3: Click the Change button next to Owner settings.
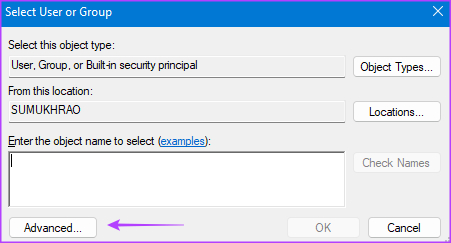
Step 4: On the pop-up, click Advanced.
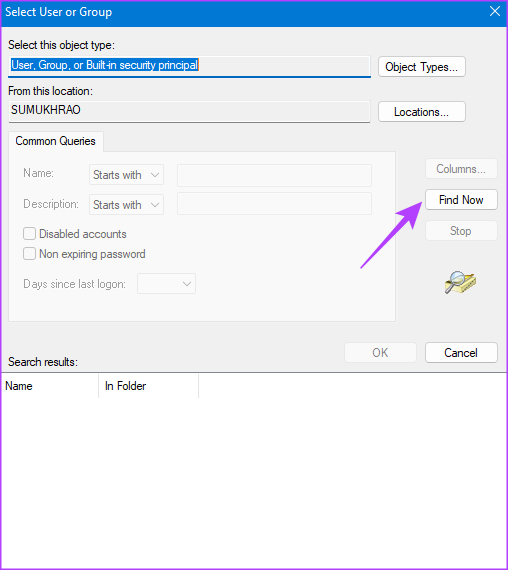
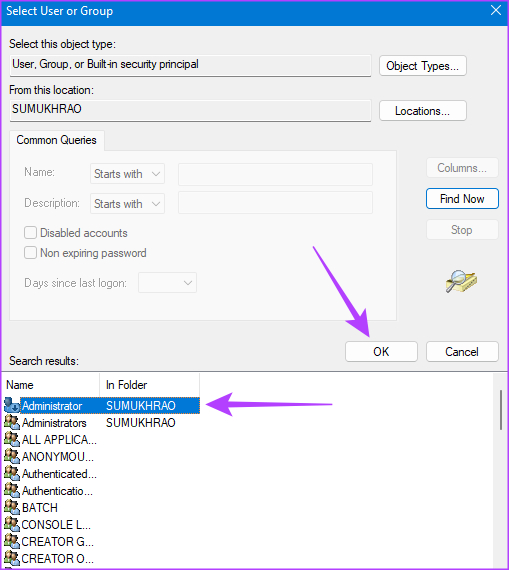
Step 5: Then, click on Find Now.
Step 6: Select the Administrator option in the panel at the bottom. Save changes by clicking OK.
Step 7: Click OK once again in the dialog box.

Step 8: Tick the check box next to Replace owner on sub containers and objects.
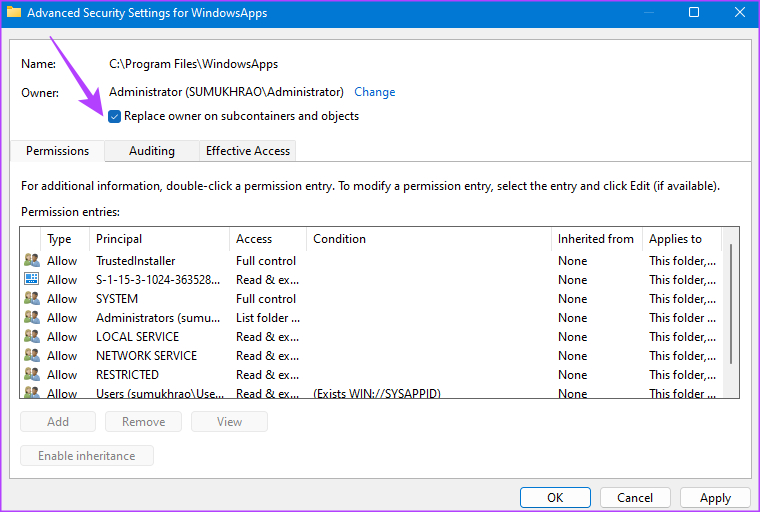
Step 9: Select Apply. Consequently, click OK button to transfer ownership.

Step 10: Click OK once again to close the Properties window.
Method 2: Open the WindowsApps Folder Using PowerShell
If you’re not comfortable with the File Explorer method, try your hand at gaining access to WindowsApps using a PowerShell command. Here’s how to go about it.
Step 1: Press the Windows key + S to open the search menu. Type PowerShell in the search bar and select Run as Administrator.

Step 2: Execute the below command within the PowerShell window.
takeown /f "C:\Program Files\WindowsApps" /r

Step 3: PowerShell should grant you ownership of the WindowsApps folder now. This happens once the command line stops with a “SUCCESS” message displayed.

After completing the above steps, use the file explorer to access the WindowsApps folder.
Method 3: Use Registry Hack to Open WindowsApps
Should you find it difficult to execute the command under the PowerShell method or you just don’t want to do it repeatedly, another simple way to open the WindowsApps folder is through a registry hack. For this method, you will need to download a third-party modified file. So, proceed only if you’re comfortable with that.
Step 1: Download the Take Full Ownership of Files and Folders registry hack from Major Geeks.
Step 2: Once downloaded, extract the file to any destination of your choice. Then, double-click on the Add Take Ownership to Context menu file.
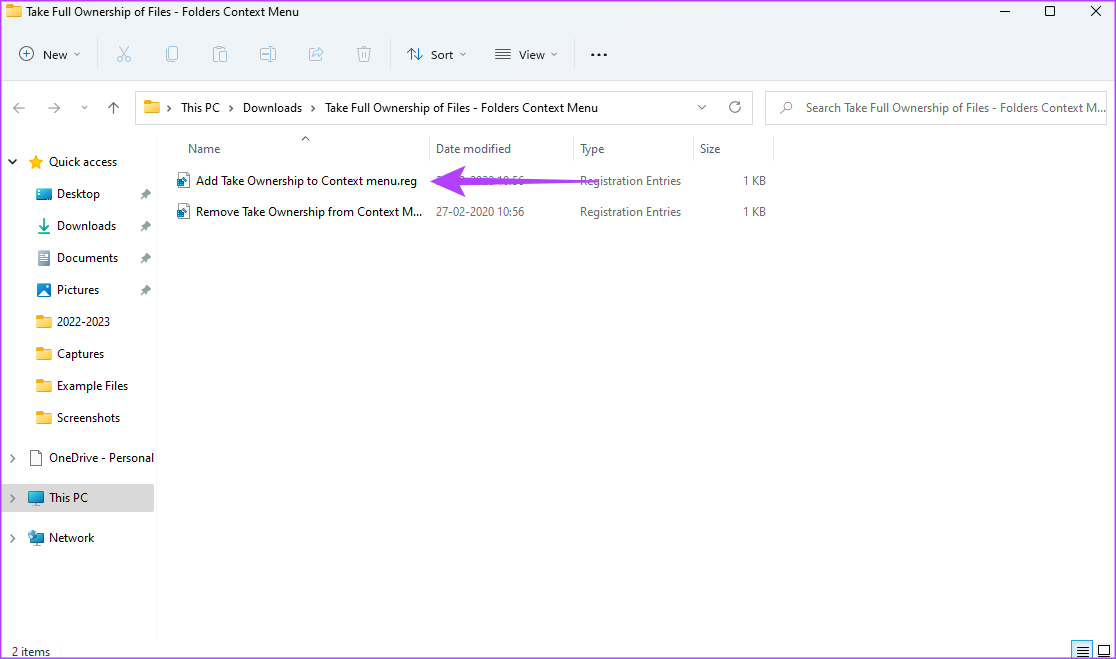
Step 3: Add it to the registry by clicking on Yes.
Step 4: Now, open File Explorer on your Windows PC. Then, head to the C:\Program Files directory.
Step 5: Right-click on the WindowsApps folder and click Take Ownership.

Step 6: Grant admin rights in the command prompt window and wait for it to display a success message.
Once this is done, you can double-click on the WindowsApps folder to open it like any other file or folder on your Windows PC.
Things to Do if You Can’t Access the WindowsApps Folder
If you’re unsuccessful at opening the WindowsApps folder even after following the three methods, here are some quick solutions.
- Restart your Windows PC and then try again.
- Ensure you’re logged into Windows with an admin account.
- Try logging into a different user account.
- Make sure you’re using the correct PowerShell command.
- Install any pending updates and then try again.
Was this helpful?
Last updated on 03 September, 2024
2 Comments
Leave a Reply
Read Next
 6 Ways to Fix “Folder Access Denied” Error on Windows
Basic Fixes Check if the folder is encrypted. The administrator could have password-locked or encrypted the folder, so contact them for assistance.
6 Ways to Fix “Folder Access Denied” Error on Windows
Basic Fixes Check if the folder is encrypted. The administrator could have password-locked or encrypted the folder, so contact them for assistance.
 6 Ways to Fix Windows 11 Can’t Access Shared Folder
Fix 1: Use the Command Prompt to Access the Shared Folder If you can't open the shared folder in File Explorer, use Command Prompt to access it.
6 Ways to Fix Windows 11 Can’t Access Shared Folder
Fix 1: Use the Command Prompt to Access the Shared Folder If you can't open the shared folder in File Explorer, use Command Prompt to access it.
 4 Ways to Access Secure Folder on Samsung Galaxy Phones
Method 1: From the App Drawer or Home Screen Once you create the Secure Folder the first time, you can access it easily from your phone’s App drawer or home
4 Ways to Access Secure Folder on Samsung Galaxy Phones
Method 1: From the App Drawer or Home Screen Once you create the Secure Folder the first time, you can access it easily from your phone’s App drawer or home
 How to Manage and Share Files and Folder Access on Microsoft OneDrive
Like iCloud and Google Drive, Microsoft's OneDrive is a great cloud storage platform to store your data.
How to Manage and Share Files and Folder Access on Microsoft OneDrive
Like iCloud and Google Drive, Microsoft's OneDrive is a great cloud storage platform to store your data.
 6 Best Ways to Access Windows Tools on Windows 11
Windows Tools carries useful utilities like Event Viewer, Task Scheduler, and System Configuration Tool, organized into a folder for easy access.
6 Best Ways to Access Windows Tools on Windows 11
Windows Tools carries useful utilities like Event Viewer, Task Scheduler, and System Configuration Tool, organized into a folder for easy access.
 3 Ways to Access Apple Notes on Windows
Method 1: Use the Notes Web App Note: You can't view or edit any notes within the Notes app's 'On My iPhone' folder.
3 Ways to Access Apple Notes on Windows
Method 1: Use the Notes Web App Note: You can't view or edit any notes within the Notes app's 'On My iPhone' folder.
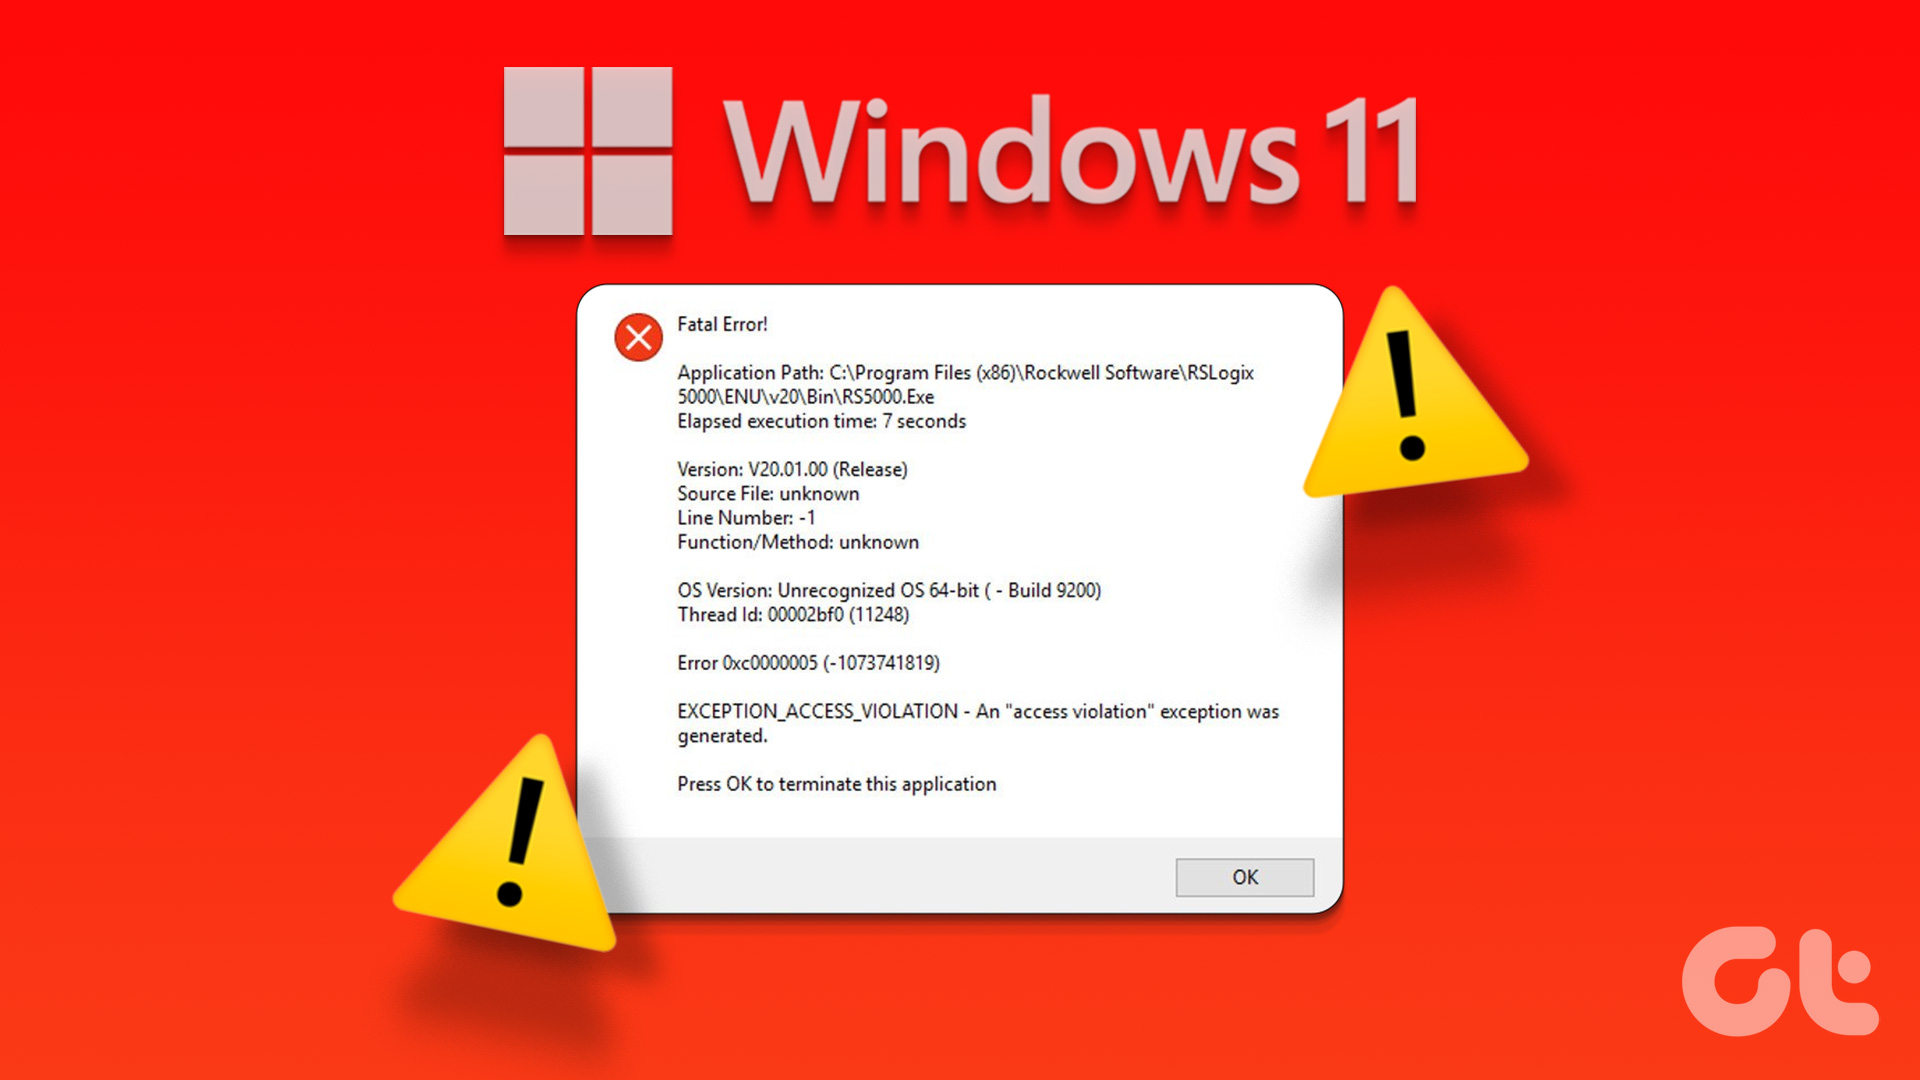 4 Ways to Fix Exception Access Violation Error on Windows 11
Fix 1: Use the Built-in Troubleshooter The Hardware and Device troubleshooter can help you resolve hardware-related issues that trigger the Exception Access Violation error.
4 Ways to Fix Exception Access Violation Error on Windows 11
Fix 1: Use the Built-in Troubleshooter The Hardware and Device troubleshooter can help you resolve hardware-related issues that trigger the Exception Access Violation error.
 4 Ways to Fix Access Denied Error in Steam for Windows
Try Basic Fixes Check if Steam is down: Just like any other service, Steam is vulnerable to occasional server-side glitches.
4 Ways to Fix Access Denied Error in Steam for Windows
Try Basic Fixes Check if Steam is down: Just like any other service, Steam is vulnerable to occasional server-side glitches.
The article above may contain affiliate links which help support Guiding Tech. The content remains unbiased and authentic and will never affect our editorial integrity.


This article is out of date. While it’s possible to see the files in the WindowsApps folder, and it’s possible to delete and move out files, it’s impossible to add or replace files there, no matter how the permissions are set.
This is on Windows 10 Pro, 21H2 with the latest security updates.
If you find a way to add or replace files there, please tell us! Changing permissions no longer works.
Great post!!! All is done! Thanks!