Snapseed is one of the most versatile image editing tools. And for the lot of us who identify ourselves as mobile photographers, it is perhaps a blessing in disguise simply because of its diverse toolset. From applying background blurs to removing backgrounds altogether, this image editing app has plenty of tricks up its sleeves.

All it takes is a wee bit of patience, and you’ll end up with a stunning image in no time. What I love about this tool is the image tuning tool which lets you tweak each aspect of the picture. More importantly, you can choose to edit only a specific part of an image and leave the rest like that. Yep, it’s that versatile.
But this nifty tool lacks one basic feature, and that’s the watermarking feature. And the mobile photographer in you must understand it so well. The fact that you have to download other apps to stamp a watermark is counterproductive.
After much digging around, thankfully, we discovered a nifty workaround which lets you watermark your company’s logo or your name. It’s important that you must set it up once, and you will be sorted. In this method, we will use the double exposure tool of Snapseed, and tweak it a bit as per our needs.
Let’s get going!
Using a Logo as a Watermark on Snapseed
Step 1: Converting the PNG Images into Snapseed-acceptable Format
The issue with Snapseed is that you can’t use PNG images as the second layer in the Double Exposure mode. Again, as most logos and watermarks are created in the PNG format, it lands us in a sticky situation. Converting a PNG to JPEG is a pointless affair because it causes the image to lose its transparent properties.
And even if you were successful in converting a transparent PNG image to JPG, Snapseed doesn’t let you use that converted file as a second layer.
However, there’s a nifty bypass.
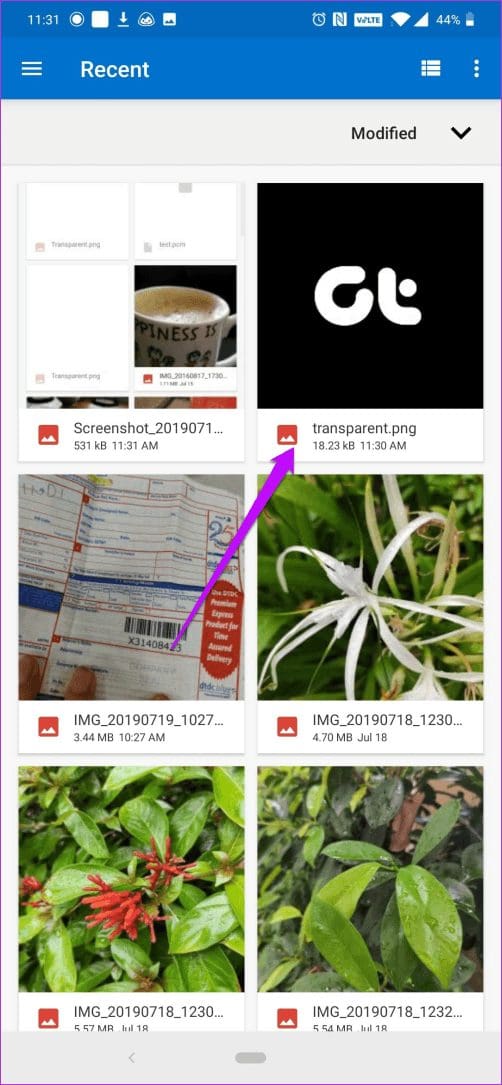
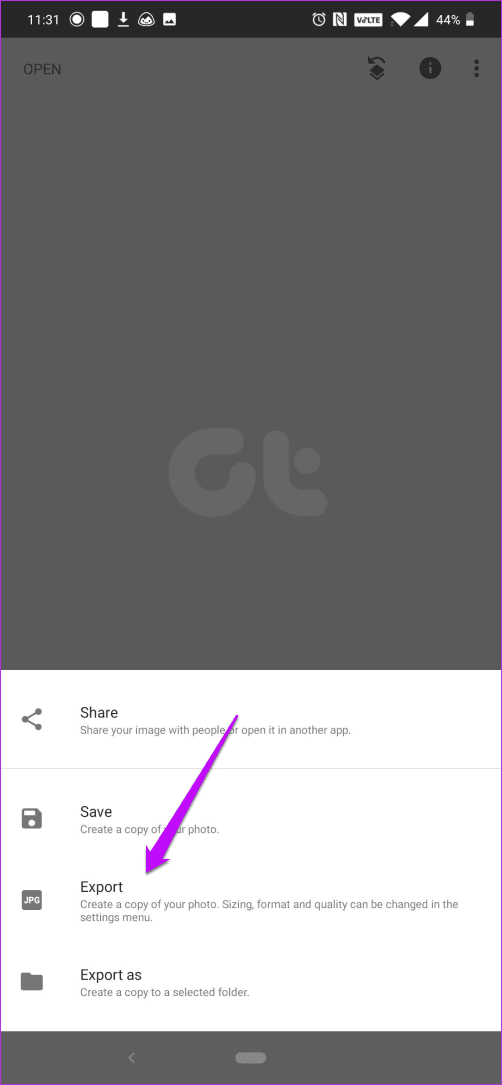
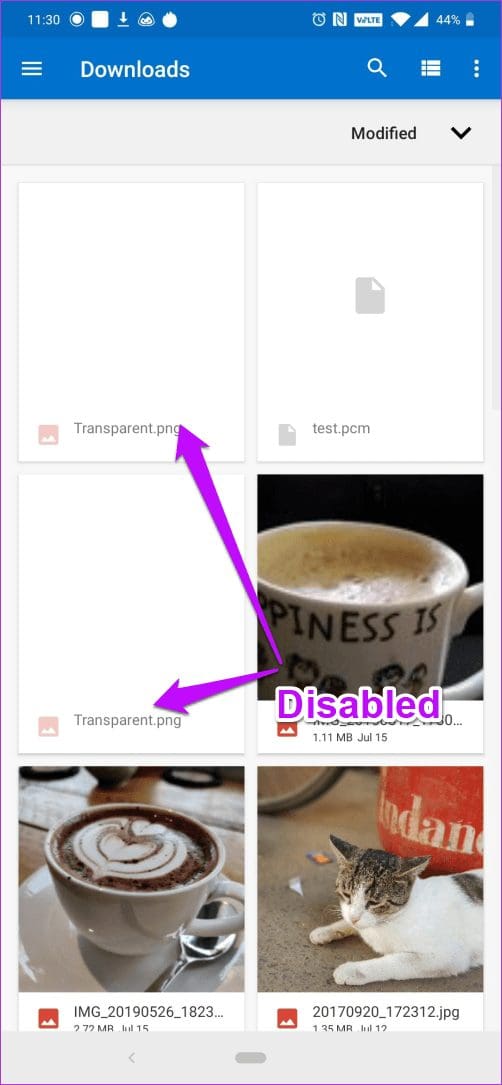
All you have to do is open the image in Snapseed, and export it. Simple, see. That way, Snapseed will let you use this logo image as a watermark.
Step 2: Apply the Watermark
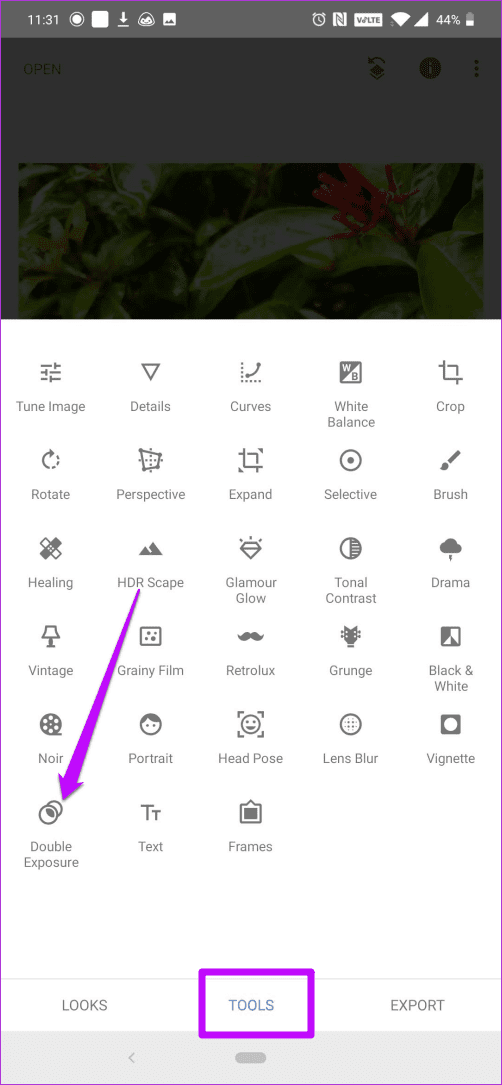
Next, open the image in Snapseed, and make all the necessary edits. After all your edits are complete, navigate to Tools > Double Exposure.
Tap on the Plus icon at the bottom. Now, you’ll find that the image which you last saved is enabled (whereas the original image will be blurred). All you need to do is select it.

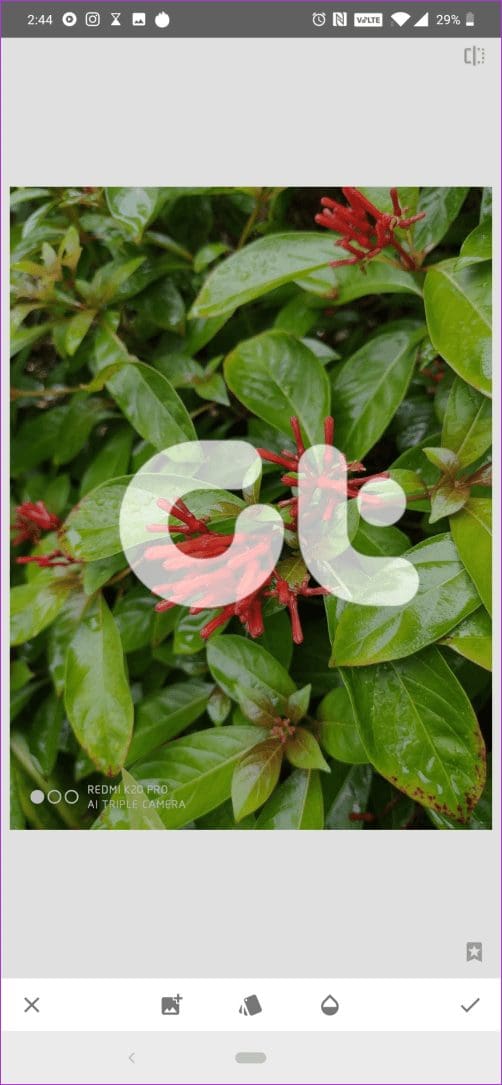
By default, the second image will be placed over the whole image. Pinch to lower the size. At the same time, drag the second image to one of the corners.
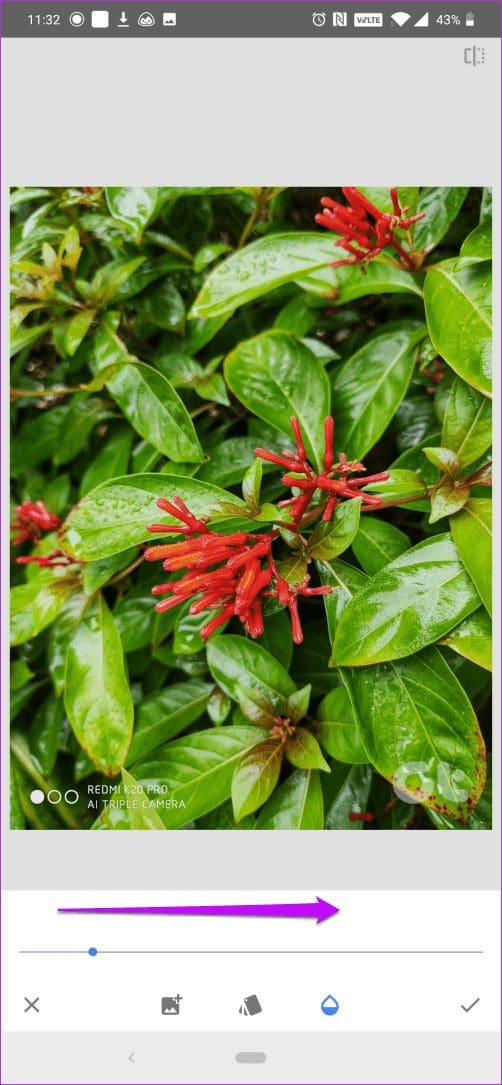
Once done, tap on the Blending Mode (second icon) to see which mode looks good on the image. In my case, I used Lighten. This mode doesn’t darken (or lighten) the original color of the base image.

Next, tap on the Opacity (third icon) to blend the watermark with the rest of the image. Just make sure that the original colors are not changed.
After giving finishing touches, simply export the photo and lay rest to worries (at least some of them) about your creation being lifted off without your consent.
Using Text as a Watermark on Snapseed
Thankfully, using text as watermarks isn’t as complicated as logos. And unlike most tools, you can also adjust the opacity of the text as per your choice.
To add a text, open Tools and select Text.
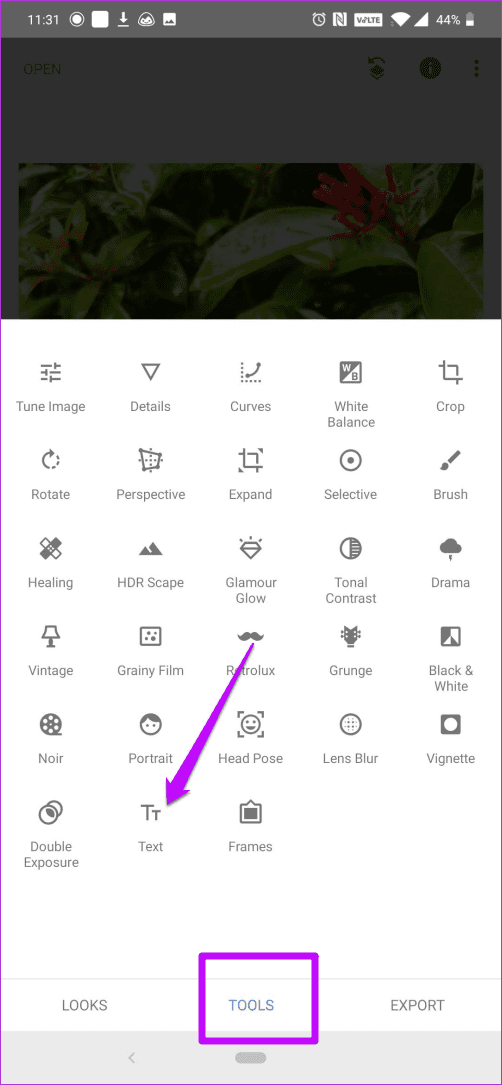
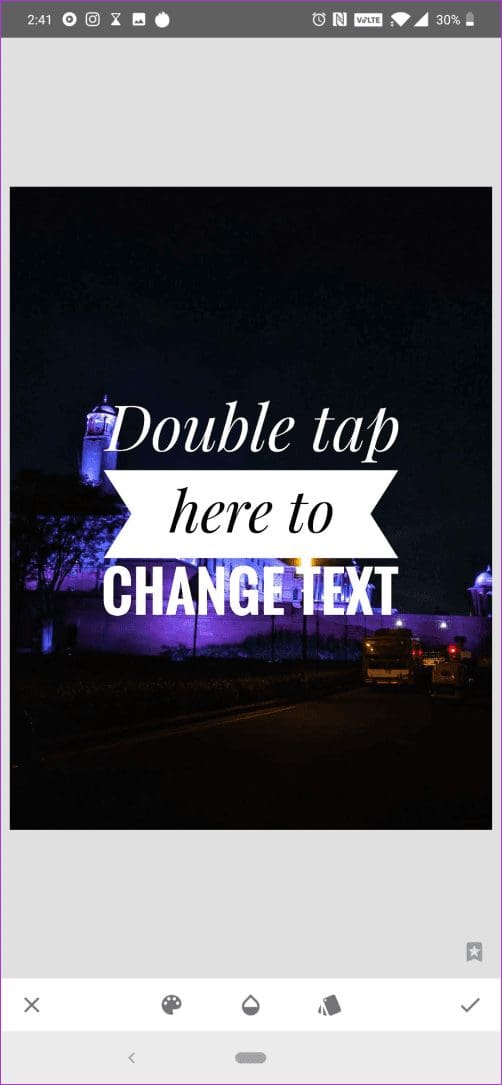
After adding text, choose the text style from the bottom ribbon. Along with that, you can also change the text color and style through the two buttons at the bottom.
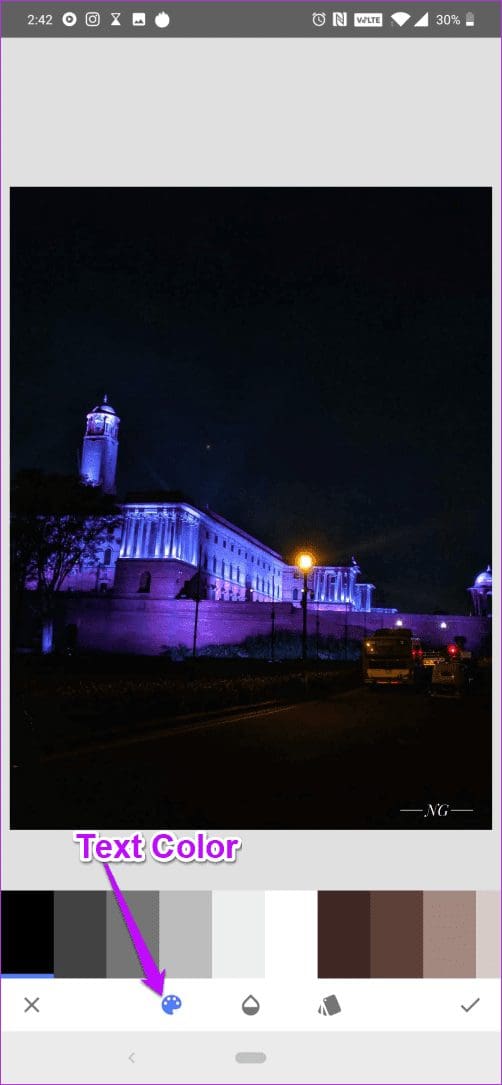

My favorite styles are the ones that are at the start of the list. Minimalist at best and yet they look so stylish.
Bonus Tip: Make Cool Watermarks with Gorgeous Colors
Sure, the white watermark or a watermark with a solid background looks good, but not great. If you want a quirky logo, the good news is that Snapseed also lets you design one. All you need is a great background and a transparent image with your logo on it. Both these combine to produce a neat little image.
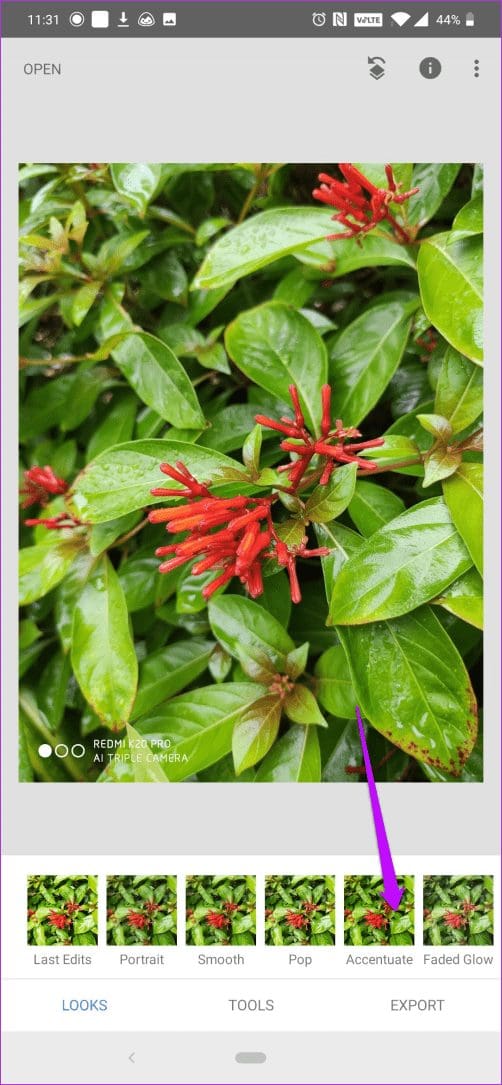
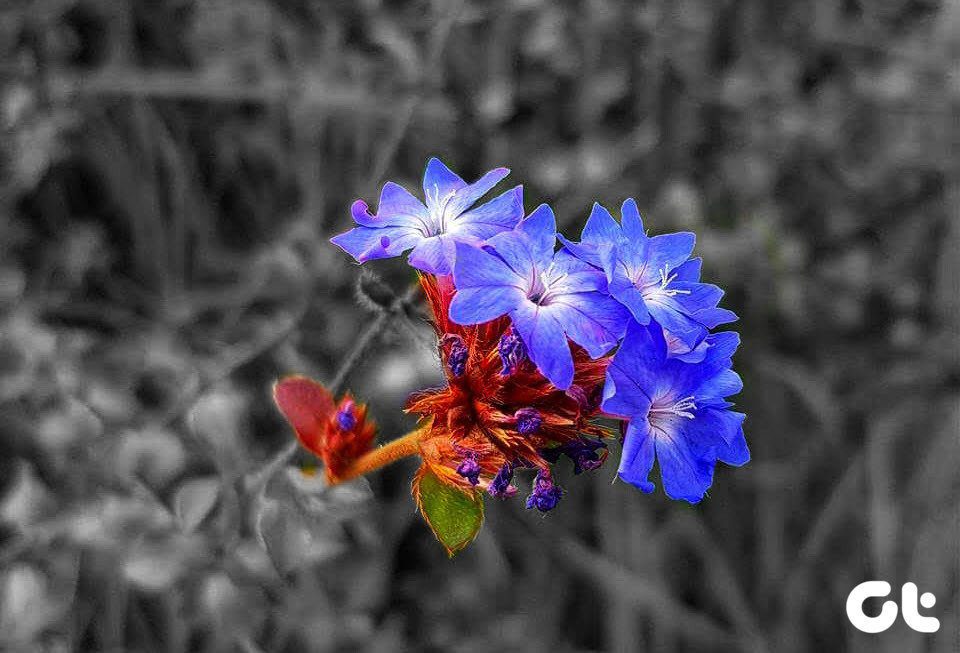
Step 1: Open the image which you want as a background in Snapseed. In my case, I have taken this image, which has a cool combination of red and green.
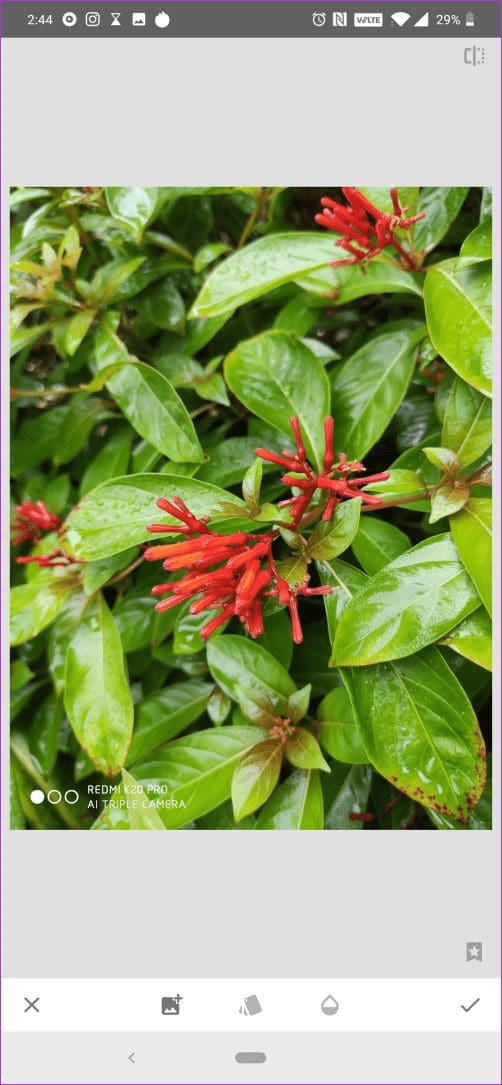
You can also use the accentuate filter to boost the colors.
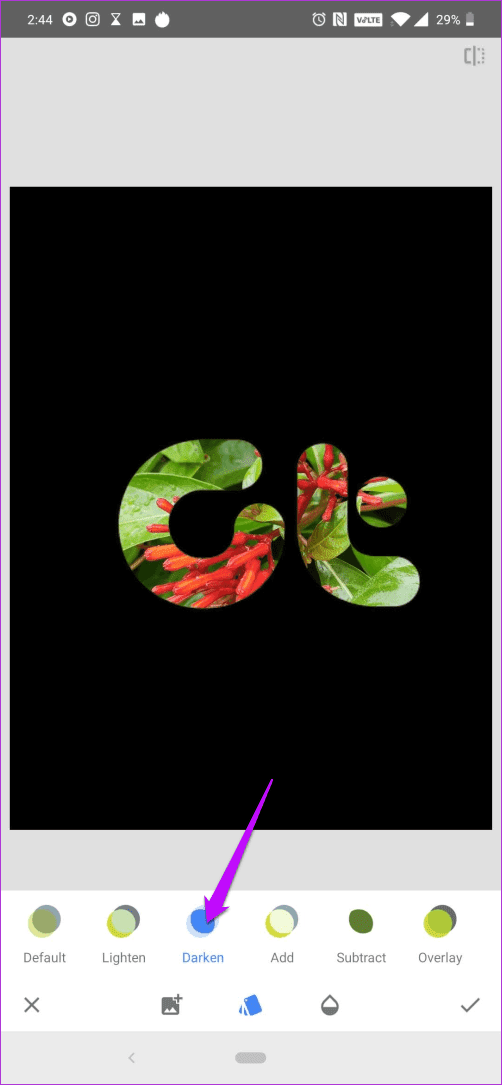
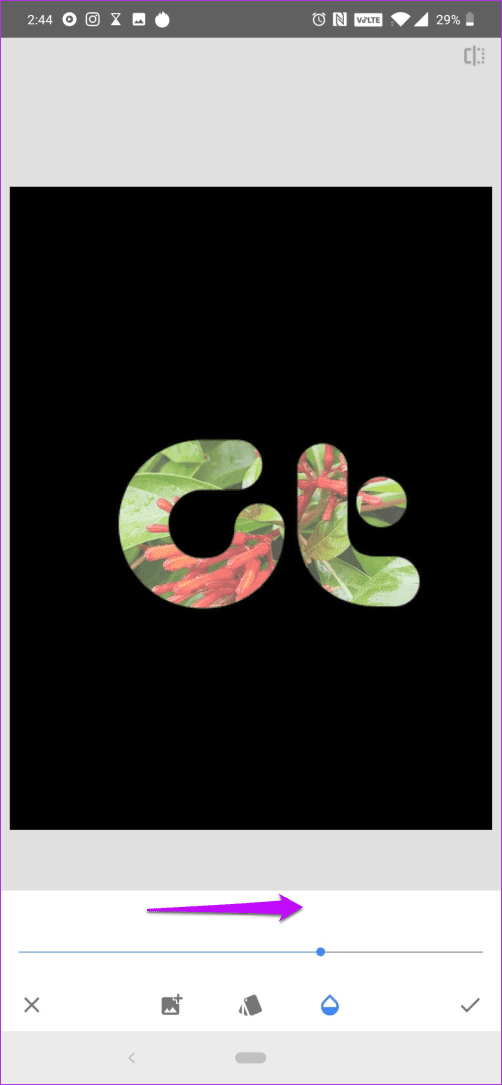
Step 2: Go to Tools > Double Exposure and select the image with the logo as the second layer. Next, open the Blending mode, select Darken, and watch the magic come alive. The key to a good background is not to modify the opacity of the image.
Tap on Done to save the current changes.
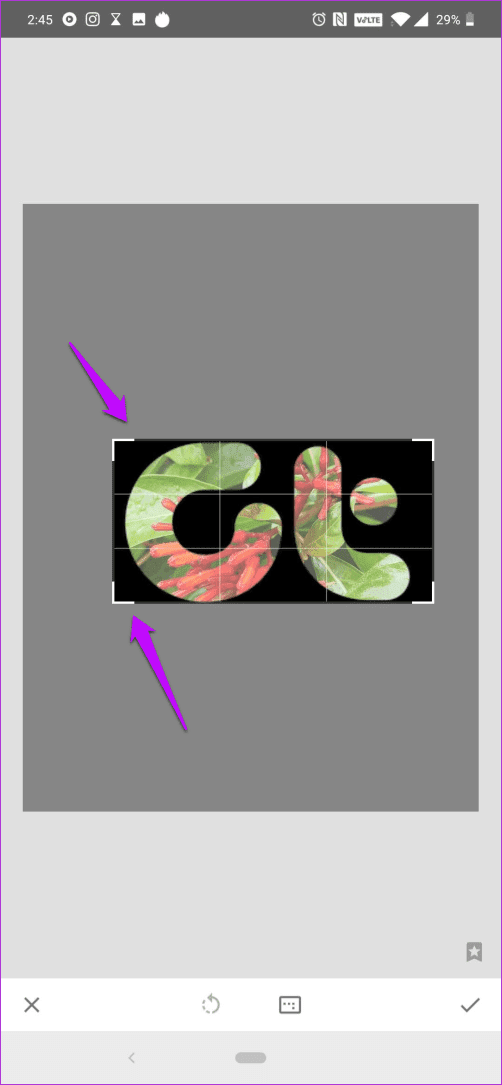
Step 3: Next, open Tools and select Crop to well, snip off the extra edges. Crop as close to the logo as possible. Once done, save or export the image.
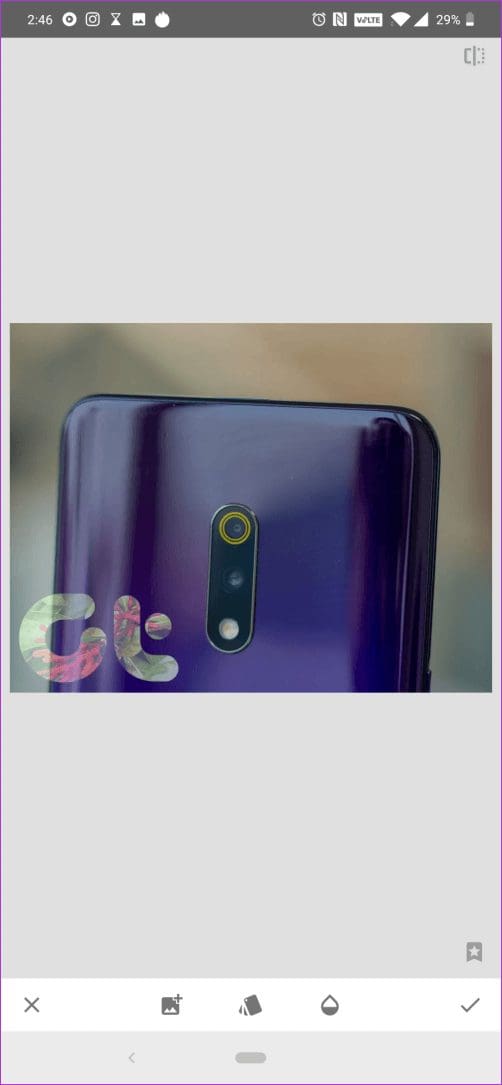
Now, all you need to do is use this new image as a watermark, as described above. Yep, you can thank me later.
Watermark Images the Right Way
Watermarking images is perhaps one of the most useful ways to protect your images from being stolen. All it takes is a small transparent logo or a signature at a convenient place, to let others know that the image is copyrighted, meaning that they can’t lift it off without your permission.
And when you can do the whole process within the app which you use to edit, it helps you save time, and also the image from undergoing further compressions. So, will you use this method? Do lets us know your thoughts in the comments section below.
Next up: The Double Exposure tool in Snapseed has a horde of hidden features. Read the post below to learn how to layer images like an expert.
Was this helpful?
Last updated on 07 February, 2022
Read Next
 How to Make Color Pop Photos in Snapseed
Google Photos is an amazing app for taking simple photo backups.
How to Make Color Pop Photos in Snapseed
Google Photos is an amazing app for taking simple photo backups.
 How to Add Shot on Watermark to Images on Android
Some people may not understand the logic behind adding the Shot on watermark on photos.
How to Add Shot on Watermark to Images on Android
Some people may not understand the logic behind adding the Shot on watermark on photos.
 Snapseed vs PicsArt: Comparing Best Android Photo Editors
Google's Snapseed is one of the most popular photo editing apps out there and it's easy to see why.
Snapseed vs PicsArt: Comparing Best Android Photo Editors
Google's Snapseed is one of the most popular photo editing apps out there and it's easy to see why.
 How to Download TikTok Videos Without Watermark on iPhone and Android
TikTok is the home to a variety of fun, short-form video content from users across the globe.
How to Download TikTok Videos Without Watermark on iPhone and Android
TikTok is the home to a variety of fun, short-form video content from users across the globe.
 11 Best Snapseed Filters, Settings, and Tips
Google's photo editing app, Snapseed, has always been exceptional due to its combination of cool filters and power-packed settings.
11 Best Snapseed Filters, Settings, and Tips
Google's photo editing app, Snapseed, has always been exceptional due to its combination of cool filters and power-packed settings.
 How to Change Background and Remove Objects in Snapseed
In photography, things usually don't go as we intend them to.
How to Change Background and Remove Objects in Snapseed
In photography, things usually don't go as we intend them to.
 How to Create and Add Watermark in PowerPoint Slides
Microsoft PowerPoint is widely used to present slides or give presentations.
How to Create and Add Watermark in PowerPoint Slides
Microsoft PowerPoint is widely used to present slides or give presentations.
 How to Create a Watermark in Canva
If you care about your creative work on the internet, then it's only wise to add a watermark to it.
How to Create a Watermark in Canva
If you care about your creative work on the internet, then it's only wise to add a watermark to it.
The article above may contain affiliate links which help support Guiding Tech. The content remains unbiased and authentic and will never affect our editorial integrity.