Touchpad gestures on Windows bring a lot of convenience to the table. Whether it’s the three-finger swipes to switch between the active windows or reveal the desktop, touchpad can be more helpful than a mouse. But sometimes, the touchpad on your laptop can act out and stop responding. If you’ve been a victim of a similar issue yourself, this guide is for you.
Whether the touchpad is not responding to gestures or has become non-functional entirely, this guide covers solutions to get the touchpad to work again. So, let’s get started.
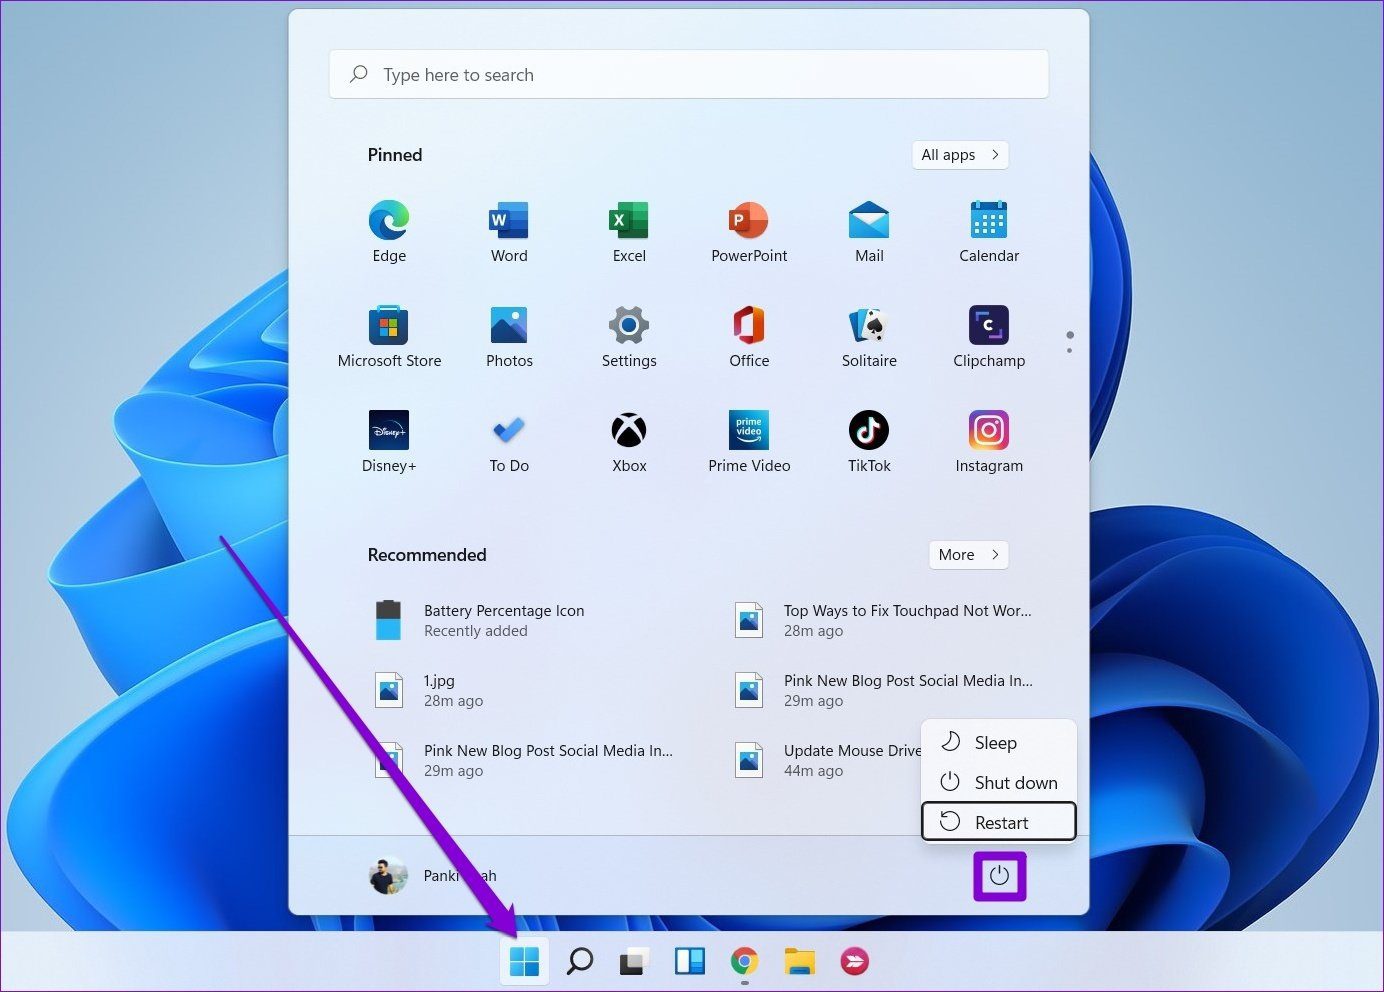
1. Restart Your PC
You can start by restarting your PC. If the touchpad is not working due to one of the background processes or a minor software glitch, then restarting your PC should take care of it.
To restart your PC, you can either use an external mouse or your keyboard. To restart your PC using a keyboard, press the Start button, use the arrow key to Power, and press Enter. Now Select Restart from the menu and press Enter again.
2. Enable Touchpad
You can verify if the touchpad is enabled and working properly on your PC. Many laptop models have a function key to disable the trackpad. So you need to check if you’ve disabled the touchpad by mistake. Locate and press the function key to check that.
3. Check Antivirus Program
The Antivirus program could interfere and modify the trackpad settings. To make sure, disconnect your PC’s internet connection and then disable the antivirus temporarily to check if that makes the touchpad work. If not, restart your PC and enable the antivirus.
4. Run Hardware Troubleshooter
Windows offers a range of troubleshooters capable of diagnosing issues on your PC and fixing them on its own. Thankfully, it offers one for the hardware peripherals as well. Here’s how to access it.
Step 1: Open the Start menu, type in cmd, and use the arrow key to navigate to Run as administrator. Then, press Enter.
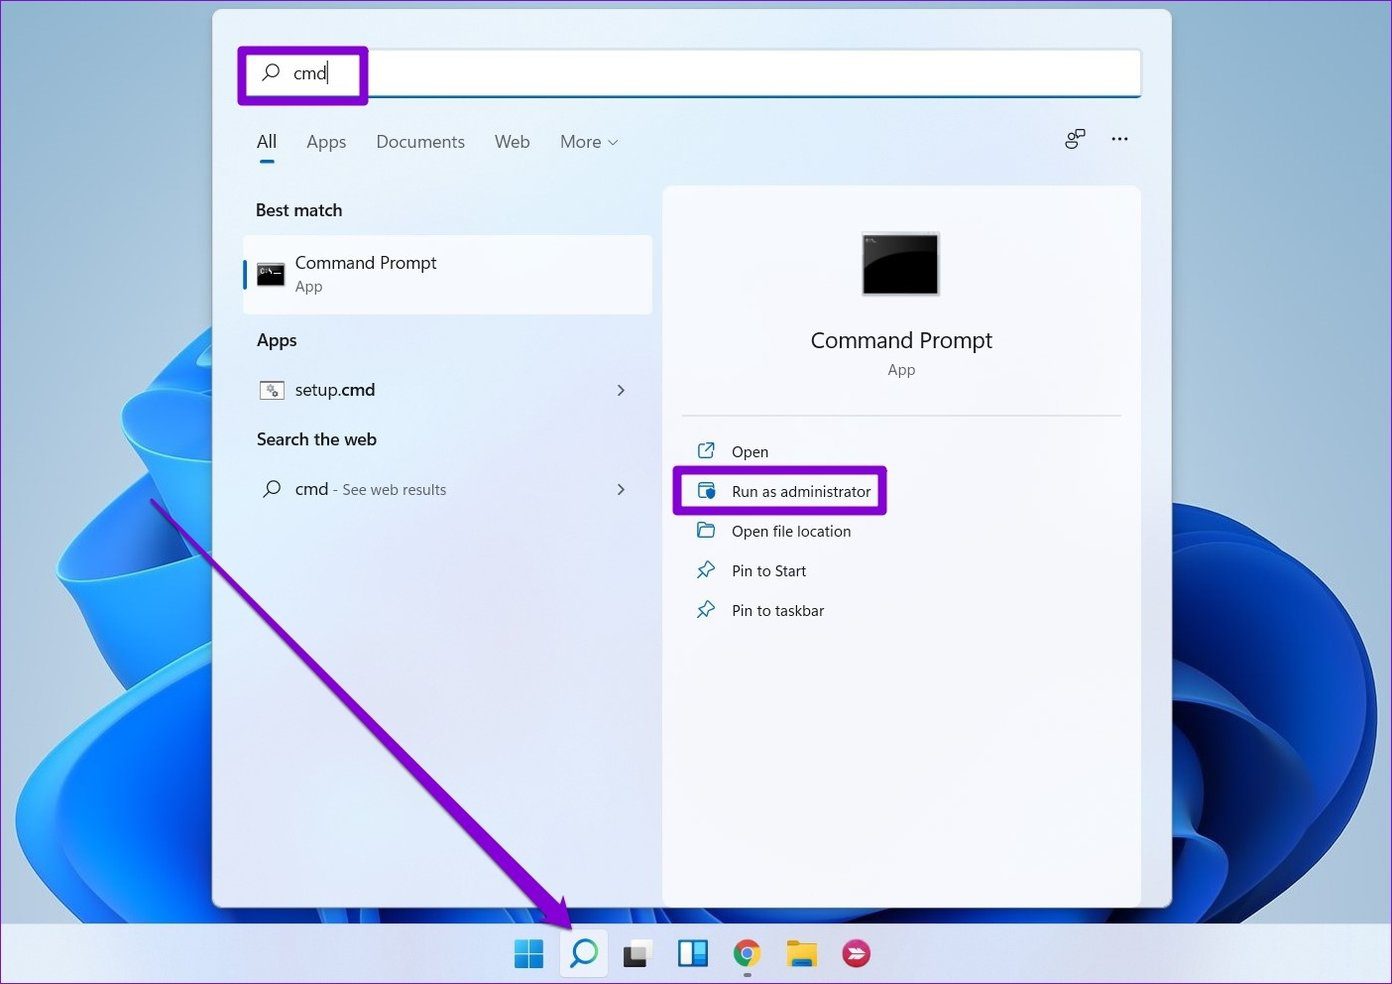
Step 2: In the console, type the following command and press Enter.
msdt.exe -id DeviceDiagnostic
Step 3: In the Hardware and Devices window that appears, hit Next to allow it to scan for any issues.

If the tool asks to perform an automatic repair after completing the scan, select Apply this fix to continue. Once done, restart your PC and see if you can access the touchpad now.
5. Repair Touchpad Driver
If the troubleshooter fails to identify any issues with the touchpad, then you can take matters into your hand and repair the touchpad app via the Settings menu. Here’s how.
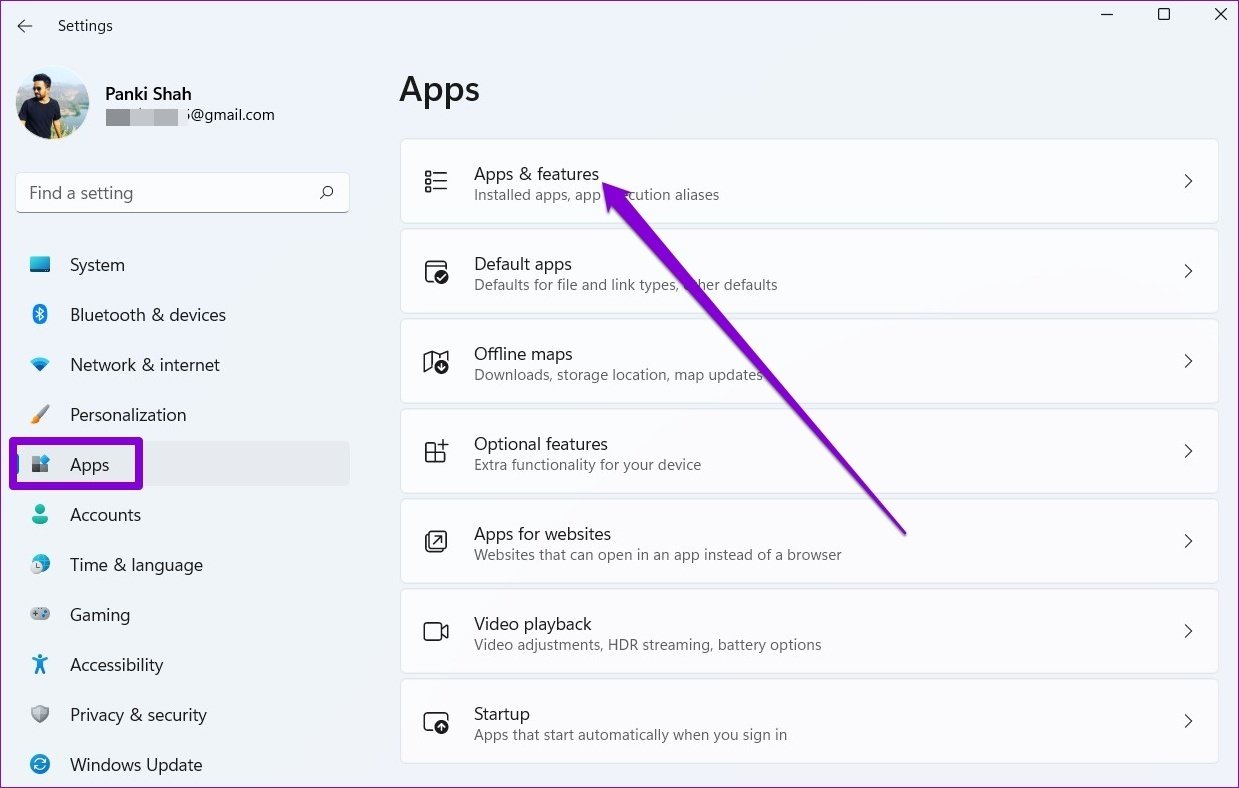
Step 1: Press Windows key + I to launch the Settings app. Switch to the Apps tab on your left and go to Apps & features.
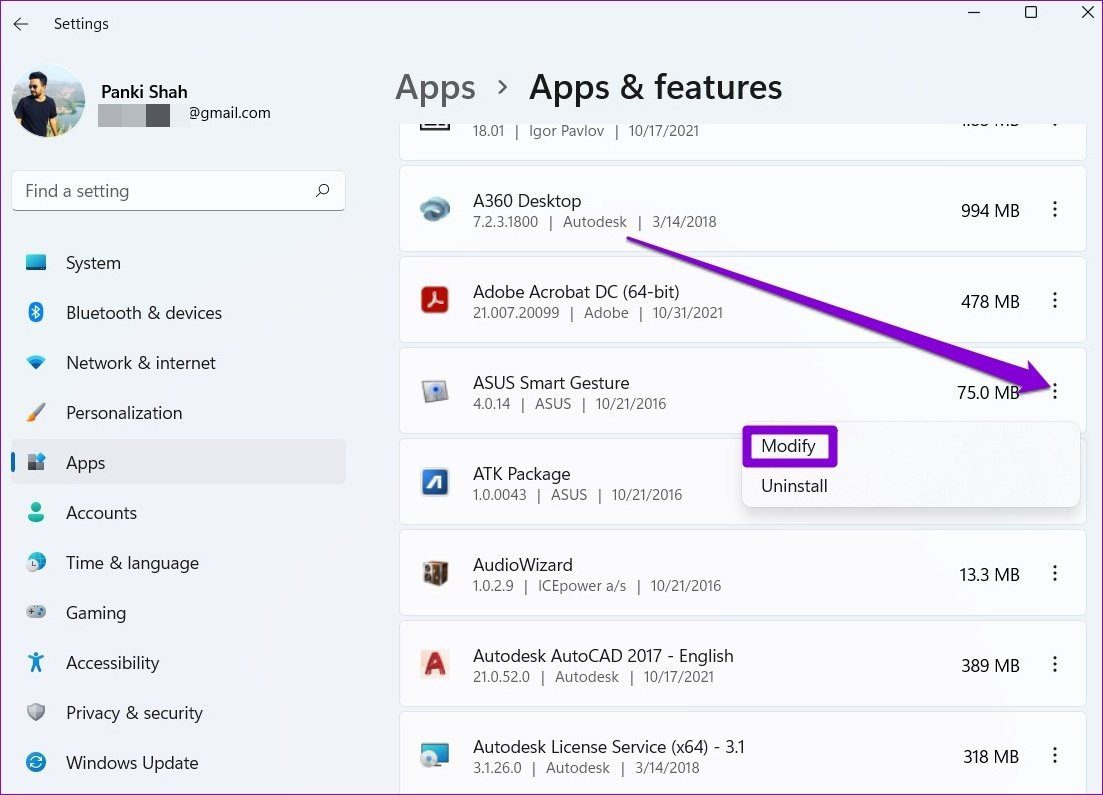
Step 2: Look for your touchpad app and use the three-dot menu next to it to Modify it.
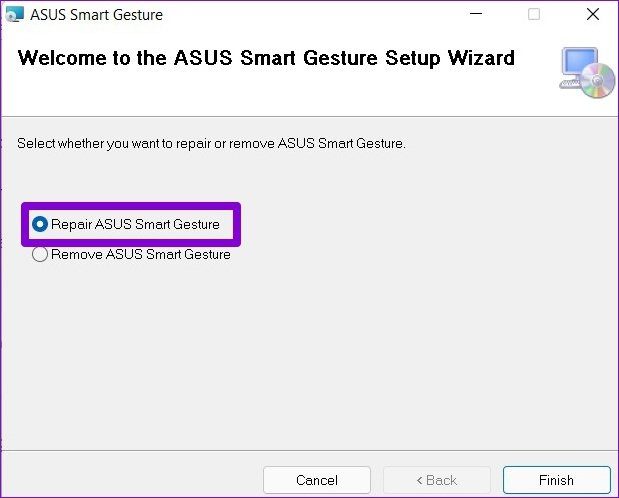
Step 3: Follow the on-screen instructions to complete the restoration process.
6. Update or Reinstall Driver
Windows updates usually take care of updating your drivers from time to time. But if you’ve disabled automatic updates on Windows, those drivers will get outdated eventually. In that case, you can try updating the drivers manually by following the steps below.
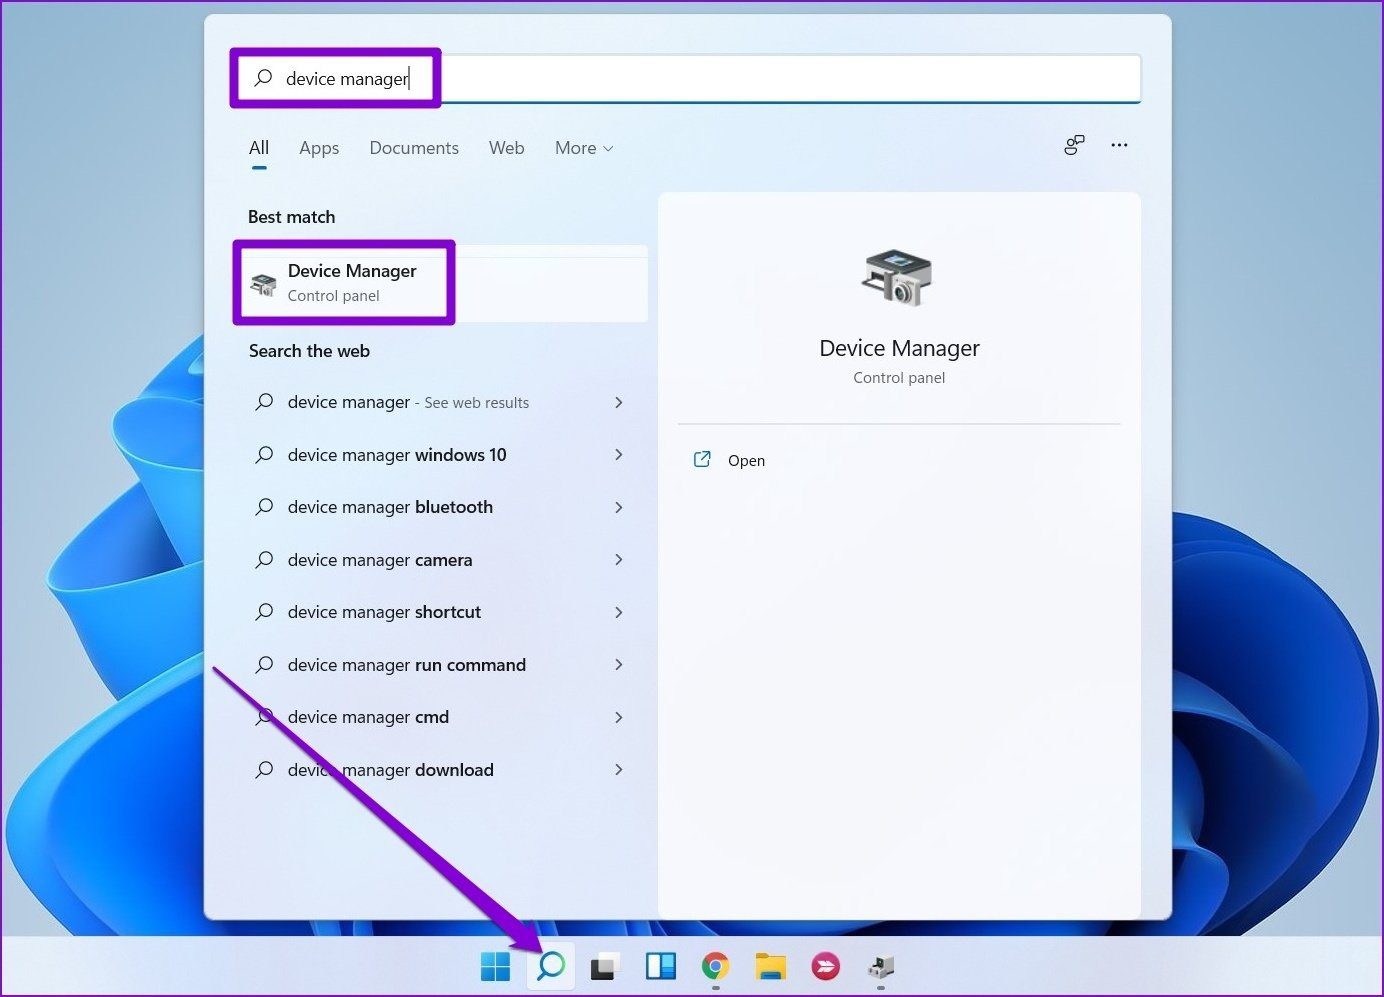
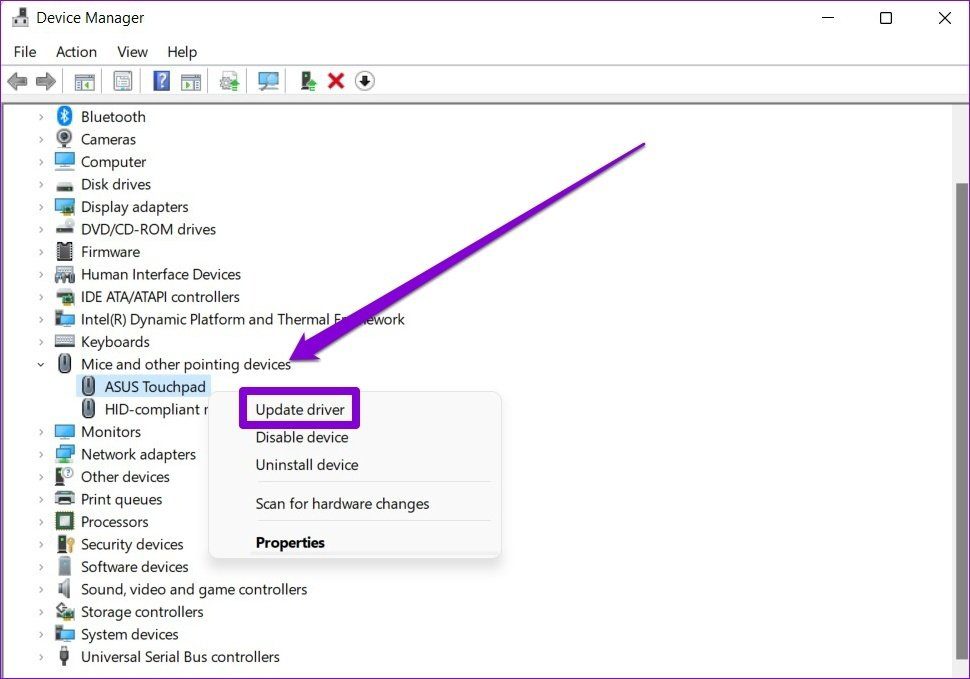
Step 1: Open the Start menu, type in device manager, and press Enter.
Step 2: Expand Mice and other pointing devices, right-click on your touchpad and select the Update driver option.
If the problem persists, then it might be the case of drivers being corrupted. You can try uninstalling the drivers by following the steps above and rebooting your PC to let Windows install them again.
7. Use System Restore
Windows 11 carries a handy System Restore feature that periodically takes a backup of the entire system. Such backups can come in handy when you’re having issues that can’t be resolved by other means. Read on to learn how to use the System Restore feature on Windows 11 to revert to the point when the touchpad was working fine.
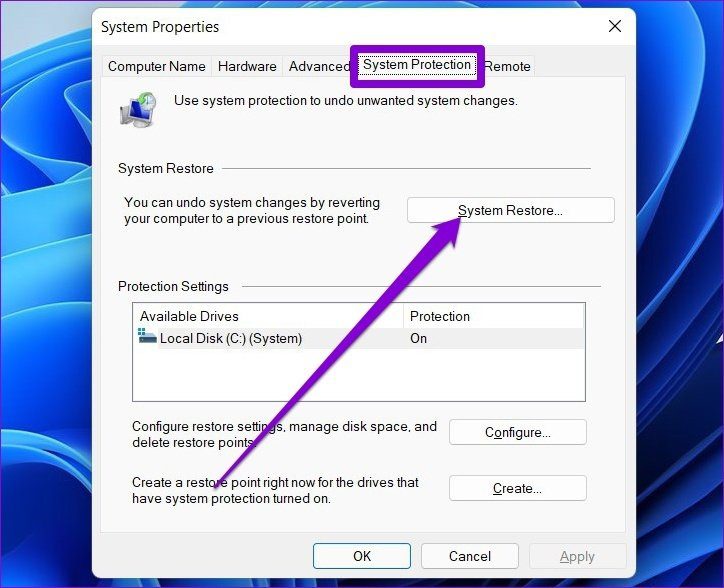
Step 1: Open the Start Menu, type in create a restore point, and press Enter.

Step 2: Under the System Protection tab, click on the System Restore button.
Step 3: You can either go with the recommended restore point or pick a different one yourself by choosing the second option.
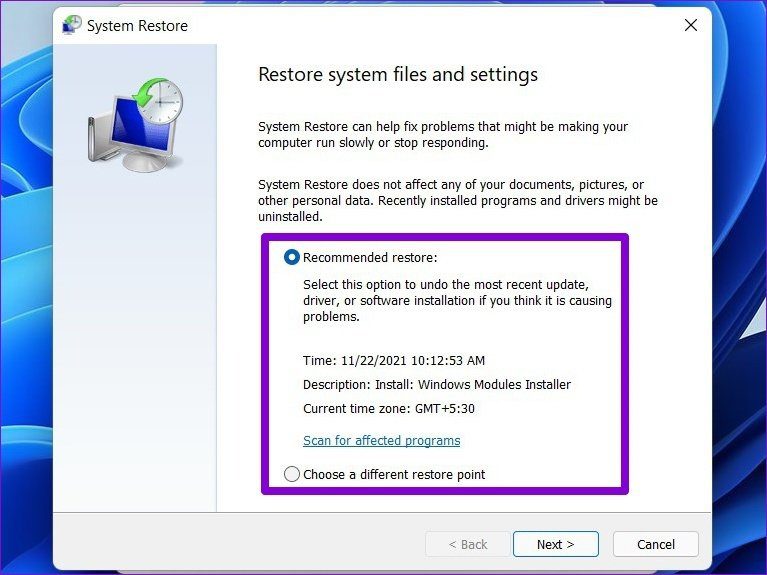
Pick a restore point when the touchpad was running fine and hit Next. Now follow the on-screen instructions to perform a system restore.
Get the Touchpad Working
It’s hard to get much done when the touchpad on your laptop stops working, especially if you aren’t familiar with Windows shortcuts or don’t have a wireless mouse to spare. Hopefully, the above solutions have been through enough to solve your touchpad issues on Windows 11 for good.
Was this helpful?
Last updated on 04 February, 2022
Read Next
 Top 9 Ways to Fix Touchpad Gestures Not Working in Windows 10
Windows 10 supports various touchpad (trackpad) gestures.
Top 9 Ways to Fix Touchpad Gestures Not Working in Windows 10
Windows 10 supports various touchpad (trackpad) gestures.
 Top 6 Ways to Fix Touchpad Gestures Not Working on Windows 11
Although a traditional computer mouse provides precision and ease of use, many still prefer the convenience of touchpad gestures.
Top 6 Ways to Fix Touchpad Gestures Not Working on Windows 11
Although a traditional computer mouse provides precision and ease of use, many still prefer the convenience of touchpad gestures.
 Top 5 Ways to Disable Touchpad in Windows 11 Laptops
Although Windows 11 supports a variety of touchpad gestures for easier navigation, you may prefer to use an external mouse for precision and better ergonomics.
Top 5 Ways to Disable Touchpad in Windows 11 Laptops
Although Windows 11 supports a variety of touchpad gestures for easier navigation, you may prefer to use an external mouse for precision and better ergonomics.
 Top 3 Ways to Increase or Decrease Touchpad Sensitivity on Windows 11 Laptops
When it comes to touchpad sensitivity, everyone has different preferences.
Top 3 Ways to Increase or Decrease Touchpad Sensitivity on Windows 11 Laptops
When it comes to touchpad sensitivity, everyone has different preferences.
 How to Fix Synaptics TouchPad Settings Missing in Windows
If you use a Windows-based laptop, there’s a good chance your laptop uses Synaptics TouchPad — the reason you are here too.
How to Fix Synaptics TouchPad Settings Missing in Windows
If you use a Windows-based laptop, there’s a good chance your laptop uses Synaptics TouchPad — the reason you are here too.
 Top 7 Ways to Fix Windows Key Not Working on Windows 10
Windows 10 operating system is full of keyboard shortcuts.
Top 7 Ways to Fix Windows Key Not Working on Windows 10
Windows 10 operating system is full of keyboard shortcuts.
 Top 7 Ways to Fix Telegram Notifications Not Working on Windows 10 and Windows 11
Telegram app is also available for desktops to let you connect with your friends from your Windows computer.
Top 7 Ways to Fix Telegram Notifications Not Working on Windows 10 and Windows 11
Telegram app is also available for desktops to let you connect with your friends from your Windows computer.
 Top 3 Ways to Fix Microsoft Teams Notifications Not Working on Windows 10
Microsoft Teams is one of the best team management tools for businesses and organizations to collaborate and communicate remotely.
Top 3 Ways to Fix Microsoft Teams Notifications Not Working on Windows 10
Microsoft Teams is one of the best team management tools for businesses and organizations to collaborate and communicate remotely.
The article above may contain affiliate links which help support Guiding Tech. The content remains unbiased and authentic and will never affect our editorial integrity.