Push Notifications have become an essential part of our daily lives as they help us keep track of things. Without them, there’s no telling of how many important messages, emails, and alerts we’d be missing. Sadly, that’s exactly what’s been happening to many Windows users after upgrading to Windows 11.
If you’ve been bothered by a similar issue yourself where Windows fails to send notifications, then this guide will help you put an end to all the notification problems on Windows 11. So, let’s check it out.
1. Restart Your PC
Restarting is a troubleshooting method that usually takes care of minor glitches on Windows 11. So before going through the advanced solutions on this list, you can try restarting your PC first.
2. Check Notification Settings
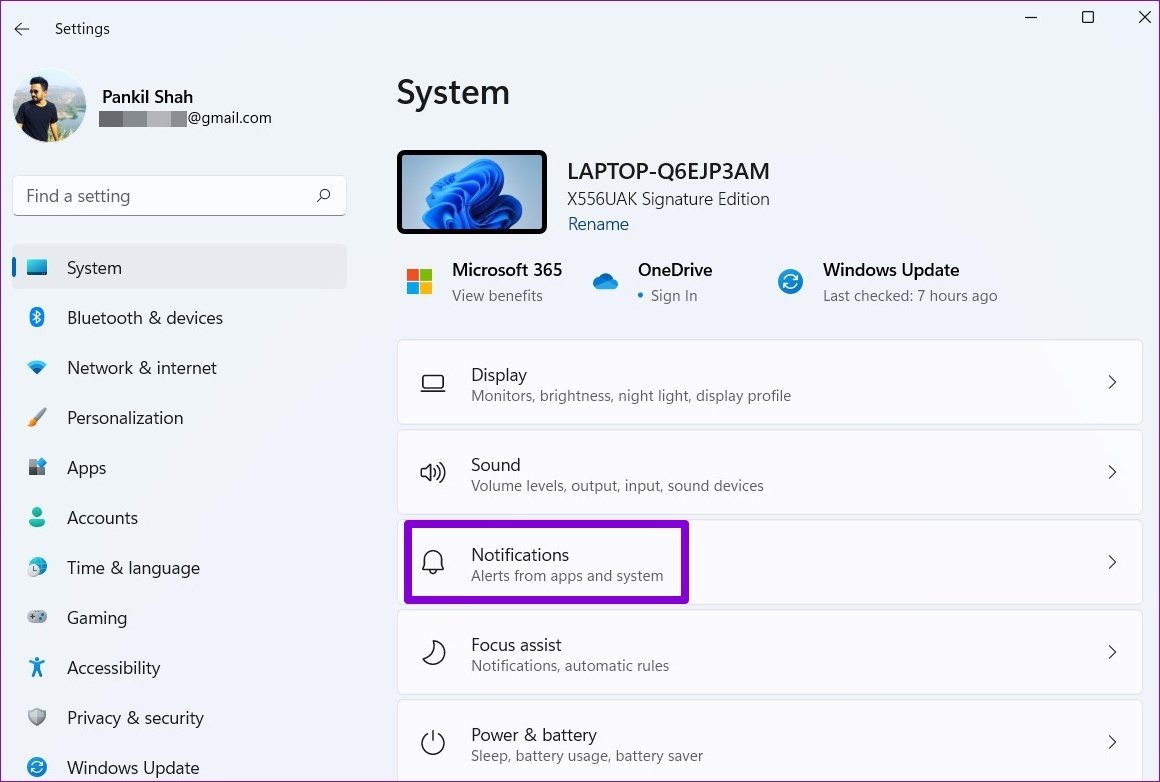
Next, you need to verify the notification settings on Windows 11 to make sure apps and contacts are allowed to push notifications. Here’s how.
Step 1: Press Windows key + I to launch the Settings app and go to Notifications.
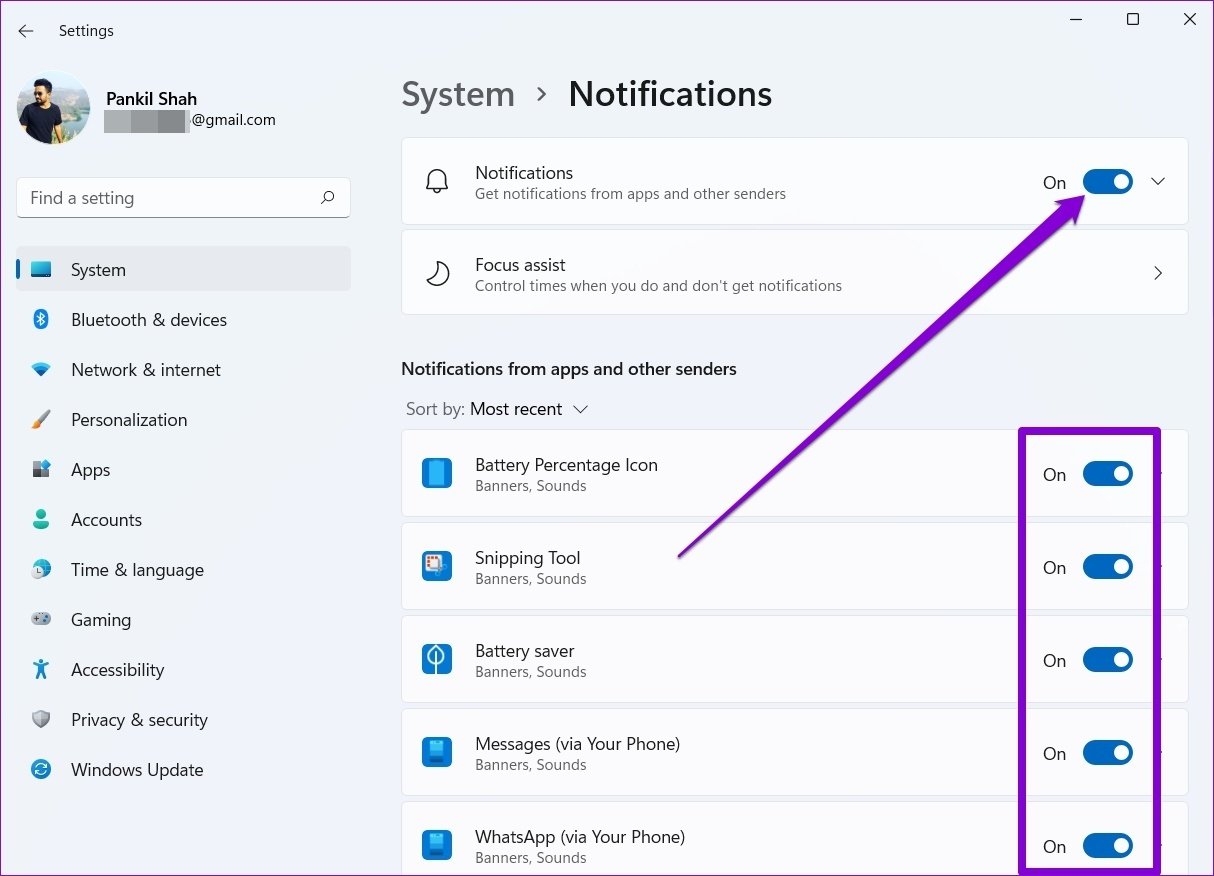
Step 2: Enable the switch next to Notifications if it isn’t already. Further, you can also check if your favorite apps can send notifications.
3. Disable Focus Assist
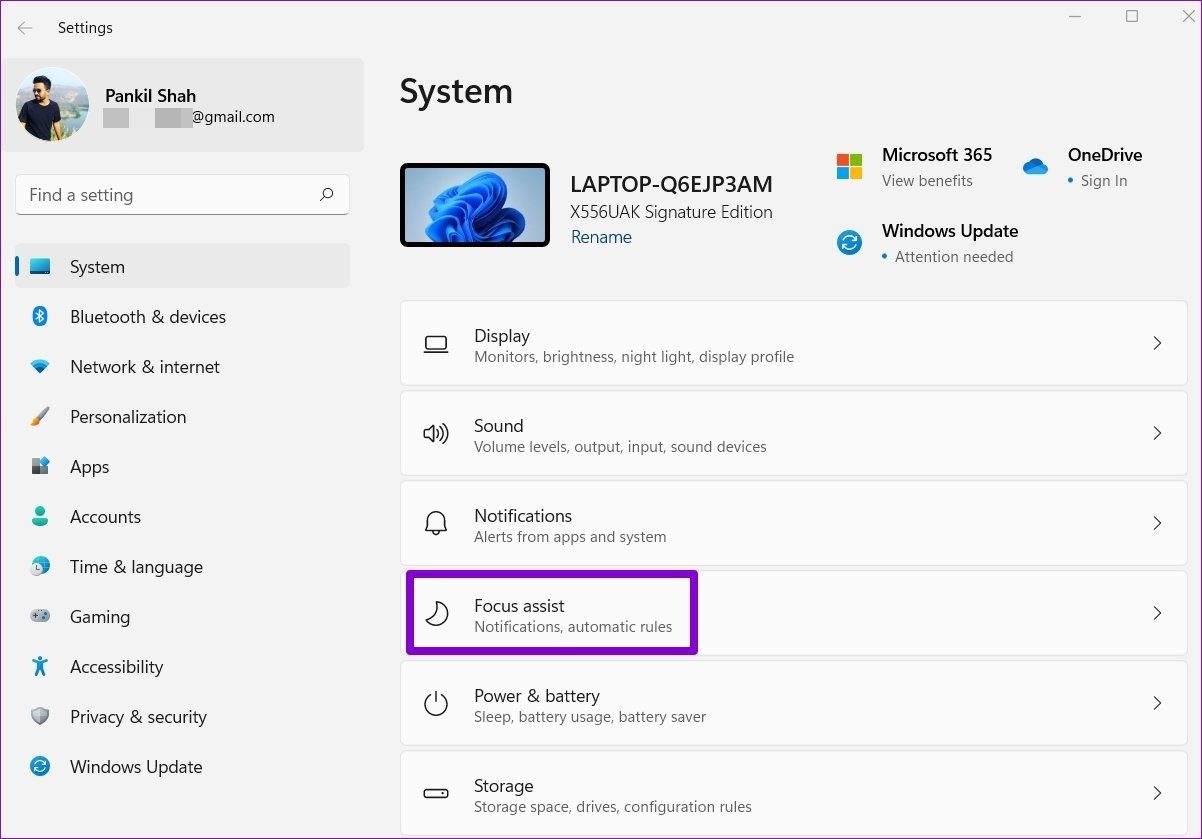
Focus Assist is a handy utility on Windows 11 that helps you focus on the task at hand by disabling notifications from apps and contacts. So, if you’ve accidentally enabled the Focus mode on Windows, follow the steps below to turn it off.
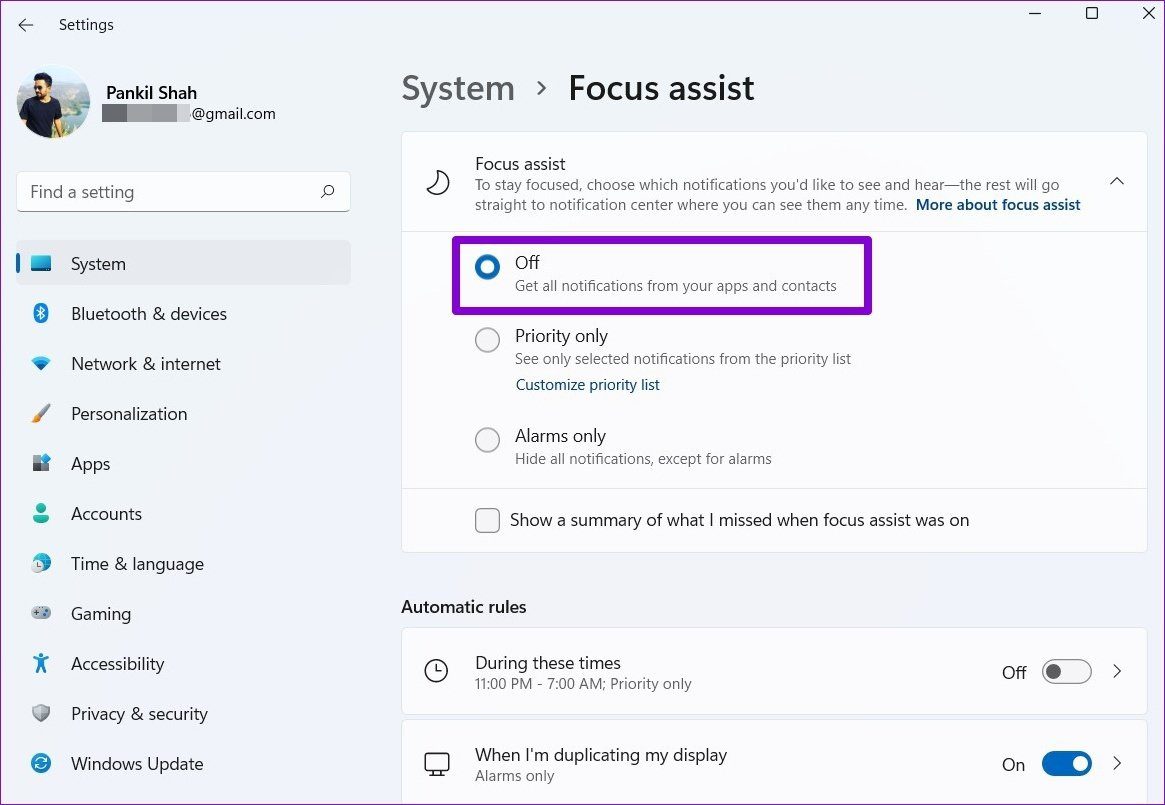
Step 1: Press Windows key + I to open Settings and go to Focus assist.
Step 2: Now set the Focus assist to Off.
4. Restart Windows Explorer
Another reason why Windows might fail to display notifications is if Windows Explorer has run into an error. Fortunately, such problems are often easily resolved once you restart Windows Explorer. Here’s how to do it.
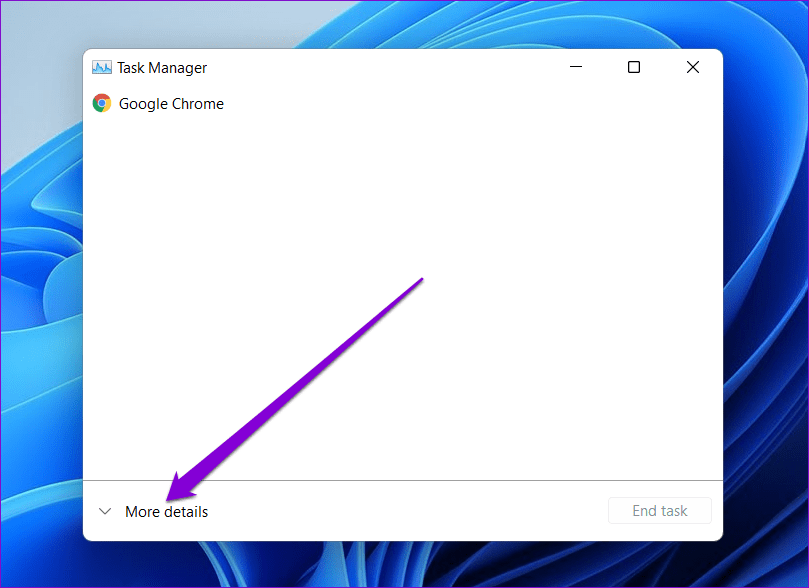
Step 1: Press Ctrl + Shift + Esc on your keyboard to quickly launch the Task Manager.
Step 2: In the Task Manager window, click on the More details option to expand it.
Step 3: In the Process tab, scroll down to find Windows Explorer. Select it and then hit the Restart button at the bottom.

5. Run SFC Scan
Corrupted or missing system files can often lead to notifications issues on Windows 11. To fix that, you can try running an SFC or System File Checker scan that can automatically detect and replace such files with their cached versions. Here’s how.
Step 1: Right-click on the Start menu icon and select the Windows Terminal (admin) option from the resulting menu.

Step 2: Type in the command given below and press Enter.
sfc /scannow

After completing the scan, reboot your PC and see if the issue is resolved.
6. Re-Register Action Center
Sometimes, Windows can also fail push notifications if there’s an issue with the Action Center itself. Thus, You can try re-registering the Action Center on Windows to resolve the issue.
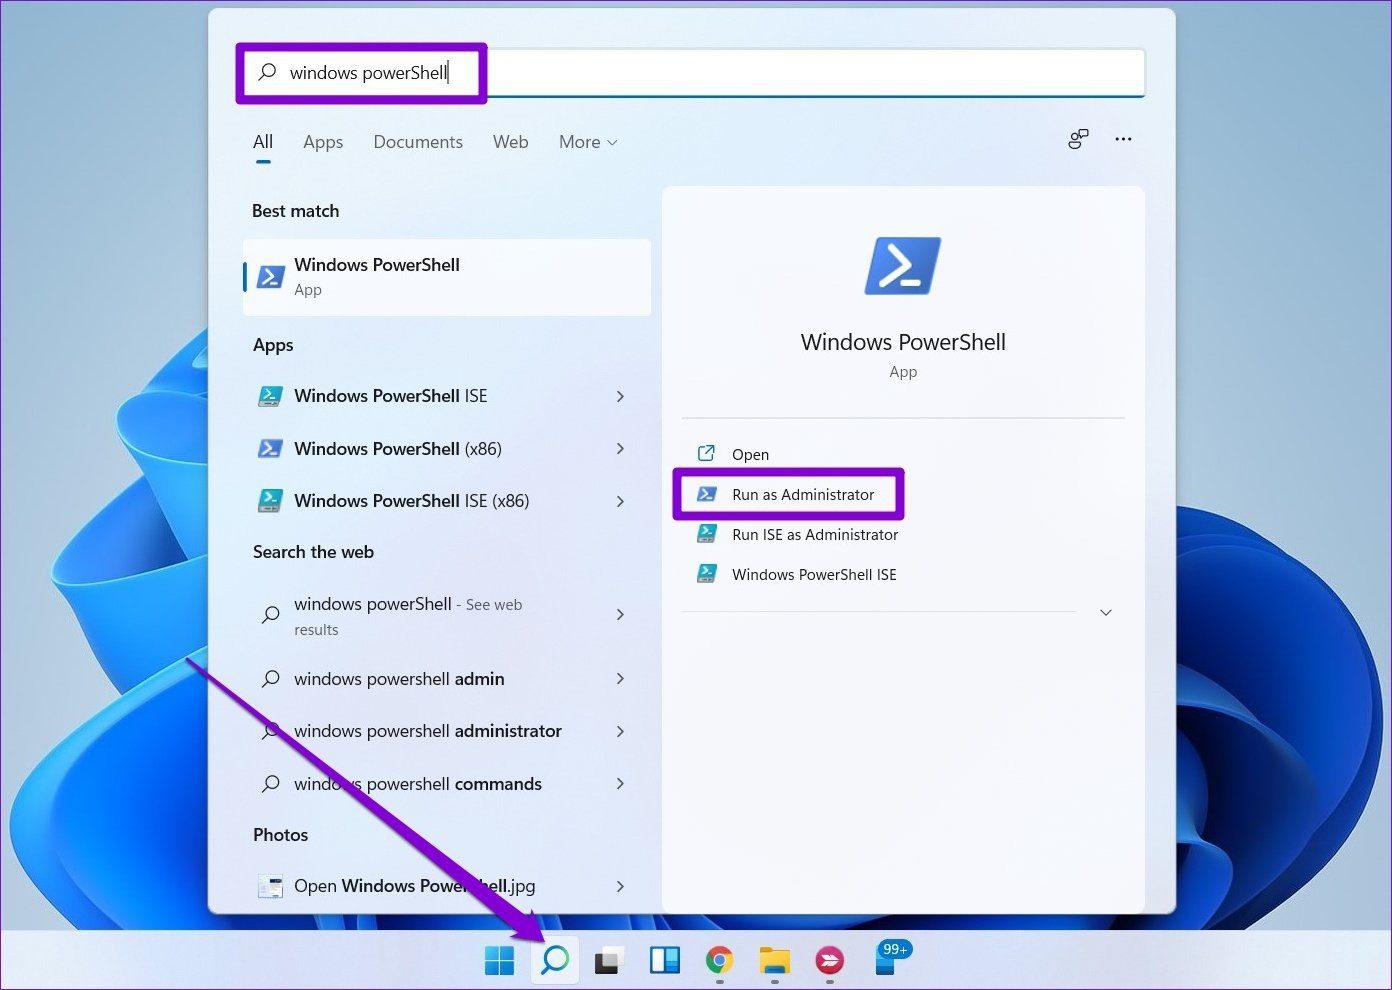
Step 1: Open the Start menu, type in PowerShell, and click on Run as administrator to open PowerShell with admin rights.
Step 2: Paste the command given below and press Enter.
Get-AppxPackage | % { Add-AppxPackage -DisableDevelopmentMode -Register "$($_.InstallLocation)\AppxManifest.xml" -verbose }Once registered, reboot your PC again to see if you can receive notifications now.
7. Tweak Registry Editor
Registry Editor is a powerful tool that can be used to make system-level changes to your PC. You can use it to ensure that notification banners aren’t disabled on your PC. Here’s how.
Since Windows Registry is an integral part of the Windows OS, follow steps with precision and don’t forget to backup the Registry files beforehand.
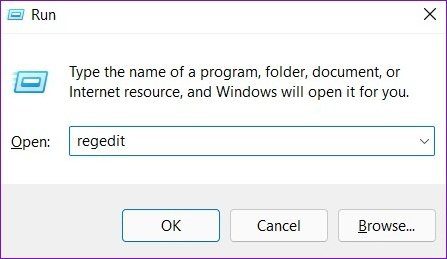
Step 1: Press Windows key + R to open the Run dialog. Type in regedit in the box and press Enter.
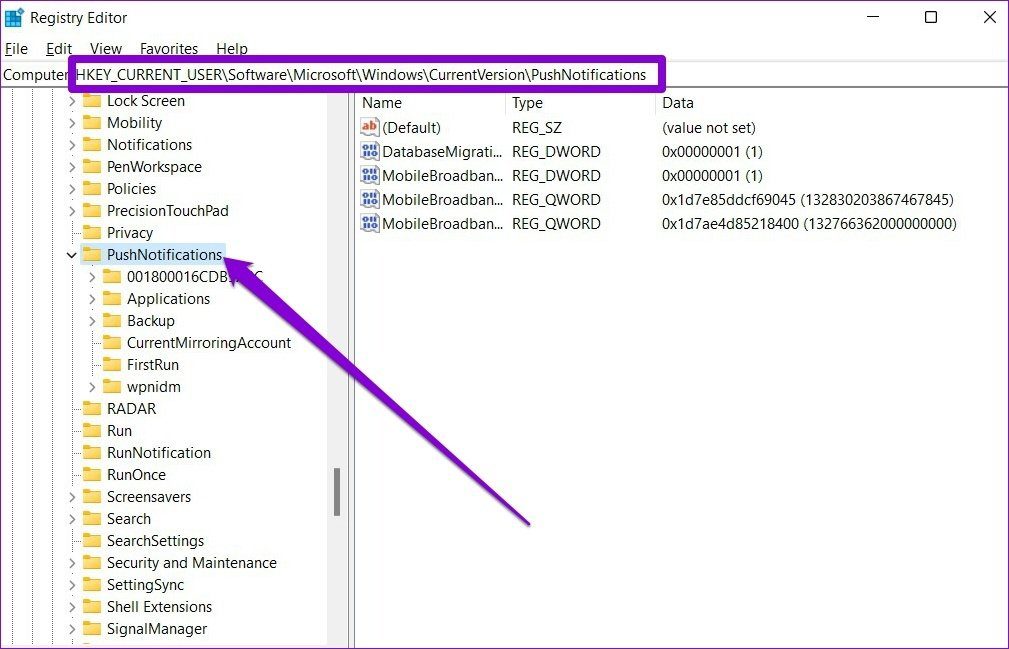
Step 2: Now use the address bar up top to navigate to the following key.
HKEY_CURRENT_USER\Software\Microsoft\Windows\CurrentVersion\PushNotifications
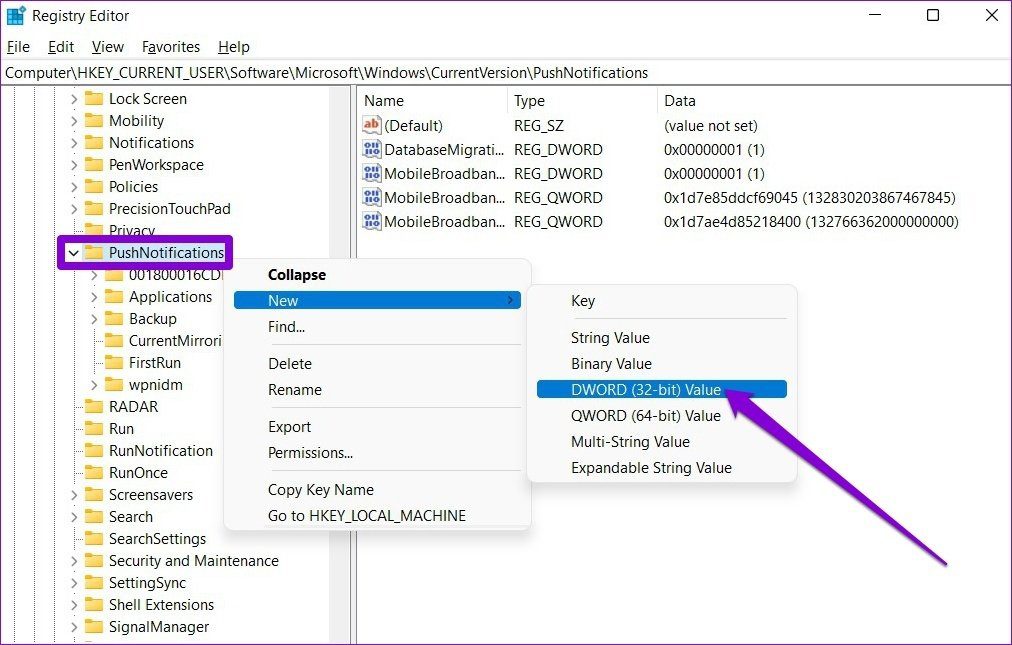
Step 3: Right-click on the PushNotifications key go to New and click on DWORD (32-bit) Value. Name it ToastEnabled.
Step 4: Double-click on the ToastEanbled key and change its value to 1.

Exit Registry Editor and restart your PC for changes to take effect.
8. Update Windows
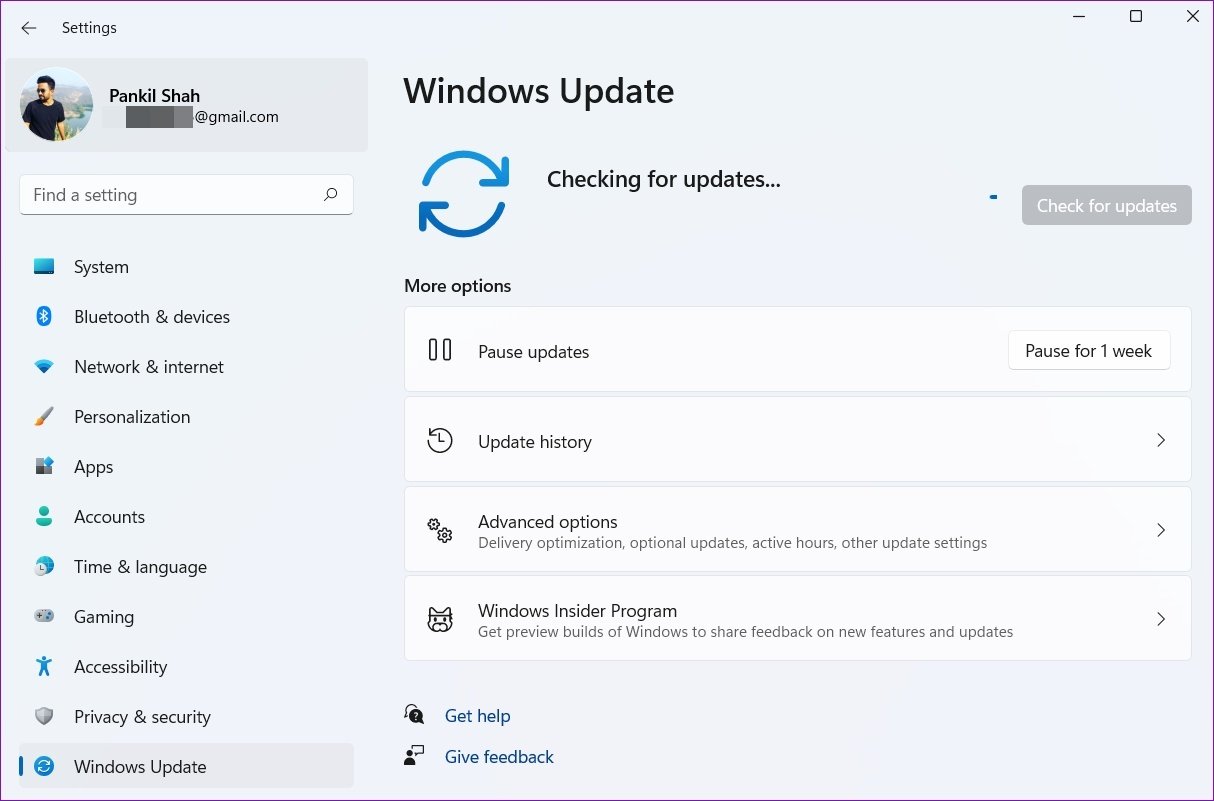
Such system-wide notification issues can also occur due to a faulty OS update. Thankfully, Microsoft is usually quick when it comes to releasing fixes. Thus, you can update your Windows 11 PC to the latest version to resolve such issues.
Press Windows key + I to open the Settings app to check for updates. Navigate to the Windows Update to install any pending updates.
Never Miss an Update
Missing out on important notifications is never fun. Especially, if you rely on receiving your phone’s notification via the Your Phone app on Windows. That said, the above solutions should fix the notification issues on Windows 11 for good.
Useful as they are, notifications can sometimes be overwhelming. Learn how to effectively manage notifications on Windows with these few tips.
Was this helpful?
Last updated on 07 February, 2022
1 Comment
Leave a Reply
Read Next
 Top 7 Ways to Fix Telegram Notifications Not Working on Windows 10 and Windows 11
Telegram app is also available for desktops to let you connect with your friends from your Windows computer.
Top 7 Ways to Fix Telegram Notifications Not Working on Windows 10 and Windows 11
Telegram app is also available for desktops to let you connect with your friends from your Windows computer.
 Top 7 Ways to Fix Gmail Notifications Not Working in Chrome on Windows 10
Notifications make things easy to tend to an update, especially the email app.
Top 7 Ways to Fix Gmail Notifications Not Working in Chrome on Windows 10
Notifications make things easy to tend to an update, especially the email app.
 Top 3 Ways to Fix Microsoft Teams Notifications Not Working on Windows 10
Microsoft Teams is one of the best team management tools for businesses and organizations to collaborate and communicate remotely.
Top 3 Ways to Fix Microsoft Teams Notifications Not Working on Windows 10
Microsoft Teams is one of the best team management tools for businesses and organizations to collaborate and communicate remotely.
 Top 7 Ways to Fix Google Chrome Notifications Not Working on Windows 11
You can set up Google Chrome to receive notifications from your favorite websites and services.
Top 7 Ways to Fix Google Chrome Notifications Not Working on Windows 11
You can set up Google Chrome to receive notifications from your favorite websites and services.
 Top 6 Ways to Fix Microsoft Edge Notifications Not Working on Windows
Enabling Microsoft Edge notifications on Windows can help you keep track of new emails, messages, news, and other information.
Top 6 Ways to Fix Microsoft Edge Notifications Not Working on Windows
Enabling Microsoft Edge notifications on Windows can help you keep track of new emails, messages, news, and other information.
 Top 9 Ways to Fix Microsoft Teams Notifications Not Working in Google Chrome
Although Microsoft Teams has native desktop apps on Windows and Mac, you may prefer the web app to communicate with your colleagues or other students.
Top 9 Ways to Fix Microsoft Teams Notifications Not Working in Google Chrome
Although Microsoft Teams has native desktop apps on Windows and Mac, you may prefer the web app to communicate with your colleagues or other students.
 Top 7 Ways to Fix WhatsApp Desktop App Not Showing Notifications on Windows 11
Missing important WhatsApp messages is never fun.
Top 7 Ways to Fix WhatsApp Desktop App Not Showing Notifications on Windows 11
Missing important WhatsApp messages is never fun.
 Top 10 Ways to Fix TikTok Notifications Not Working on iPhone and Android
Real-time notifications play a huge role in social media apps like TikTok, Instagram, Snapchat, Facebook, etc.
Top 10 Ways to Fix TikTok Notifications Not Working on iPhone and Android
Real-time notifications play a huge role in social media apps like TikTok, Instagram, Snapchat, Facebook, etc.
The article above may contain affiliate links which help support Guiding Tech. The content remains unbiased and authentic and will never affect our editorial integrity.

Thank you so much for your help.