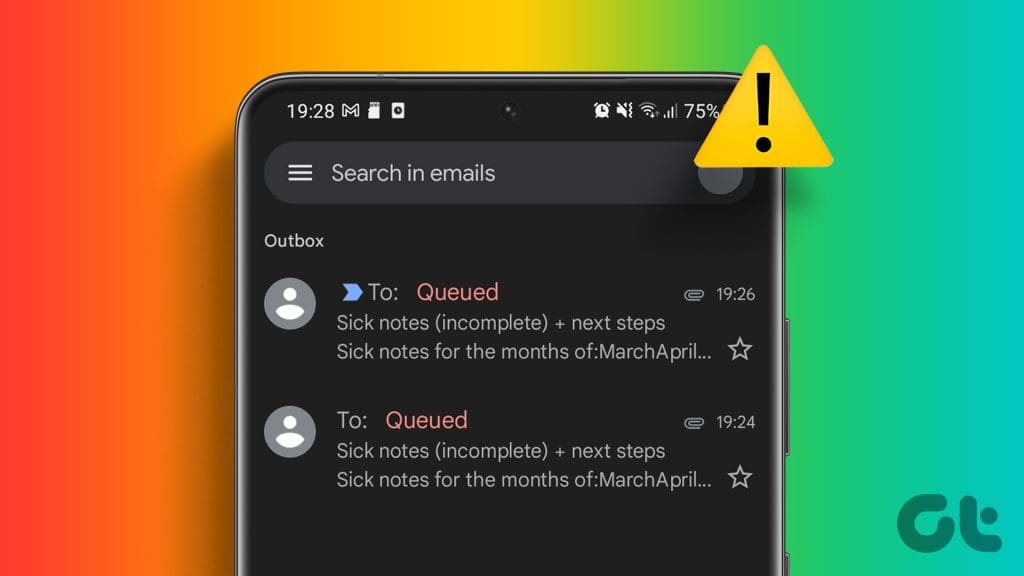
Gmail’s popularity doesn’t exempt it from occasional issues. One particularly frustrating issue you may encounter with Gmail is when your emails become stuck in the outbox, refusing to make their journey to the recipient’s inbox. If you are facing the same problem, this guide can help.
Such issues can occur due to several reasons, including a poor internet connection, a corrupted cache, or limited storage space in your account. Whether you’re using Gmail on your computer or phone, the following troubleshooting tips should quickly restore Gmail’s ability to send your emails as usual.
1. Check Your Internet Connection
An unstable or poor internet connection can make it difficult for Gmail to connect to its servers, causing emails to become stuck in the outbox. Hence, you should first run an internet speed test on your phone or computer. If there’s a problem, switch to another network connection and try again.
2. Verify Recipient’s Email Address
This may seem too obvious, but it’s important to check the recipient’s email address for any typos. If you have misspelled the email address, Gmail won’t be able to send the message. This can give you the false impression that there’s a problem with Gmail. Double-check the recipient’s email address and make sure it is correct.
3. Check the Total Attachment Size
If you’re trying to send an email with attachments, such as images, files, PDFs, etc., it’s important to know that Gmail caps the maximum attachment size at 25 MB. So, if the total size of your attachments exceeds this limit, the email will not go through.
In that case, your best option is to use a cloud storage service like Google Drive or OneDrive to share large files via email.
4. Refresh the Outbox Folder
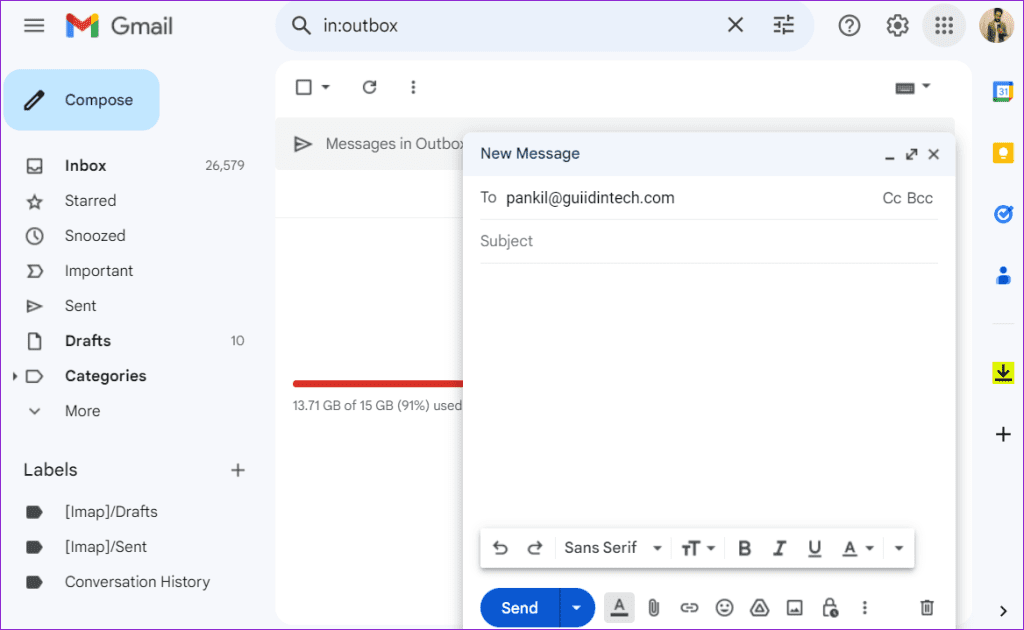
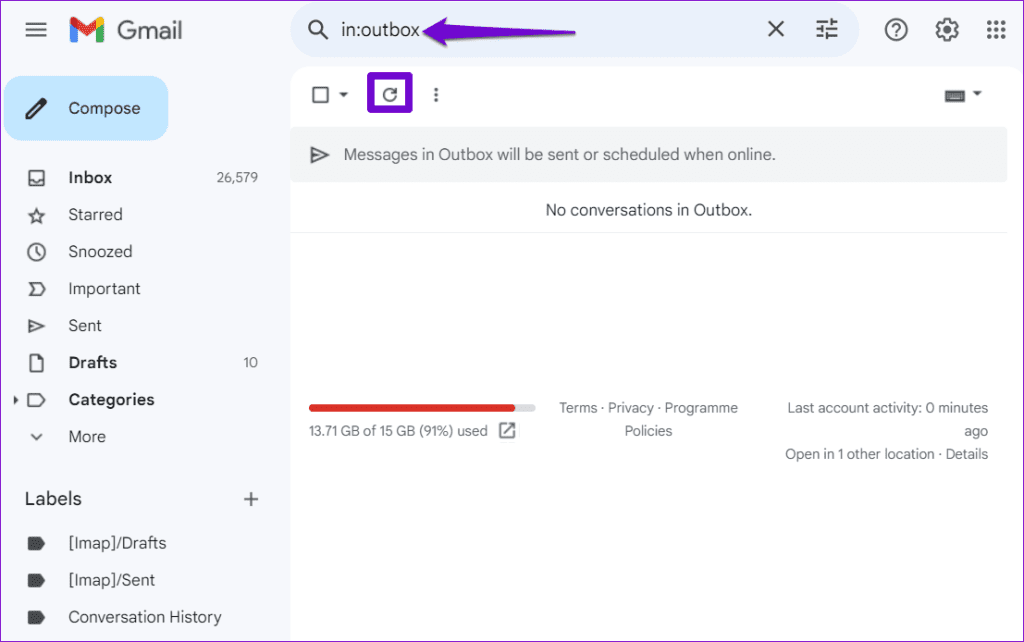
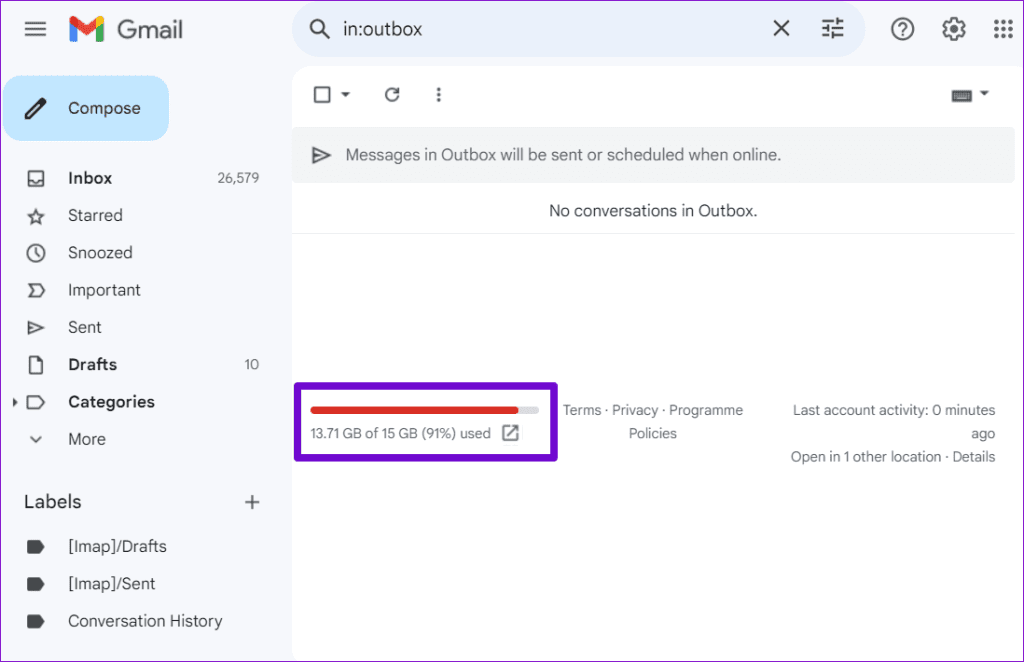
Another thing you can try is to refresh Gmail’s Outbox folder to see if that gets your email to go through. If you are using Gmail in a web browser, type in:outbox in the search box and press Enter to head to the Outbox folder, and click the refresh icon.
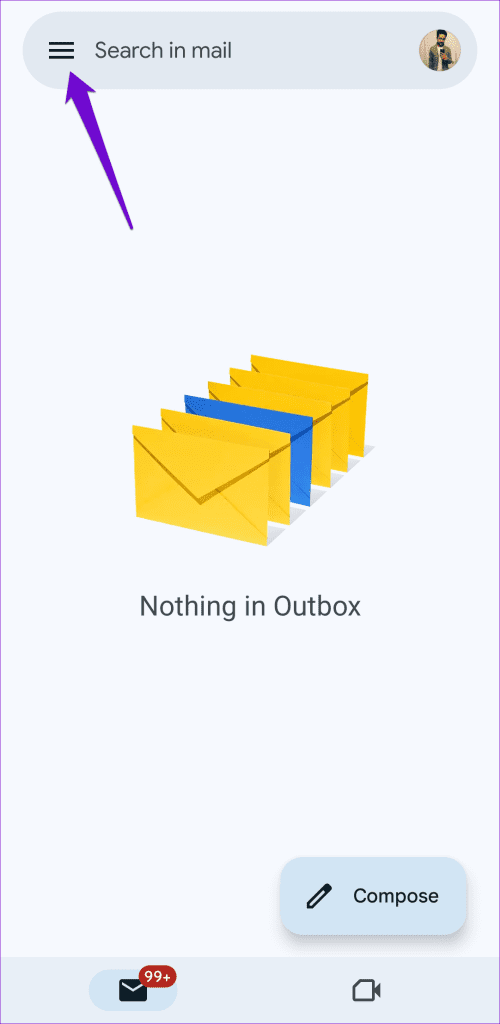
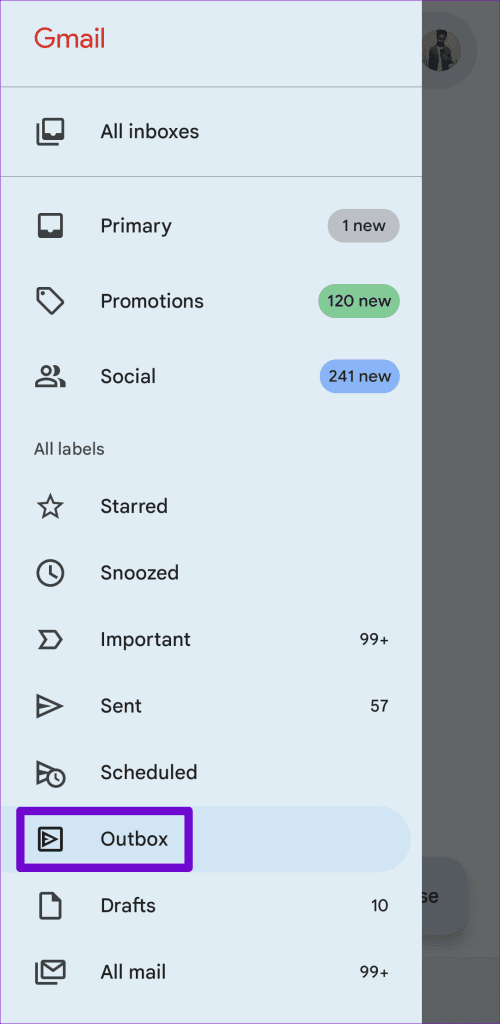
Those using the Gmail app on their phone need to tap the menu icon (three horizontal lines) in the top left corner and select Outbox. Then, swipe down from the top of the top to refresh the folder.
5. Check Your Google Account Storage
Is your Google account storage full? If so, you may have trouble sending emails, and they may become stuck in your Gmail outbox. On the Gmail page, scroll down to the bottom of the page to view your account’s storage status.
If you are using Gmail on your phone, tap the profile icon in the top right corner to view the storage status.
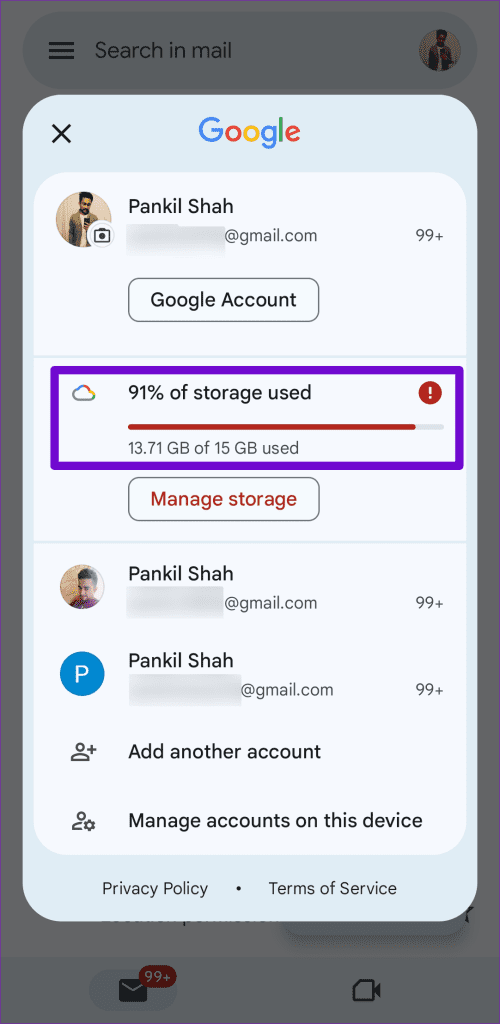
If you are running out of storage space, consider deleting old or unwanted emails to prevent your emails from getting stuck in the outbox.
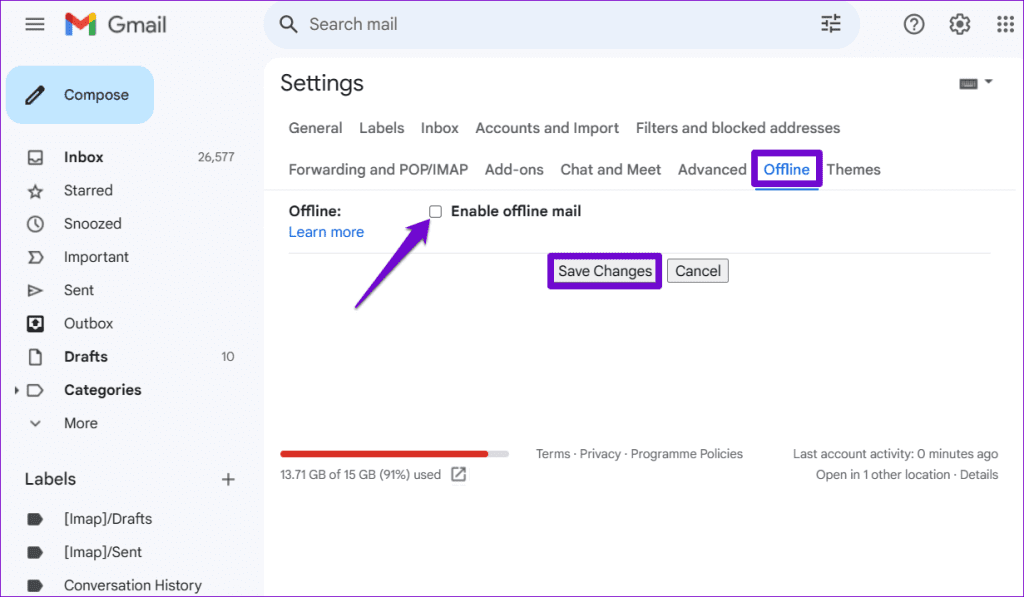
6. Turn Off Offline Mode in Gmail
While Gmail’s offline mode feature in Google Chrome allows you to read, respond, and delete emails without an internet connection, it can sometimes malfunction. When this happens, your new emails may not go through as expected. To overrule this possibility, you can temporarily disable offline mode in Gmail using these steps:
Step 1: Open Google Chrome and navigate to Gmail.
Step 2: Click the gear icon in the top right corner and select See all settings.
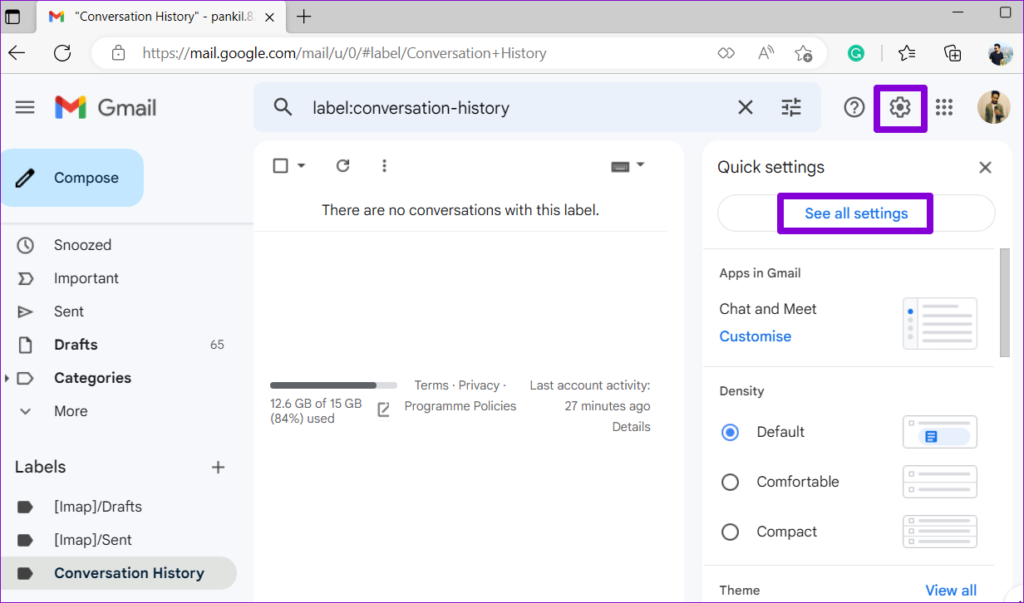
Step 3: Switch to the Offline tab and uncheck the ‘Enable offline mail’ option. Then, click the Save Changes button.
Refresh the webpage and try sending an email again.
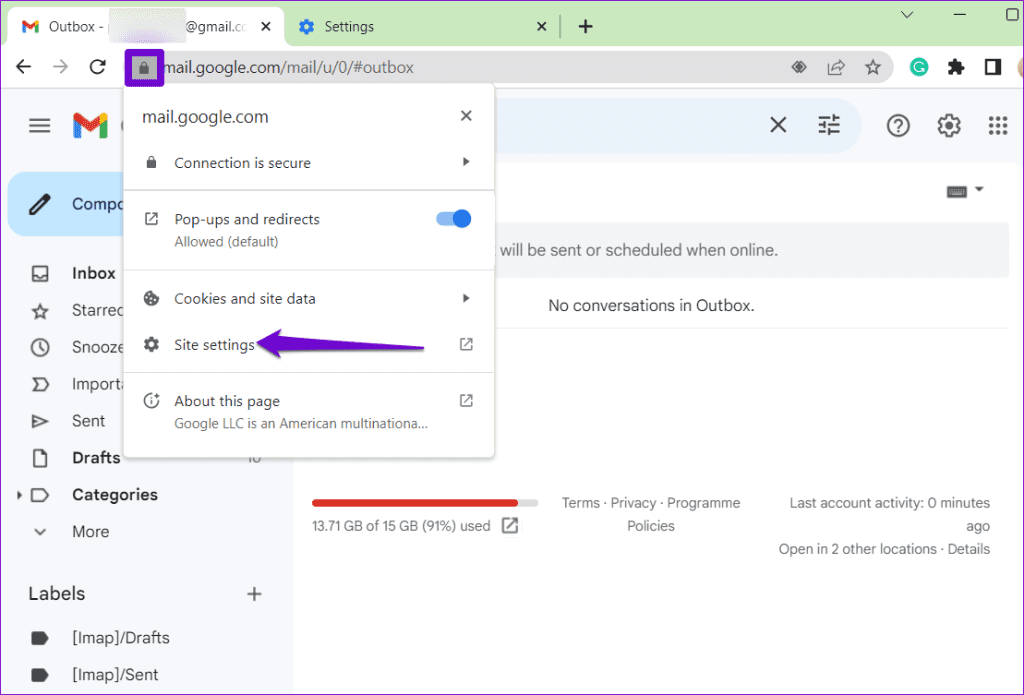
7. Clear Gmail Cache
Outdated or corrupt Gmail cache data can also cause such unusual behavior. You can try purging the existing cache data associated with Gmail on your phone or computer to see if that gets things moving again.
Computer
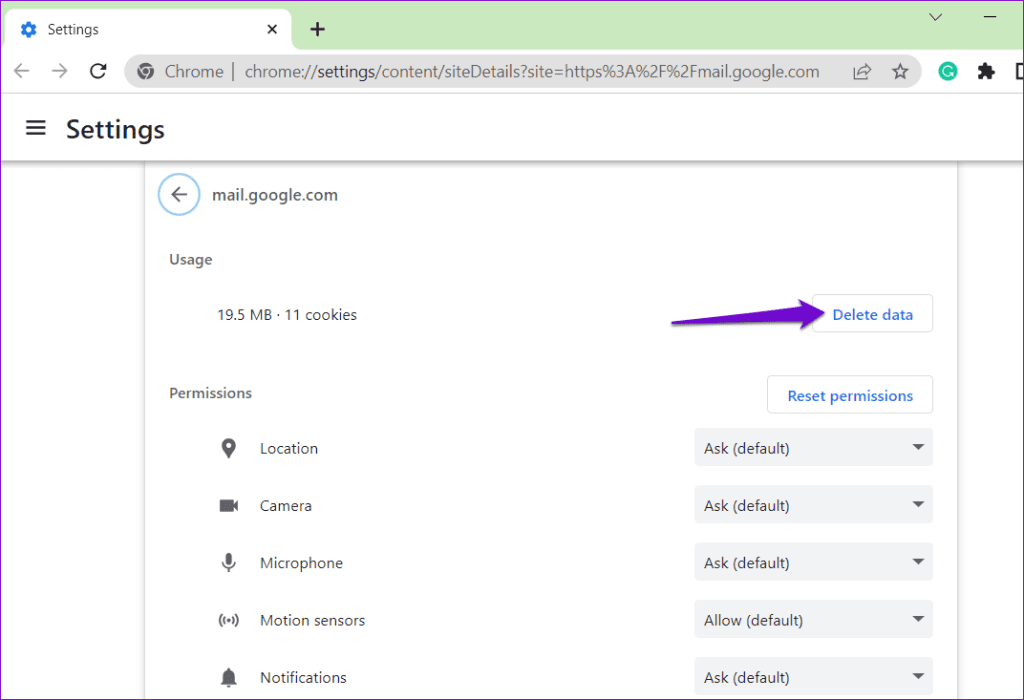
Step 1: Open Gmail in your web browser. Click the padlock icon on the left of the website URL and select Site settings.
Step 2: Click the Delete data button.
Android
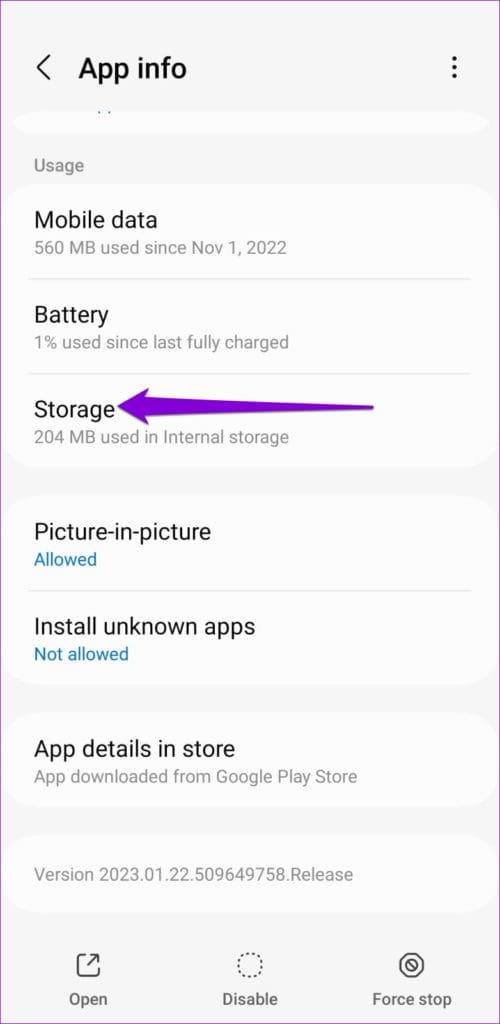
Step 1: Long press on the Gmail app icon and tap the ‘i’ icon from the resulting menu.
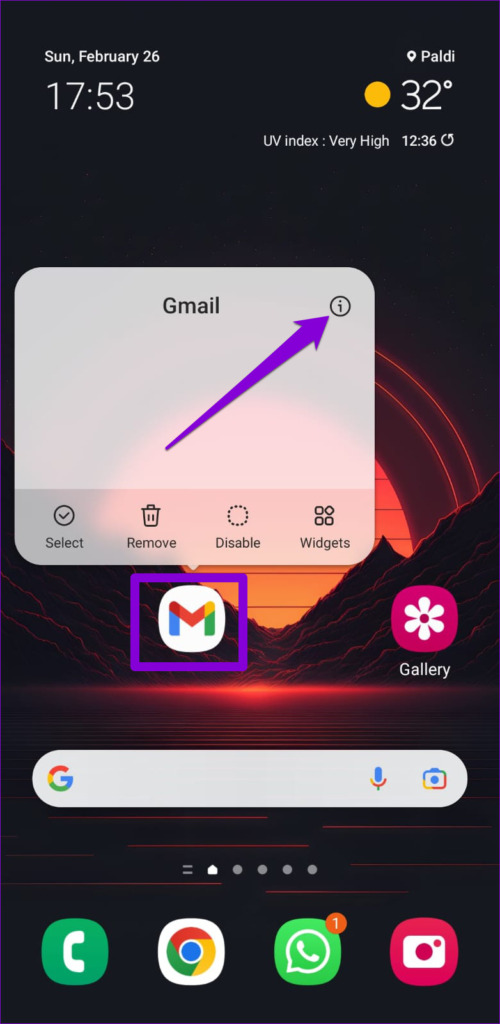
Step 2: Go to Storage and tap the Clear cache option at the bottom.

8. Allow Background Data Usage (Mobile)
It’s possible that your emails are getting stuck in the outbox due to background data restrictions applied to the Gmail app on your Android or iPhone. To fix this, you need to allow Gmail to use data even in the background.
Android
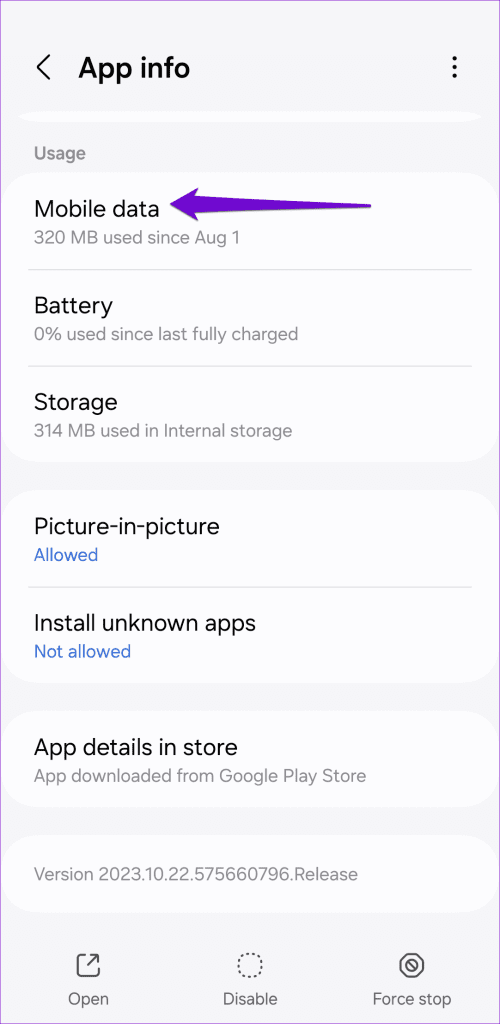
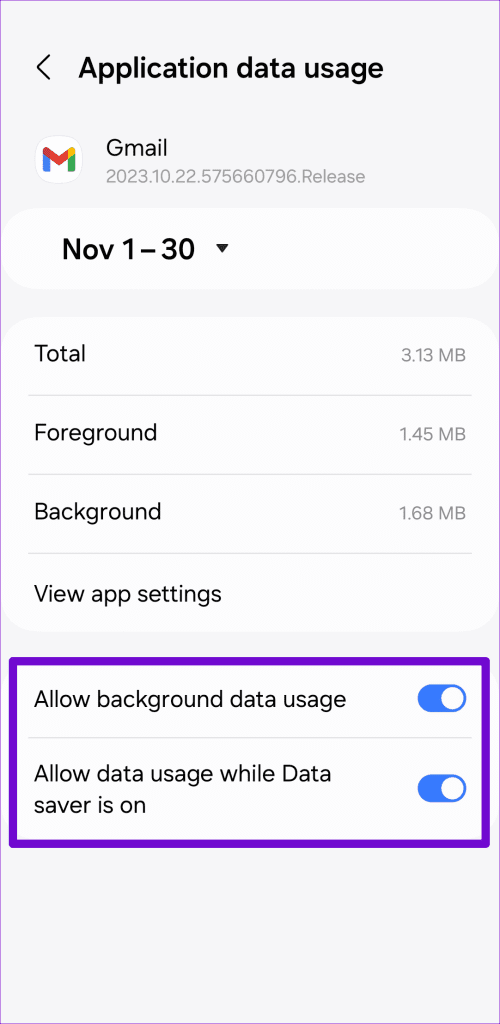
Step 1: Long press on the Gmail app icon and tap the ‘i’ icon from the resulting menu.
Step 2: Tap on Mobile data and enable the toggles next to ‘Allow background data usage’ and ‘Allow data usage while Data saver is on.’
iPhone
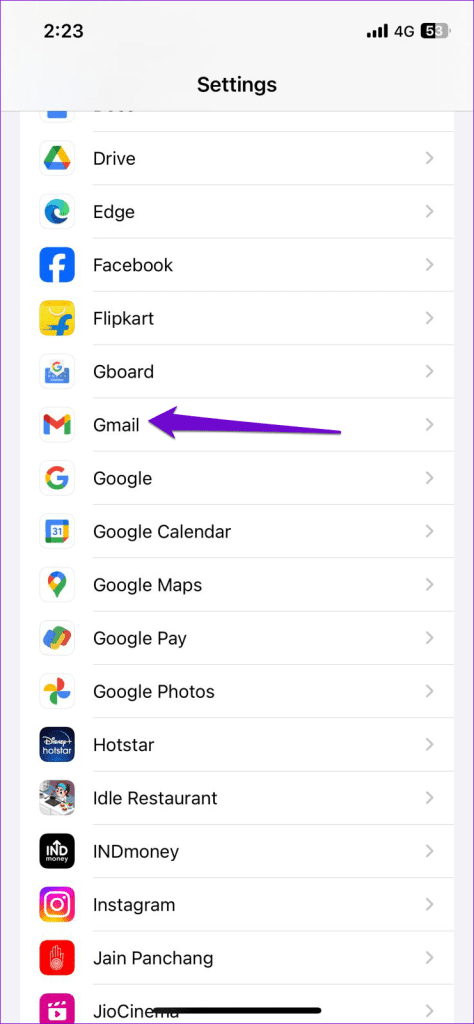
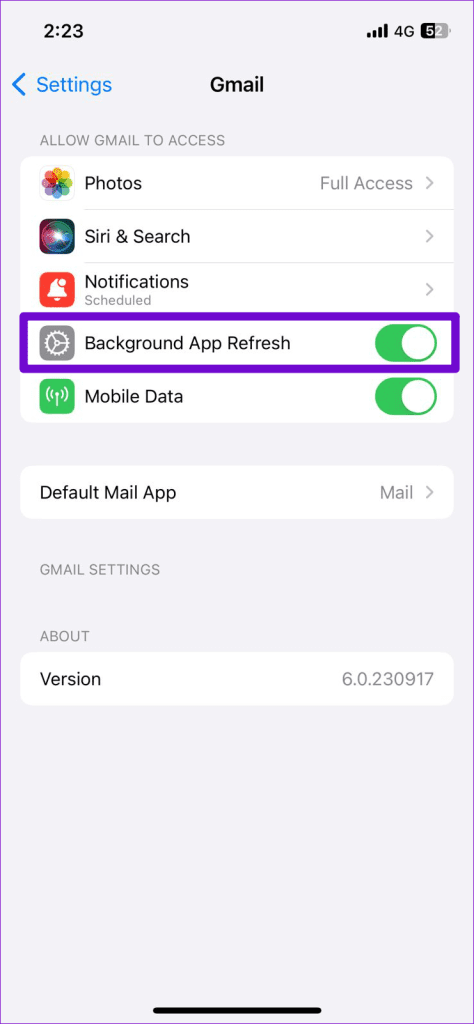
Step 1: Open the Settings app on your iPhone.
Step 2: Scroll down to tap on Gmail and toggle on the switch next to Background App Refresh in the following menu.
Restart the Gmail app after this and check if the issue is still there.
9. Update the Gmail App (Mobile)
Lastly, if nothing works, the Gmail app on your phone may be buggy or outdated. Head over to the Play Store (Android) or the App Store (iPhone) to update the Gmail app and check if that solves the problem.
Stuck No More
It can be frustrating when you are trying to send some important emails and they become stuck in your Gmail outbox indefinitely. Hopefully, that is no longer the case, and one of the above tips has helped solve your problem.
Was this helpful?
Last updated on 18 November, 2023
2 Comments
Leave a Reply
Read Next
 How to Fix Emails Stuck in Outbox of Microsoft Outlook
With an estimated 400 million active users, Microsoft Outlook is one of the popular email clients.
How to Fix Emails Stuck in Outbox of Microsoft Outlook
With an estimated 400 million active users, Microsoft Outlook is one of the popular email clients.
 Top 7 Ways to Fix Outlook Not Receiving Emails from Gmail on Windows
Microsoft Outlook on Windows works fine with email providers such as Gmail, iCloud, Yahoo, etc.
Top 7 Ways to Fix Outlook Not Receiving Emails from Gmail on Windows
Microsoft Outlook on Windows works fine with email providers such as Gmail, iCloud, Yahoo, etc.
 Top 9 Ways to Fix Gmail Not Sending Emails on Android
Gmail for Android has received a nice makeover with Material You UI and widgets.
Top 9 Ways to Fix Gmail Not Sending Emails on Android
Gmail for Android has received a nice makeover with Material You UI and widgets.
 3 Best Ways to Filter for Unread Emails in Your Gmail
When you receive a new email in your Gmail, you typically get a notification in this regard.
3 Best Ways to Filter for Unread Emails in Your Gmail
When you receive a new email in your Gmail, you typically get a notification in this regard.
 10 Best Ways to Fix Gmail Receiving Late Emails on Phone
Many tools and services claim to replace email, the good, old email still is important in our lives.
10 Best Ways to Fix Gmail Receiving Late Emails on Phone
Many tools and services claim to replace email, the good, old email still is important in our lives.
 Top 7 Fixes for Gmail Not Receiving Emails on iPhone
Did your boss send you a work email, but it's nowhere to be found in your iPhone's Gmail app?
Top 7 Fixes for Gmail Not Receiving Emails on iPhone
Did your boss send you a work email, but it's nowhere to be found in your iPhone's Gmail app?
 Top 17 Fixes for Gmail Not Showing New Emails on Android
Typically, when you add a Google account to your Android phone and enable sync for Gmail, you should start receiving new emails without any issue.
Top 17 Fixes for Gmail Not Showing New Emails on Android
Typically, when you add a Google account to your Android phone and enable sync for Gmail, you should start receiving new emails without any issue.
 How to Create Rules to Filter Emails in Gmail
Most Gmail users are familiar with the email service's interface.
How to Create Rules to Filter Emails in Gmail
Most Gmail users are familiar with the email service's interface.
The article above may contain affiliate links which help support Guiding Tech. The content remains unbiased and authentic and will never affect our editorial integrity.


Have had sent emails stuck in gmail outbox with Android for years. Have tried all suggested fixes no help. I’ve tried it all and gmail stinks. There is nothing but the same community help know it alls who suggest the same “simple” fixes, connection, clearing caches and cookies, restart gmail app, blah blah. Google Gmail has known of this pathetic issue for nearly 10 years and only leaves it to the community to resolve. Guarantee you i will not buy another android pos
I’m with you man this is the second time for me..I gave up on my other phone and now it’s doing the same on my new phone