While Photoshop is a great tool for any photo-editing task including tiling an image, not everyone is well-versed. Fortunately, you can ditch Photoshop and tile your image without using other methods such as Windows wallpaper and using Microsoft Office apps. Let’s check various methods in detail to tile an image without Photoshop in Windows 10.
The basic idea behind tiling an image is to repeat it. One would think it’s similar to creating a photo mosaic. But that’s completely different. In a mosaic, you create an image carrying a definite shape from multiple small images. On the contrary, a tiled image consists of a single picture over a background consisting of image repetitions in a definite manner.
You can create a tiled image manually too. But that’s way too time-consuming, and you need to take care of spacing and alignment. It’s better to use tile generator methods such as the ones mentioned in this post. For better results, we have also covered how to reduce the size of an image in Paint to get more tiling.
Method 1: Create Repeating Image Using Wallpaper
This may be the simplest technique to create a tiled image without using any software. So set your image as the background on your PC with fit type as Tile instead of Fill or Stretch. Then, take a screenshot and save the image.
Here are the steps in detail:
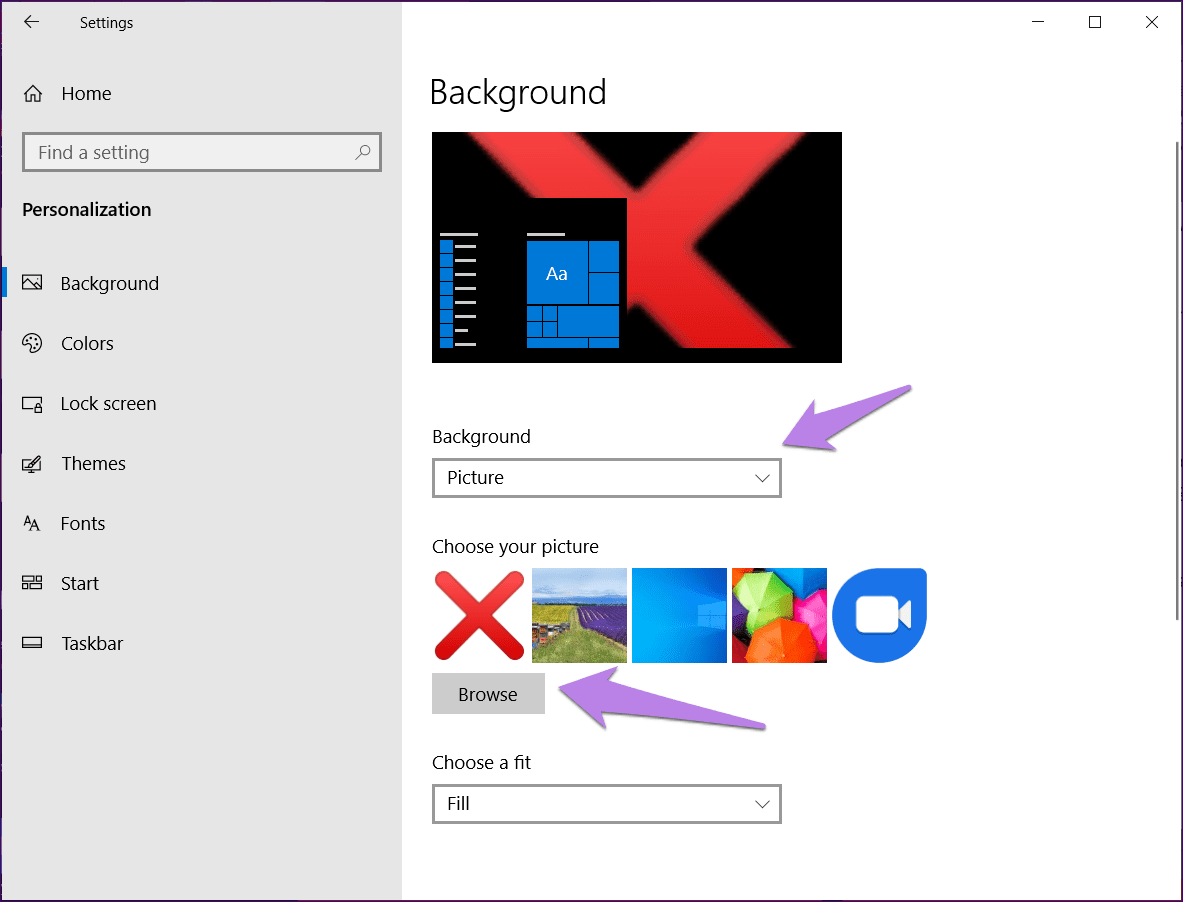
Step 1: Right-click on your desktop and choose Personalize from the menu. Alternatively, go to Settings on your computer, followed by Personalization. Click on Background.

Step 2: Under the Background drop-down box, choose Picture. Then click on Browse to find your image on the PC.
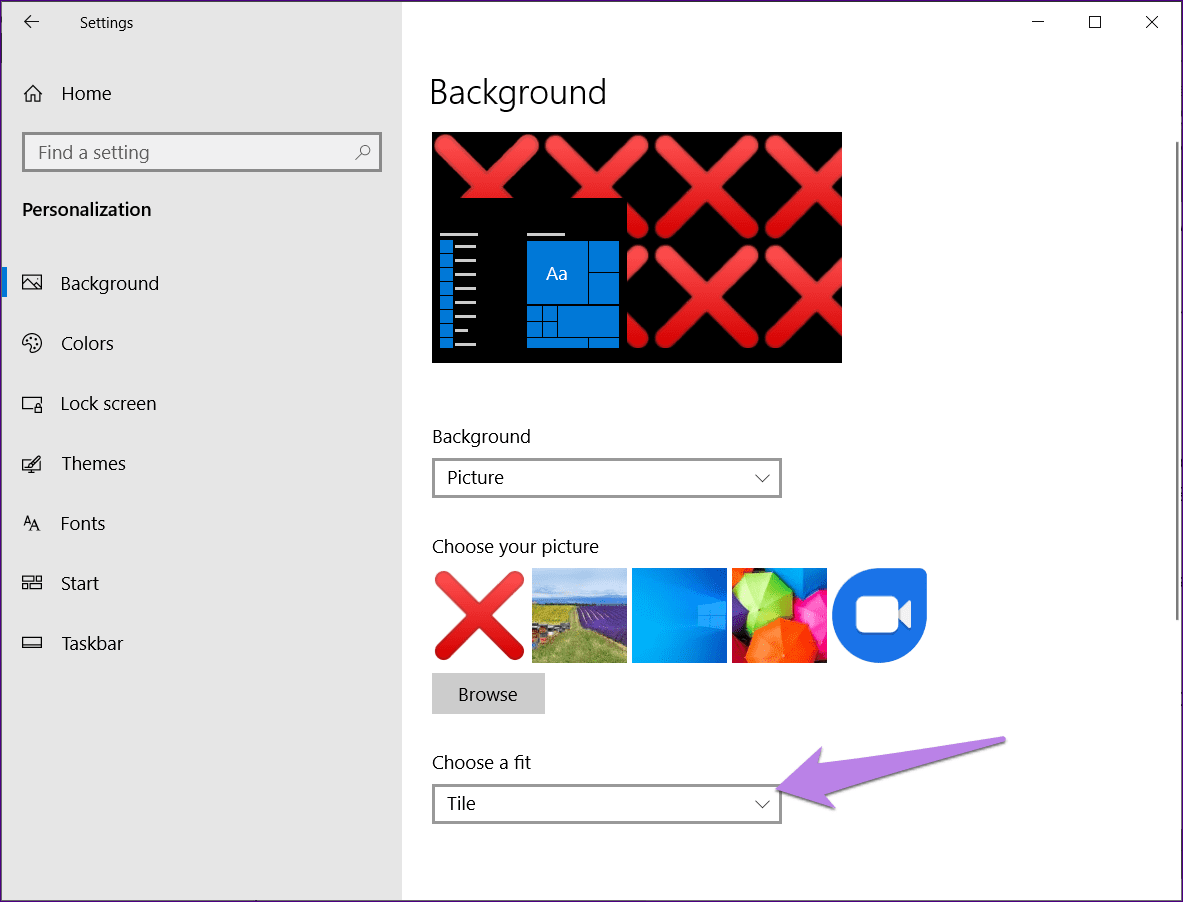
Step 3: When you have added the image, select Tile under the Choose a fit drop-down box.
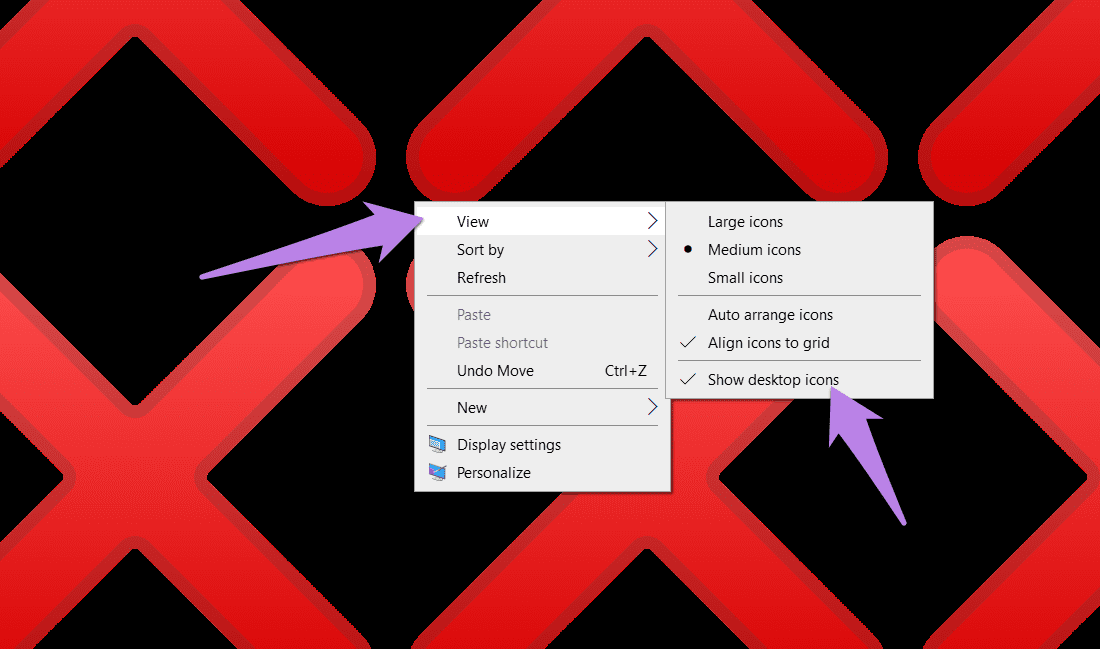
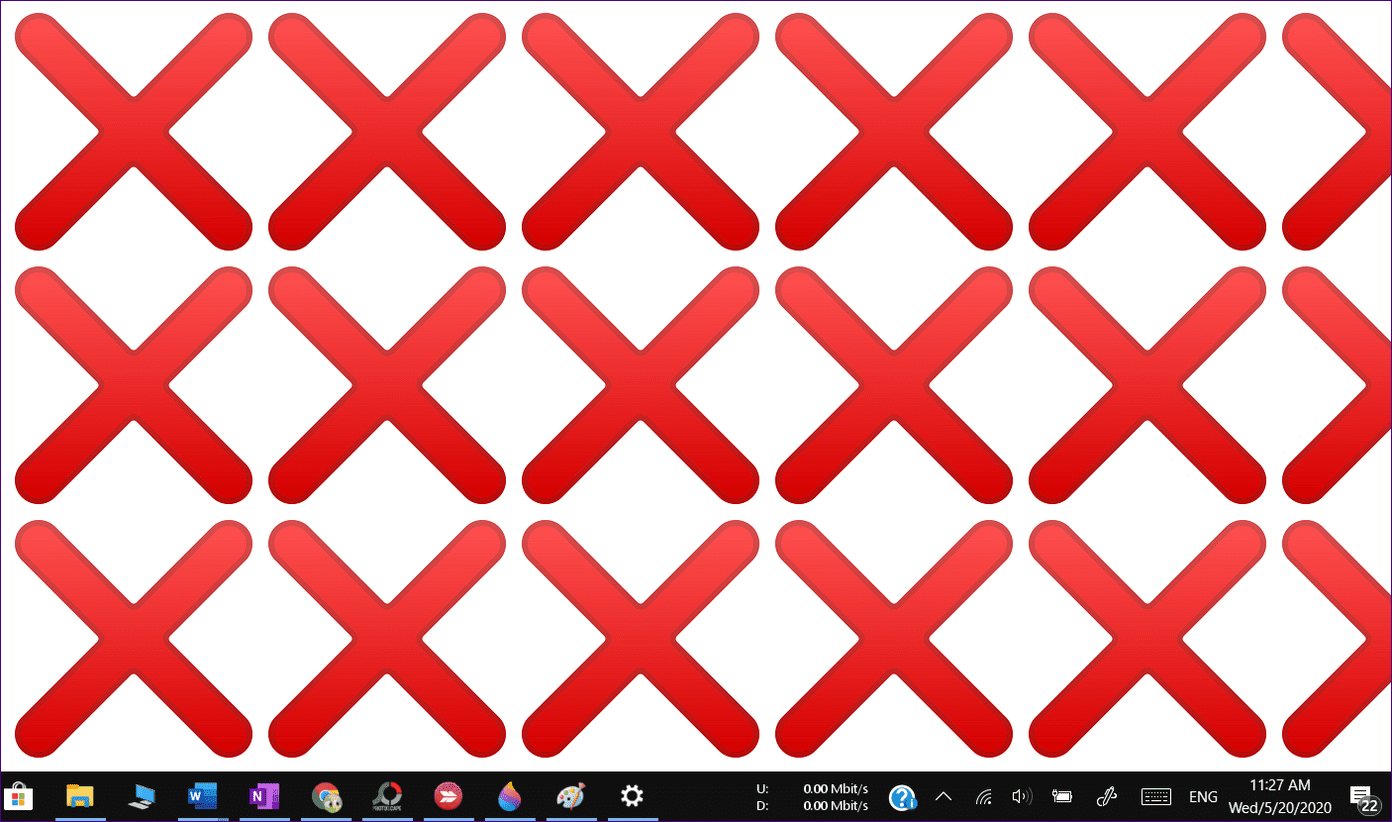
Step 4: Now go to your desktop and you will see the tiled image. Right-click anywhere and hit View. Uncheck Show desktop icons.
Step 5: Press the print screen key on your keyboard to take a screenshot of your background. After that, open MS Paint, Paint 3D, or any other photo-editing tool. Paste the screenshot into it. You can use the keyboard shortcut Ctrl + V to paste the image. Save the image.
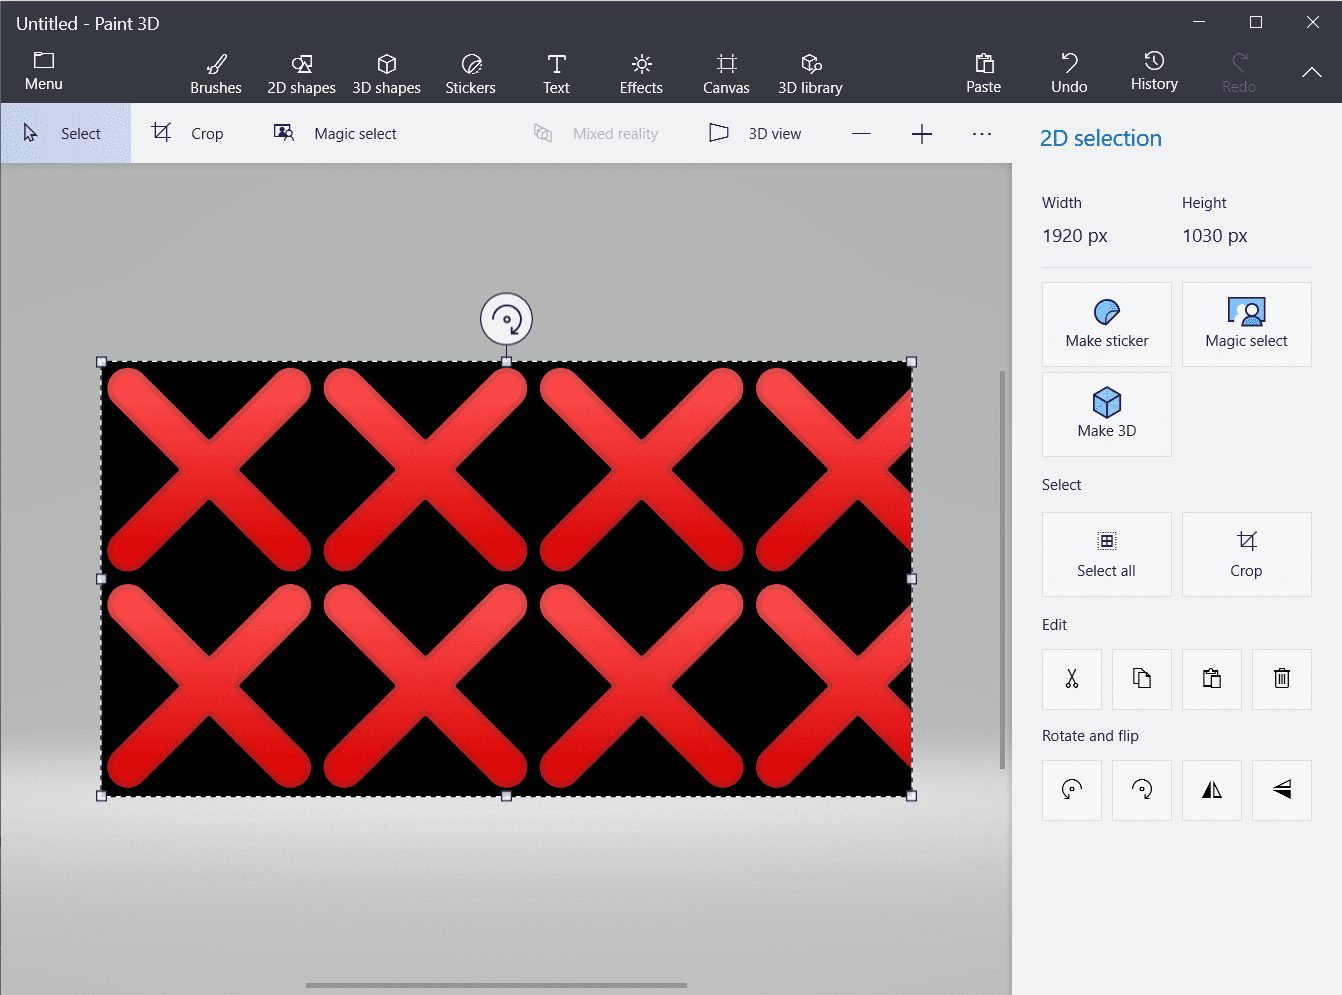
If the individual tiles appear bigger, then decrease the size of the image first, and then add it as a background.
Method 2: Tile a Photo in Microsoft Word
Tiling an image in Word is another alternative to Photoshop. In this method, we will be taking the help of Page color setting to create a seamless pattern using an image. Let’s check the steps:
Step 1: Open Word on your computer.
Step 2: Click on the Design tab at the top.
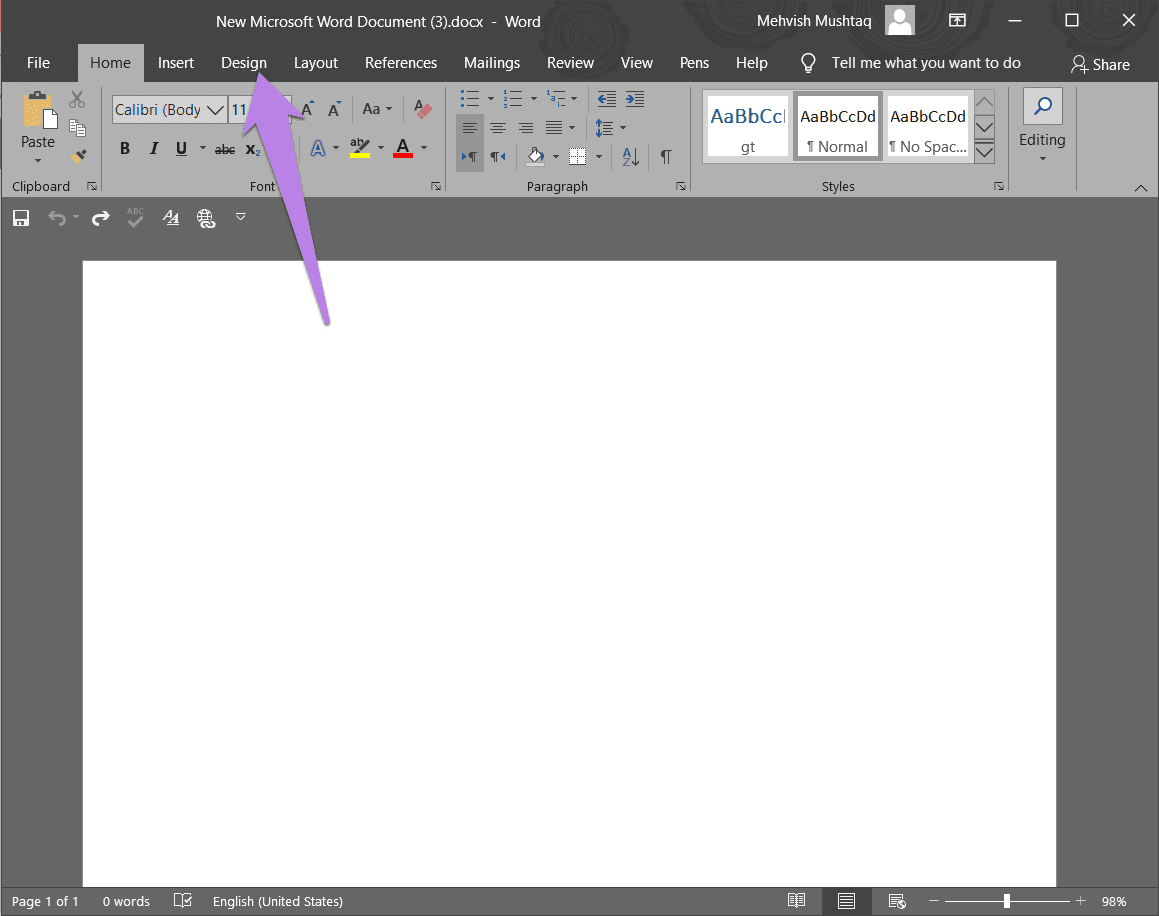
Step 3: Click on Page Color. A menu will appear. Click on Fill Effects.

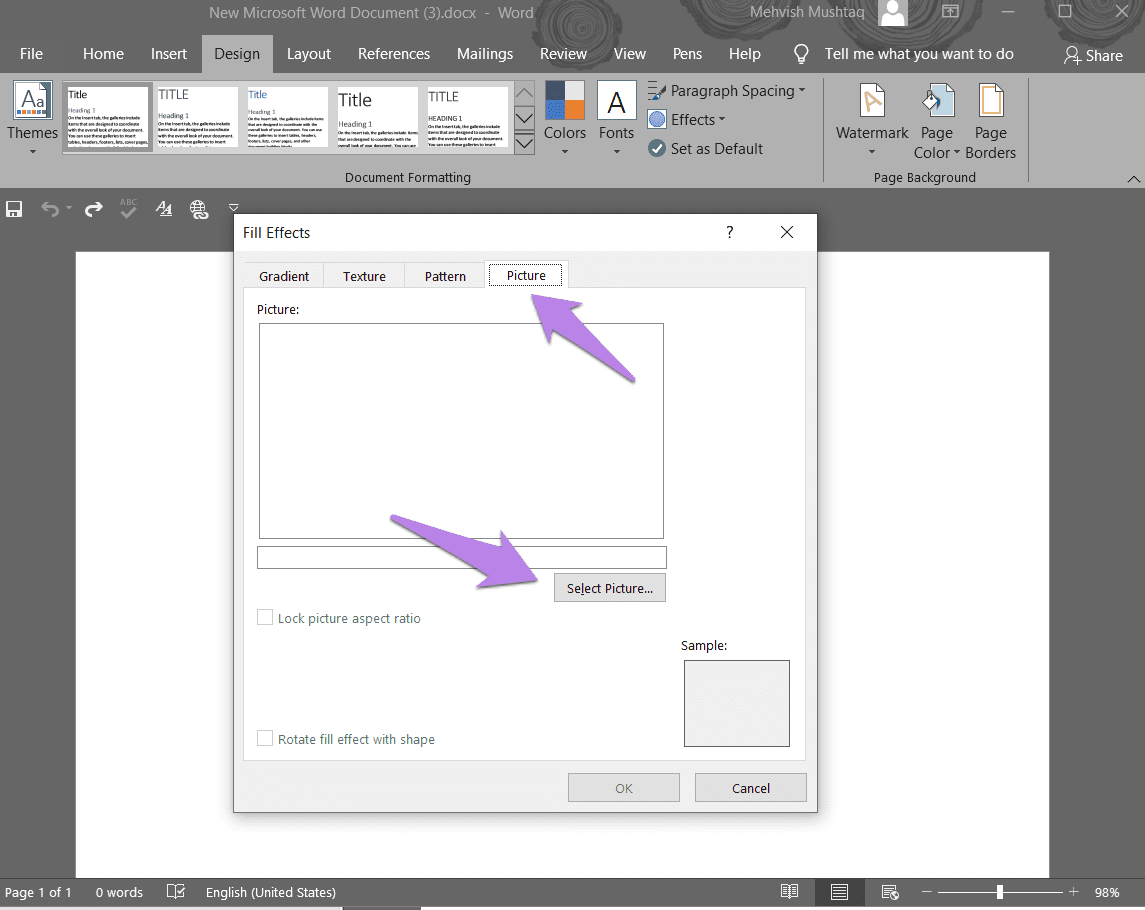
Step 4: Click on the Picture tab from the window that opens. Using Select Picture, navigate to the image that you want to tile. Finally, click on Ok.
Your tiled image in Word is ready. Use the Zoom slider at the bottom to change the number of tiles. You can reduce the size of the image in other photo-editing apps to get more tiling.
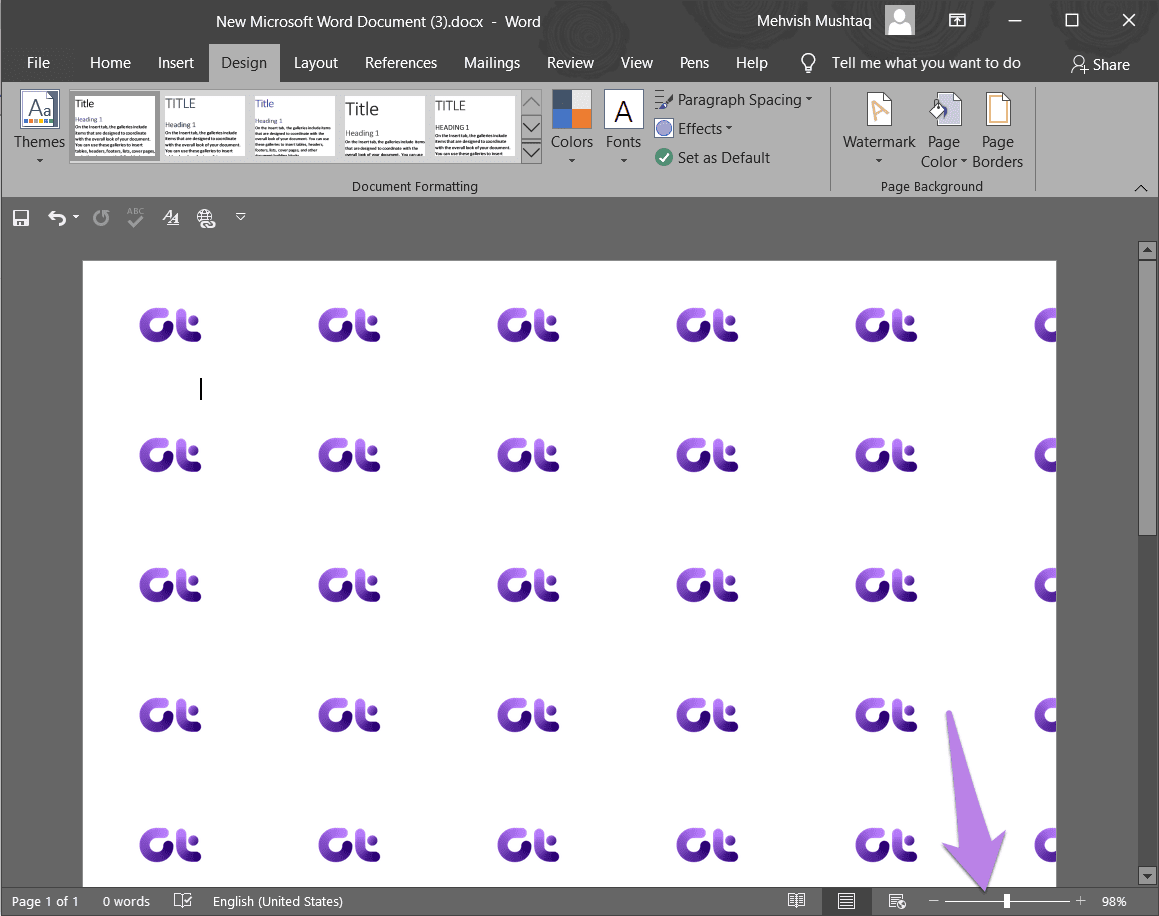
To save the image, capture a screenshot as you would normally do on a Windows computer. Then paste it in a photo-editing app and save the image.
Method 3: Tile a Photo in Microsoft PowerPoint
Similar to Word, you can use PowerPoint to create a tiled image. Let’s check the steps.
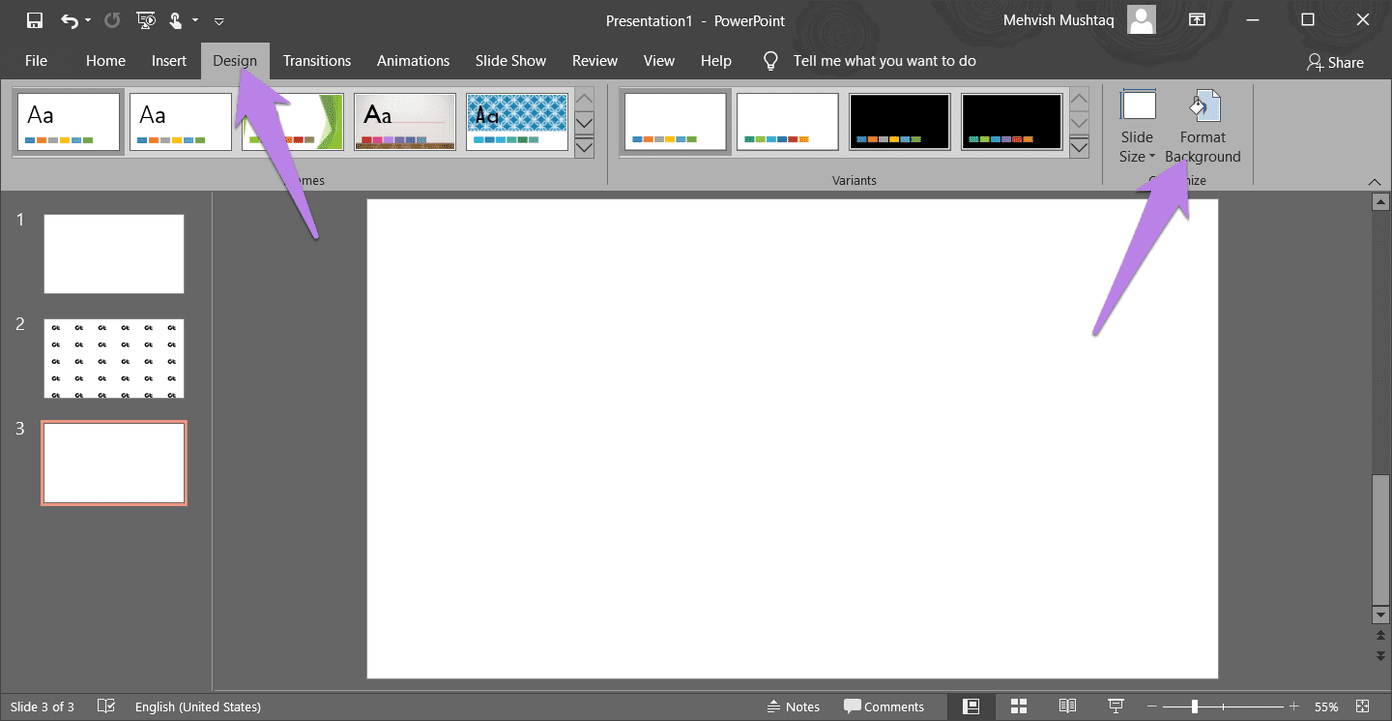
Step 1: Launch Microsoft PowerPoint on your PC. Create a blank slide. Remove existing the text, if any.
Step 2: Click on the Design tab at the top, followed by Format Background.
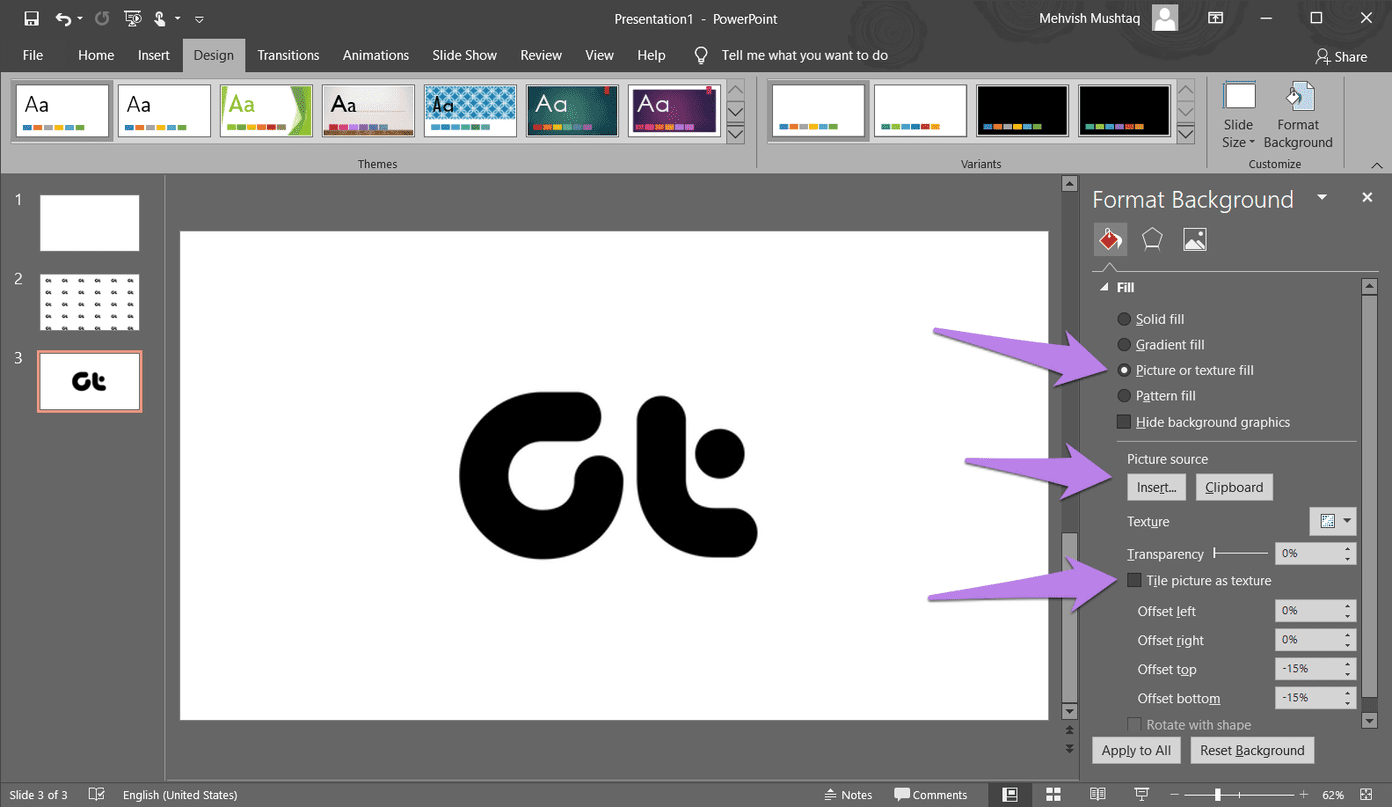
Step 3: Select Picture or texture fill. Click on Insert to add the image that you want to tile. Make sure to check the box next to ‘Tile picture as texture.’
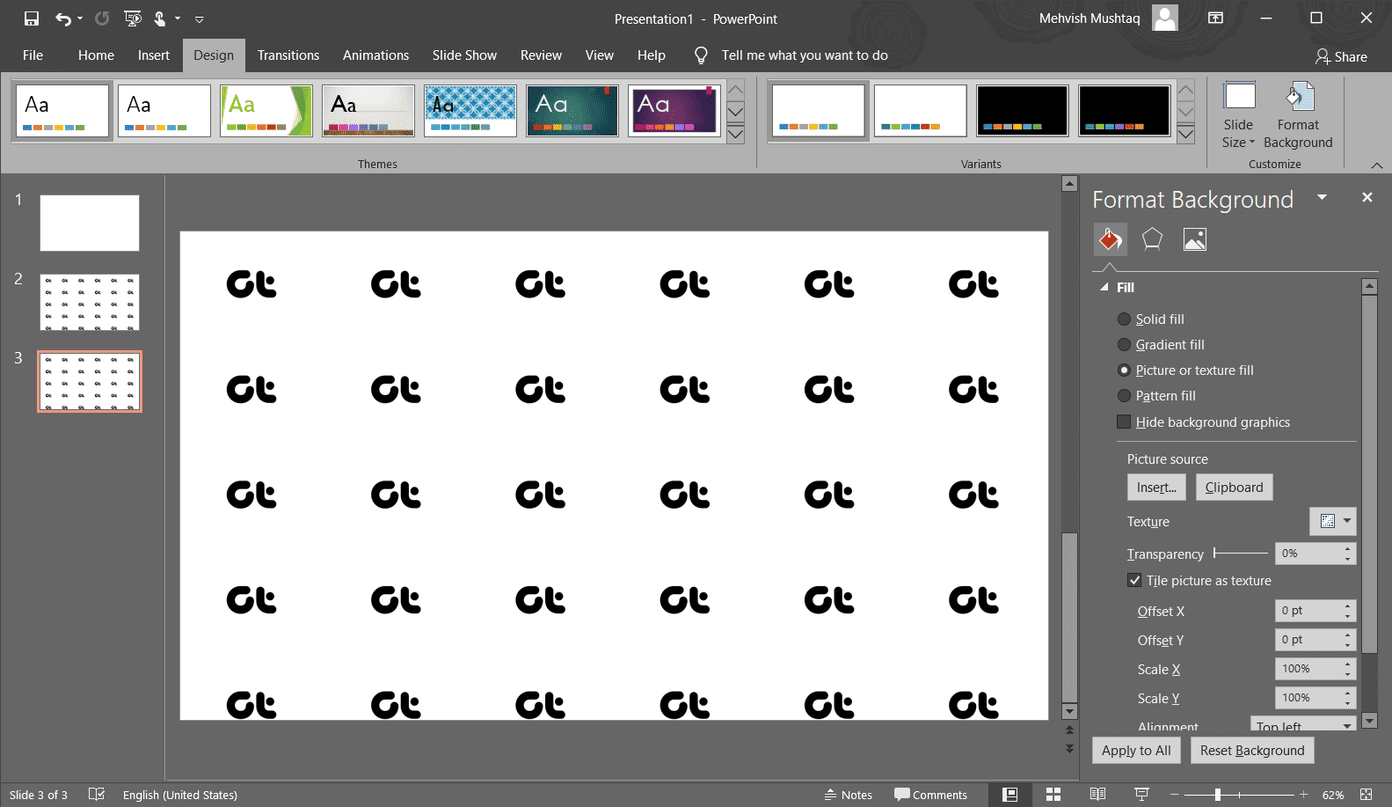
That is how the image will look.
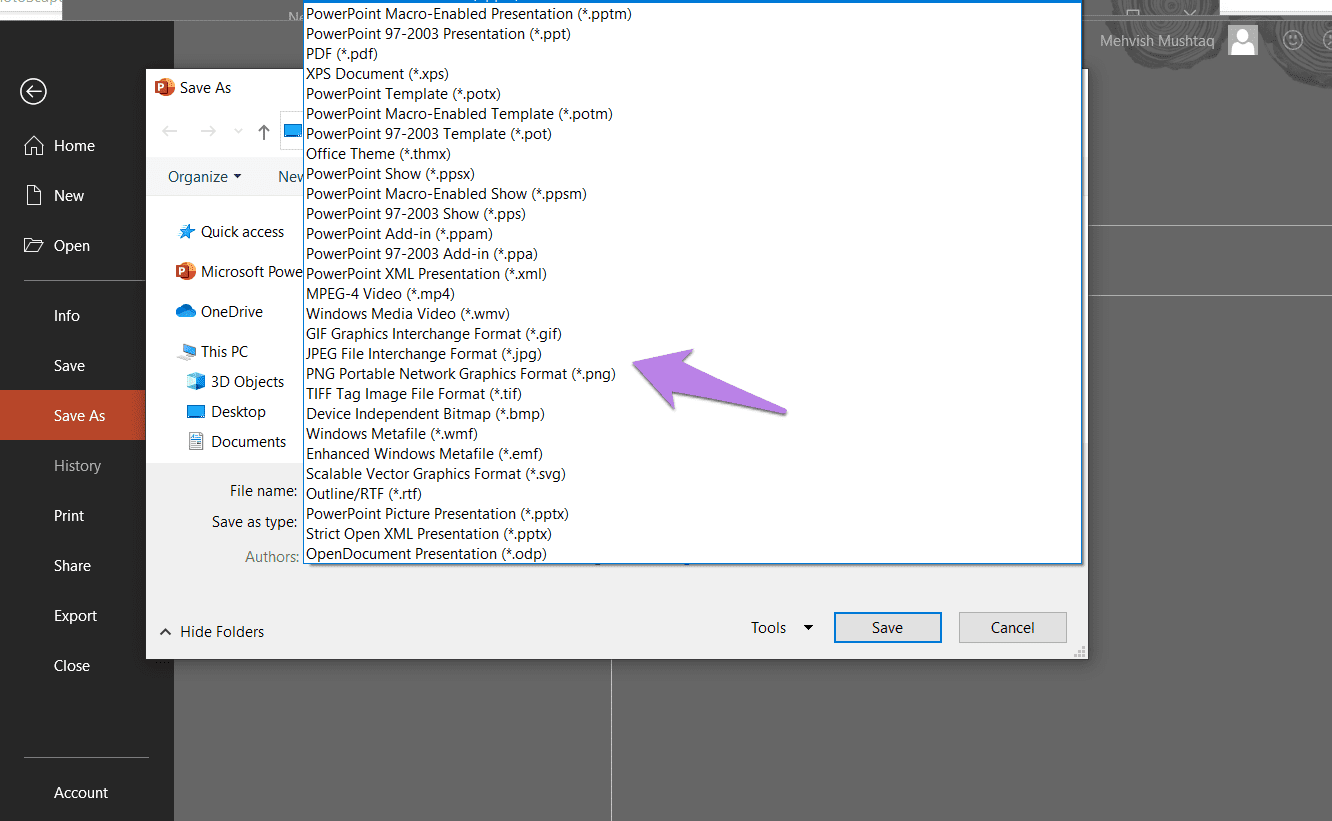
Step 4: To save the slide as an image, click on File at the top and choose Save as. Then, select Save as type like JPG, PNG, etc.
Method 4: Tile an Image Using Online Tools
If the above options do not meet your requirements, you can use websites that let you tile an image. The website that I like is IMGonline. Let’s check its steps.
Step 1: Open imgonline.com from the below link. You will be taken directly to the image tiling feature.
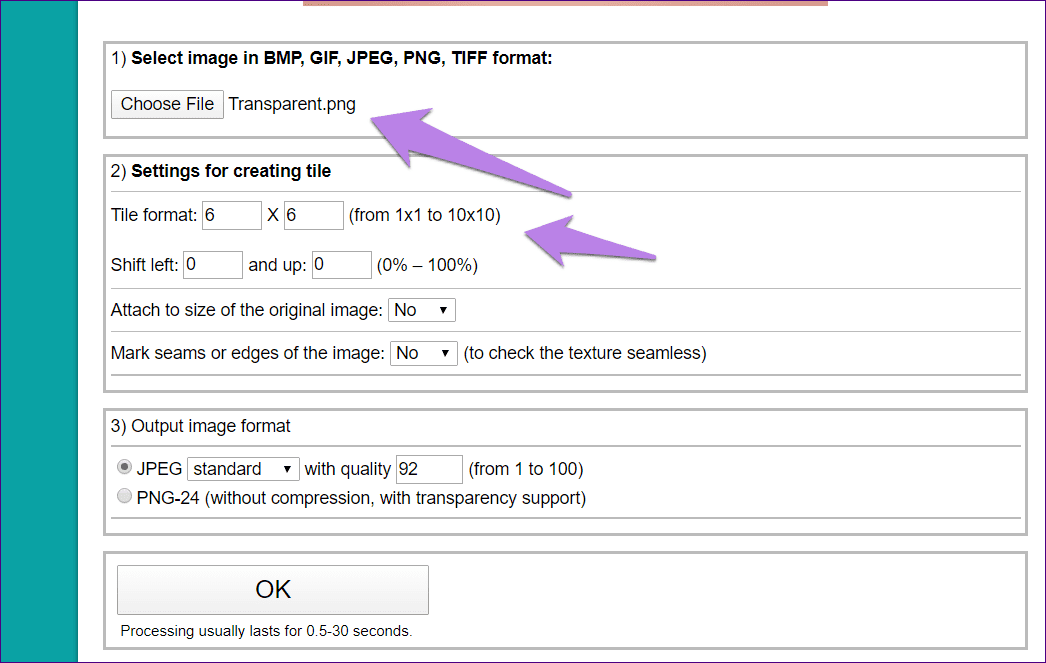
Step 2: Select the image to be tiled from the Choose File button. Customize the number of tiles per row and column under Tile format. Click on Ok.
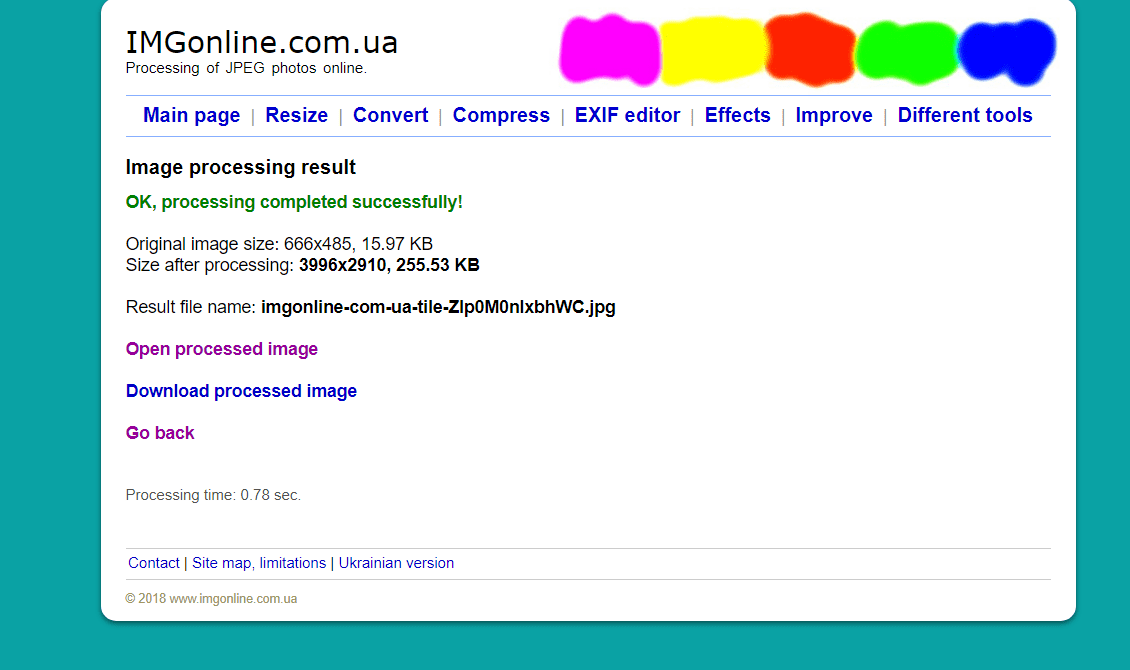
Step 3: Click on Download processed image to save the file to your computer.
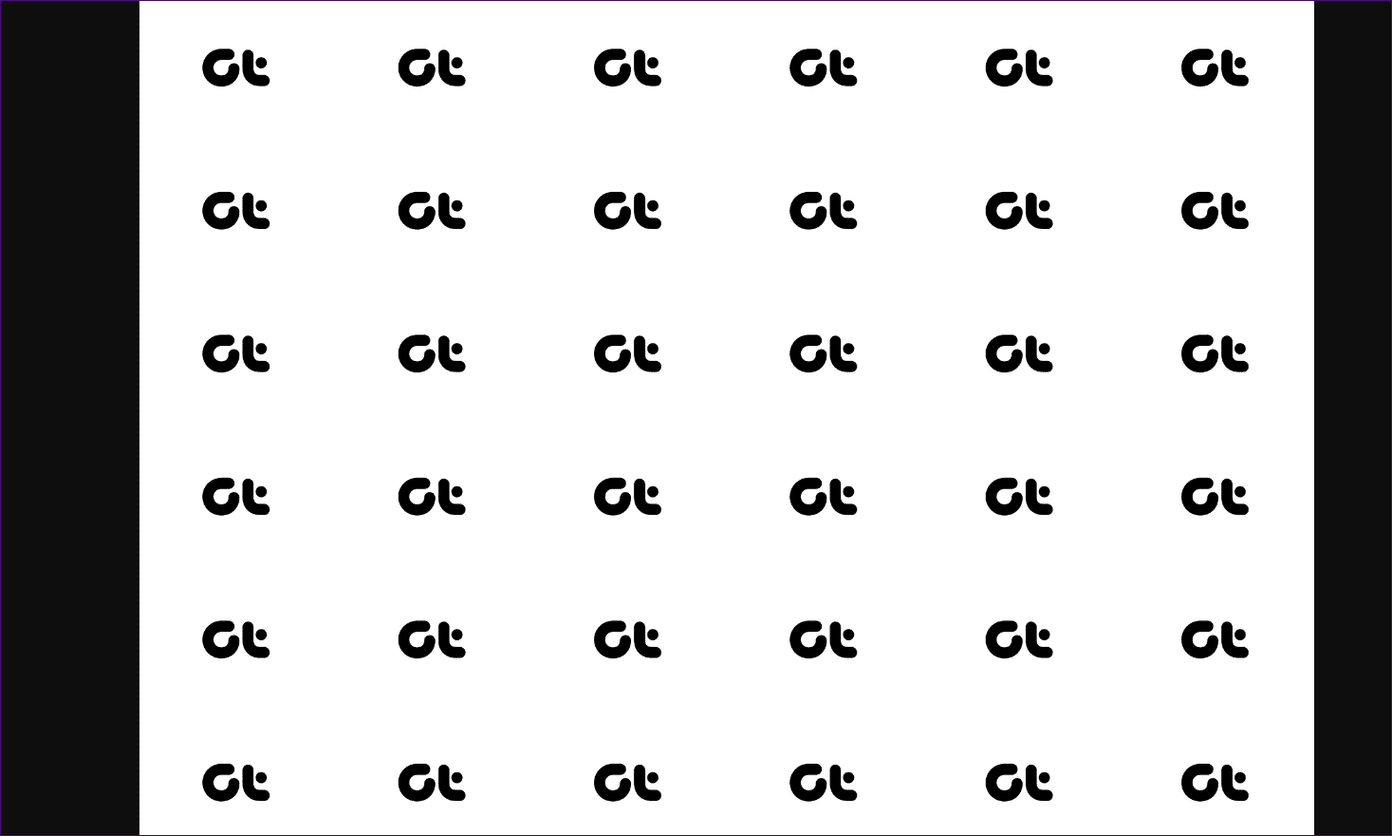
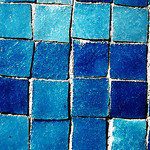
Here’s how the processed image looks.
Tip: Use https://flaticon.com/pattern/ to create a repeating pattern from random icons.
Bonus Tip: Reduce Image Resolution in Paint
To get more tiling effect from your image, you can reduce its size. Here are the steps to do it in the MS Paint app.
Step 1: Launch Paint and open the image that you want to scale down.
Step 2: Click on Resize at the top.
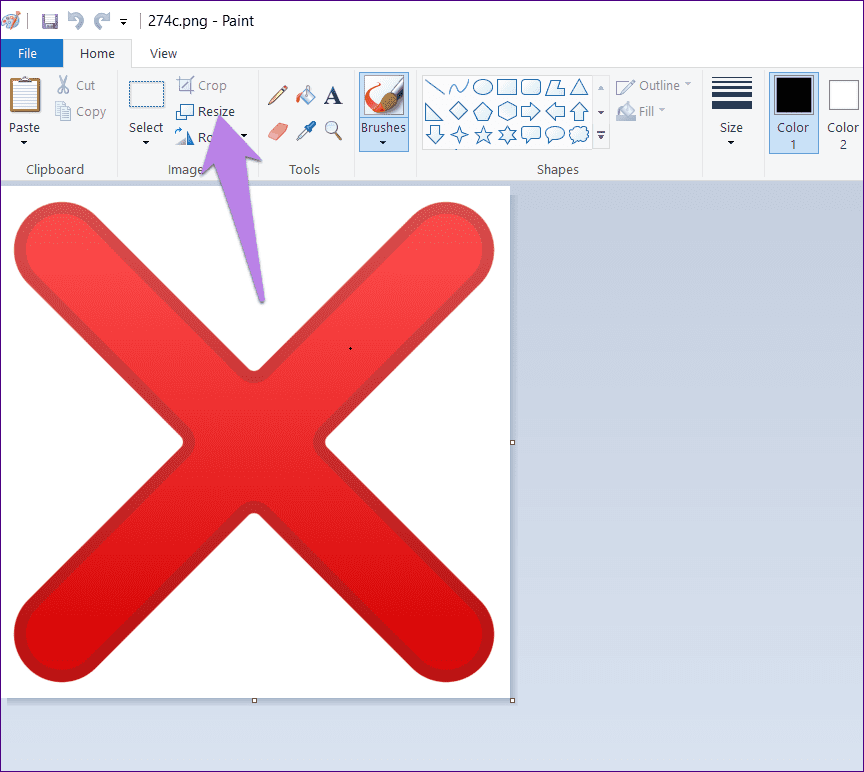
Step 3: Now, you need to decrease the percentage under the Resize option. With Maintain aspect ratio selected, type 50 next to Horizontal to get twice the number of tiles. To further increase the count of tiles, enter 25. Press Ok.

Step 4: Using File > Save as option, save the resized image on your computer. Then use any one of the methods mentioned above to tile an image.
Here’s how the tiled image looks (using method 1) after reducing it by 50%.
Tip: Find out how to add a logo to your picture in Paint.
Time to Ditch Photoshop
With the above methods, you must have realized that it’s not necessary to use Photoshop for all photo-editing tasks. You can ditch Photoshop if you want to convert black and white images to colored pictures. Similarly, you can even remove the background from an image without Photoshop.
Next up: Want to create a collage on your Windows 10 PC? Check out 6 free apps to make alluring collages on your computer from the next link.
Was this helpful?
Last updated on 13 July, 2021
Read Next
 3 Snappy Ways to Tile Windows Vertically on Windows PCs
In the past we have talked about working with multiple documents on MS Word.
3 Snappy Ways to Tile Windows Vertically on Windows PCs
In the past we have talked about working with multiple documents on MS Word.
 How to Tile an Image in GIMP
Not everyone likes Photoshop due to its pricing and slightly complicated nature for newbies.
How to Tile an Image in GIMP
Not everyone likes Photoshop due to its pricing and slightly complicated nature for newbies.
 Top 6 Ways to Free Up Space on Windows 11 Without Deleting Apps
Using your Windows computer that runs low storage is slow and sluggish.
Top 6 Ways to Free Up Space on Windows 11 Without Deleting Apps
Using your Windows computer that runs low storage is slow and sluggish.
 3 Ways to Extend Images (or Background) in Adobe Photoshop
Have you ever worked with a beautiful photo, wishing it had more room to play around?
3 Ways to Extend Images (or Background) in Adobe Photoshop
Have you ever worked with a beautiful photo, wishing it had more room to play around?
 How to Put Image or Text On Top of Another Image in Google Docs
Apps like Microsoft Word, Google Slides, etc., let you overlap images or text over another image without any fuss.
How to Put Image or Text On Top of Another Image in Google Docs
Apps like Microsoft Word, Google Slides, etc., let you overlap images or text over another image without any fuss.
 4 Best Ways to Record Screen Without Xbox Game Bar on Windows 11
The Xbox Game Bar on your Windows 11 computer is a good built-in tool for screen recording.
4 Best Ways to Record Screen Without Xbox Game Bar on Windows 11
The Xbox Game Bar on your Windows 11 computer is a good built-in tool for screen recording.
 11 Easy Ways to Restart Windows With or Without Keyboard
While Windows PCs have improved over the years, it's still not free from app crashes, software bugs, and many other issues.
11 Easy Ways to Restart Windows With or Without Keyboard
While Windows PCs have improved over the years, it's still not free from app crashes, software bugs, and many other issues.
 5 Best Ways to Fix Bad Image Error on Windows 10 and Windows 11
If you are experiencing a bad image error, you likely have software issues.
5 Best Ways to Fix Bad Image Error on Windows 10 and Windows 11
If you are experiencing a bad image error, you likely have software issues.
The article above may contain affiliate links which help support Guiding Tech. The content remains unbiased and authentic and will never affect our editorial integrity.

