Attaching a scanned file to any document was a challenging job when smartphones weren’t mainstream. One had to use a physical scanner to scan documents and not everyone owned a scanner. Fortunately, times have changed, and now the documents can be easily scanned from mobile phones and be used in other apps.

Google Docs allows you to do that easily. Sometimes, while writing an application in it, we would have to attach some important documents or pictures which need to be scanned first. How should one do that?
That’s what we will tell you. Here you will get to know how to add scanned documents into Google Docs. Let’s get started with some basics first.
Types of Attachments Supported by Google Docs
Besides charts, tables, and drawings, you can add images in all formats such as JPG, PNG, GIFs, etc. to Docs. You cannot, however, add PDF files to it. Now PDF files are important to mention here because scanned documents are usually saved as PDFs.
So what’s the alternative? Keep reading, and you will find the answer.
Add Scanned Documents into Google Docs
Now since Docs doesn’t support PDF files as attachments, we need to attach scanned documents in other ways. Here are three methods to do it.
Method 1: Save Scanned Document as JPG
Instead of saving the scanned files in the PDF format, you need to save them as JPGs. Fortunately, many scanner apps provide both saving options. You can try the following apps:
Once you save your scanned document as an image, it’s time to add it in Google Docs. For that, follow these steps:
Step 1: Launch the Google Docs app on your phone. Then open the document where you want to add the scanned image.
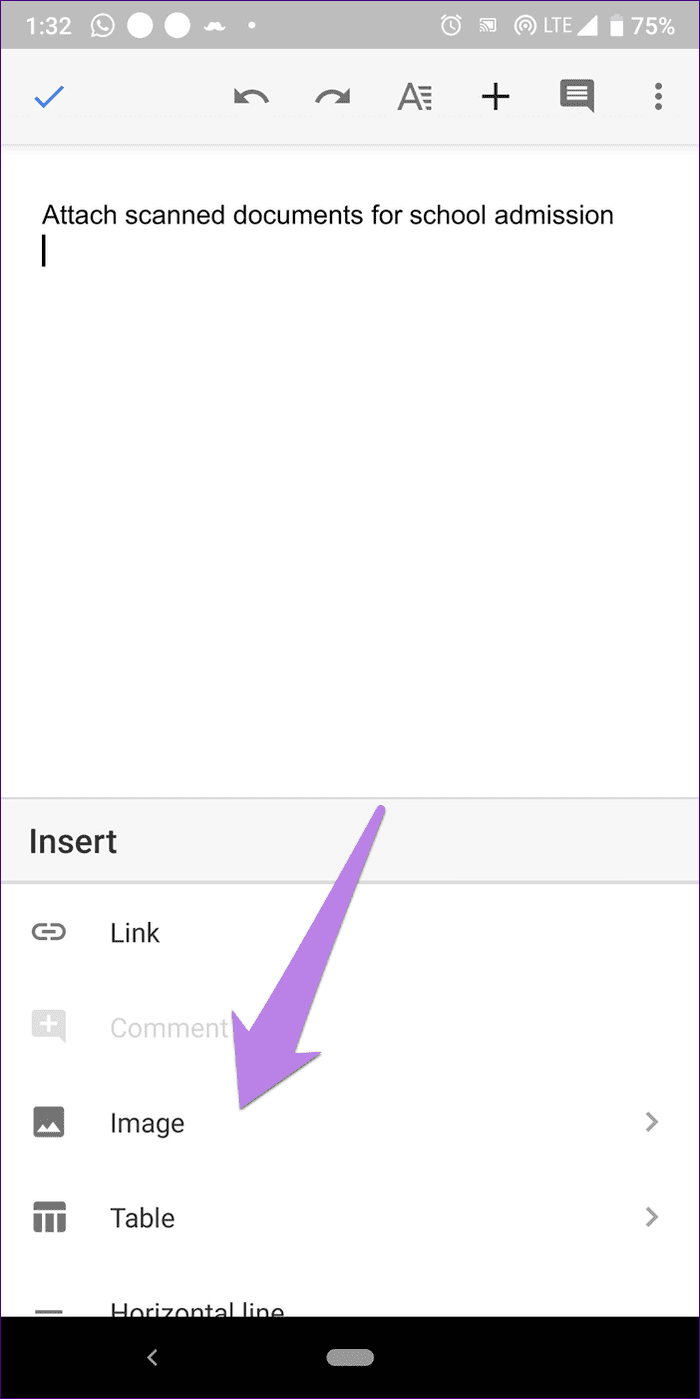
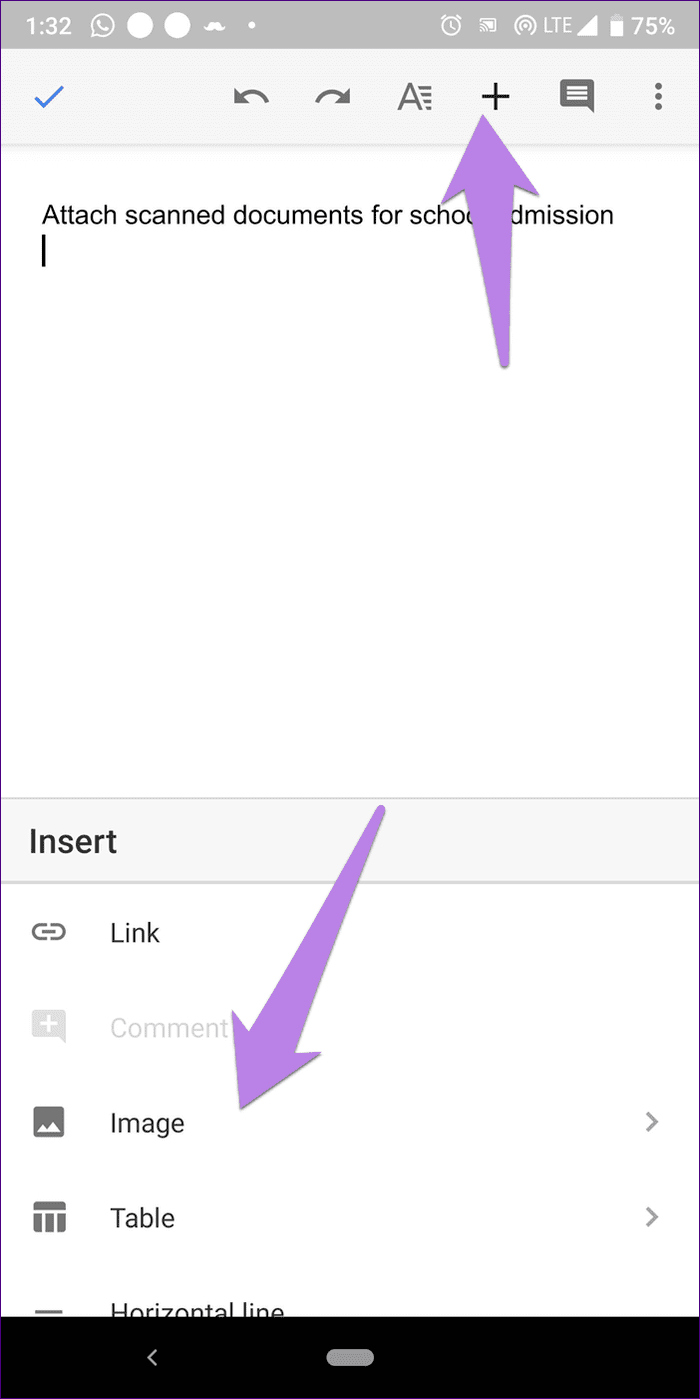
Step 2: Once in the document, tap wherever you want to add the scanned image and hit the add icon at the top.

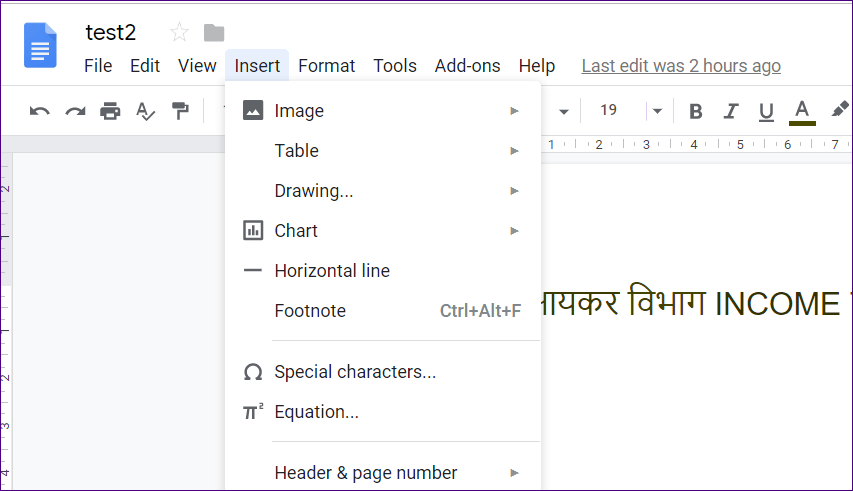
Step 3: From the menu, select Image followed by From Photos.

Step 4: Navigate to the scanned image. It will be added to your document.

Limitations
The above method has a limitation if you have a multi-page document. In that case, you will have to scan and insert every page individually.
Method 2: Directly Add an Image
In the past few years, smartphone cameras have improved significantly. You can use them directly to insert a photo in Docs. That is, instead of using a scanner app first, you can capture a picture right from the camera in the Google Docs app and add it to your document.
For that, launch the Google Docs app and open the document. Tap on the add icon and hit Image. Then select From camera. The camera view will open. Take a photo of the document, and it will be inserted into Docs.

Drawback
The limitation of using this method is that you need to position the camera in a manner that fits the document without having any useless parts. That’s not the case with the scanner apps. They recognize the outlines of your document and thereby make it easy to keep the necessary portions only.
Method 3: Attach Google Drive Link
In this method, you will learn to attach the Google Drive link of the scanned file (could be an image or a PDF file) instead of the actual photo. The receiver needs to click on the link to view the scanned image.
To do so, follow these steps:
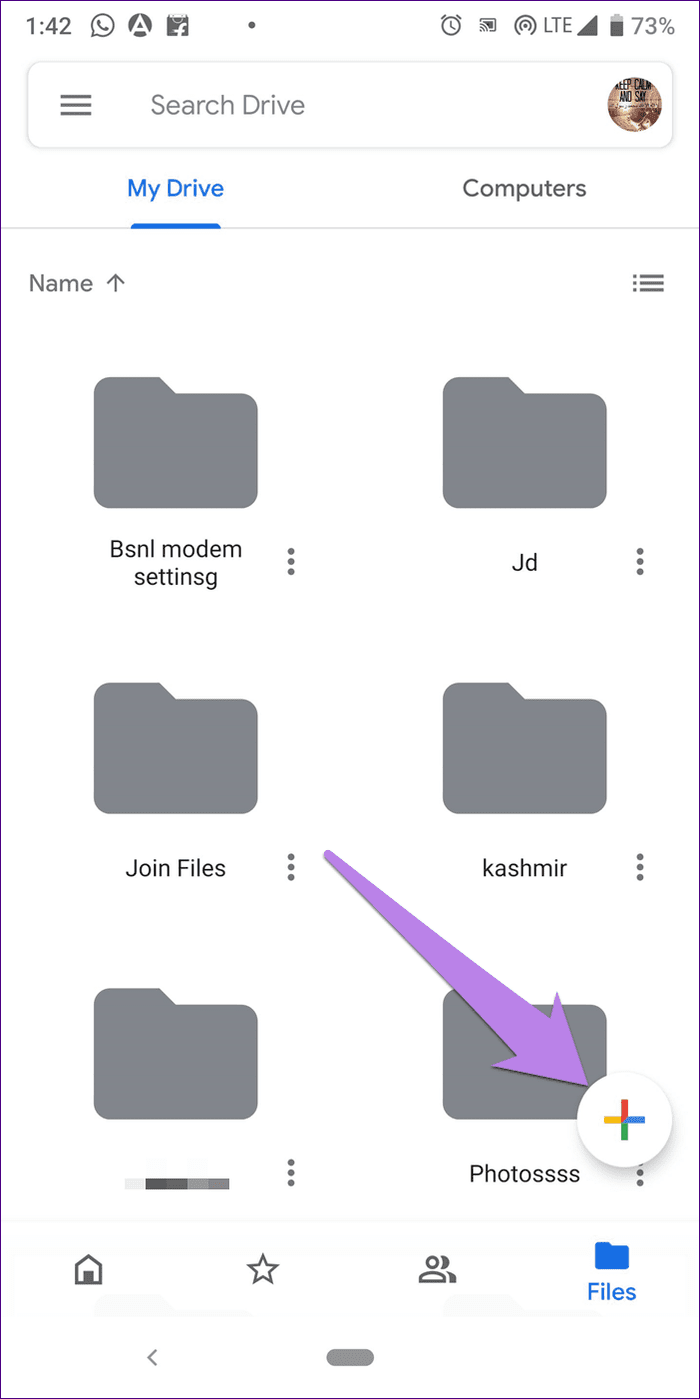
Step 1: You need to scan the required document using the built-in scanner of the Google Drive app. For that, launch the Drive app on your Android phone (sorry iPhone users, Drive doesn’t support scanning on iOS).
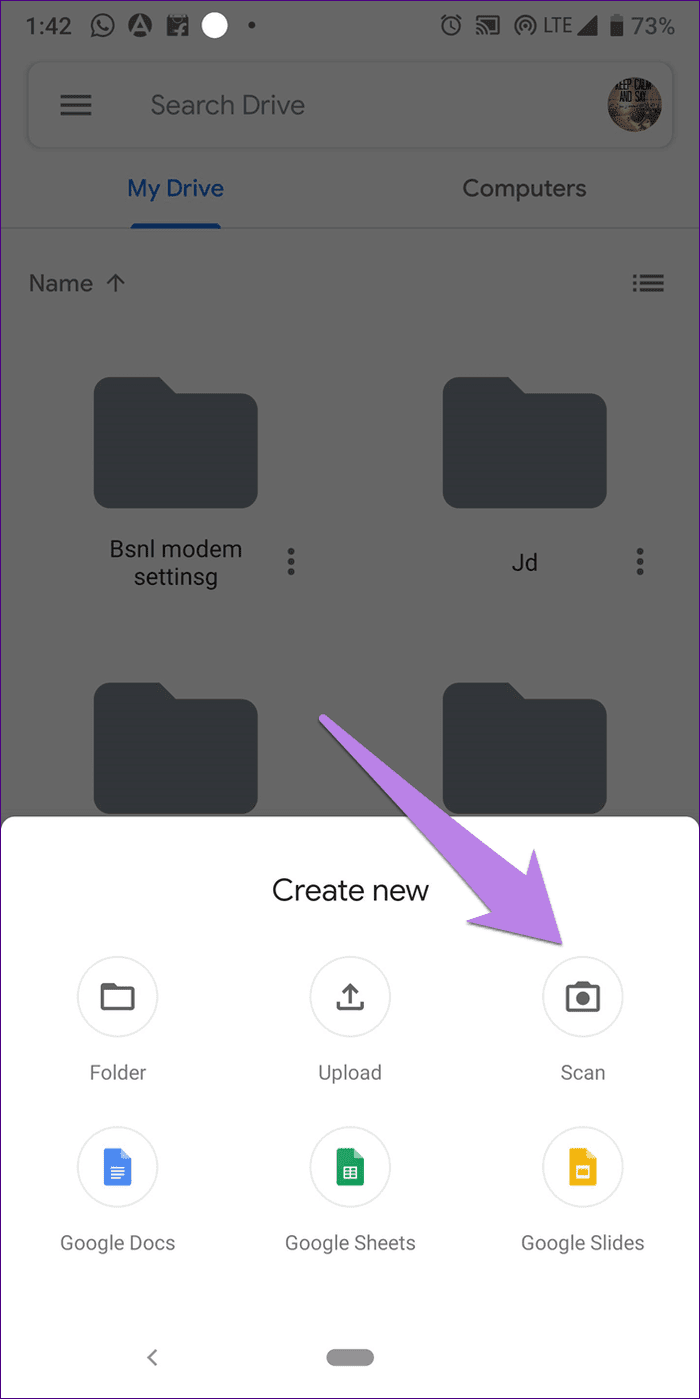
Step 2: Tap on the add icon and hit Scan from the list. Capture the photo. It will be saved as PDF.
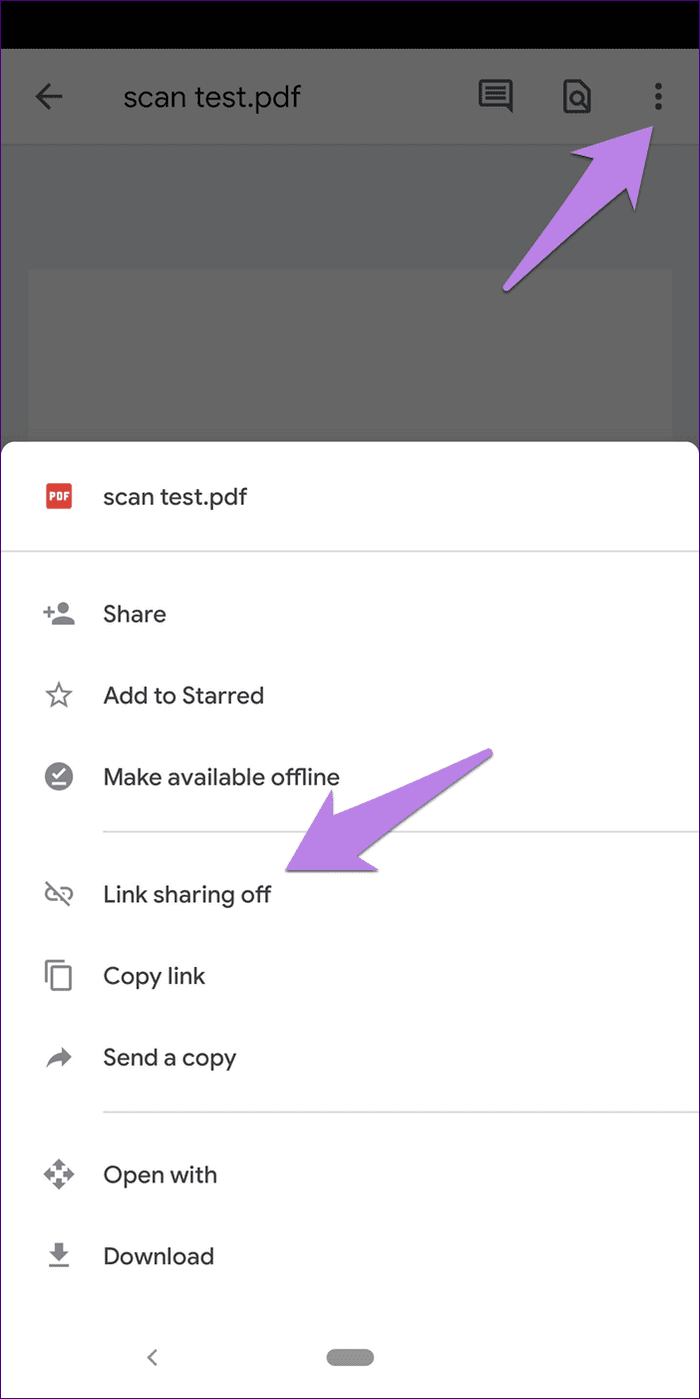
Step 3: Open the newly created PDF file and hit the three-dot icon at the top. From the menu, tap on Link sharing. That will copy the link to your clipboard.
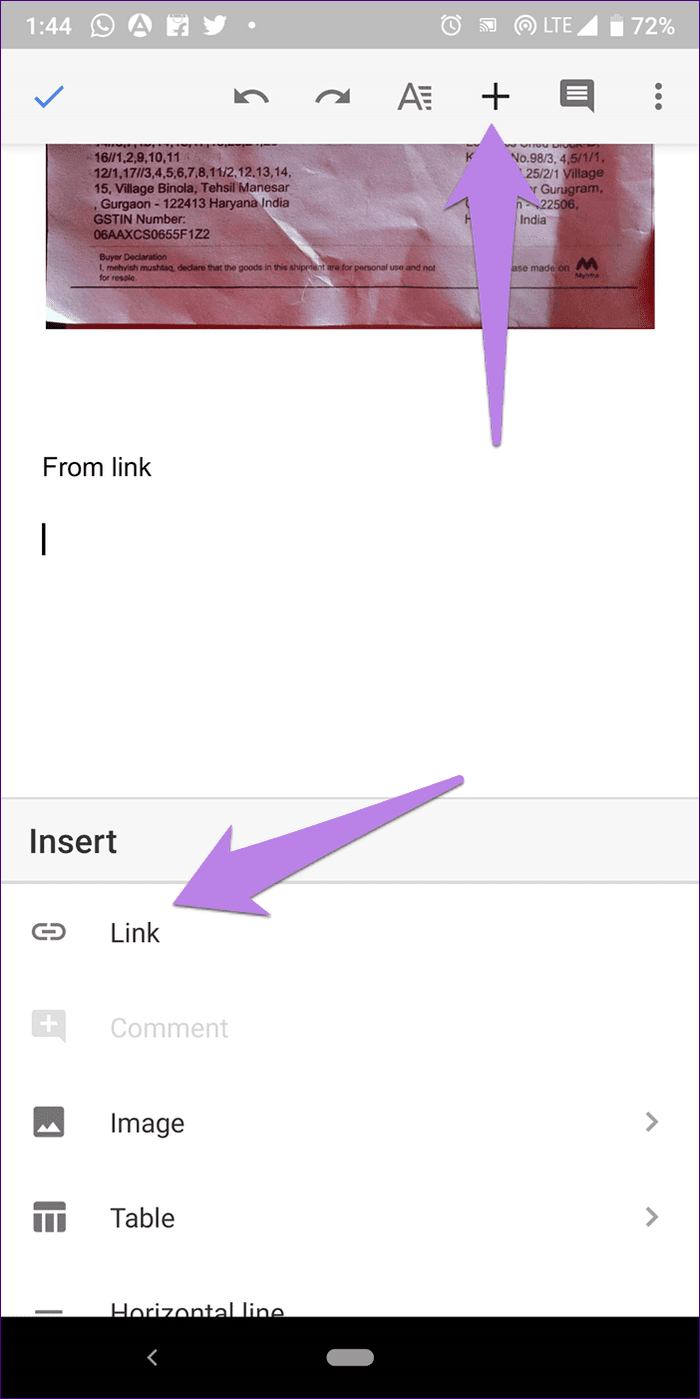
Step 4: Now open the Google Docs document and hit the add icon. Select Link.
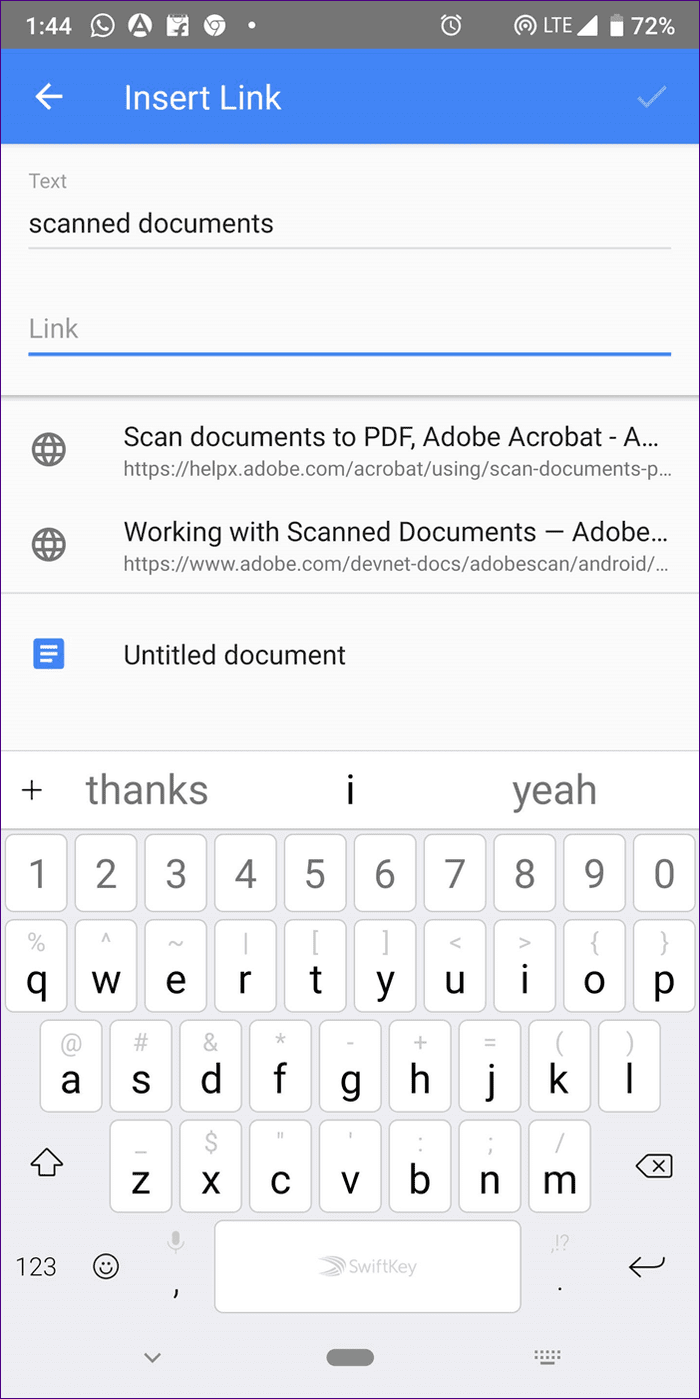
Step 5: Enter the text to display over the link and paste the link in the Link box. Hit the check icon at the top. The link will be added to your document.

Scan Documents Using Google Drive
You may wonder why not use the built-in scan functionality of Google Drive to insert it into Google Docs. Well, that’s because Google Drive saves the scanned documents as PDFs and as mentioned before, Google Docs doesn’t let you add PDFs.
However, Drive comes with an amazing feature on its website that lets you extract and insert the text from the scanned document into Docs. You can use this feature to extract text from any image or PDF file.
For that, first, scan the document using the native scan feature of the Drive app. Next, you will have to use Google Drive on your computer.
Open the Google Drive website and right-click on the PDF file whose text you want to extract in Docs. From the menu, select ‘Open with’ followed by Google Docs. You will be taken to the Docs website with your PDF successfully converted into text.
Tip: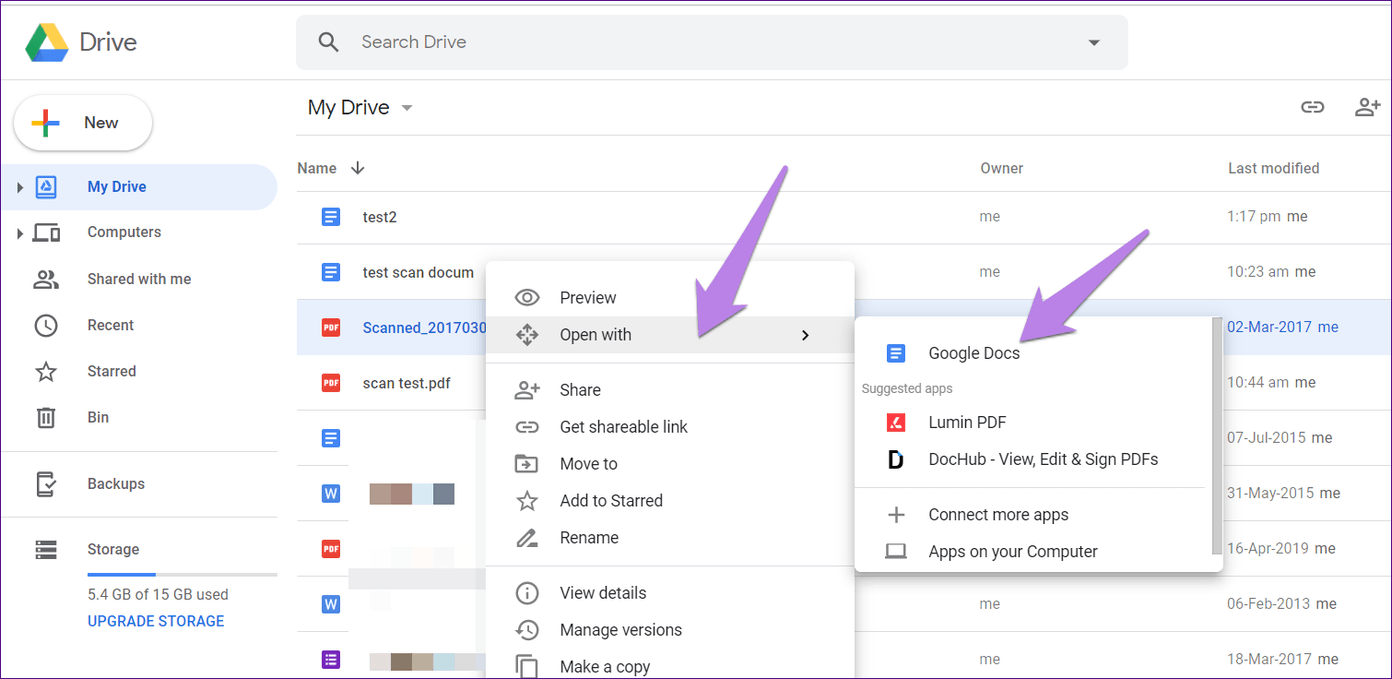
Explore Google Docs
Google Docs may appear simple, but it isn’t. With simple hacks, you can use Google Docs in unimaginable ways. For instance, you can even add YouTube video to it. If you are amazed by its capabilities, you can ditch Microsoft Word too.
Next up: Besides letting you save scanned documents as JPGs, how does CamScanner differ from Google Drive? Find the answer here.
Was this helpful?
Last updated on 03 February, 2022
Read Next
 Adobe Scan vs Genius Scan: Which Document Scanner App Is Better on iPhone
You can recollect the times you ran around looking for an actual scanner to get a digital copy of a document.
Adobe Scan vs Genius Scan: Which Document Scanner App Is Better on iPhone
You can recollect the times you ran around looking for an actual scanner to get a digital copy of a document.
 Top 2 Ways to Convert Google Docs Document to JPEG
Method 1: Use an Online Converter Certain online converters can convert docx or PDF files to jpeg.
Top 2 Ways to Convert Google Docs Document to JPEG
Method 1: Use an Online Converter Certain online converters can convert docx or PDF files to jpeg.
 How to Add or Remove Strikethrough Text in Google Docs
Google Docs is an incredibly streamlined word processor, providing a compact user interface for a distraction-free writing experience.
How to Add or Remove Strikethrough Text in Google Docs
Google Docs is an incredibly streamlined word processor, providing a compact user interface for a distraction-free writing experience.
 Top 4 Ways to Add Captions to Images in Google Docs
While Google Docs manages to win hearts with its simplistic design and an easy-to-use interface, it also misses out on some key features here and there.
Top 4 Ways to Add Captions to Images in Google Docs
While Google Docs manages to win hearts with its simplistic design and an easy-to-use interface, it also misses out on some key features here and there.
 How to Add Horizontal and Vertical Lines in Google Docs
Google Docs offers a decent selection of tools to help you clean up your documents and make them look top-notch.
How to Add Horizontal and Vertical Lines in Google Docs
Google Docs offers a decent selection of tools to help you clean up your documents and make them look top-notch.
 How to Add and Remove Line Numbers in Google Docs
The line numbers in Google Docs are similar to page numbers.
How to Add and Remove Line Numbers in Google Docs
The line numbers in Google Docs are similar to page numbers.
 Top 5 Ways to Fix Virus Scan Failed Error in Google Chrome
These days, you can download files from the internet without sparing a thought.
Top 5 Ways to Fix Virus Scan Failed Error in Google Chrome
These days, you can download files from the internet without sparing a thought.
 7 Best Fixes for Can’t Scan QR Code Using Google Messages App
You can use Google Messages app on your laptop or PC to check your messages.
7 Best Fixes for Can’t Scan QR Code Using Google Messages App
You can use Google Messages app on your laptop or PC to check your messages.
The article above may contain affiliate links which help support Guiding Tech. The content remains unbiased and authentic and will never affect our editorial integrity.