How to Access Sign-in Details in Credential Manager
First, let’s see how you can access Credential Manager on Windows to view and update your saved passwords.
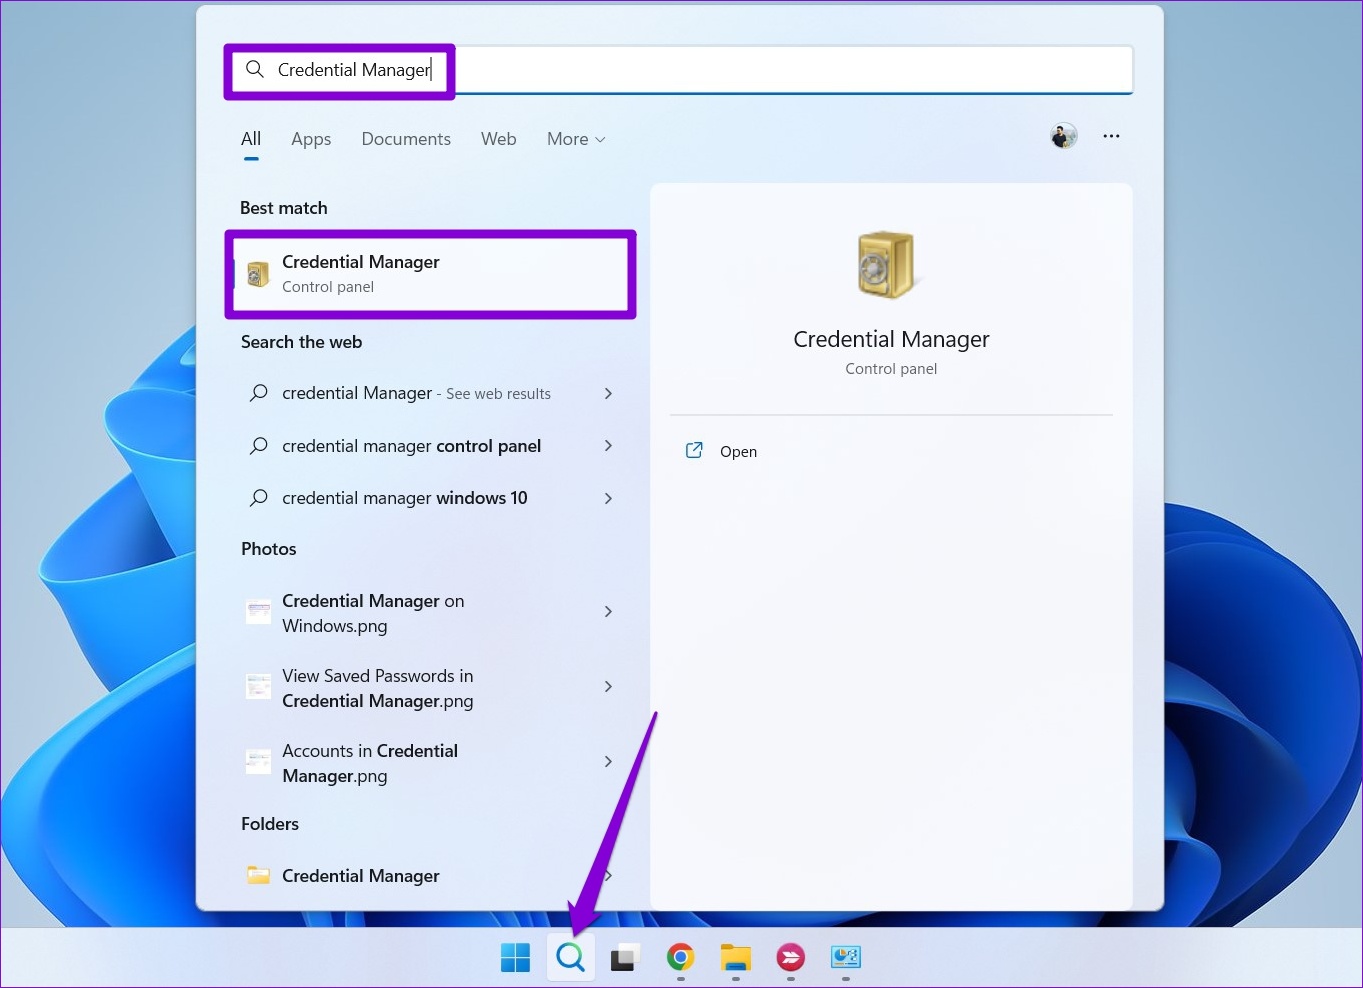
Step 1: Click on the search icon on the taskbar, type credential manager in the box, and press Enter.
Step 2: In the Credential Manager window, Web Credentials include usernames, passwords, and login details for websites you browse using Microsoft Edge, while Windows Credentials store login information for Windows apps and services.
Step 3: You’ll see a list of accounts under each category. Click on the account whose login information you wish to see.
Step 4: Click the Show button next to Password and enter your Windows login PIN or password to confirm your identity.

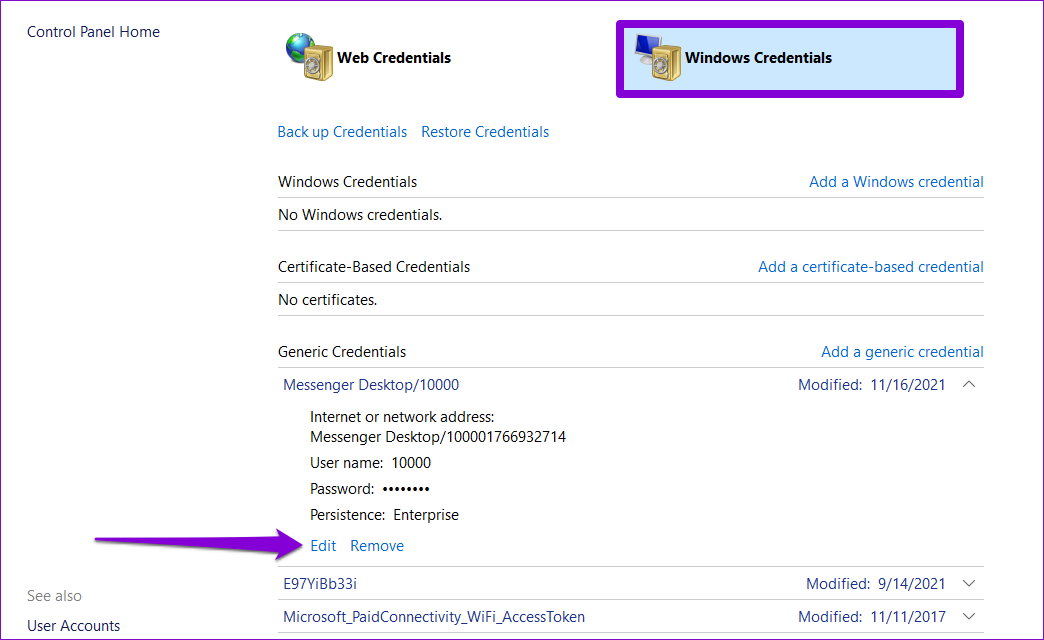
It’s worth noting that Credential Manager only displays passwords for Web Credentials. For the accounts in Windows Credentials, you’ll see an Edit button at the bottom that lets you modify your login details.
How to Add or Remove Sign-in Details in Credential Manager
Credential Manager also allows you to add login information for several apps, software, and online services. Similarly, you can also remove your old accounts from the Credential Manager if you wish. Here’s how.
Step 1: Open Credential Manager using the search menu.
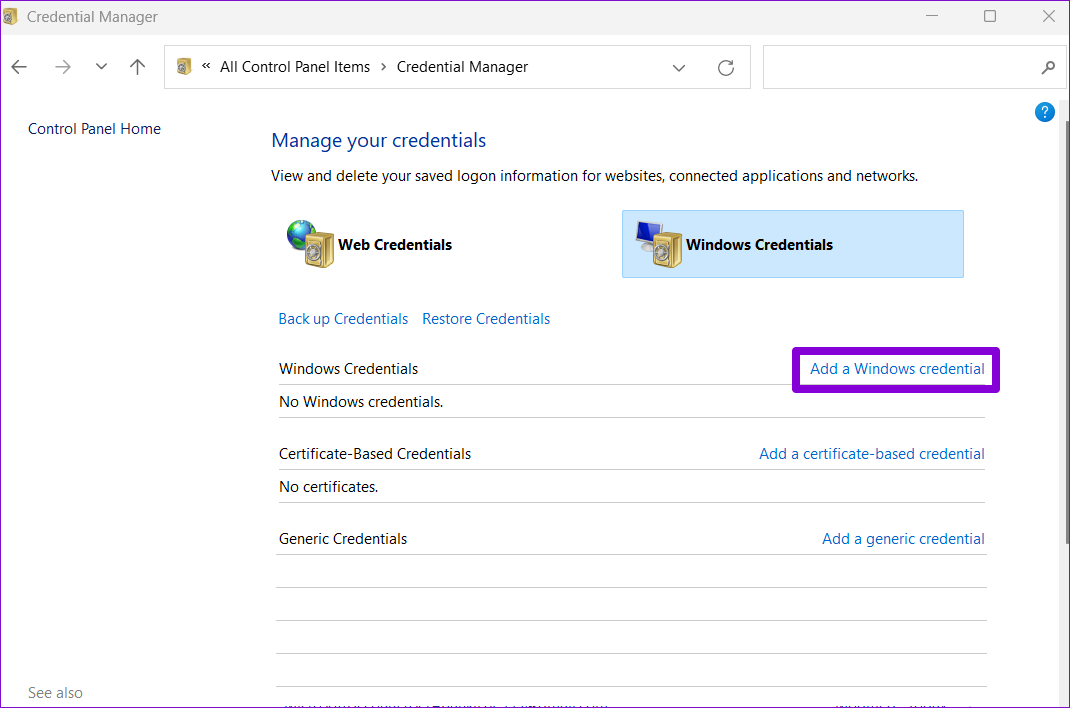
Step 2: Under Windows Credentials, click on the Add a Windows credential option.
Step 3: Type in your login details and click on OK.

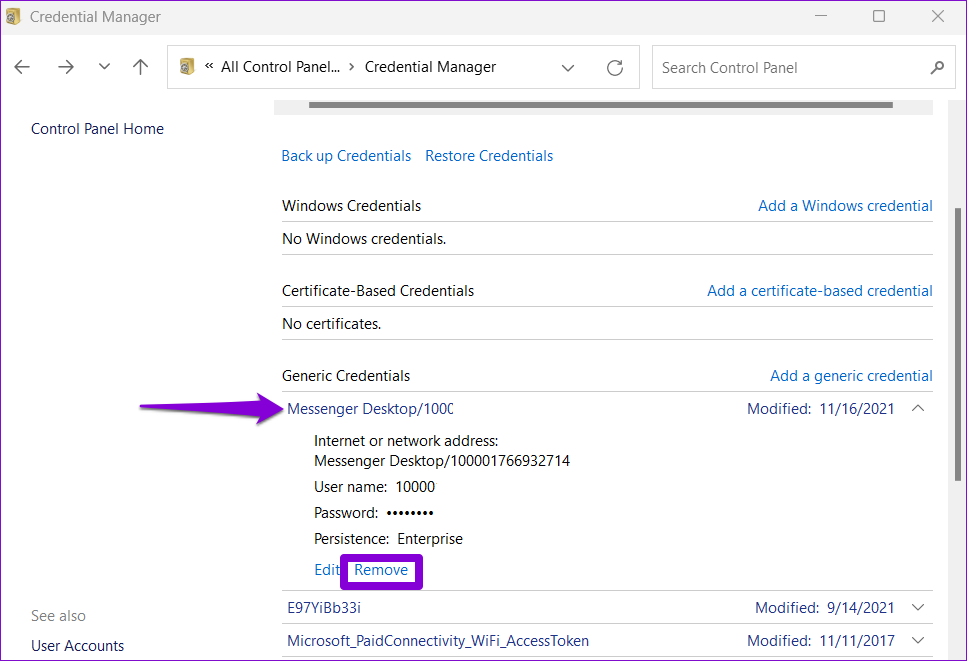
If you want to later remove an entry in Credential Manager, expand the login details and then click Remove.
How to Backup or Restore Credential Manager Data
You can also backup and restore your account information using Credentials Manager. This can be handy when switching to a new computer and you can save your account details on a secure flash drive. Do note that this option is available for Windows Credentials only. So, the backup won’t include any passwords saved by your web browser.
Backup Credential Manager Data
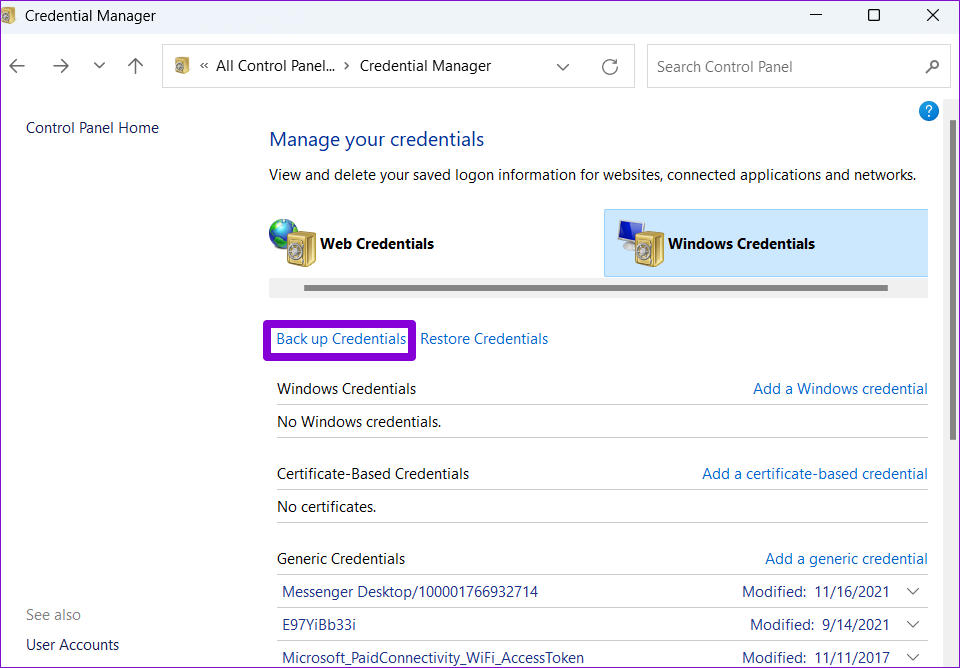
Step 1: Open Credential Manager using the search menu. Under Windows Credentials, click the Back up Credentials option.
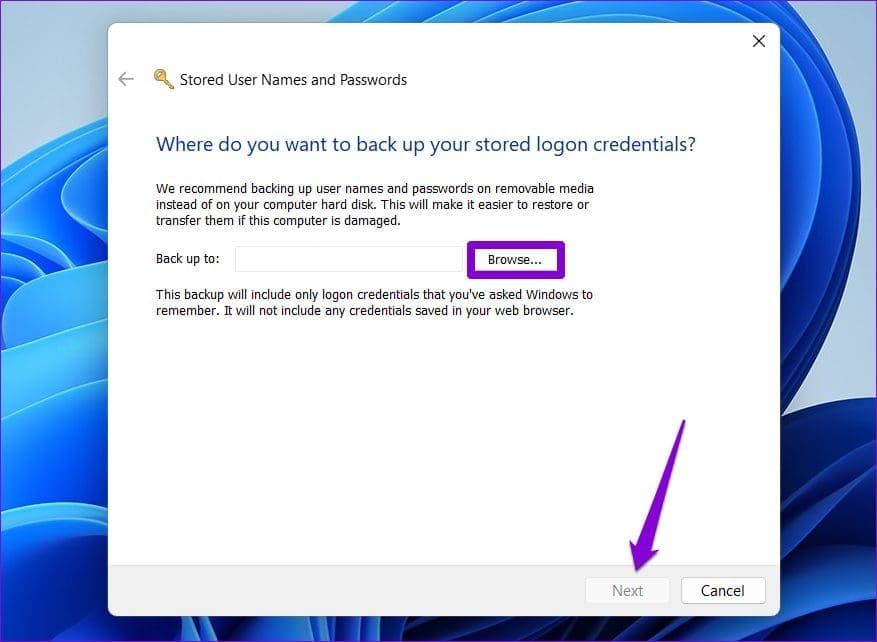
Step 2: Use the Browse button to select the location where you wish to save the backup file. Then, click Next.
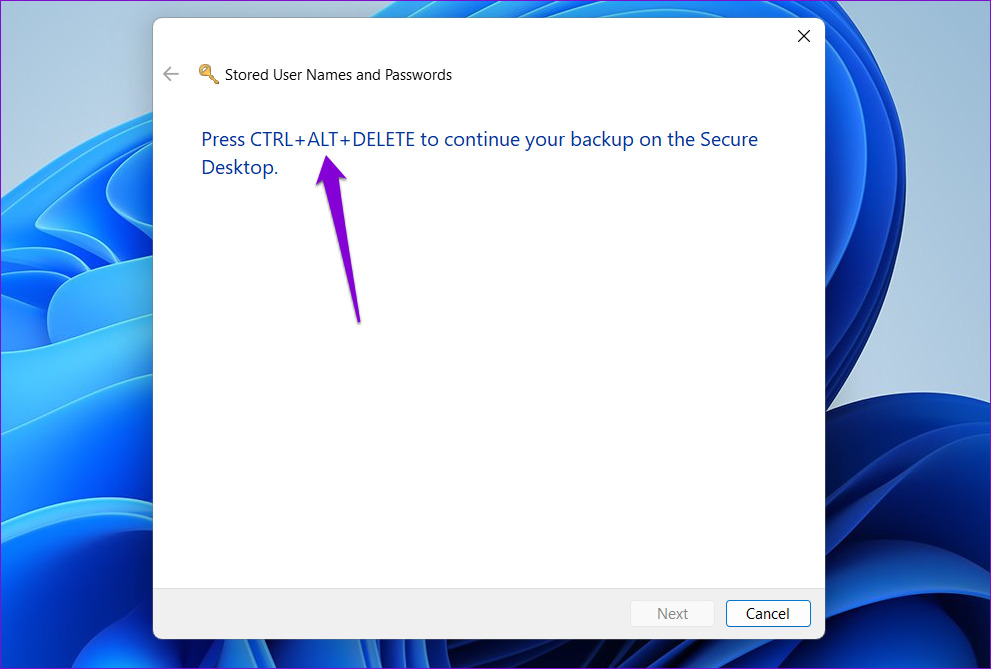
Step 3: Press Ctrl + Alt + Delete on your keyboard to continue.
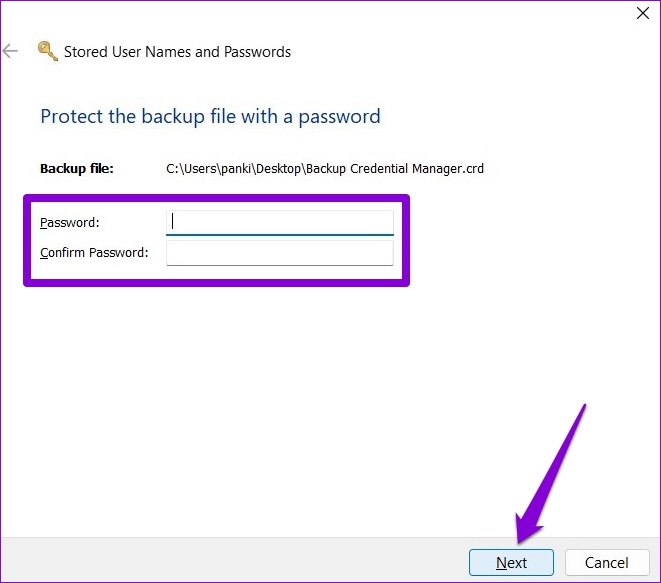
Step 4: Create a password to secure the Credential Manager file and then hit Next.
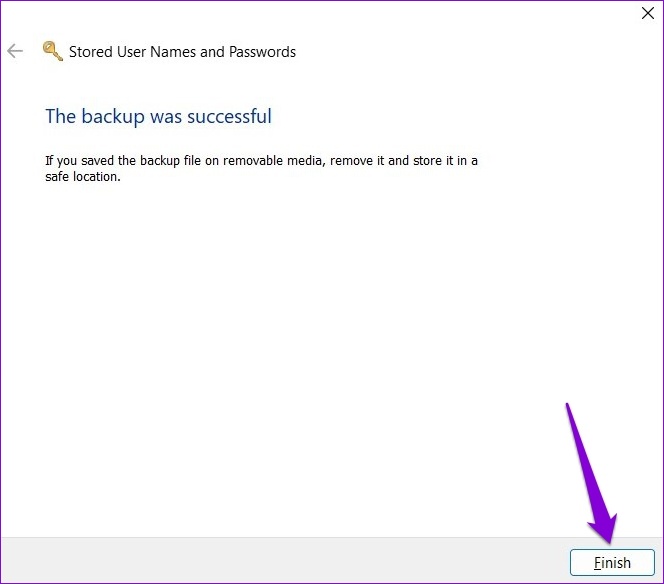
Step 5: Click Finish.
Windows will backup your credentials in the specified location. You can transfer this file to a new computer and import all your credentials.
Import Credential Manager Data
Importing data into Credential Manager is just as simple if you want to restore credentials from a backup file. Here’s how to do it.
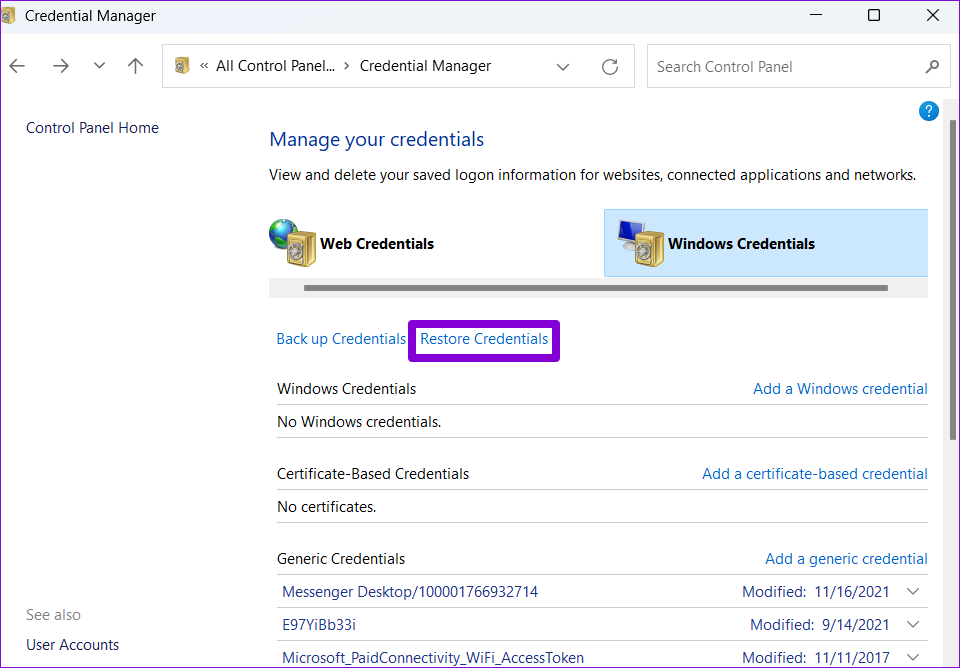
Step 1: In the Credential Manager window, navigate to Windows Credentials and click on Restore Credentials.
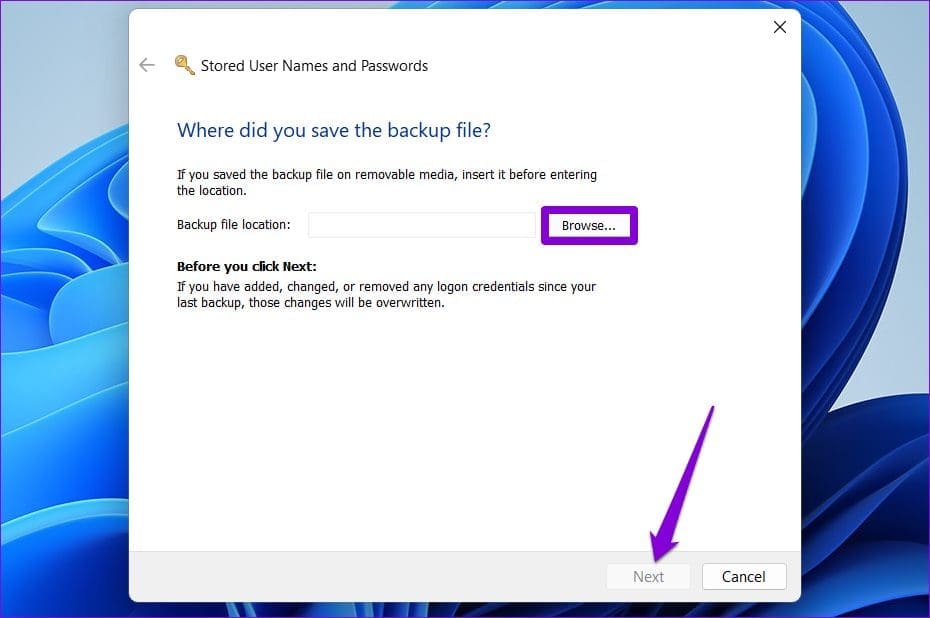
Step 2: Use the Browse button to locate the backup file on your PC. Then, click Next.
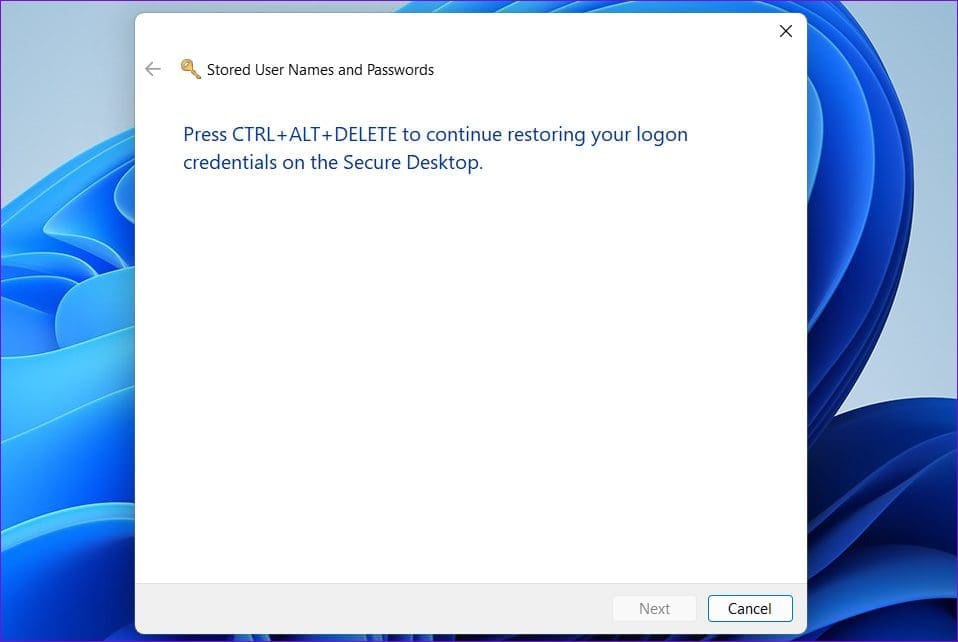
Step 3: Press Ctrl + Alt + Delete on your keyboard to proceed.
Step 4: Enter the password to unlock the backup file and click on Next.
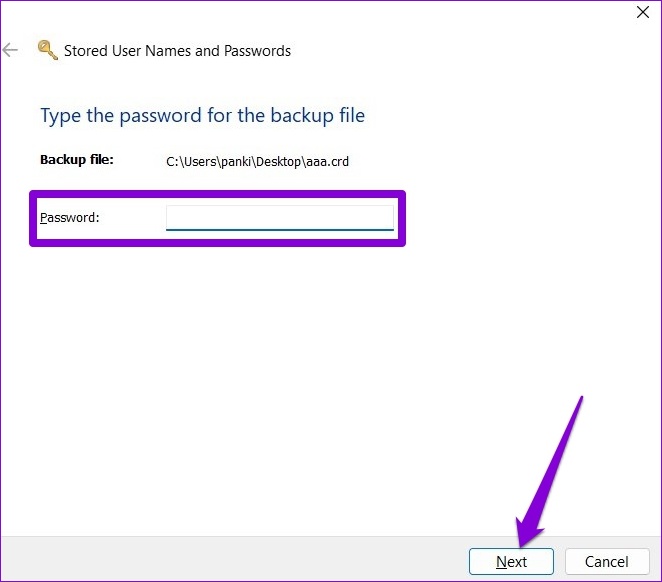
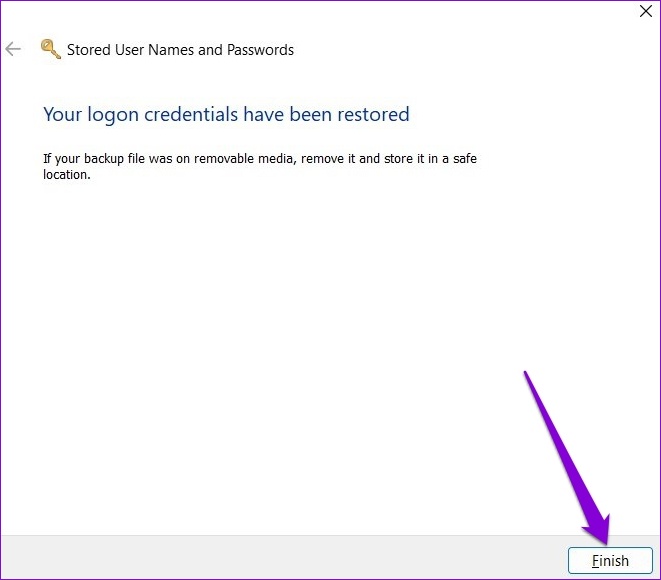
Step 5: Click Finish.
Was this helpful?
Last updated on 19 April, 2024
Read Next
 7 Quick Ways to Open Credential Manager in Windows 11
Are you looking for a password manager to save your login credentials securely?
7 Quick Ways to Open Credential Manager in Windows 11
Are you looking for a password manager to save your login credentials securely?
 How to Fix Realtek HD Audio Manager Missing in Windows 10 and Windows 11
Realtek HD Audio Manager comes with Realtek's High-Definition (HD) Audio Driver on almost every Windows 10 and Windows 11 computer.
How to Fix Realtek HD Audio Manager Missing in Windows 10 and Windows 11
Realtek HD Audio Manager comes with Realtek's High-Definition (HD) Audio Driver on almost every Windows 10 and Windows 11 computer.
 Top 6 Ways to Fix Device Manager Not Opening on Windows 10 and Windows 11
The Device Manager on Windows is essential to enable or disable specific devices, update drivers, or troubleshoot various errors.
Top 6 Ways to Fix Device Manager Not Opening on Windows 10 and Windows 11
The Device Manager on Windows is essential to enable or disable specific devices, update drivers, or troubleshoot various errors.
 9 Ways to Open Task Manager on Windows 10 and Windows 11
Task Manager is one of the most commonly used programs on Windows, regardless of its version.
9 Ways to Open Task Manager on Windows 10 and Windows 11
Task Manager is one of the most commonly used programs on Windows, regardless of its version.
 6 Best Ways to Access Windows Tools on Windows 11
Windows Tools carries useful utilities like Event Viewer, Task Scheduler, and System Configuration Tool, organized into a folder for easy access.
6 Best Ways to Access Windows Tools on Windows 11
Windows Tools carries useful utilities like Event Viewer, Task Scheduler, and System Configuration Tool, organized into a folder for easy access.
 Top 10 Ways to Fix Task Manager Not Working on Windows 11
Task Manager is a useful utility that lets you monitor your PC’s memory consumption, background processes, startup programs, and more.
Top 10 Ways to Fix Task Manager Not Working on Windows 11
Task Manager is a useful utility that lets you monitor your PC’s memory consumption, background processes, startup programs, and more.
 Top 8 Ways to Fix Bluetooth Missing From Device Manager in Windows 11
Windows 11 offers advanced ways to manage connected Bluetooth devices from the Device Manager menu.
Top 8 Ways to Fix Bluetooth Missing From Device Manager in Windows 11
Windows 11 offers advanced ways to manage connected Bluetooth devices from the Device Manager menu.
The article above may contain affiliate links which help support Guiding Tech. The content remains unbiased and authentic and will never affect our editorial integrity.